


CREATING A WALL GALLERY
How to create a wall gallery without making your home look like a flea market.


“I begin with an idea and then it becomes something else.”
This post was inspired by my sister-in-law Angela, who is a newlywed and has recently bought a beautiful home in Washington, DC. She is very well travelled and has collected beautiful treasures from across the globe. Her husband is also a traveler, and has done the same. Together they have an amazing collection of beautiful things. In trying to display them, she asked, "How do I create a wall gallery without making my home look like a flea market?" This made me laugh, and equally smile because I know her house would never look like a flea market.
She raised a good question, however, so I thought about it for awhile and I realized that I had never really created a "formula" for a wall gallery. I have always just done it how I liked it. When I started to think about it, though, I realized that there are a few key components or building blocks that translate into an attractive wall gallery that doesn't look like a flea market.
I like to start with a larger space, and one that doesn't have a lot of business (pattern and or color) going on. I feel that wallpaper or prints can compete with items you are trying to display, and then things end up looking visually messy. Think of an art gallery. They are typically displaying art against a stark white background. The white background or light background allows us to focus on the art itself, rather than the wall behind it; it removes any confusion.

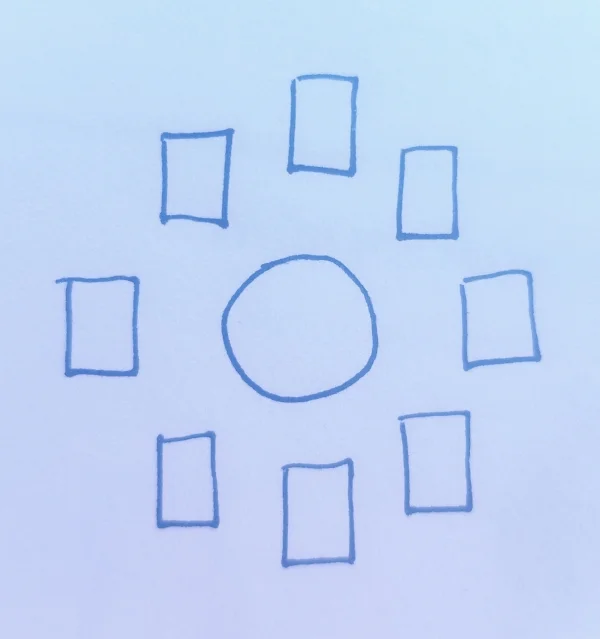
Before I put anything on the wall, I lay everything out on the floor or make a quick sketch of my items. This helps me get a glimpse of how things might look on the wall, without being committed to making a bunch nail holes before I have a plan (not that I don't LOVE filling nail holes - who doesn't?) It's funny how most things go better when there is a plan, right? I won't pretend I have not just flown by the seat of my pants with galleries before (I am quite known for that habit), but most of the time, things go better when I take the time to think it through first.
Next I consider scale of the wall and scale of my items. If you have a larger item, or two larger items, you typically want them centered or at least balancing each other side to side. Even if they are different shapes, their size will balance well when they are positioned against each other. After I have decided on my central item, I look at what else I want to display with it. Then I group them into similar sized or shaped items as well. That way I know how to balance each of them, splitting them up into a few groups. When you have done that, you can start placing them around your larger items, looking at balancing each side of the gallery with similar sized or shaped things on either side of the larger items.

Once you have decided on a grouping you like, think about how you might be able to add some uniformity to the situation. For example, you can hang all sorts of things, but you might consider putting them all in black frames for unity. You could also decide to make everything very colorful. Perhaps a few things on each side are in frames, and then a few things are word art, and then a few things are objects. Mostly you want to create some level of balance between the items.
Next you need to decide how much "white space" you want between your items. This would be how closely things are hung together. It can look cool to have things placed nice and snug if they are more uniform (like the example of everything in black frames). If your items are more eclectic, you might want to consider wider spacing to allow the eye to really focus on the object itself as part of the wall gallery, rather than it looking too cramped and messy.

In this photo, all the papers are different sizes and colors, but the gallery is unified by the same clip holding each piece. The clips are also equally spaced which gives balance, despite the fact that all the papers are different. Note the white back ground allows you to see the clips and the papers.
Finally, you need to look at the overall shape and size of your wall and your gallery creation. If the wall is just rectangular, you have a lot of options. Consider the furniture as part of the gallery; it can define the edges and does add into the equation. A popular location for a wall gallery is a stair case. This is a little trickier as the wall is angled with the stairs. In this case, you just follow the angle of the steps with your art. When you do this, you create a pleasing visual along the stairs that carries with the lines of the steps. Balance is achieved and your eyes are happy!


This is a stair gallery in our house. Hard to grab a photo of this, but the angle of the bottom pictures is going along the stair line. Everything is in a white or black frame to give balance. Objects that are not framed are balanced with those that are.

Showing it from a different angle.
It takes some trial and error, but eventually you get a sense that tells you it looks balanced and attractive to the eye. If you are still not confident enough to put it on the wall, you can use painter's tape to tape out the shape and size of your objects and put it all on the wall first. This is also very handy for identifying where your positioning and nails should go (as long as you take the time to accurately measure things). It is time consuming, but can really be helpful in the end.
Hopefully I have helped answer the question of the wall gallery, Angela. The most best part of a gallery is that it can be change in rotation. Things can go on and come off and it will instantly change the look of the gallery with very little time and effort. I love doing that at the holidays. I will often change out a wall gallery that includes fresh flowers or a wreath, and will change out the flowers and wreath for the season we are in. It's a quick change that updates everything quickly and didn't take more than a few minutes and hardly cost anything.
“Imperfection is perfection to a beautiful perspective.”
When it comes to hanging things in a gallery, just keep playing with it until you love it. I think it is a great way to display things you love and fill your home with your unique story.
Have you created a wall gallery in your home? Did you like the result? Was it hard to achieve? Did it feel like a flea market? :)
-Casey