


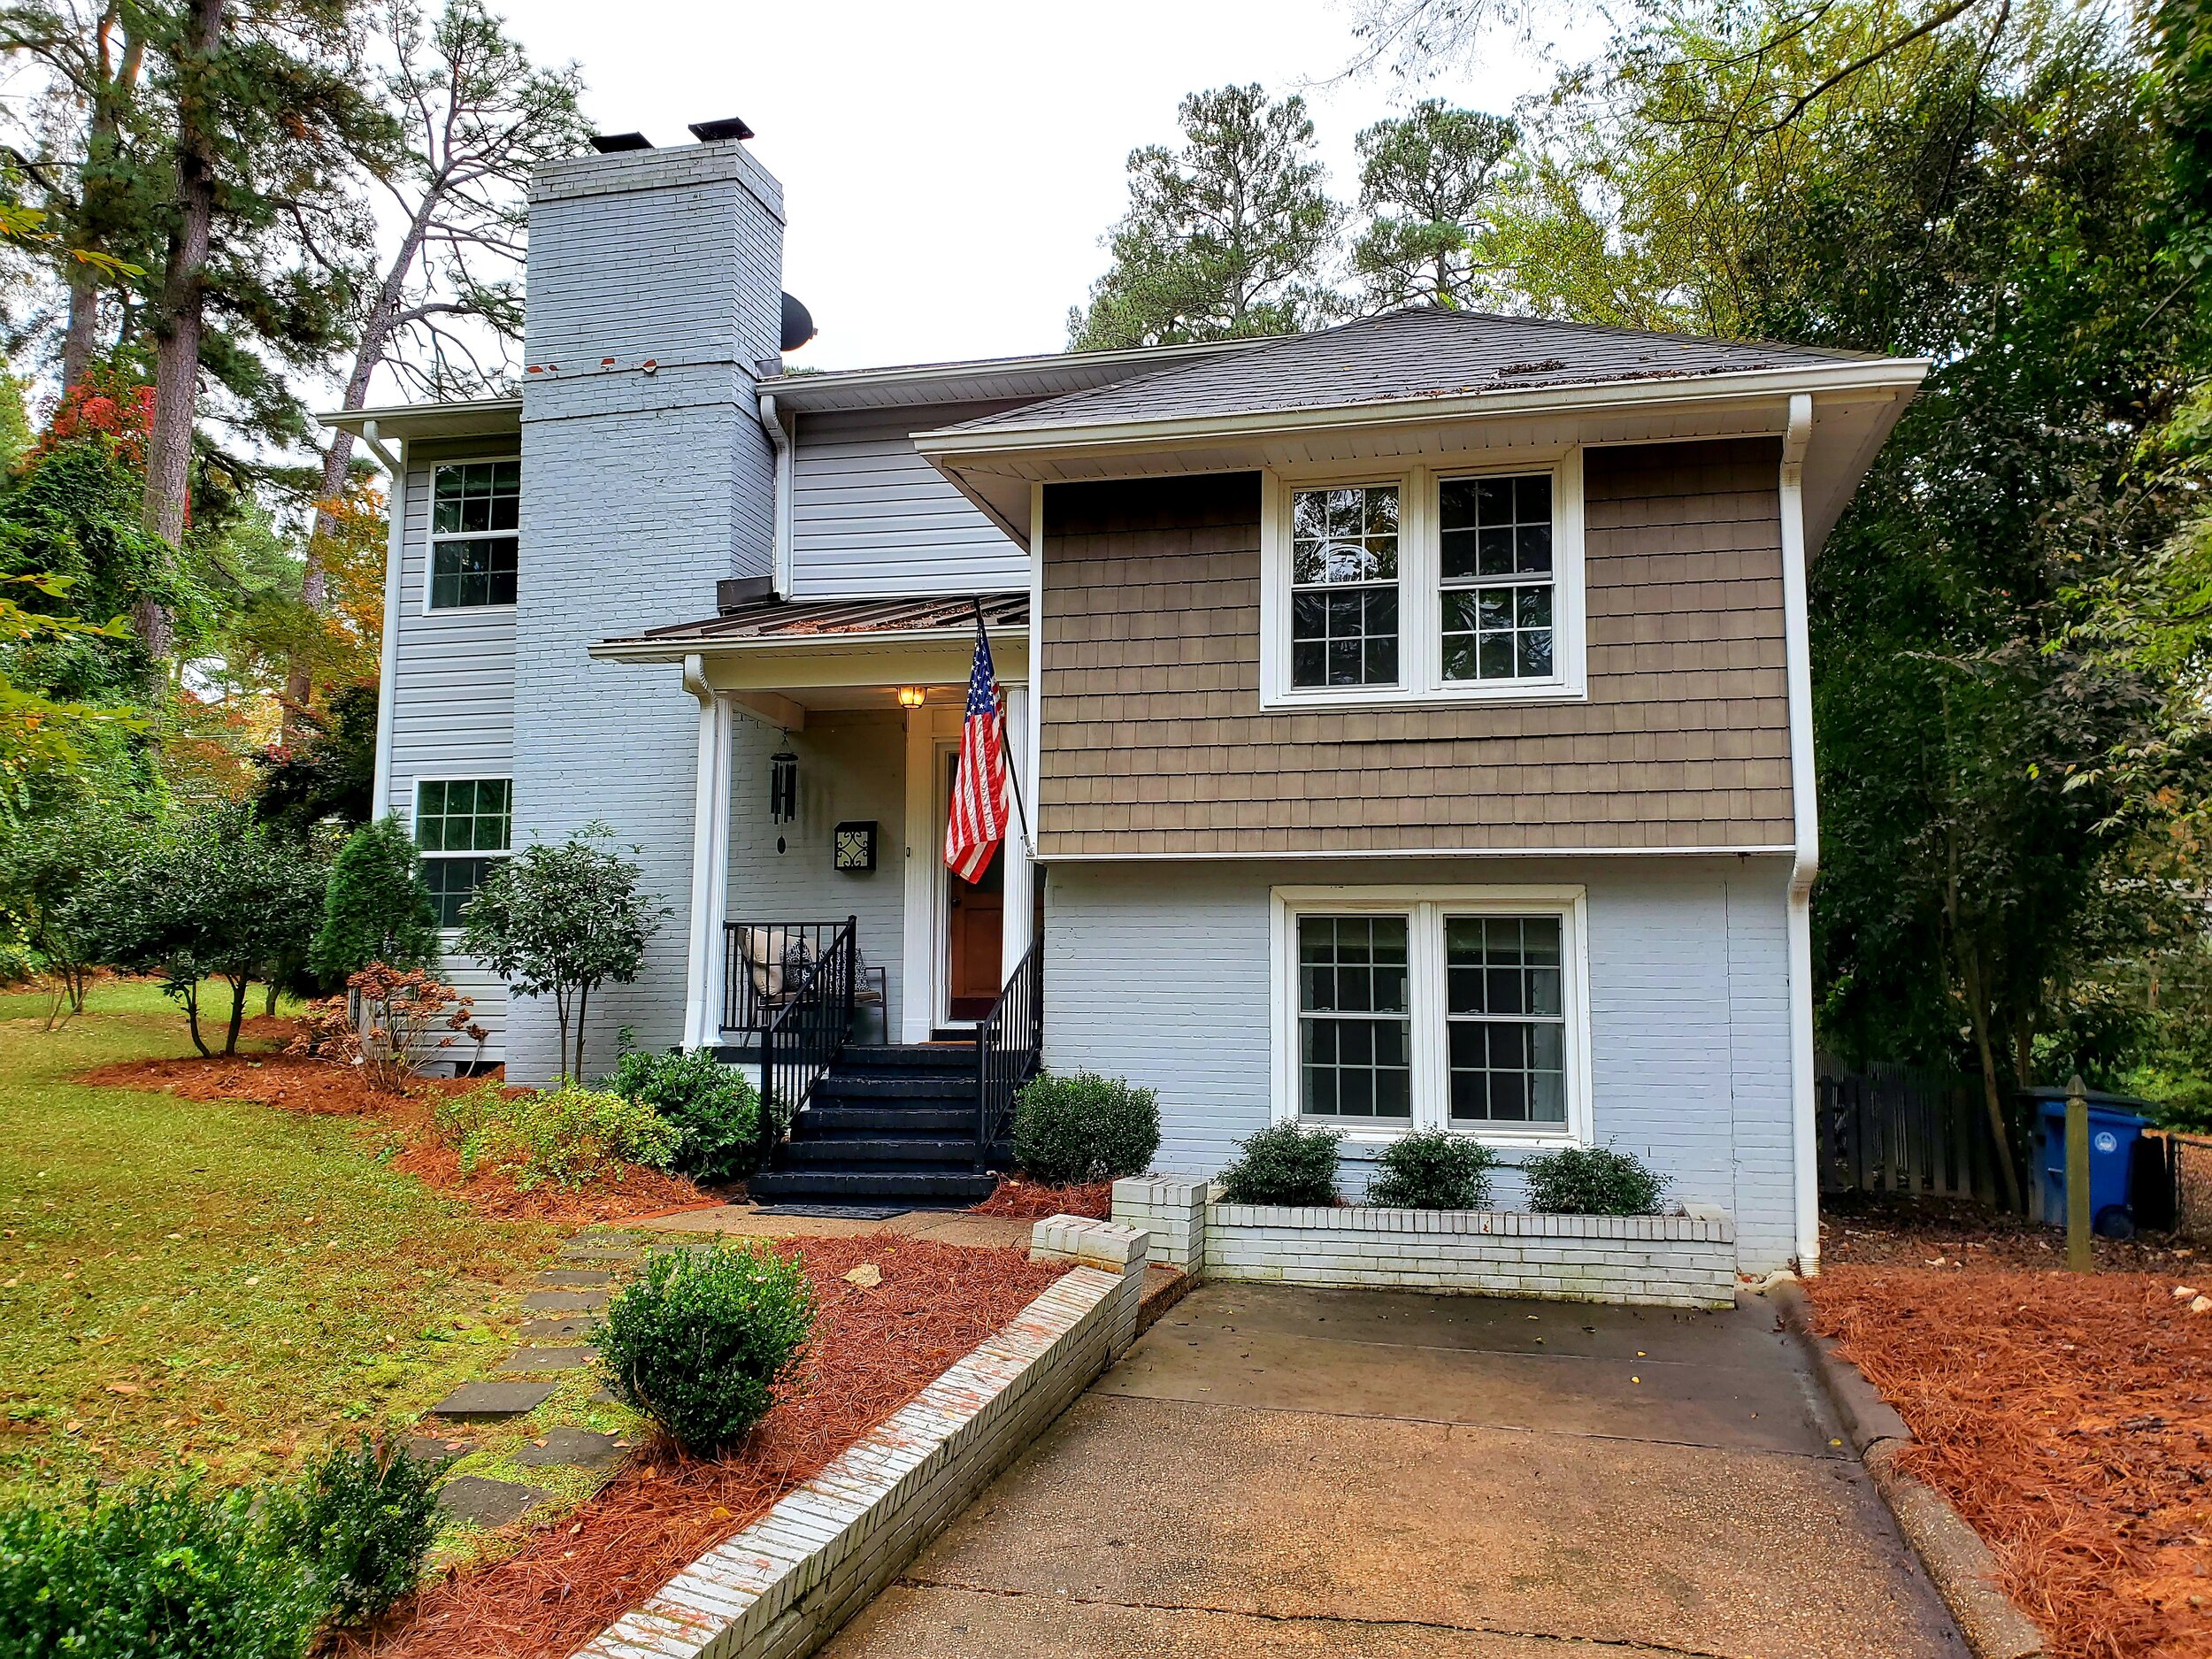
Buying and selling a smart home

Image courtesy of Unsplash
Everything You Need to Know about Buying or Selling a Smart Home
A featured guest post from Kris!
Kris Louis -- Parentingwithkris.com
They say there is a learning curve to everything, and for most of us, a smart home transaction is a whole new experience that can seem especially complicated. What happens when the gadgets change hands, and will having devices installed help or hurt a sale? Haymount Homes offers some pertinent advice for buyers and sellers who are heading into the smart home market for the first time.
What devices should I install? The selection of smart devices is almost overwhelming, so contemplate what choices will make your home more comfortable for you, and what will bring substantial convenience. You can test drive smart home gadgetry with something small and simple, such as smart plugs. Anything you connect to one can be controlled by phone, allowing you to alter your home environment whether you’re near or far.
Will technology help sell my house? Automation isn’t likely to be a big player in selling a home. If the decision is narrowed to a few houses and all other features are equal, installed technology might help a buyer choose your property, but it’s unlikely to influence a sale dramatically in either direction. With that in mind, decide on devices offering you optimal personal benefit. Whatever smart devices you choose to install, note you are best off hiring a professional electrician to ensure things are wired in properly.
Here are some popular smart home selections:
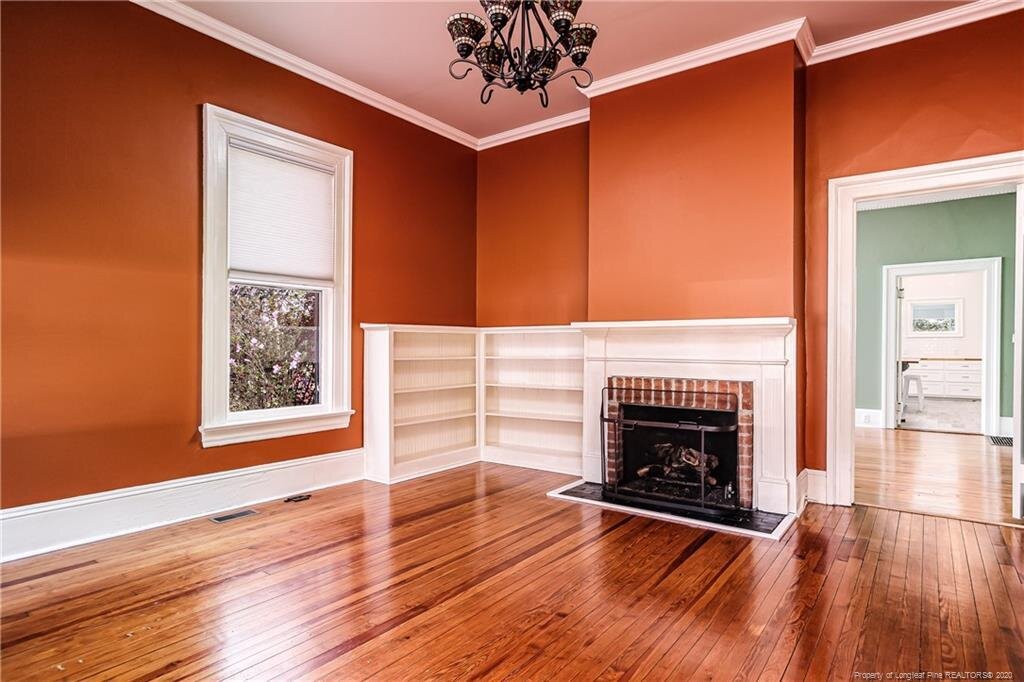
Window treatments can be a boon in the summer. Being able to control drapes, blinds and other window treatments when you aren’t home means you can close your west side-facing curtains during the day, reducing heat from the afternoon sun. It’s a savings on energy use and utility bills, and on top of that, being able to close curtains remotely means you can make it look like you are home even when you aren’t.
Smart security systems will give homeowners peace of mind. There are a variety of smart security options you can choose from: video doorbells, all-in-one home security systems, motion-sensing solar outdoor lights, indoor cameras, and even alarm sensors that notify you when windows or doors have been opened. The best smart security technology allows homeowners to stream video from their phone, so they always know their home is safe no matter where they are.
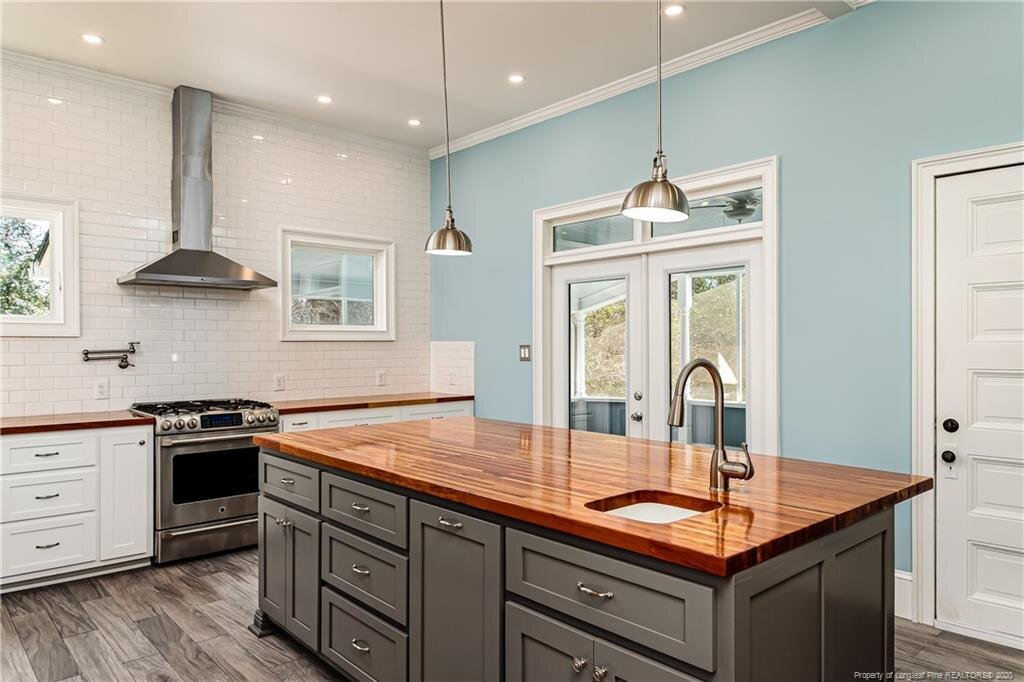
Smart appliances can both boost your home’s efficiency and help you be more productive. For example, there are smart kitchen scales into which you can note what ingredients are on hand, and it will offer you recipe suggestions.
Thermostats are a big hit with homeowners, offering energy efficiency by learning habits and making changes accordingly.
Smart lighting can also be a benefit to homeowners, as smart bulbs can work in accordance with your patterns, helping you sleep better, work more efficiently, and even better manage your appetite. On top of all that, you can save money and energy.
Integrating devices. There are a couple important options to help with device integration. One option is a hub, which is designed for linking devices so they can talk to one another. However, it’s important to understand that not all gadgets will speak the same language, so you should research what will work with your selections. One suggestion for managing this concern is to purchase smart home devices from retailers that will allow you to return them if there is a problem. Good Housekeeping points out you can also use your smartphone to access IFTTT (If This, Then That). In this way, you establish protocol for your various smart devices. For instance, if movement is detected by a smart security camera while you’re at work, your smart curtains close.
Buying and selling. When it comes time to sell or purchase a property with automation installed, many people are confused about navigating the process. Notion explains sellers should delete their accounts, and reset all smart home products and devices to their factory settings. Make a list of all the gadgets and what they do so buyers know what to expect. Buyers should ensure they contact tech support regarding change of ownership immediately, and update all contact information.
Most of us are new to buying and selling smart homes. Learn about the devices available and what will work for you. With a little research, you can make informed decisions, improving your convenience and comfort. You will be able to enter the smart home real estate market with confidence!
Do you need help staging your home for sale? Or do you just want help making your living space feel more beautiful? Haymount Homes can help! We provide the tools, advice and services you need to make your home shine. Reach out to us today!

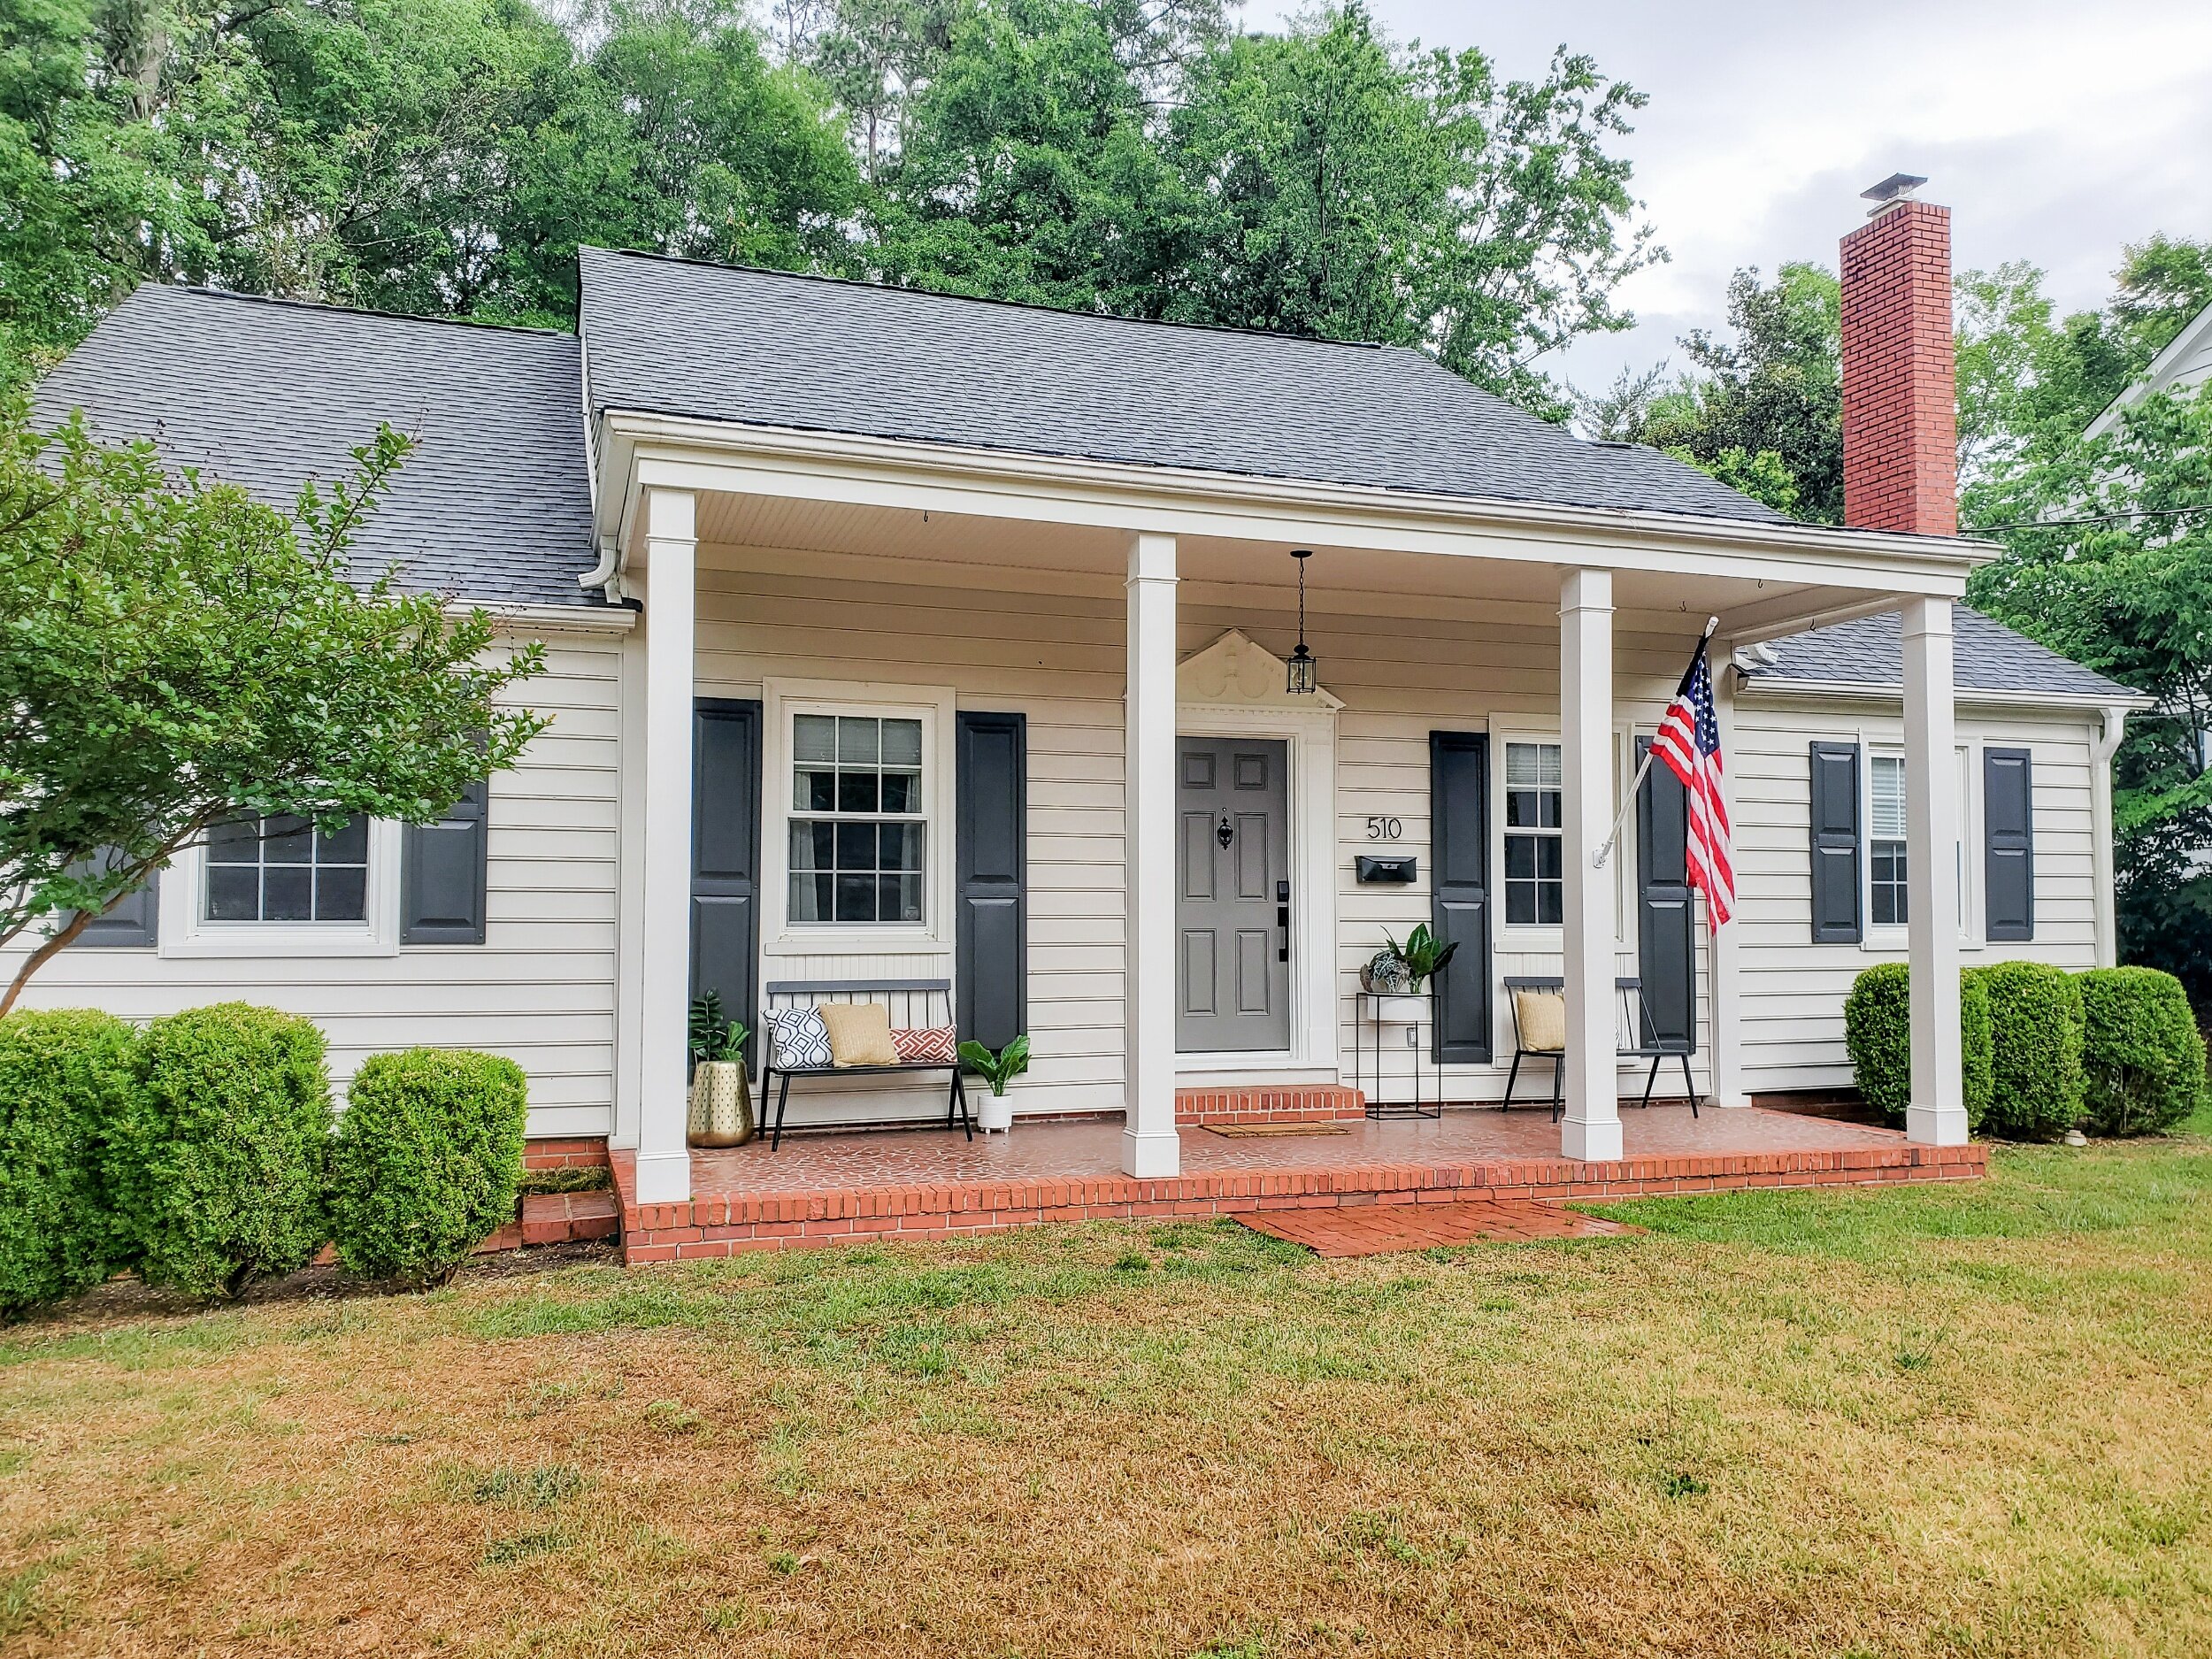
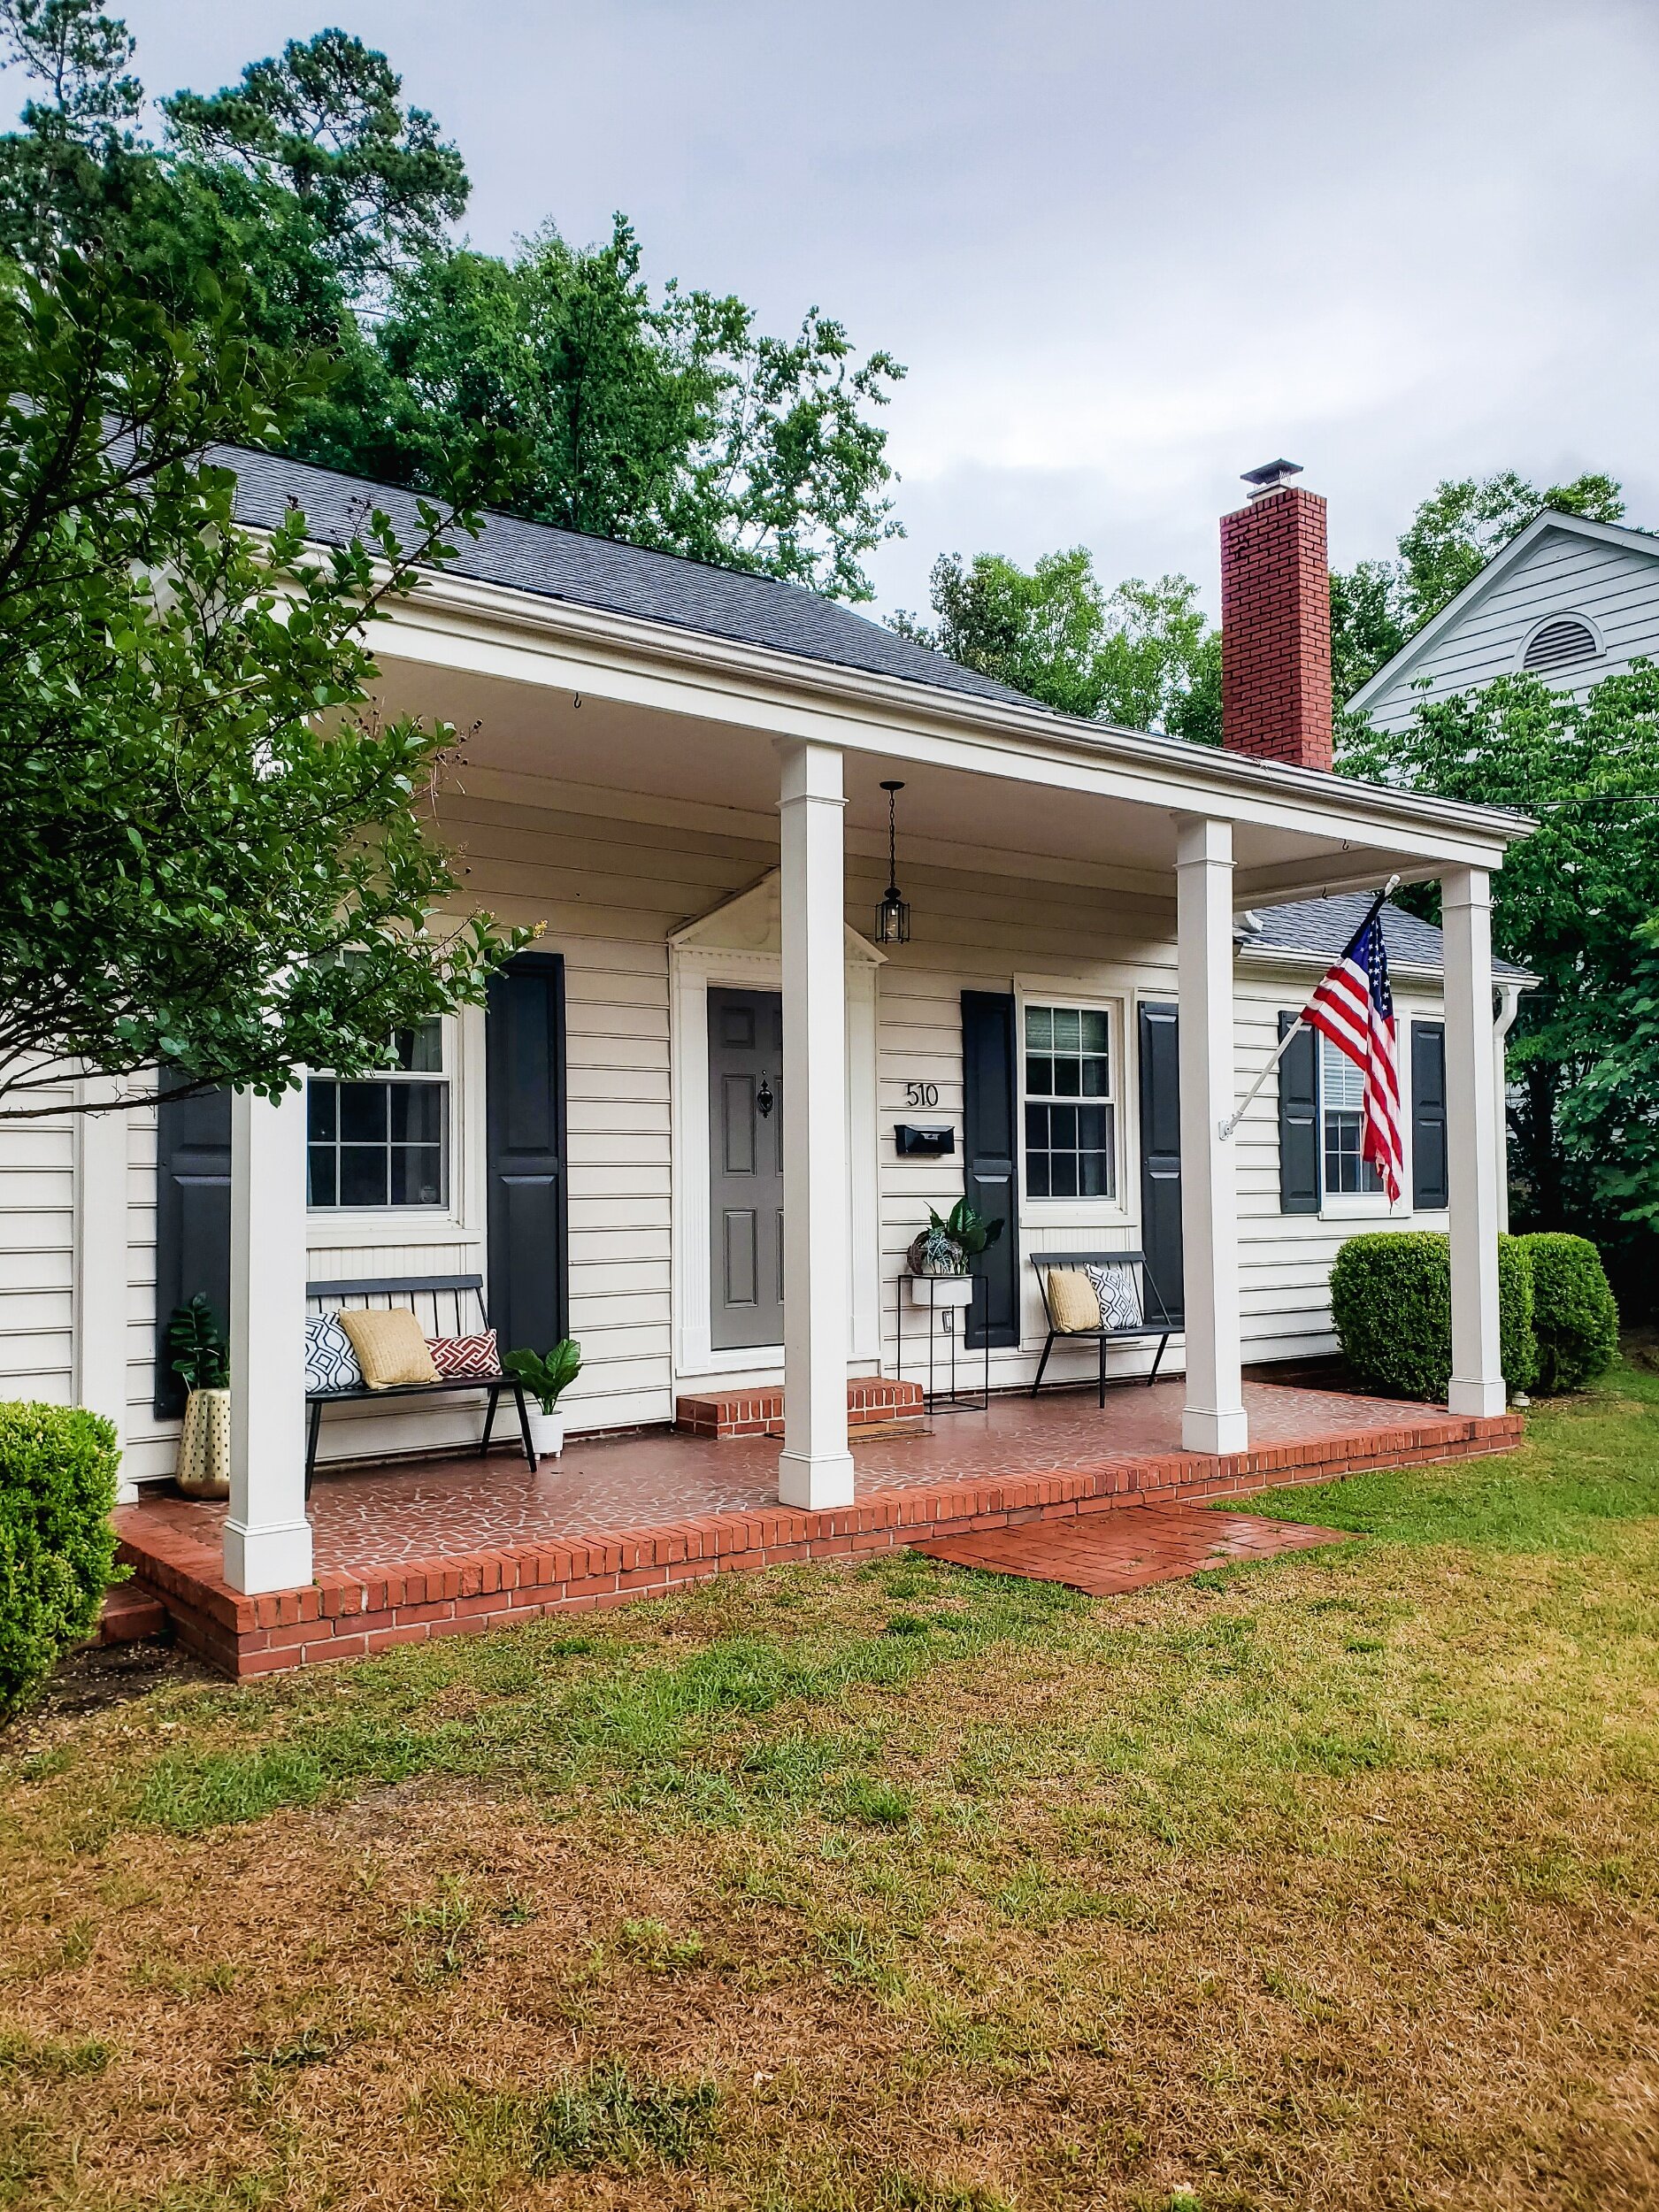
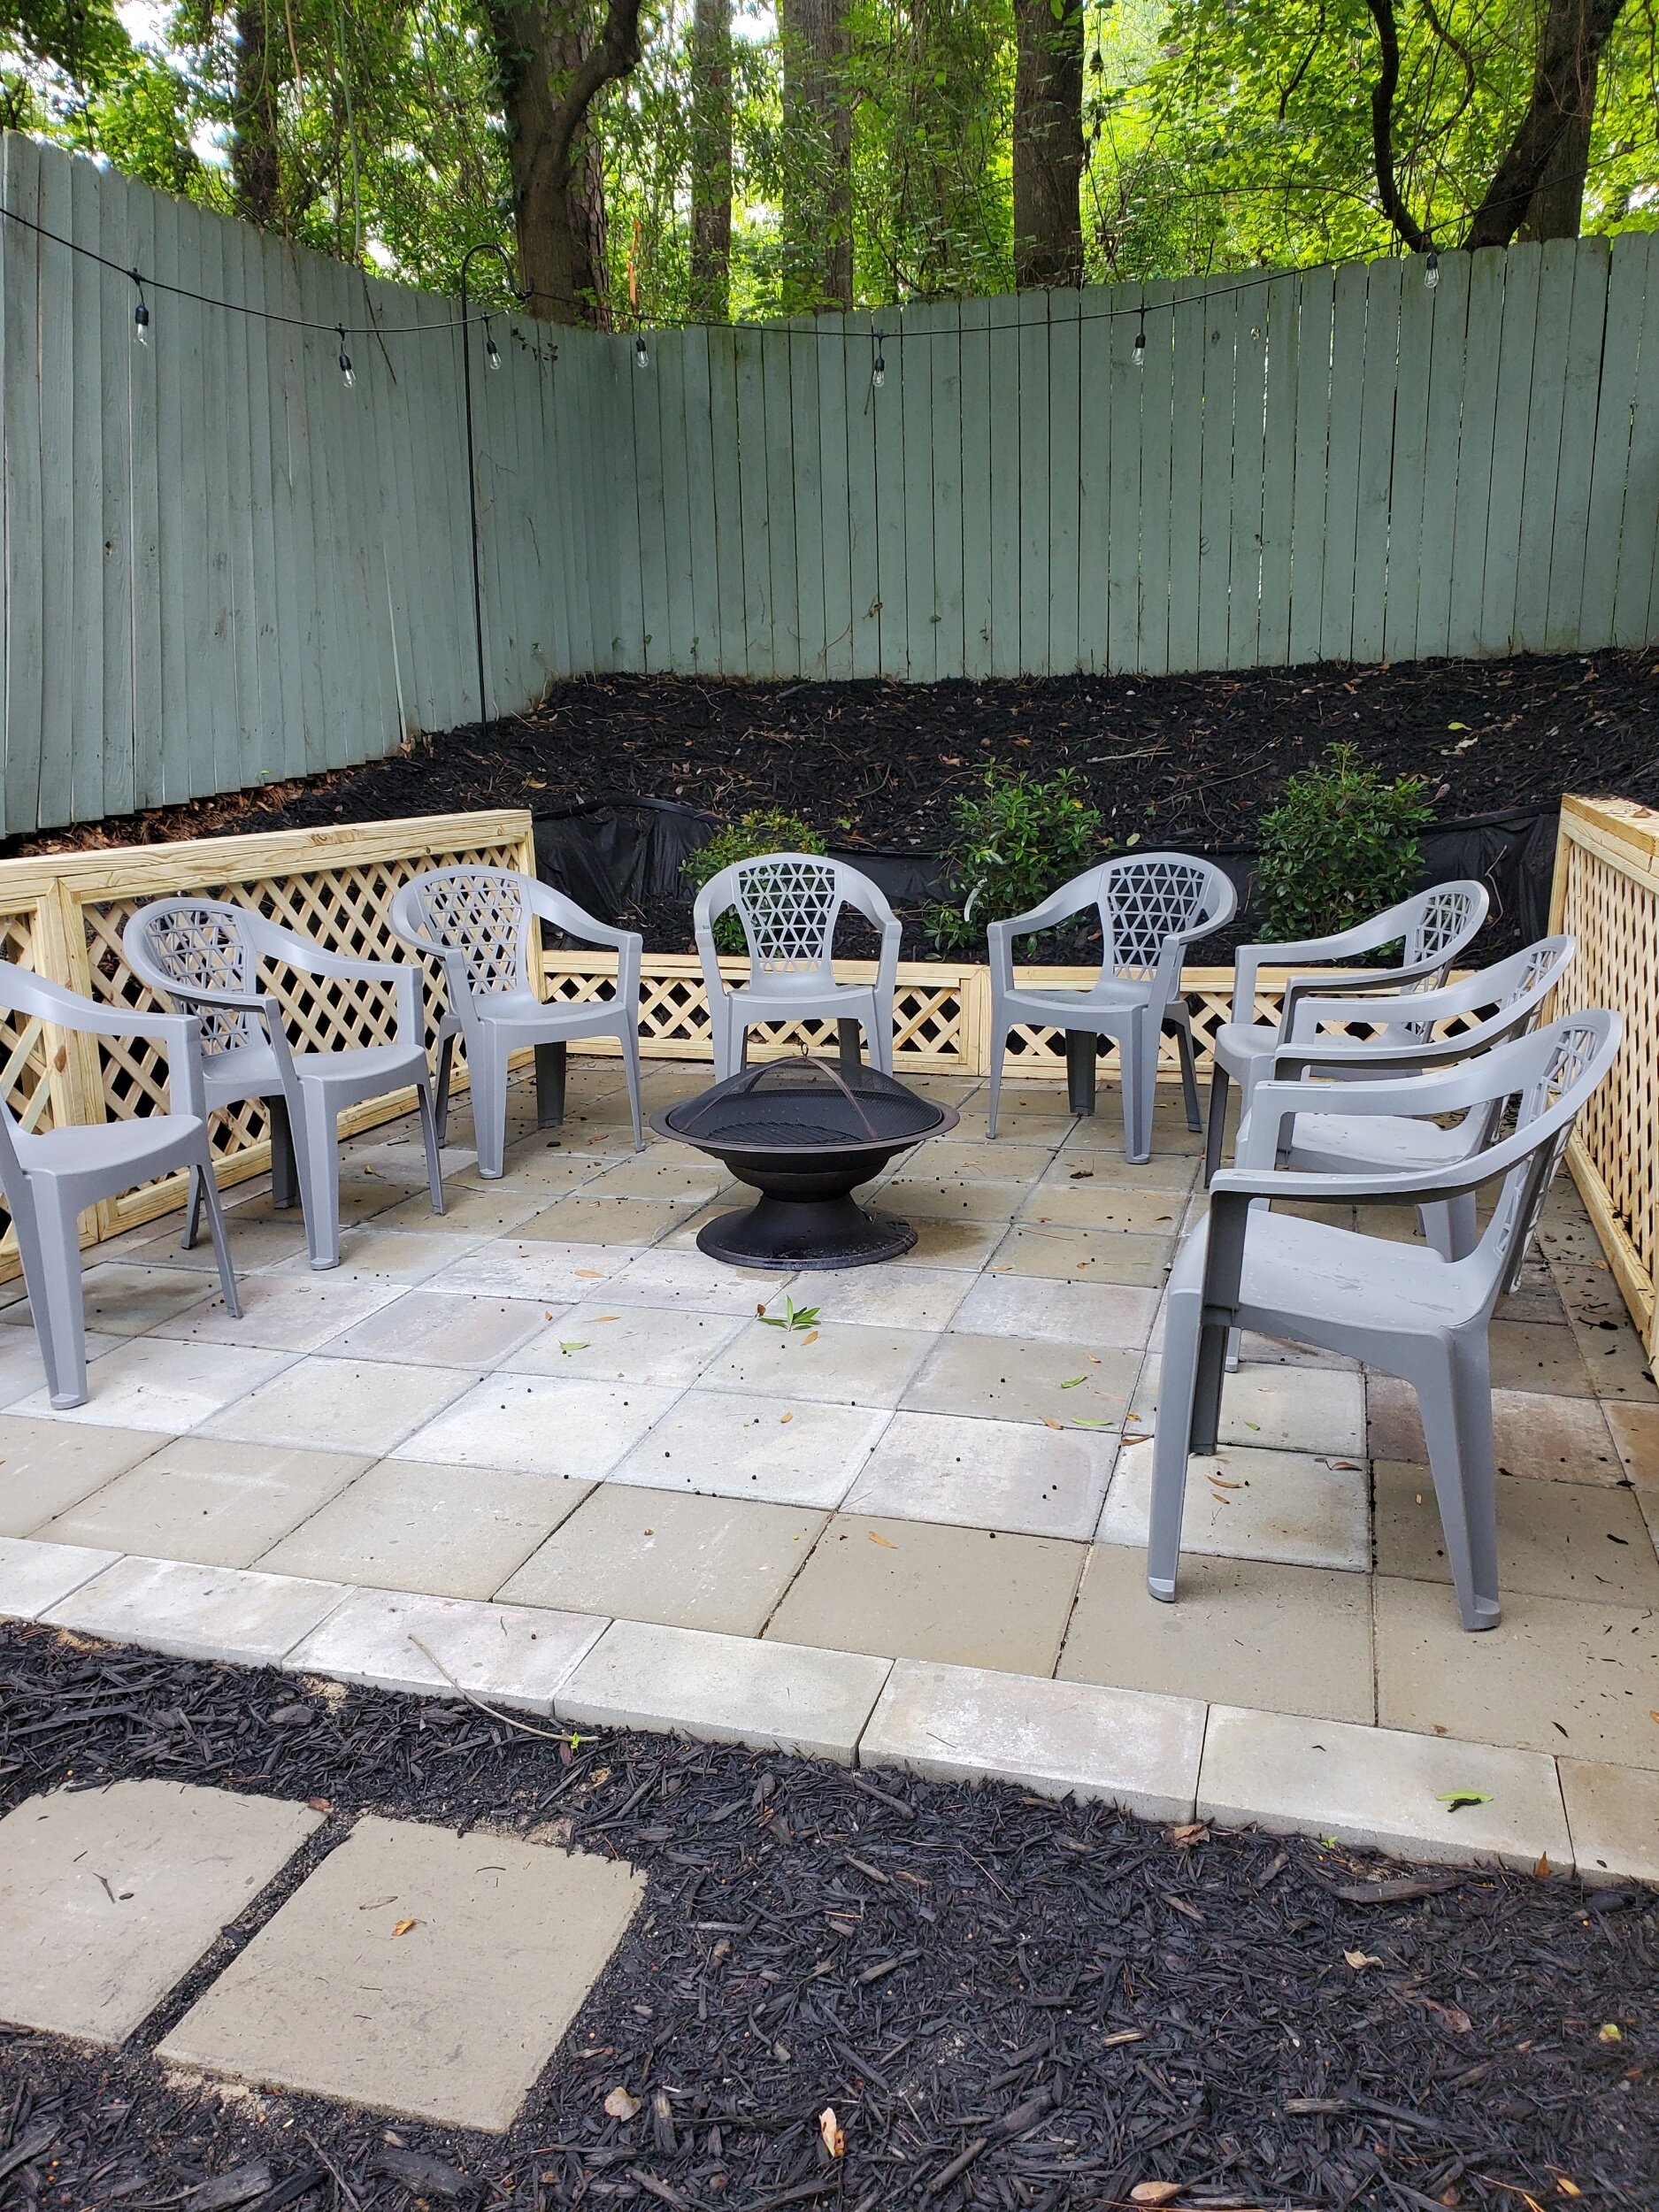
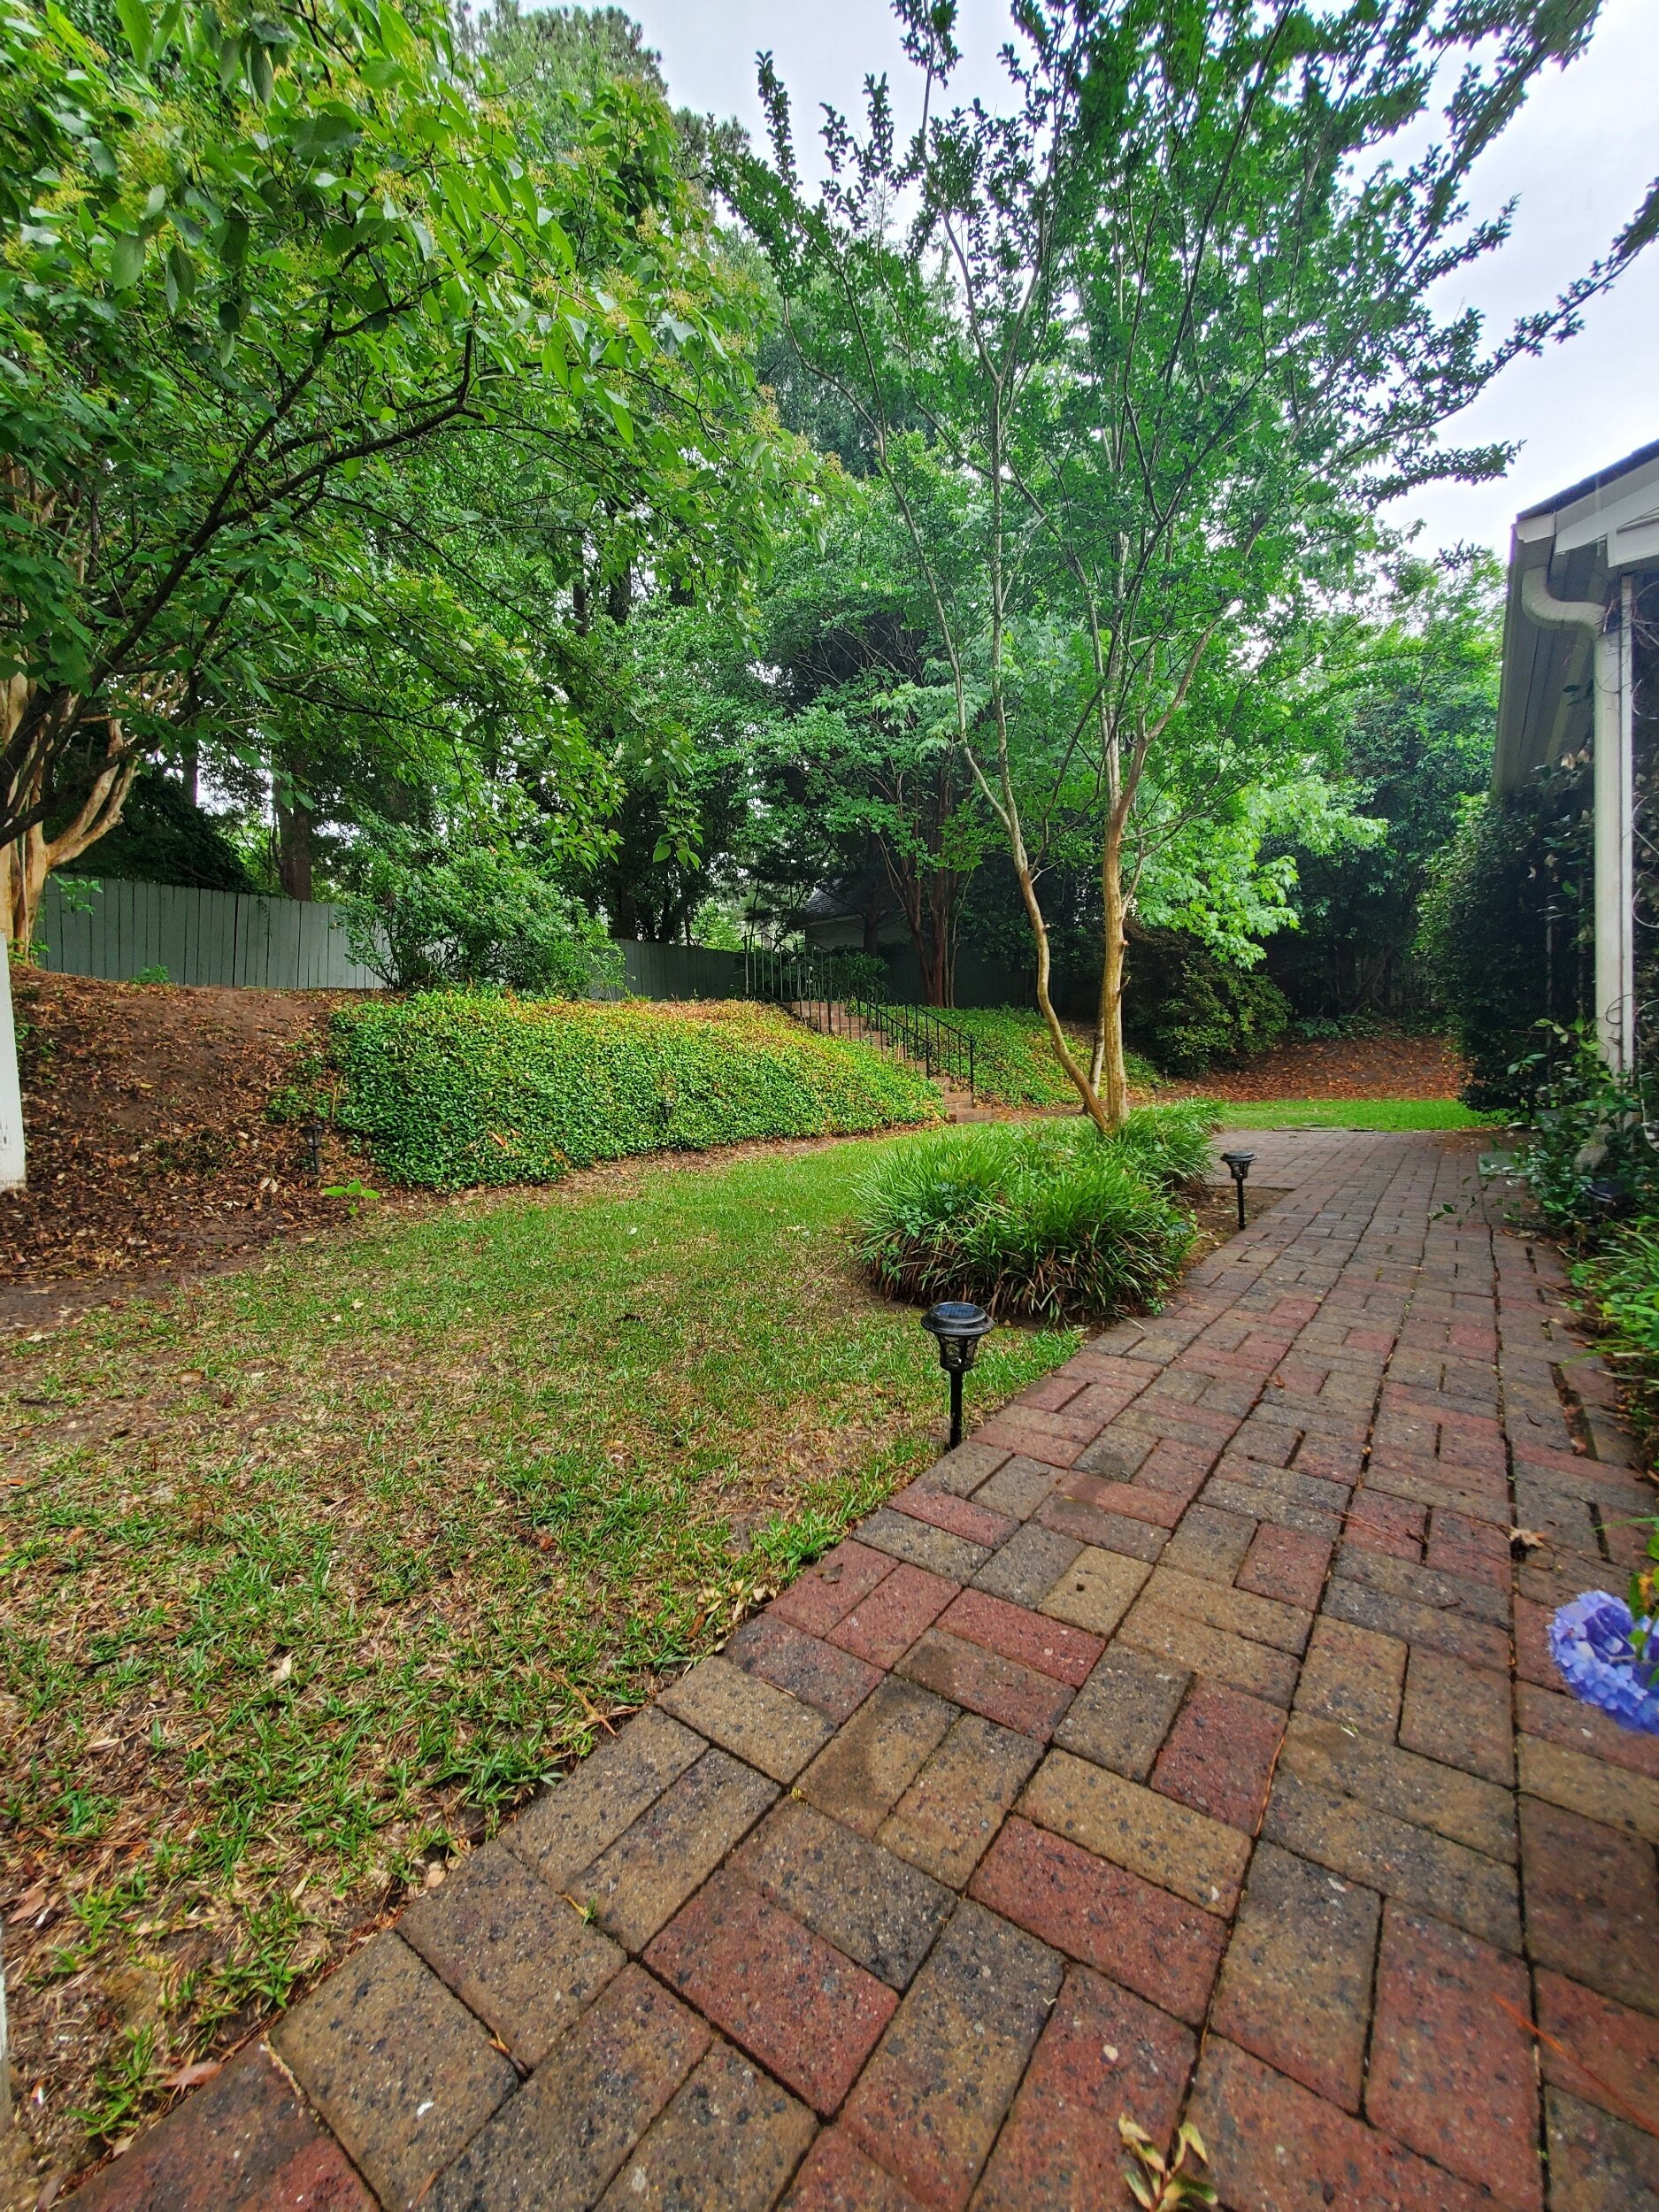
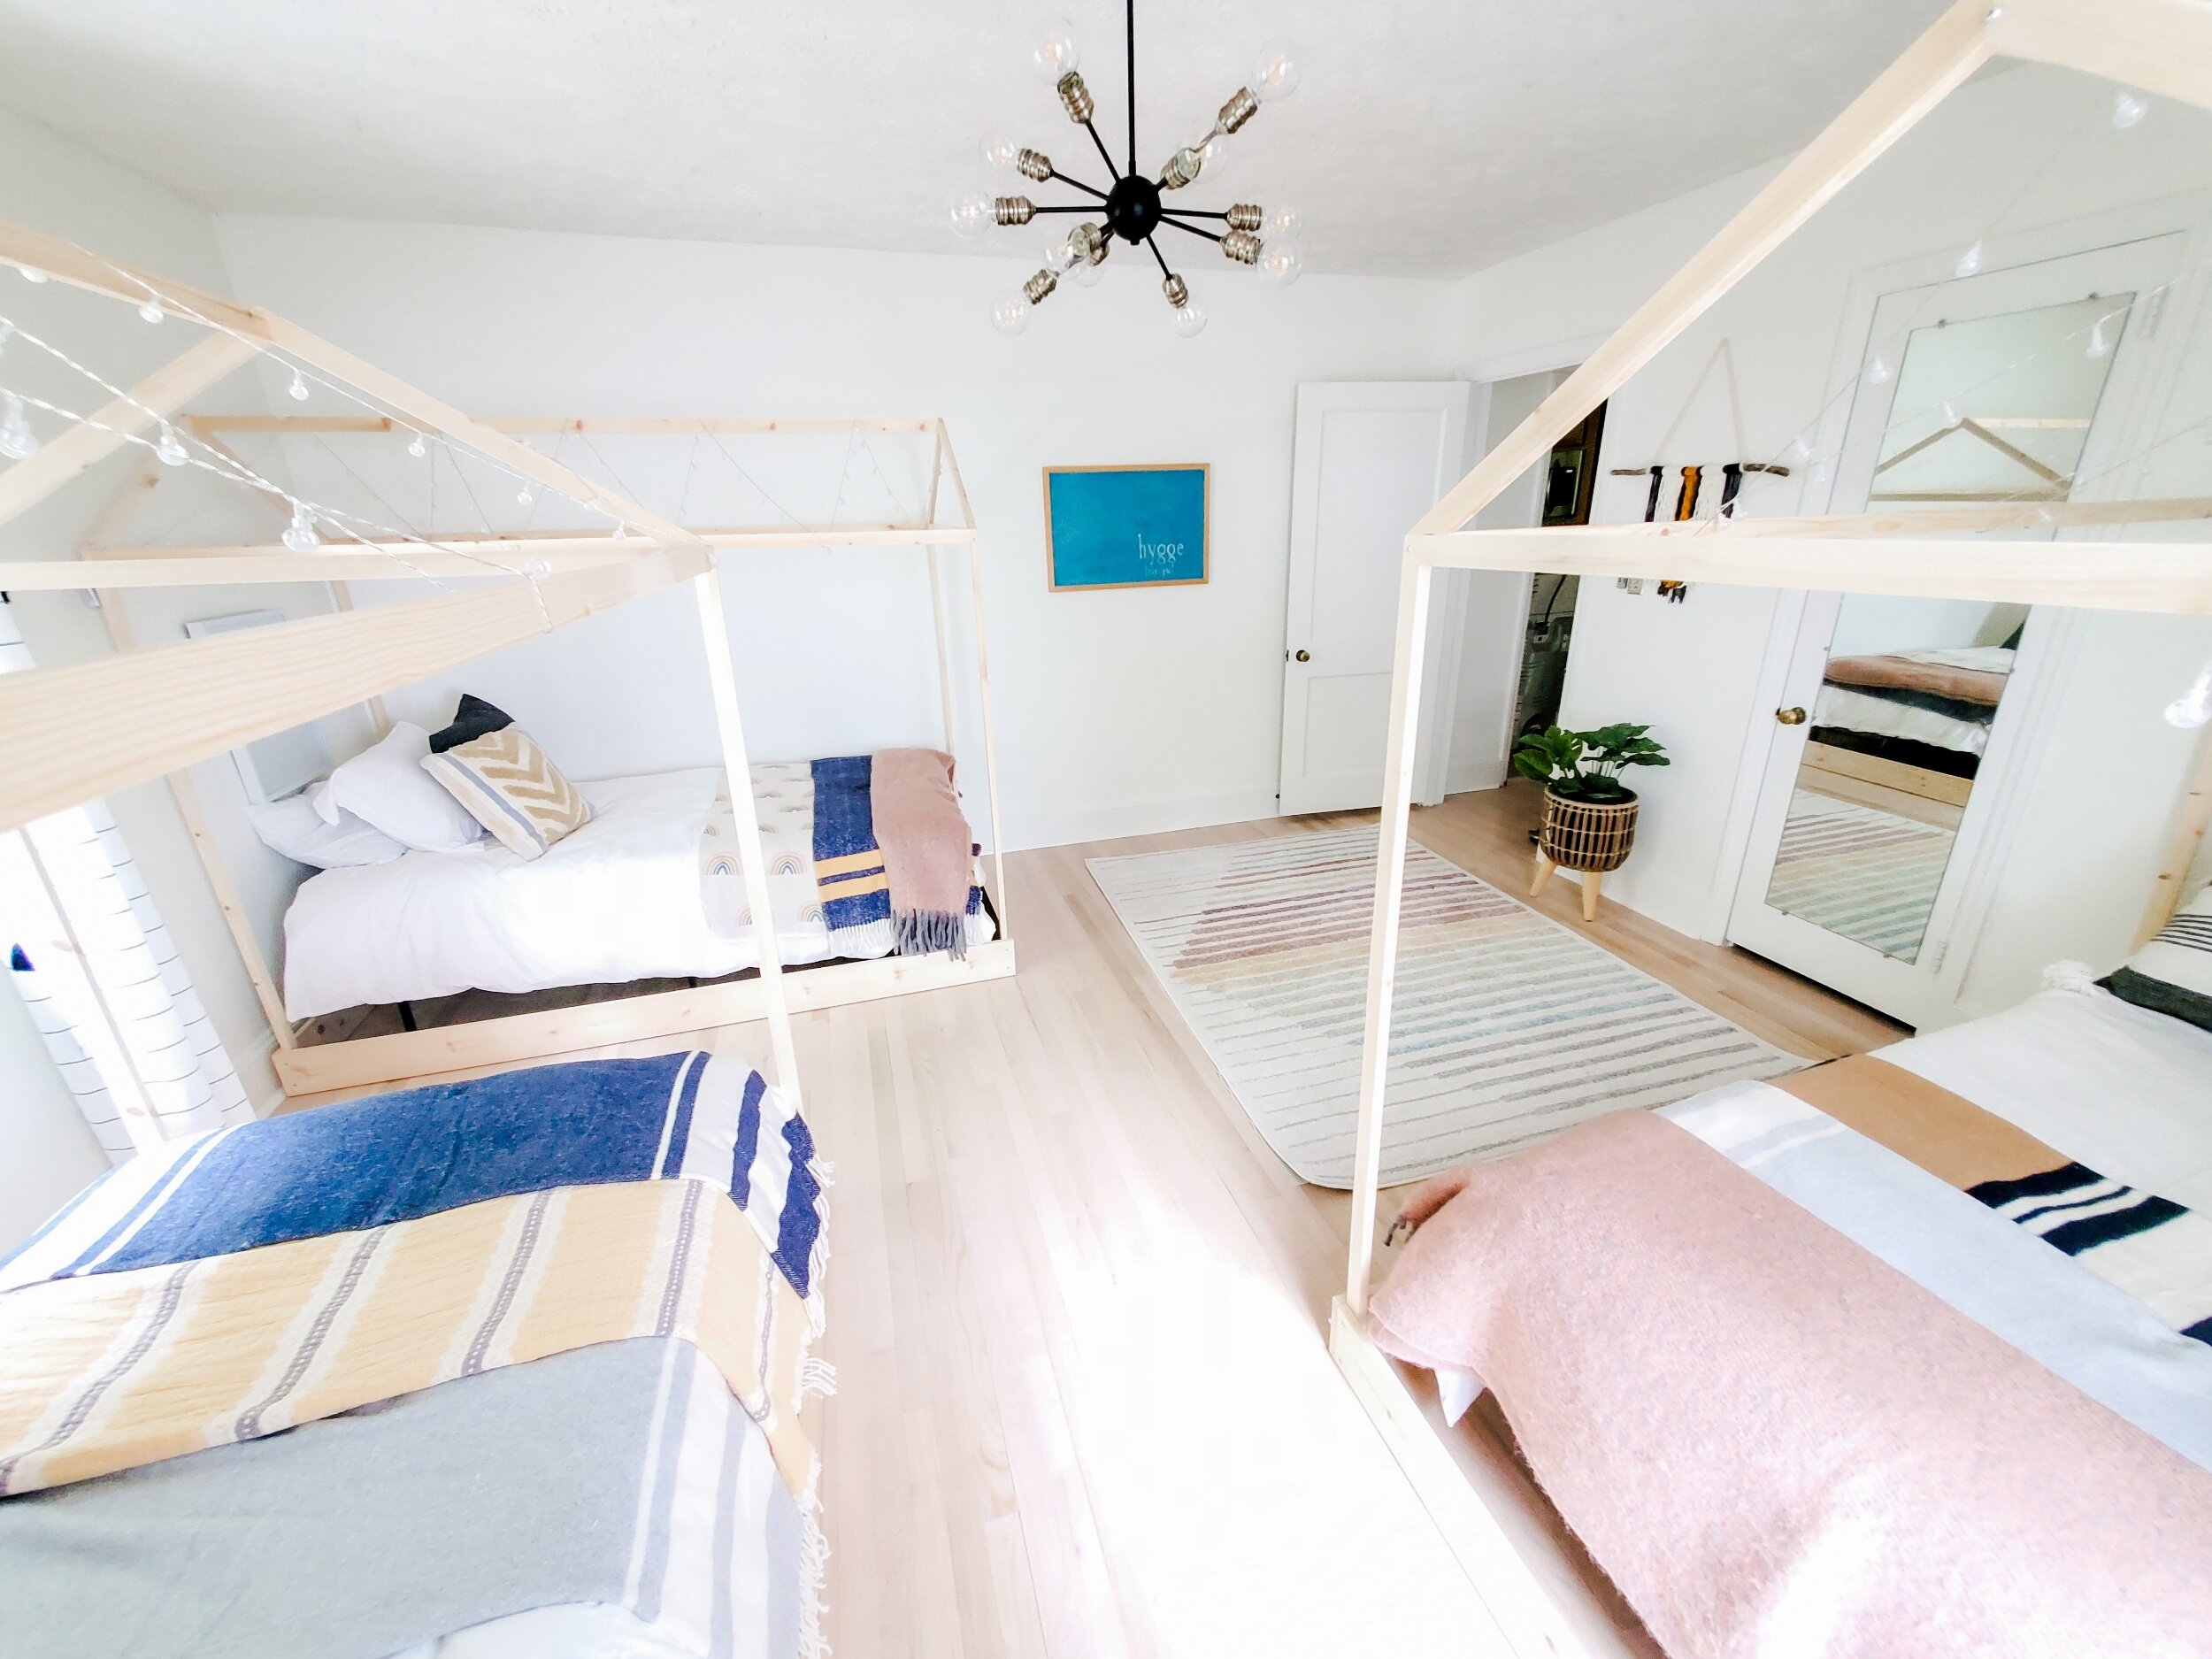
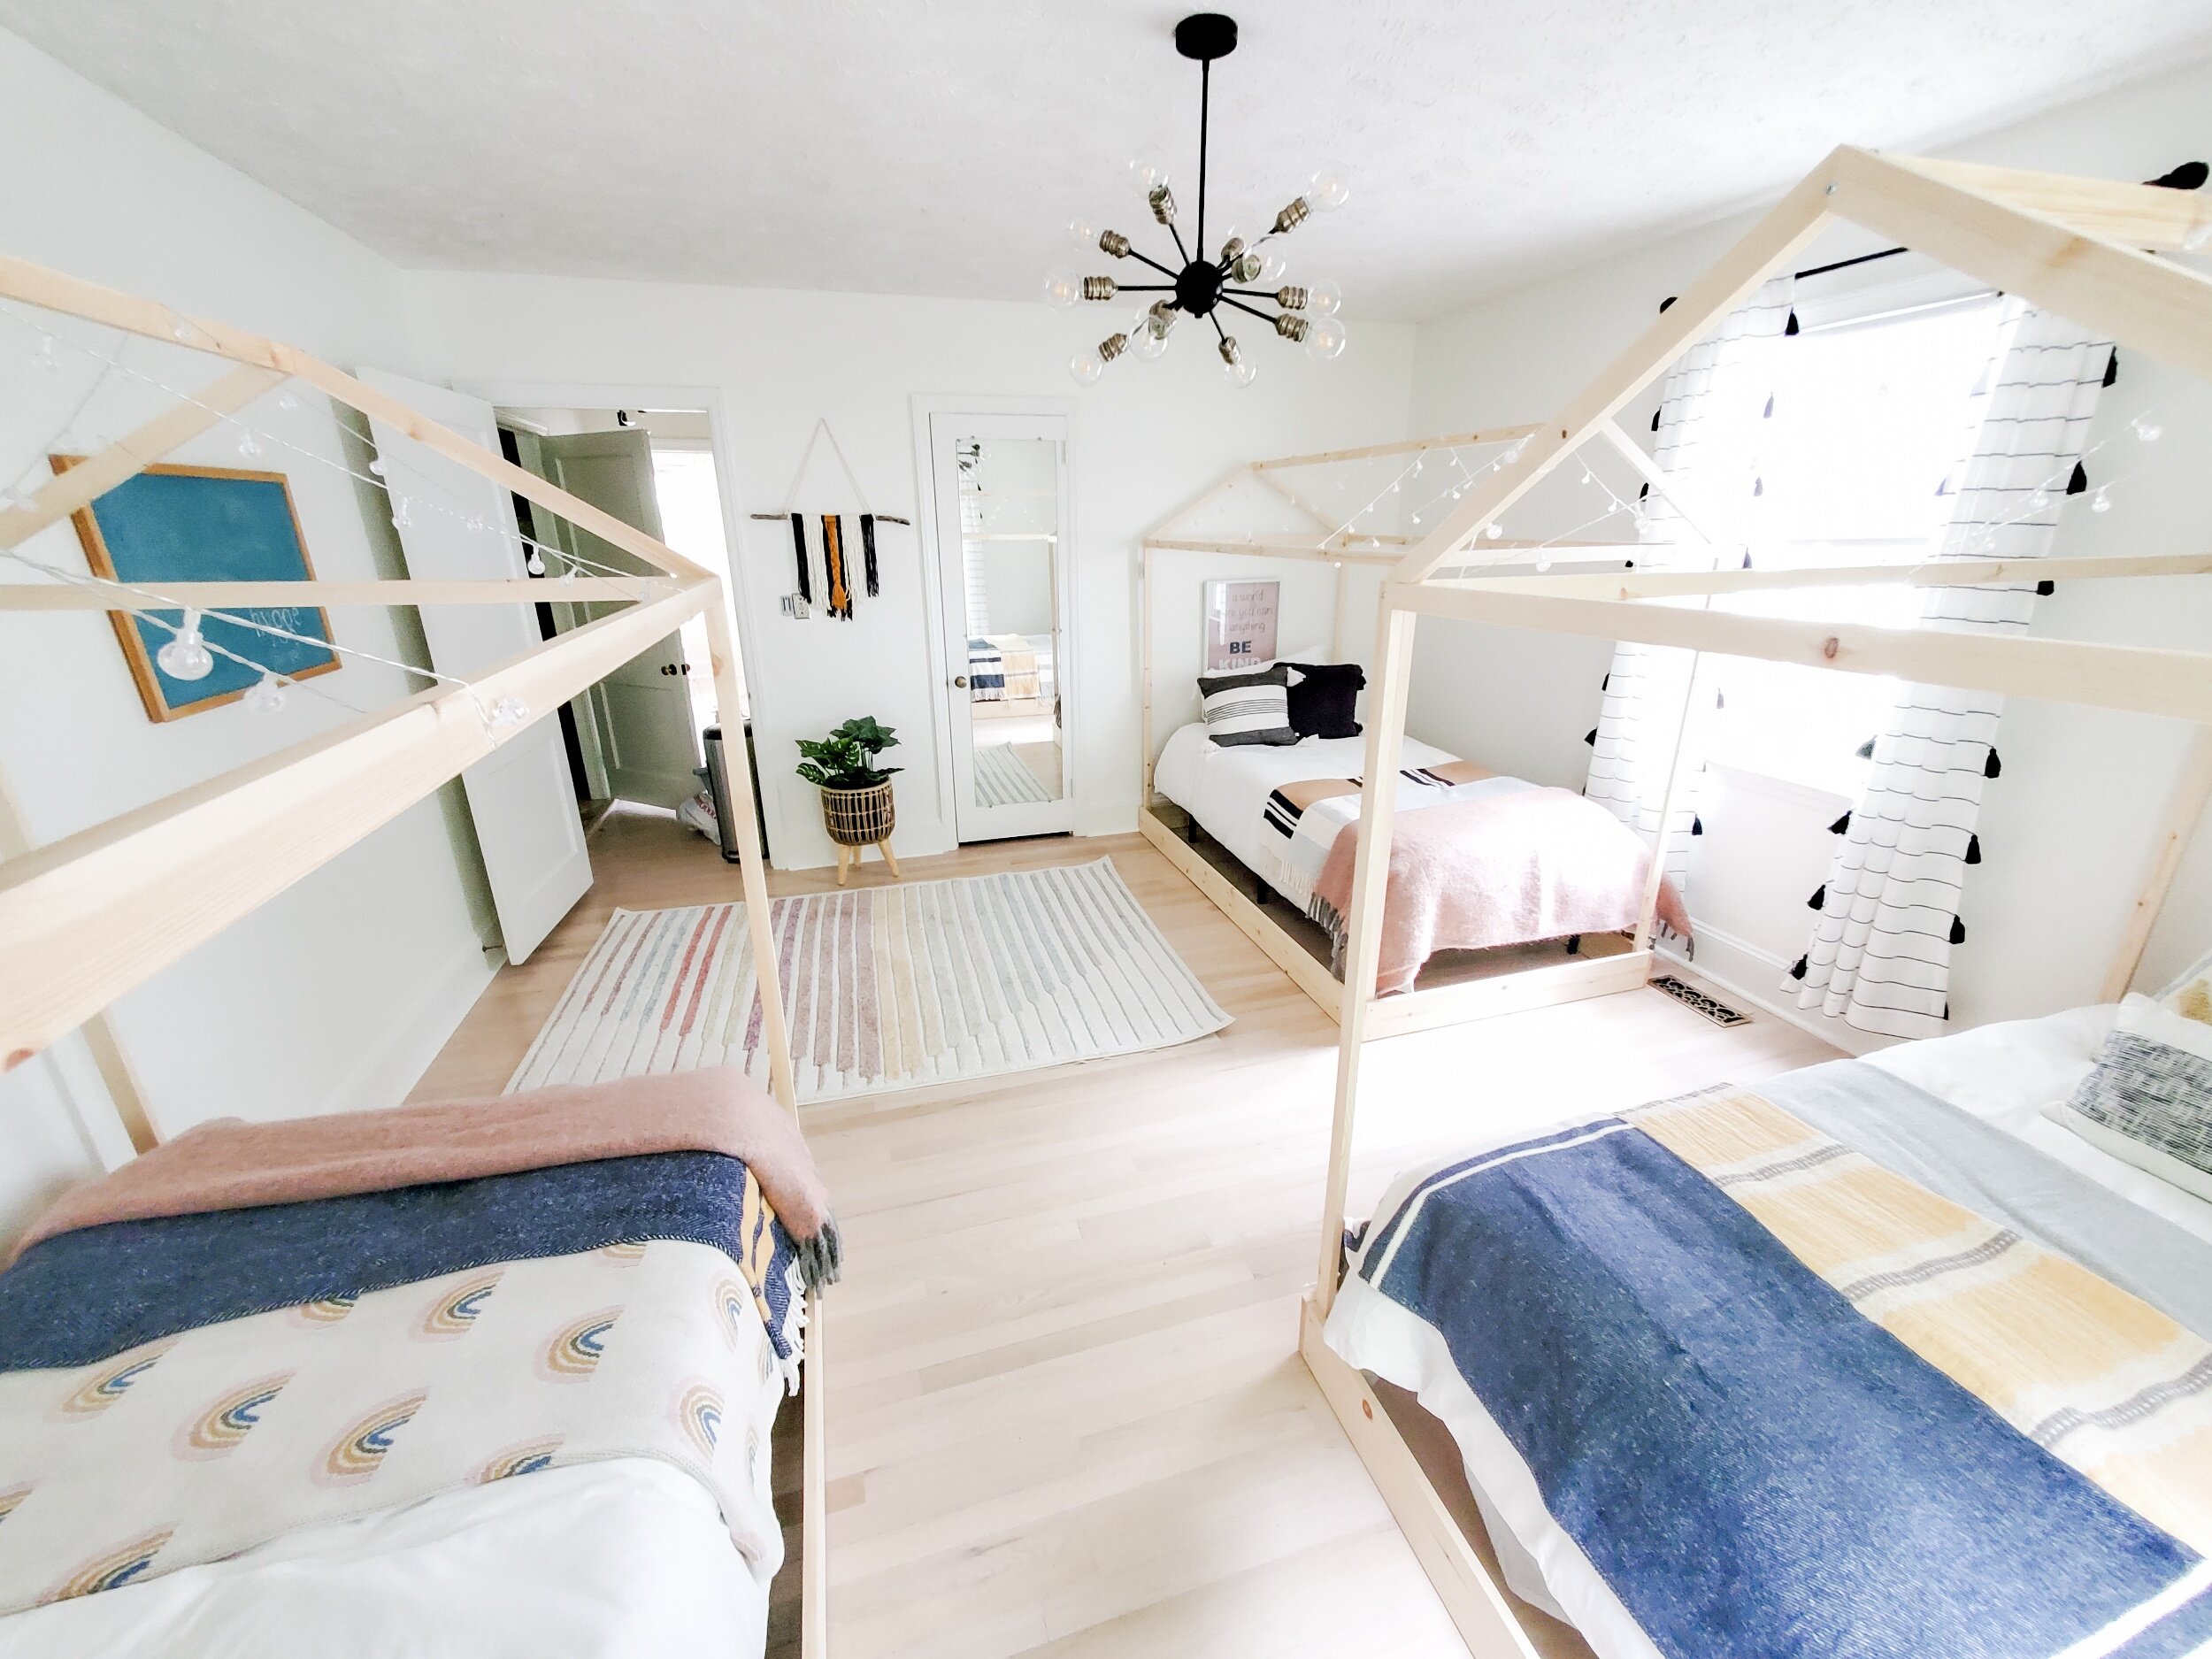
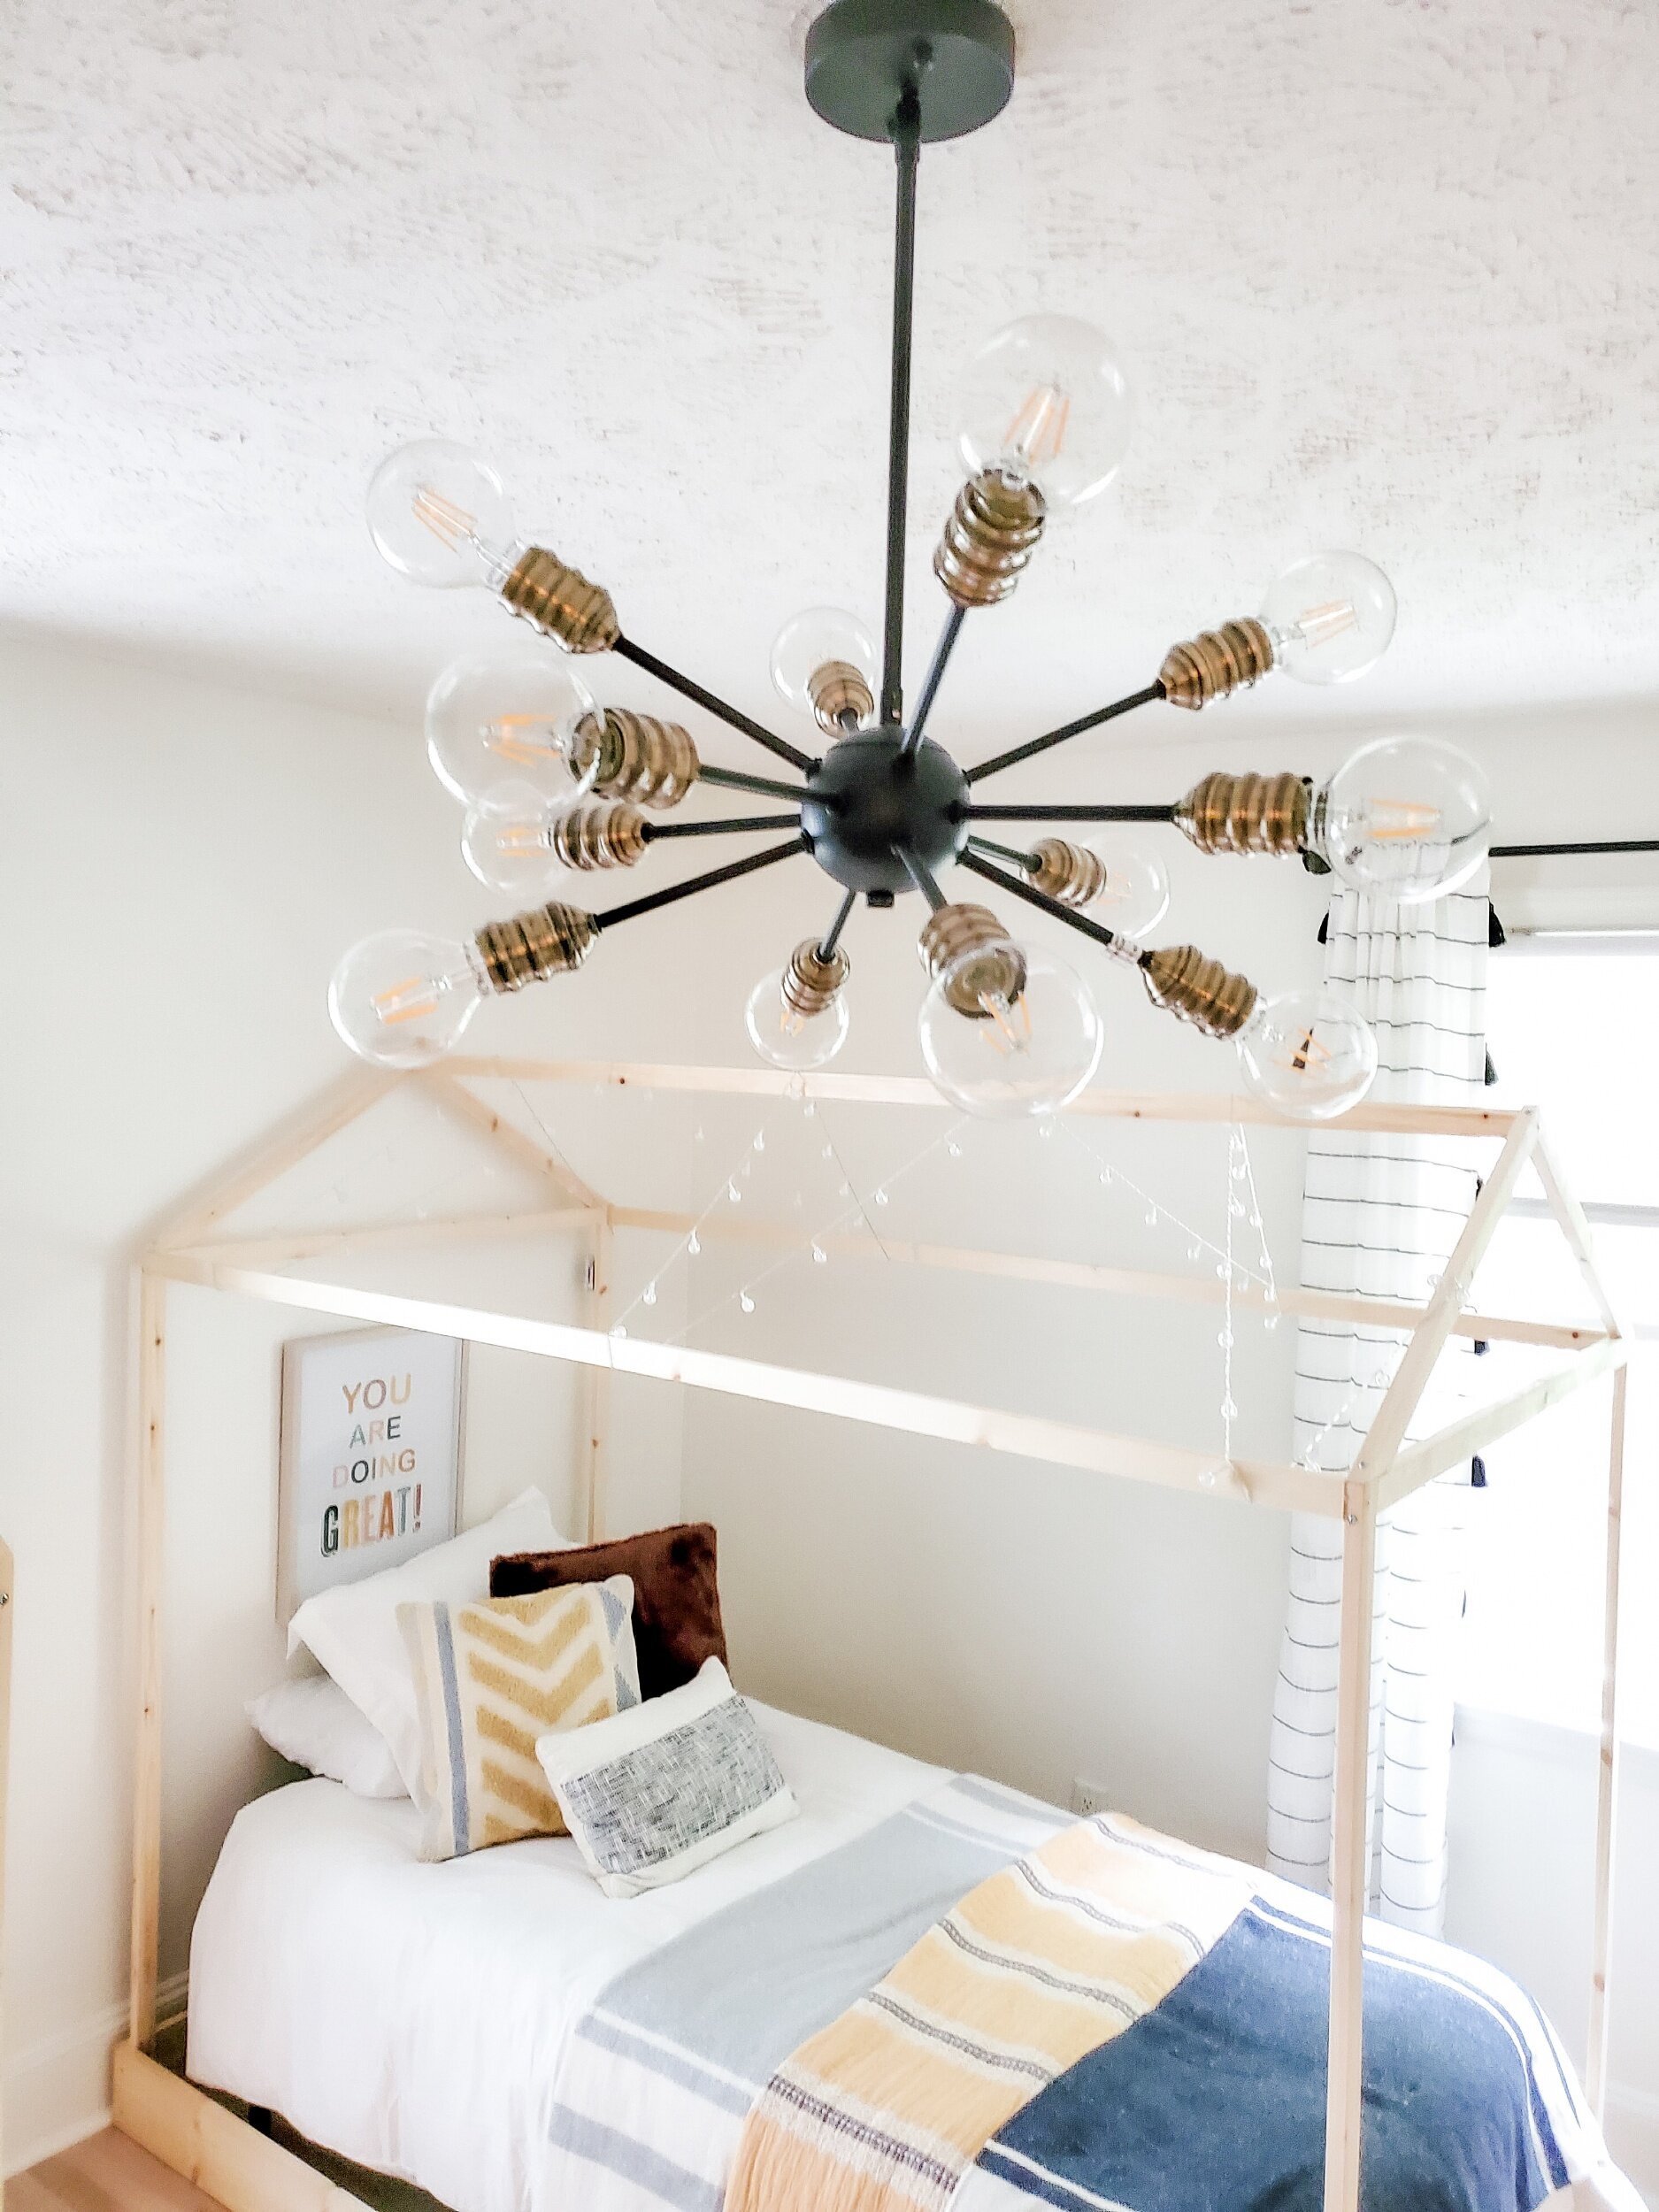
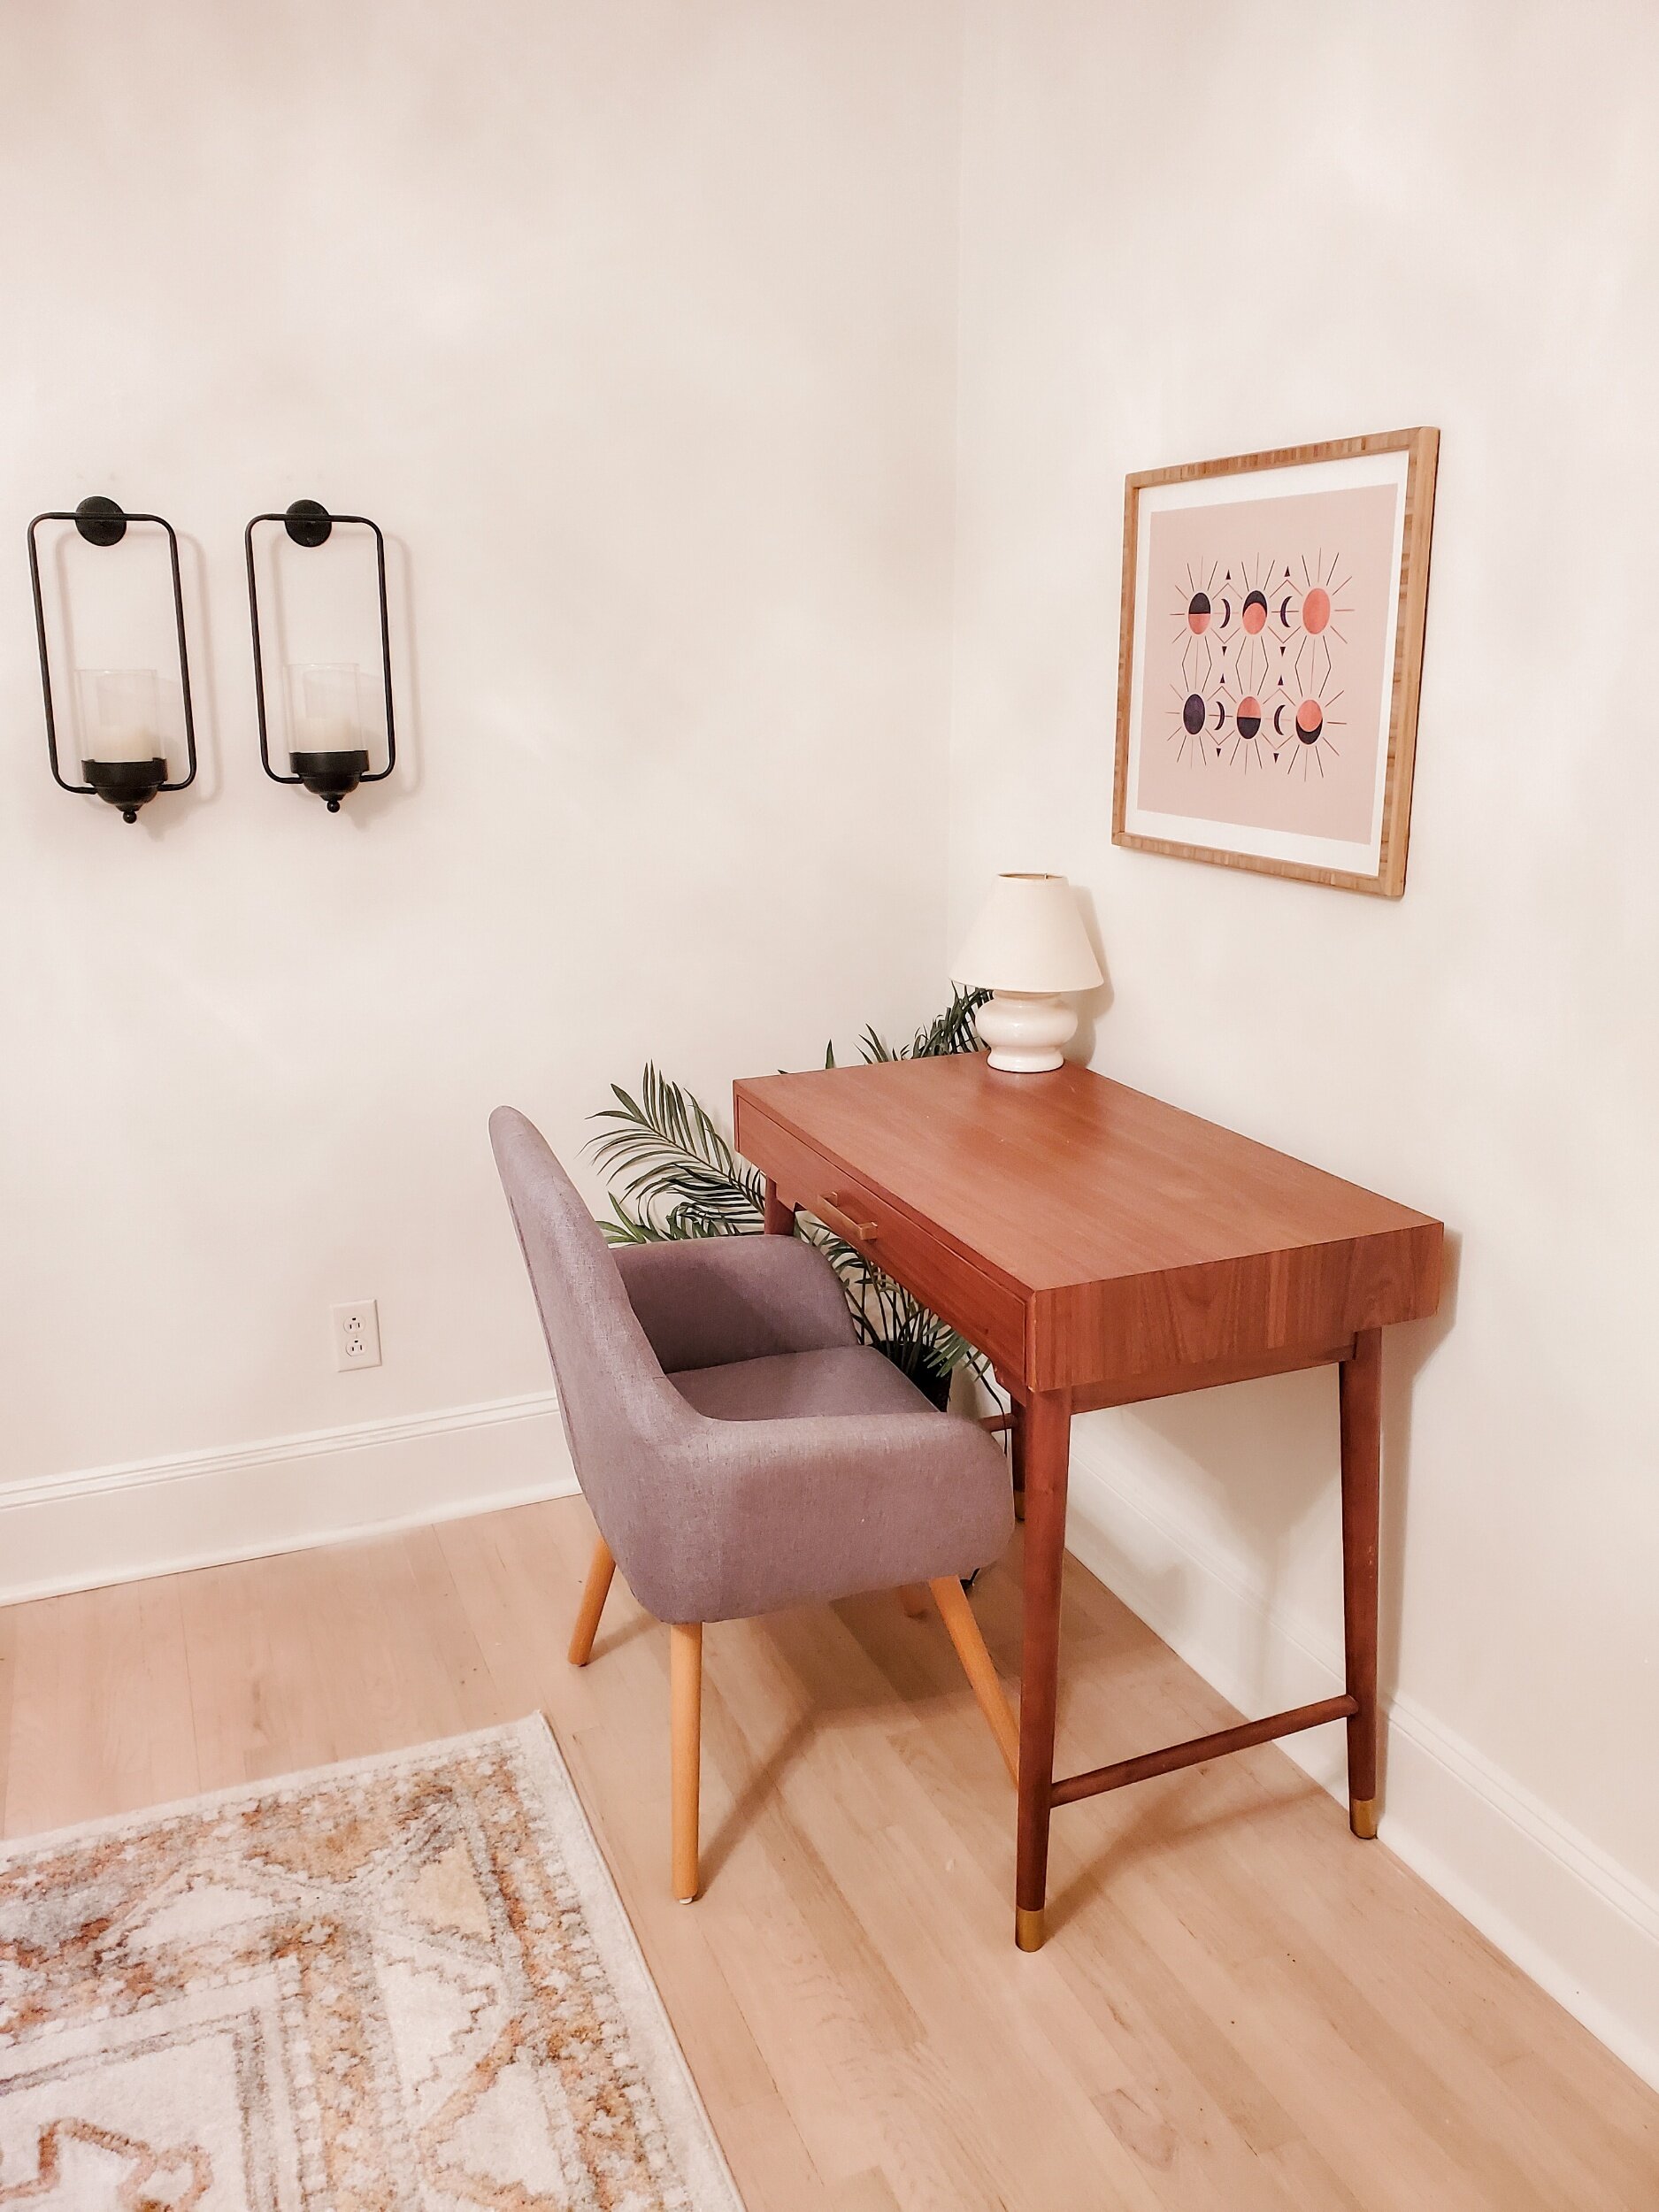
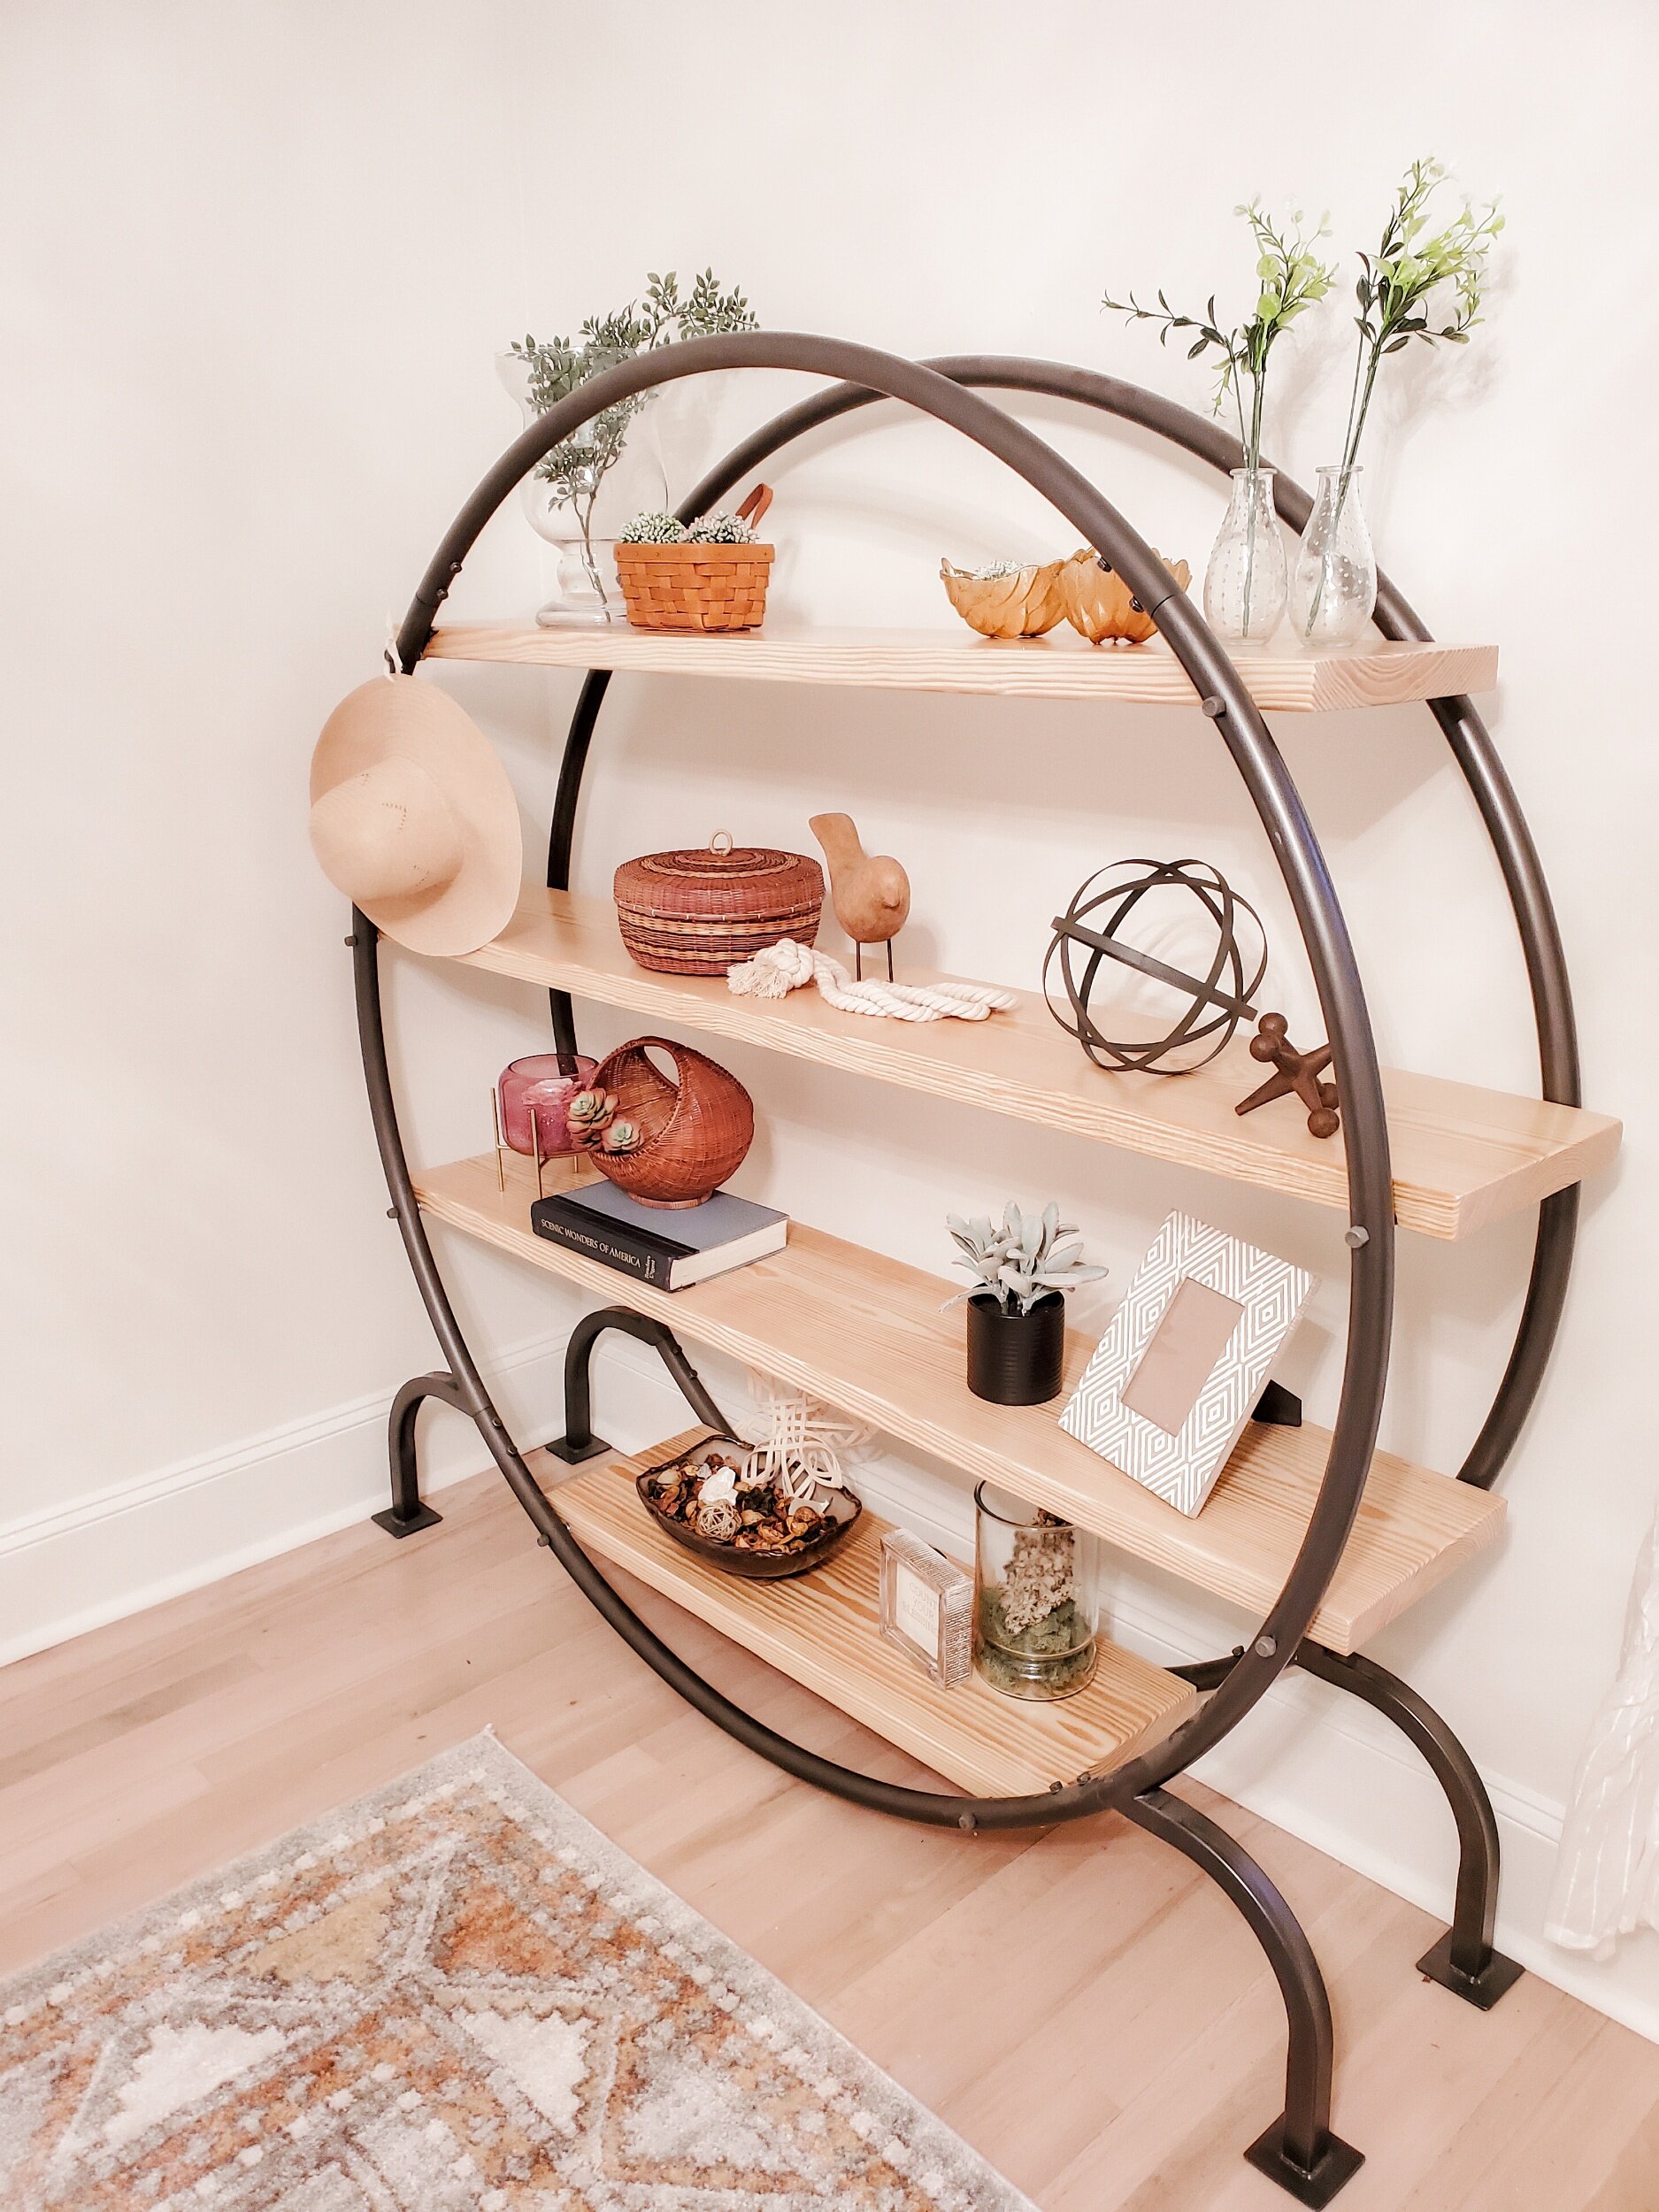
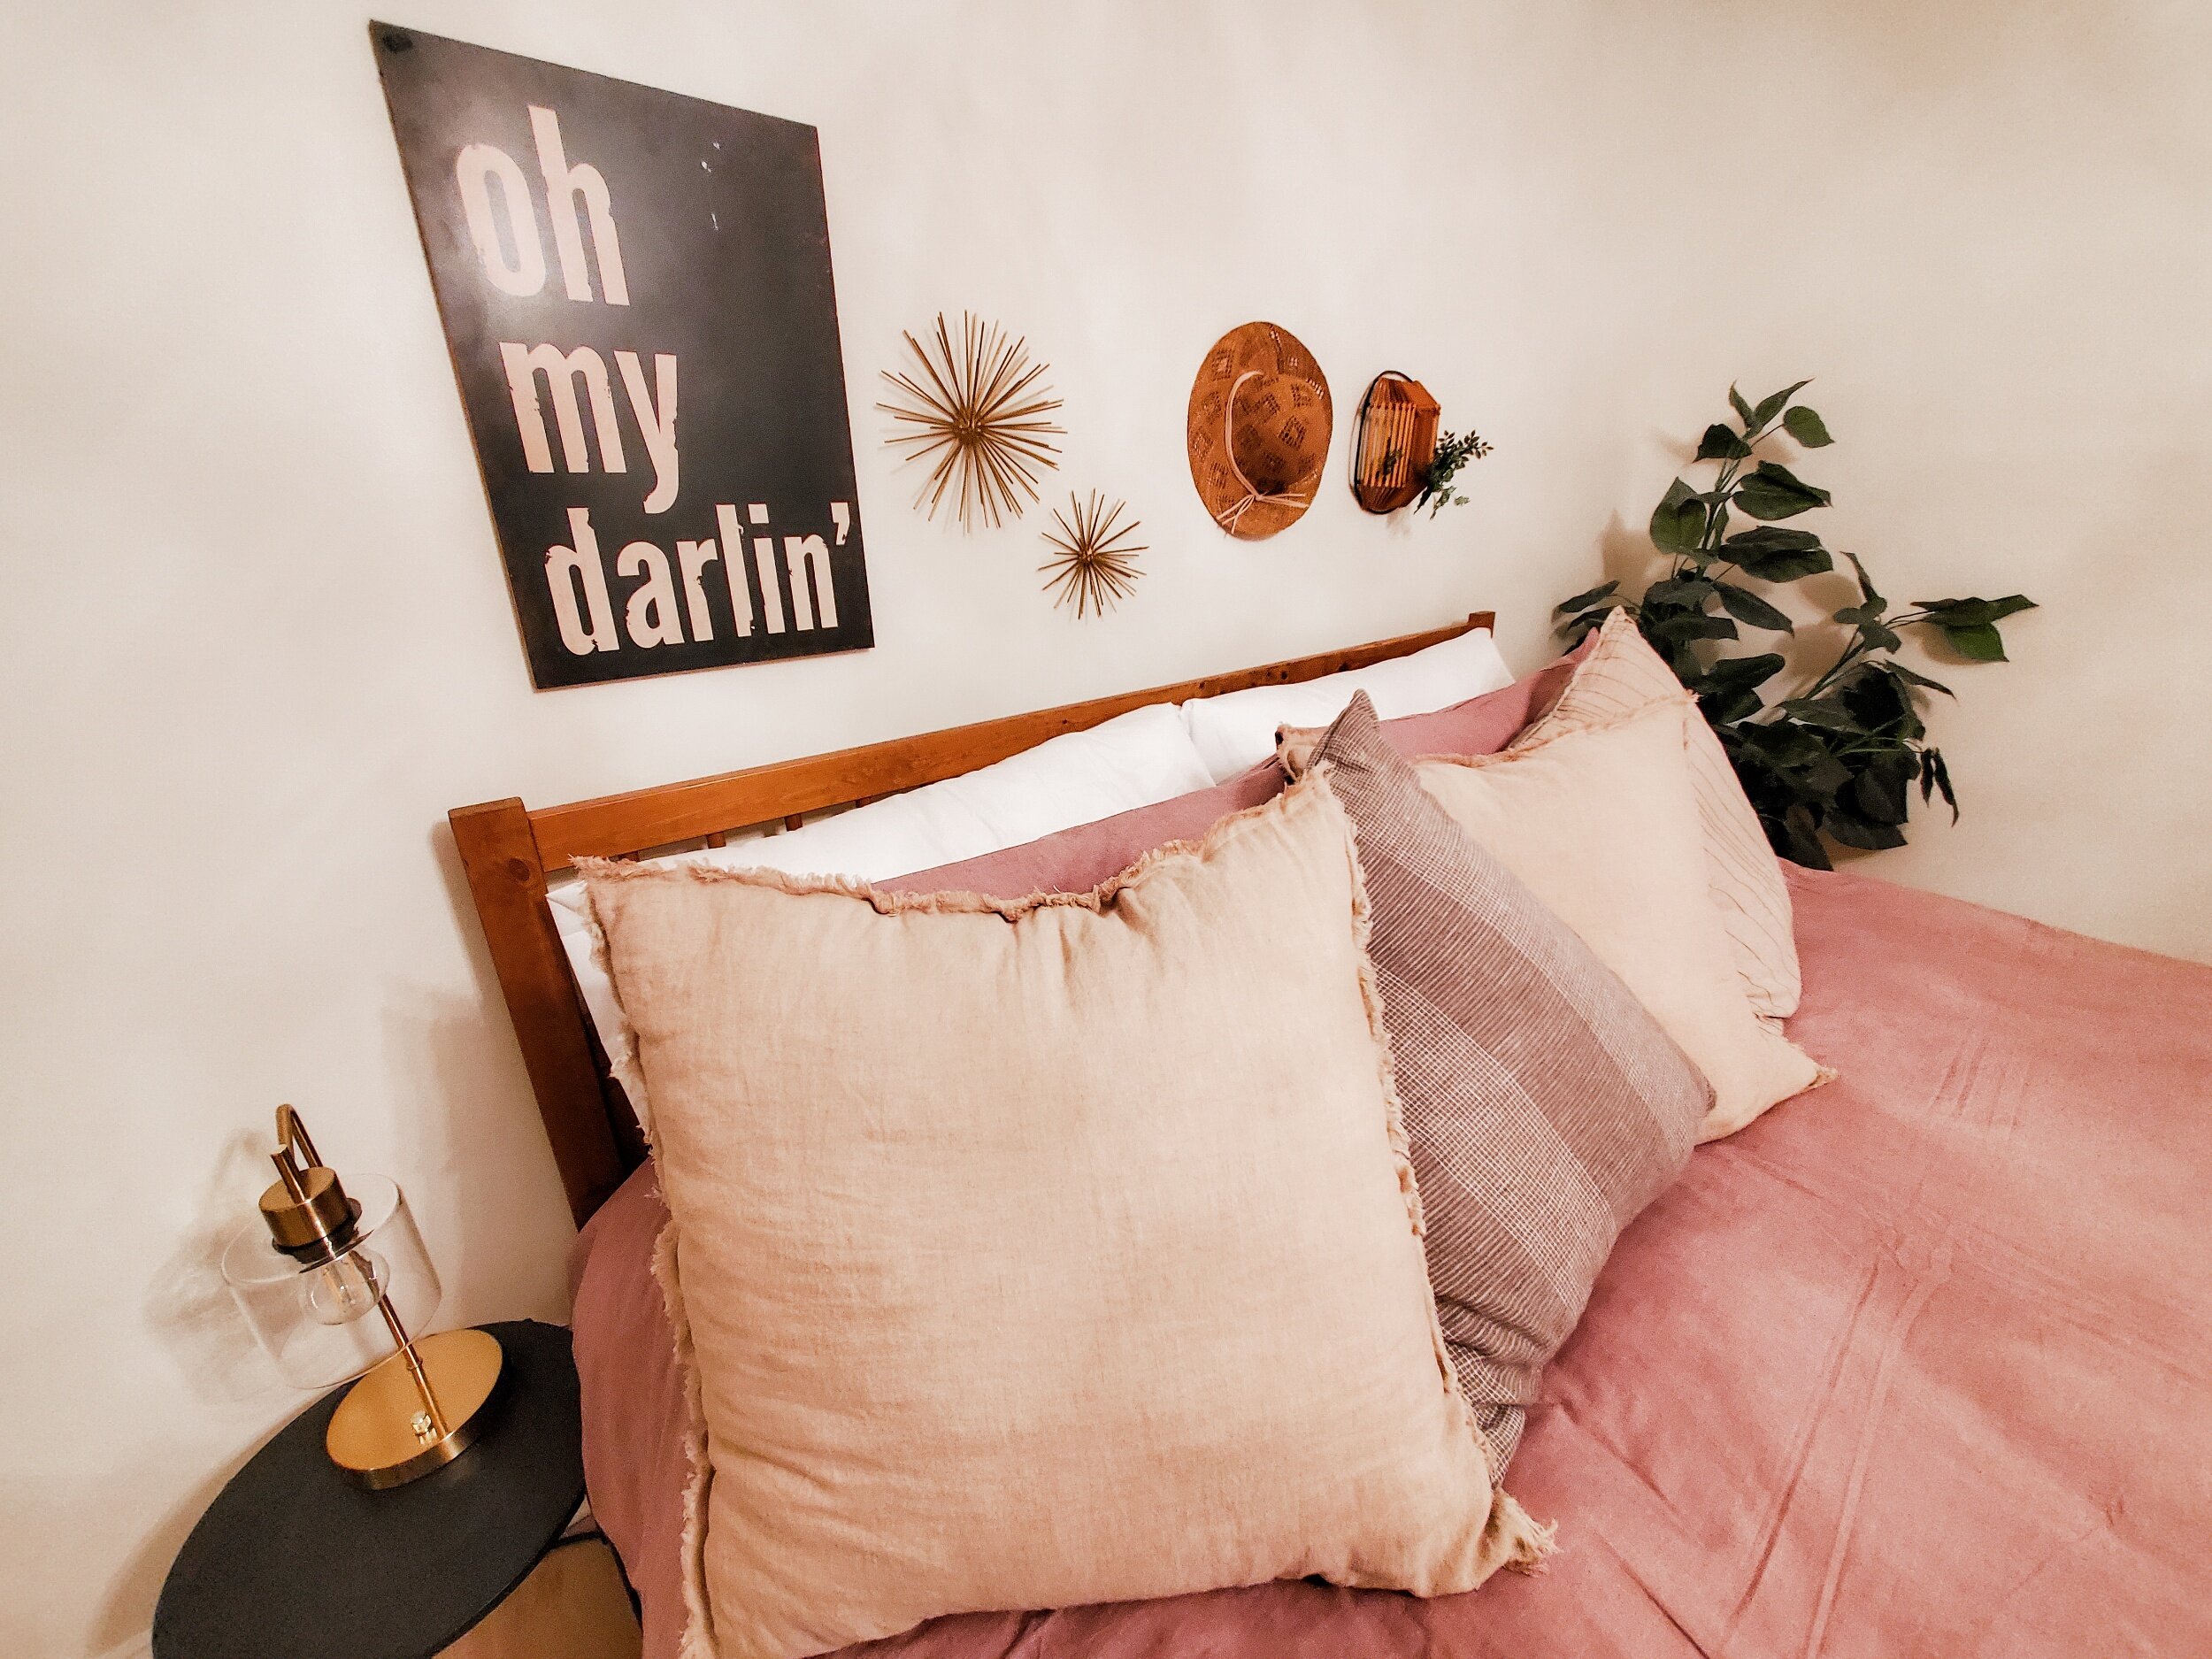
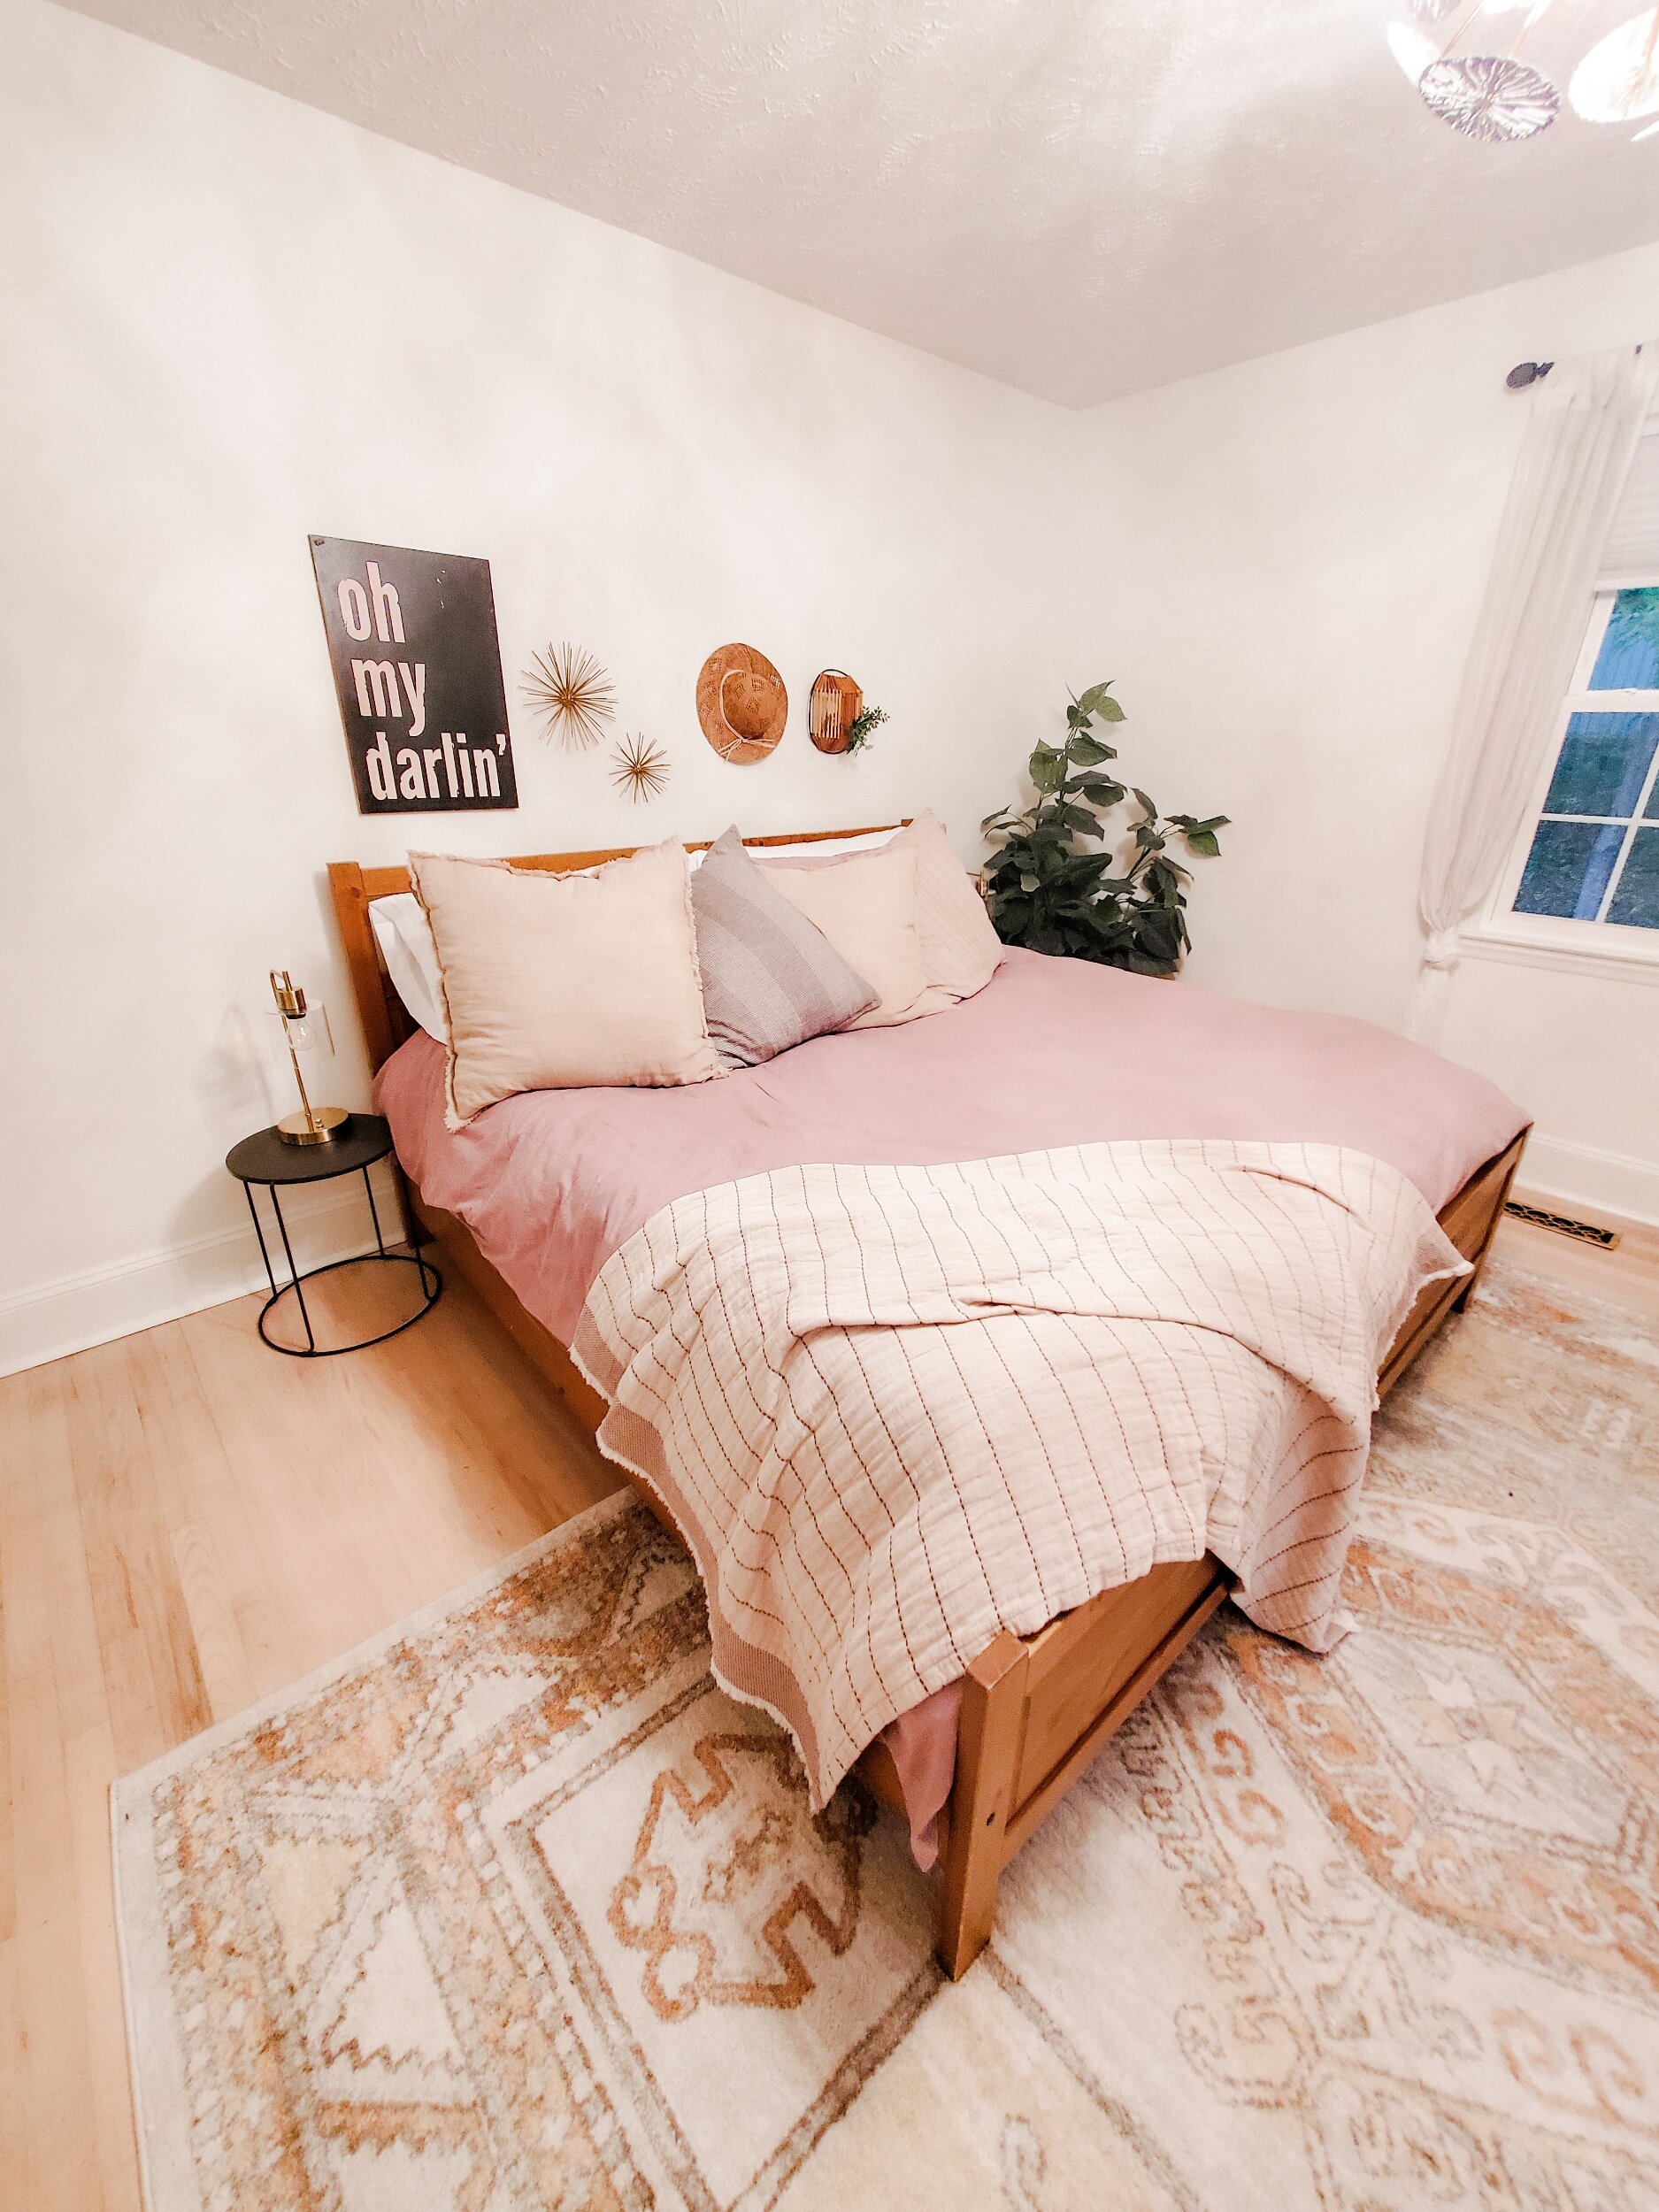
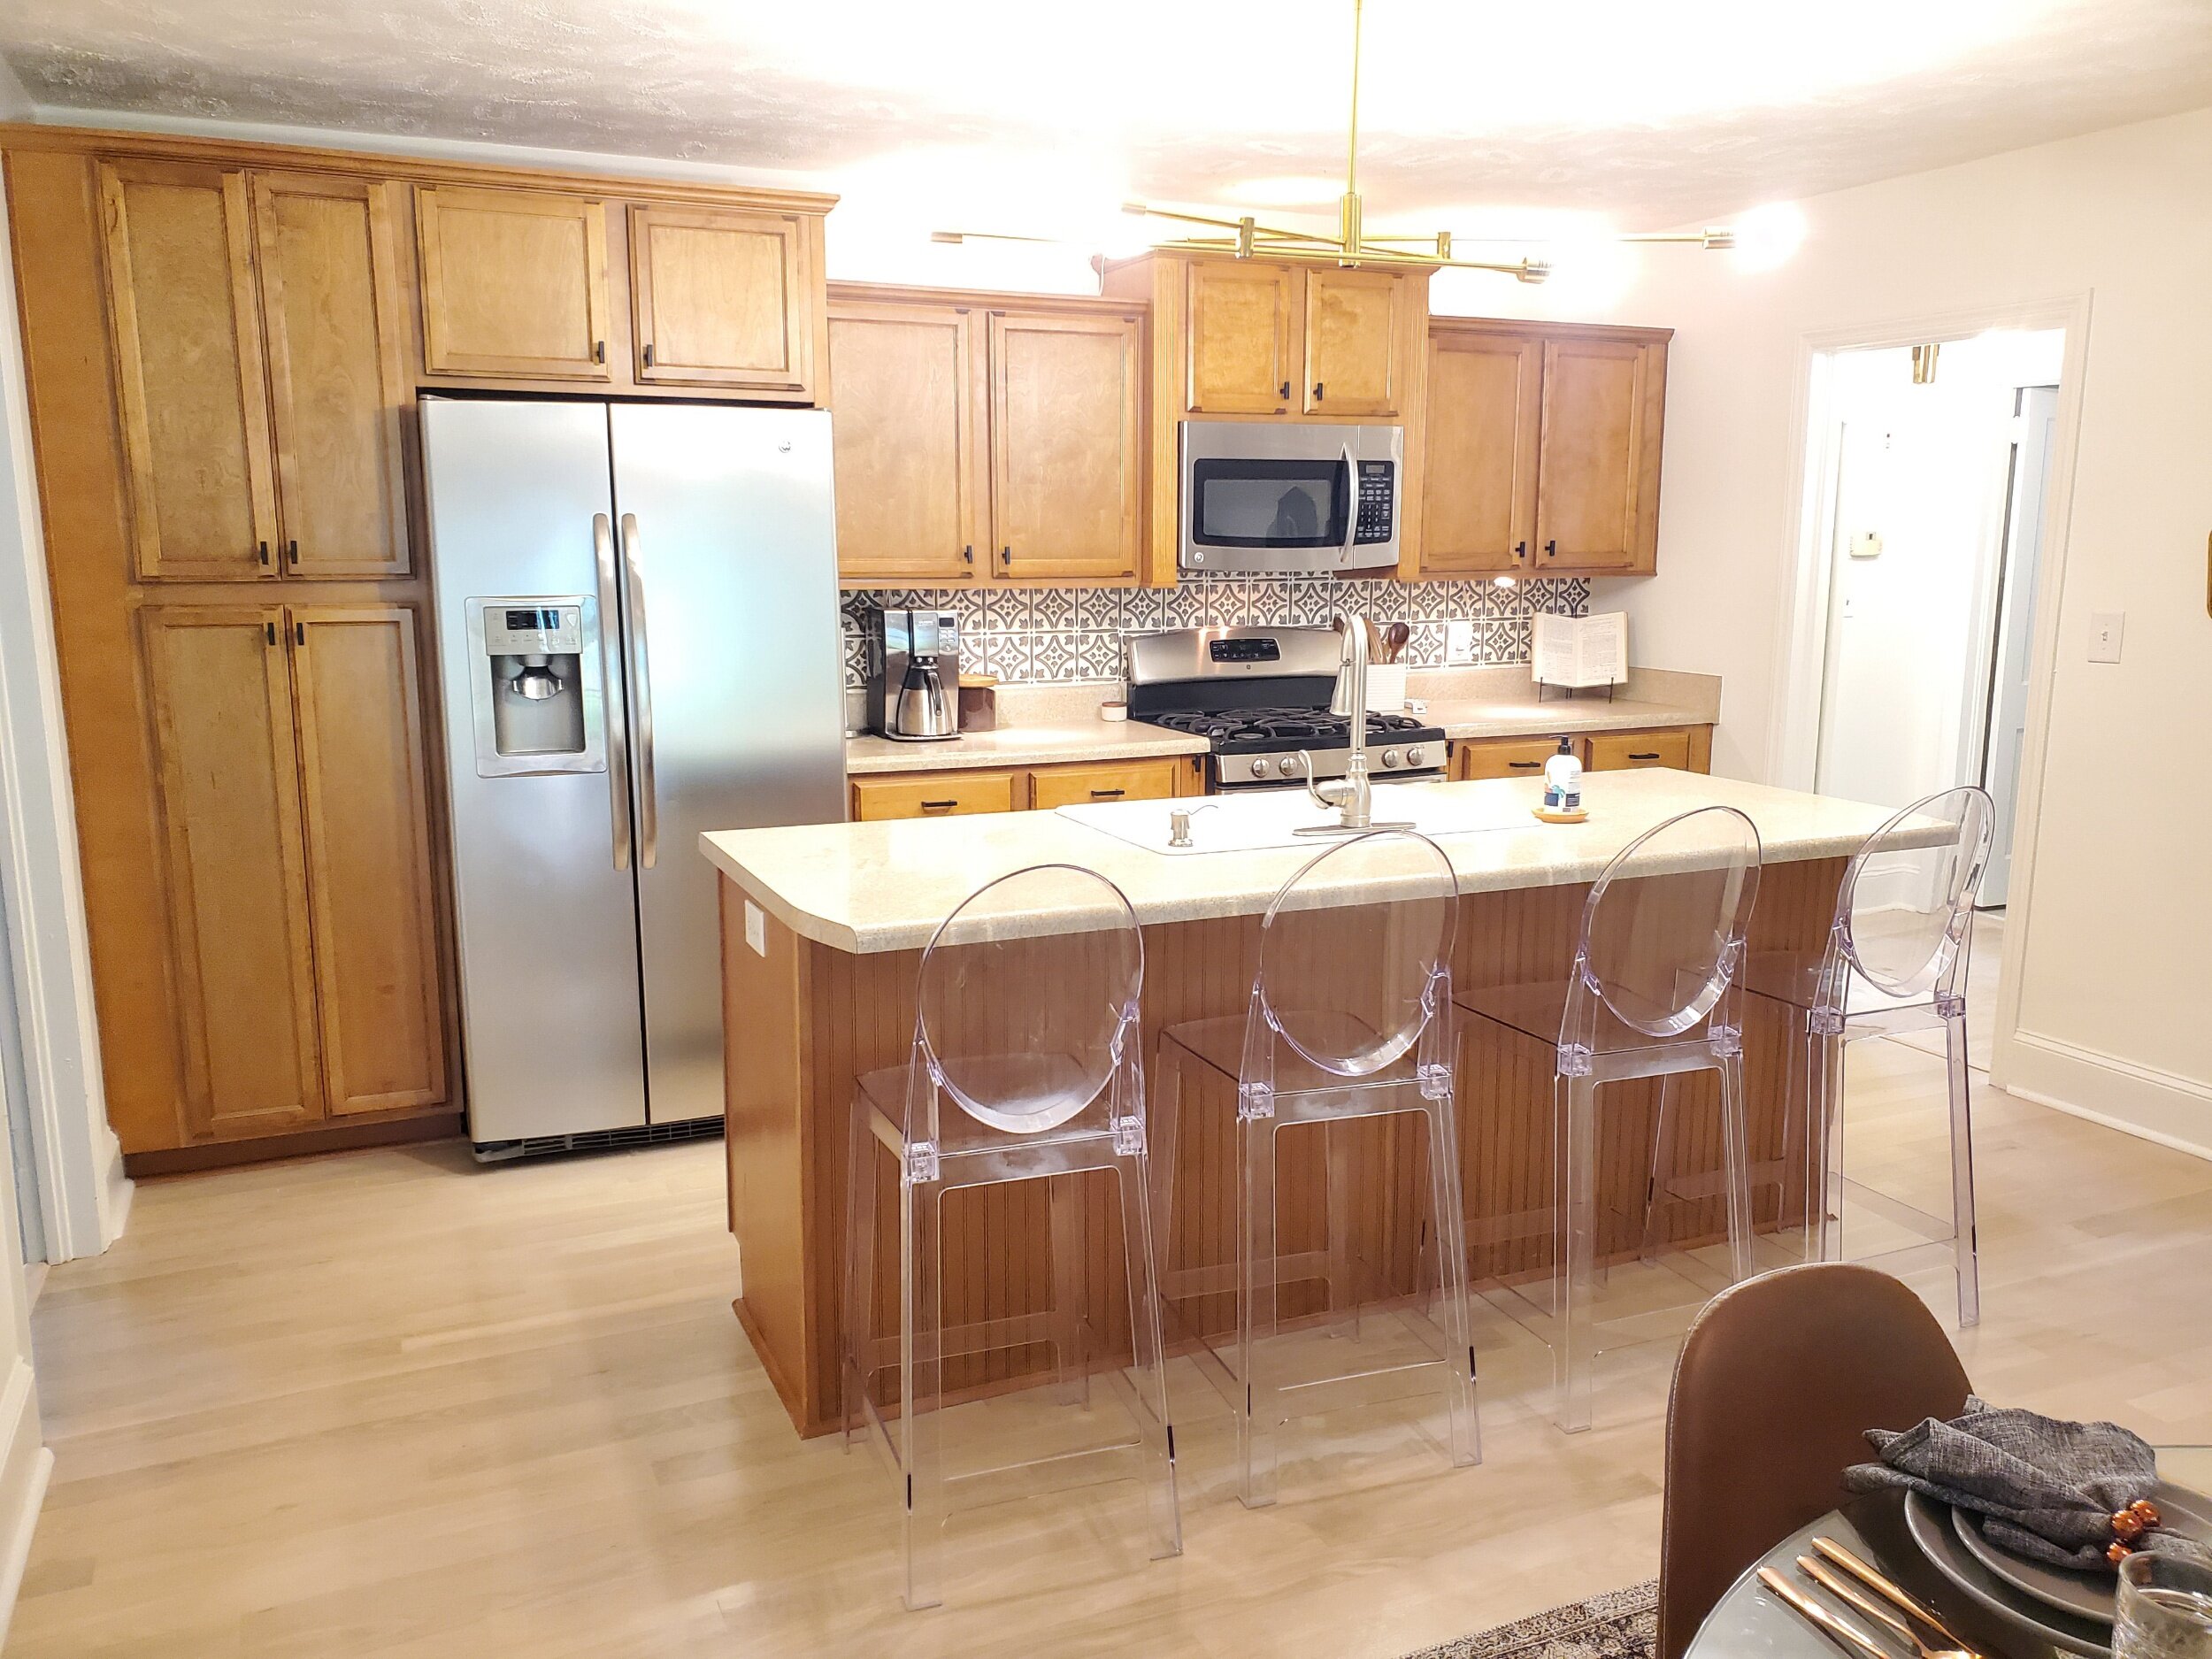
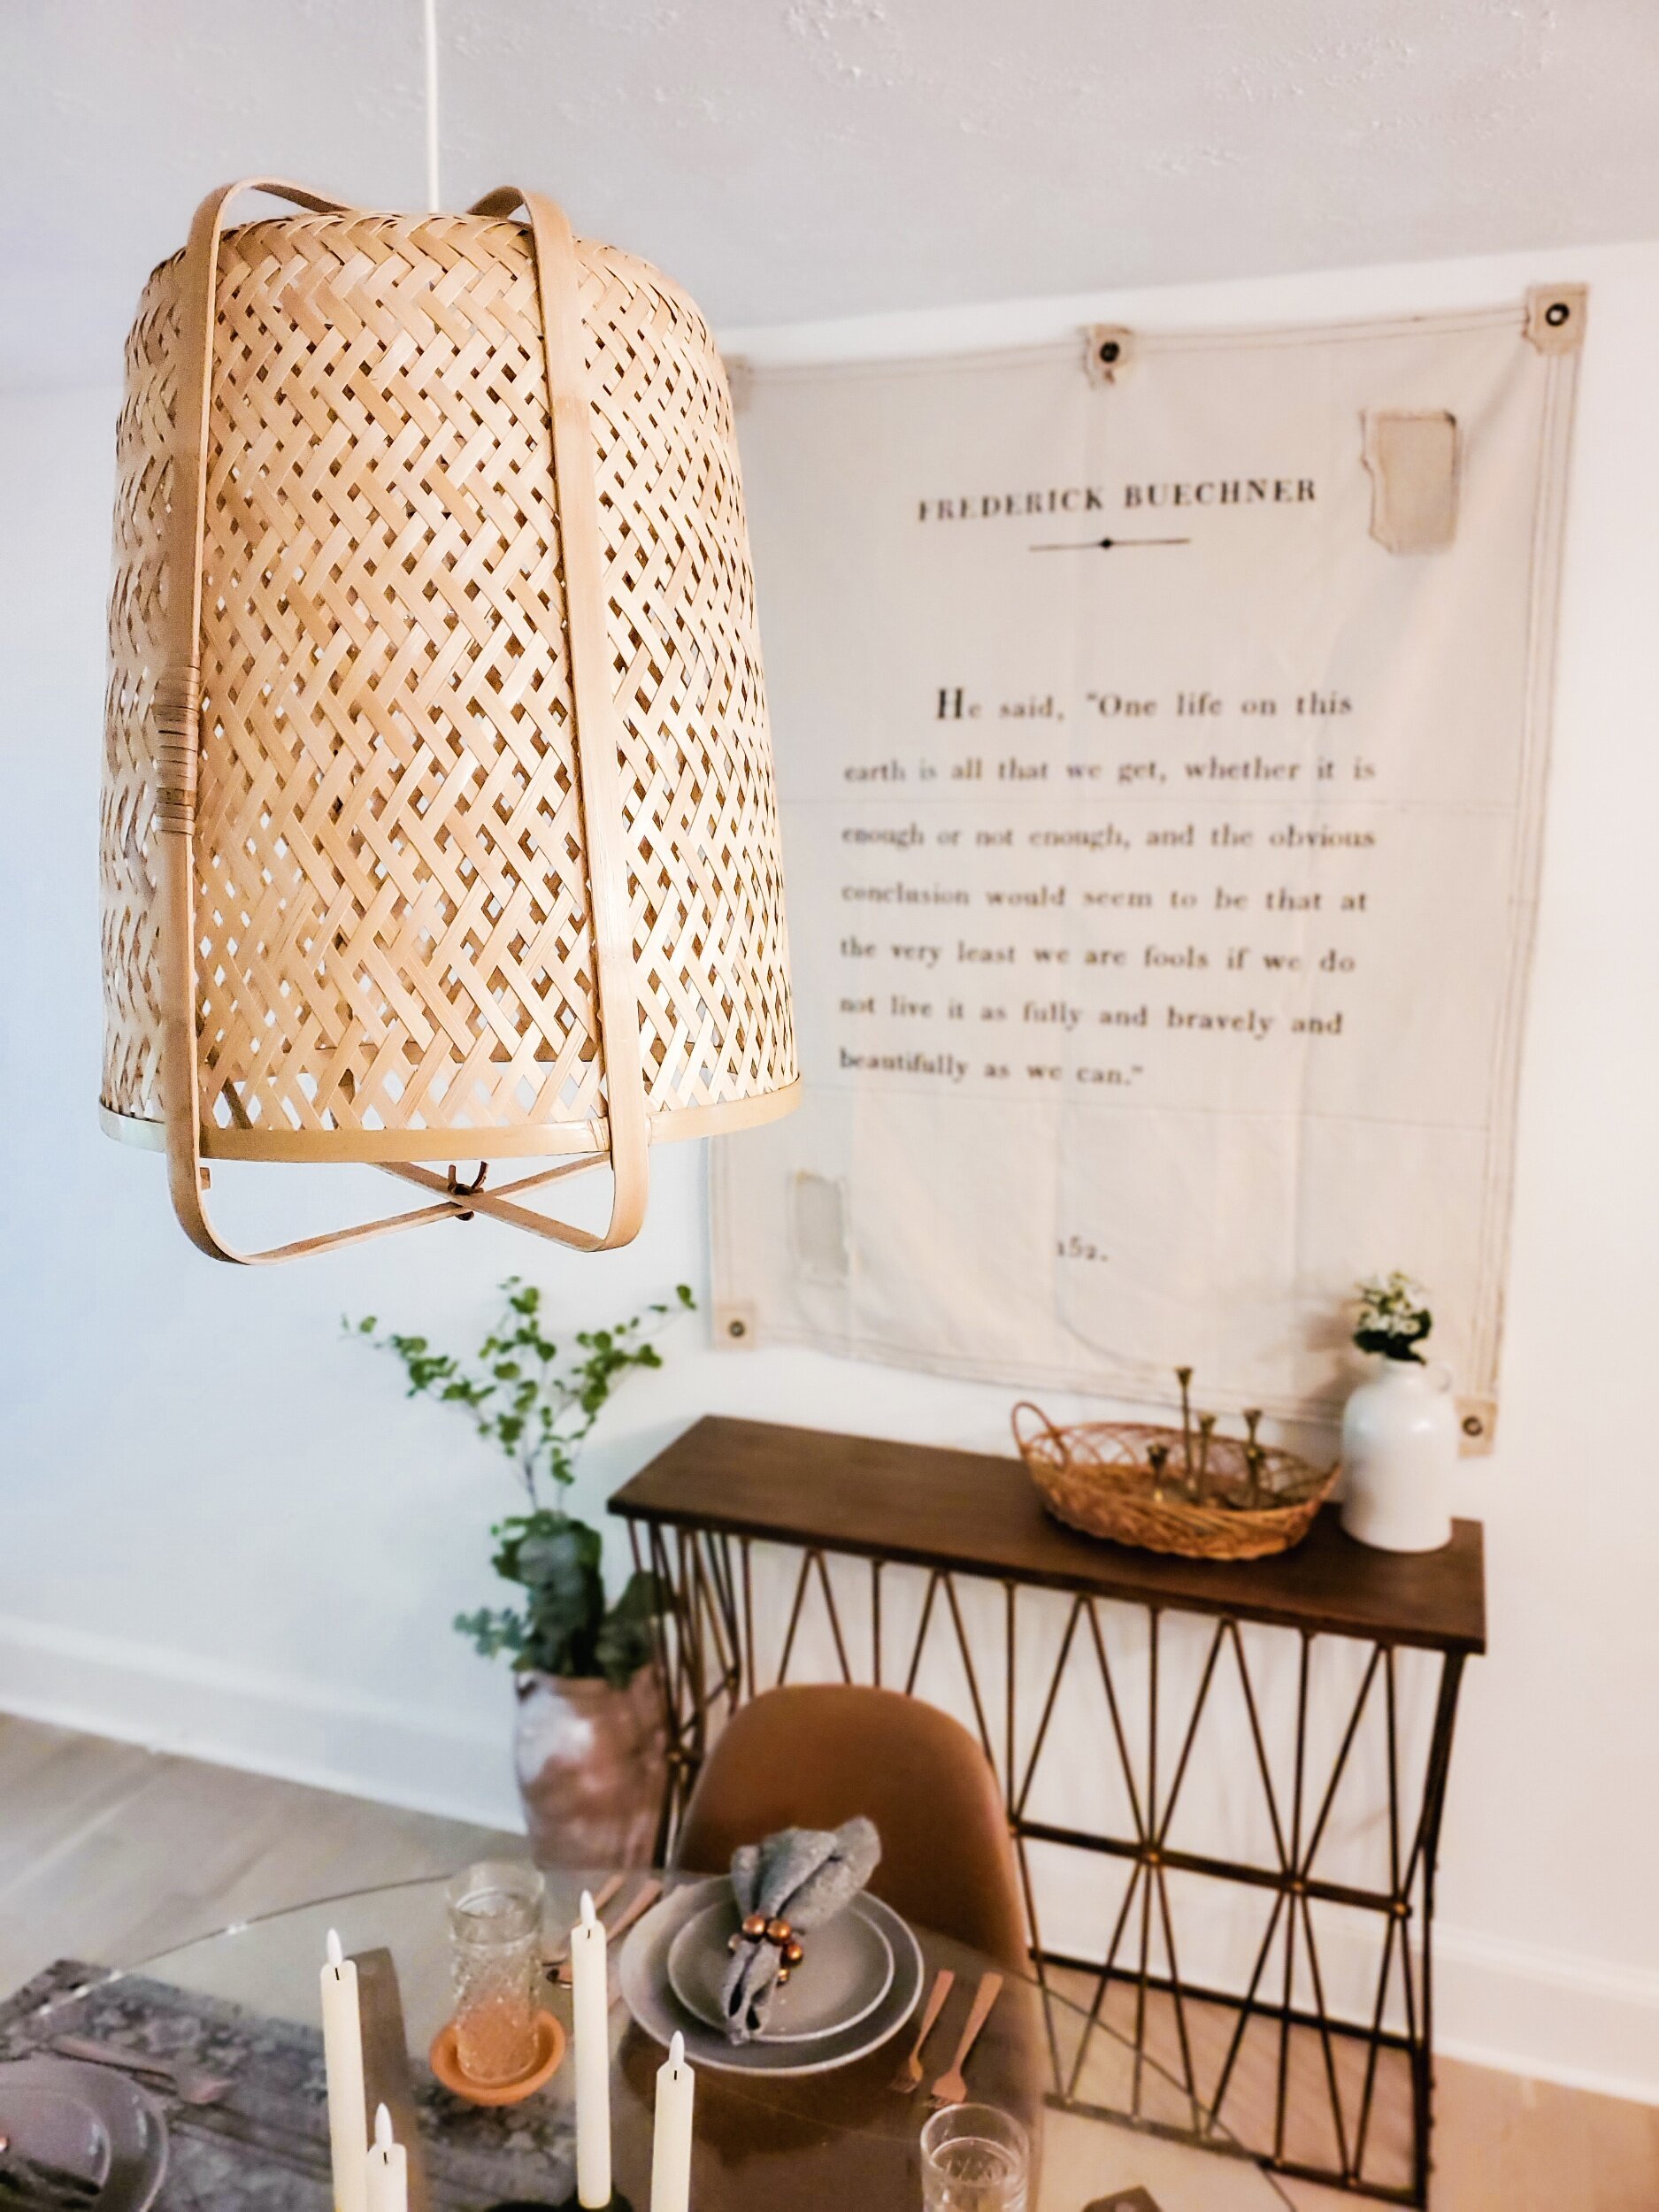
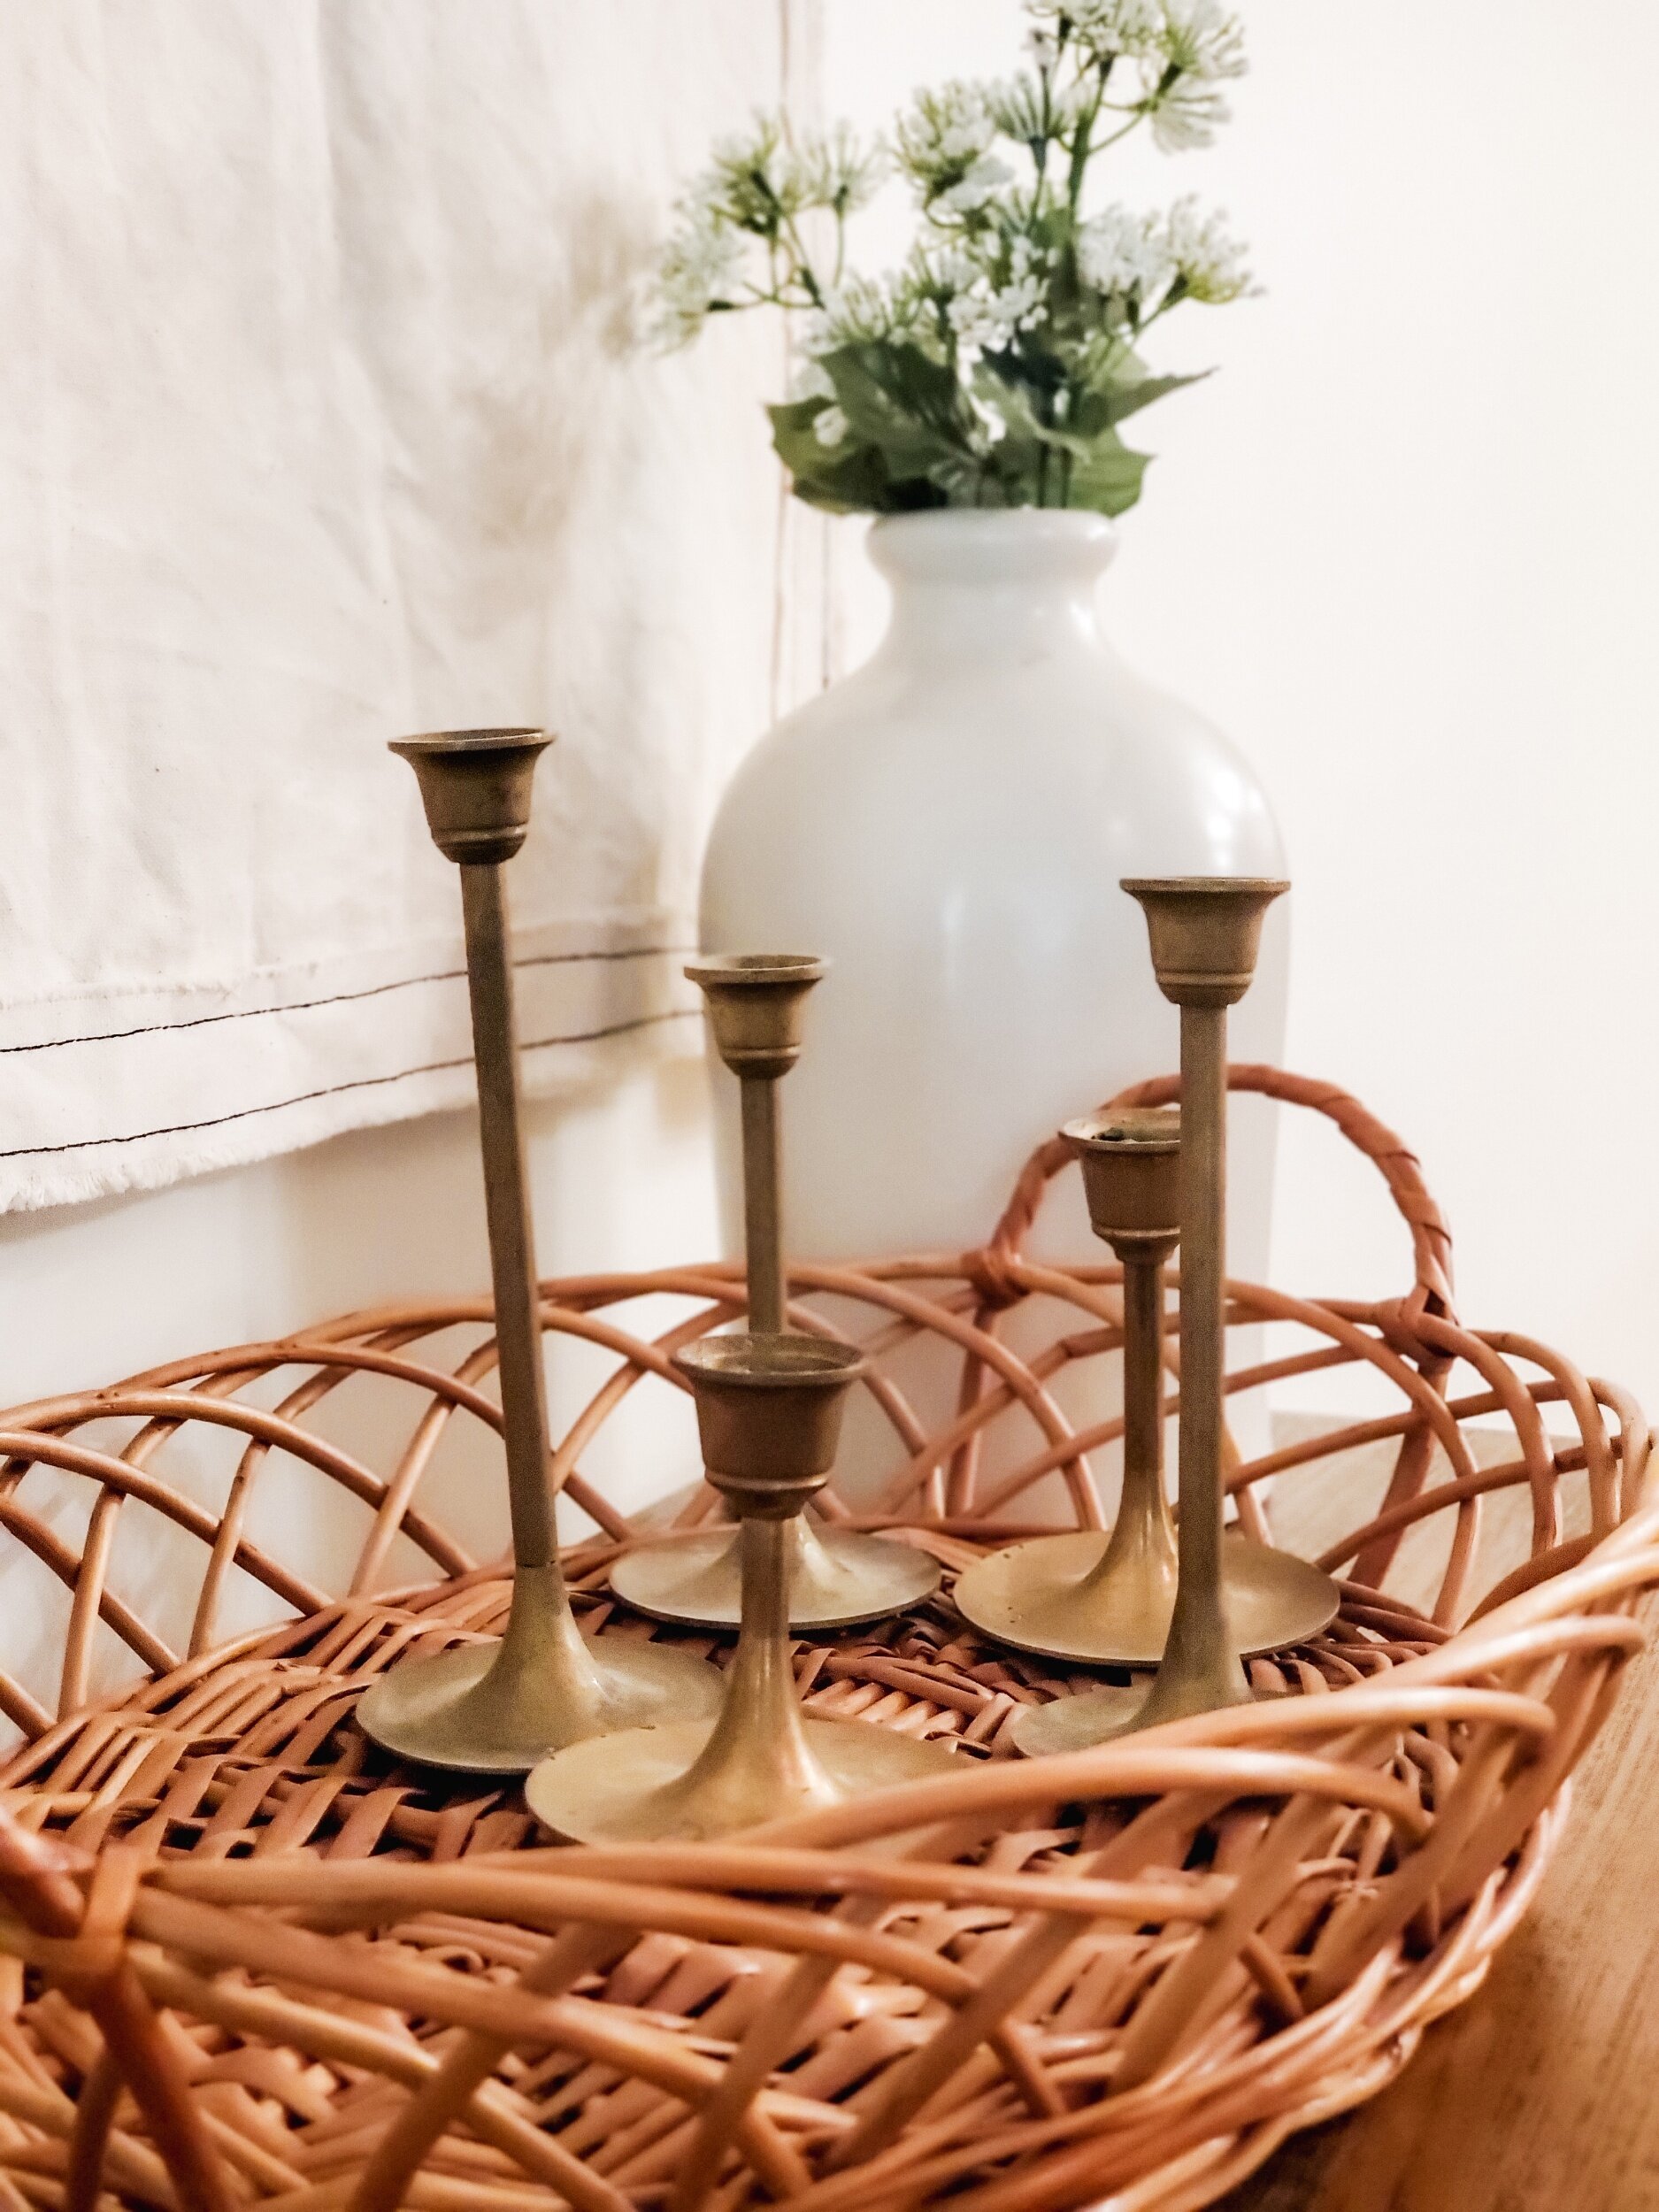
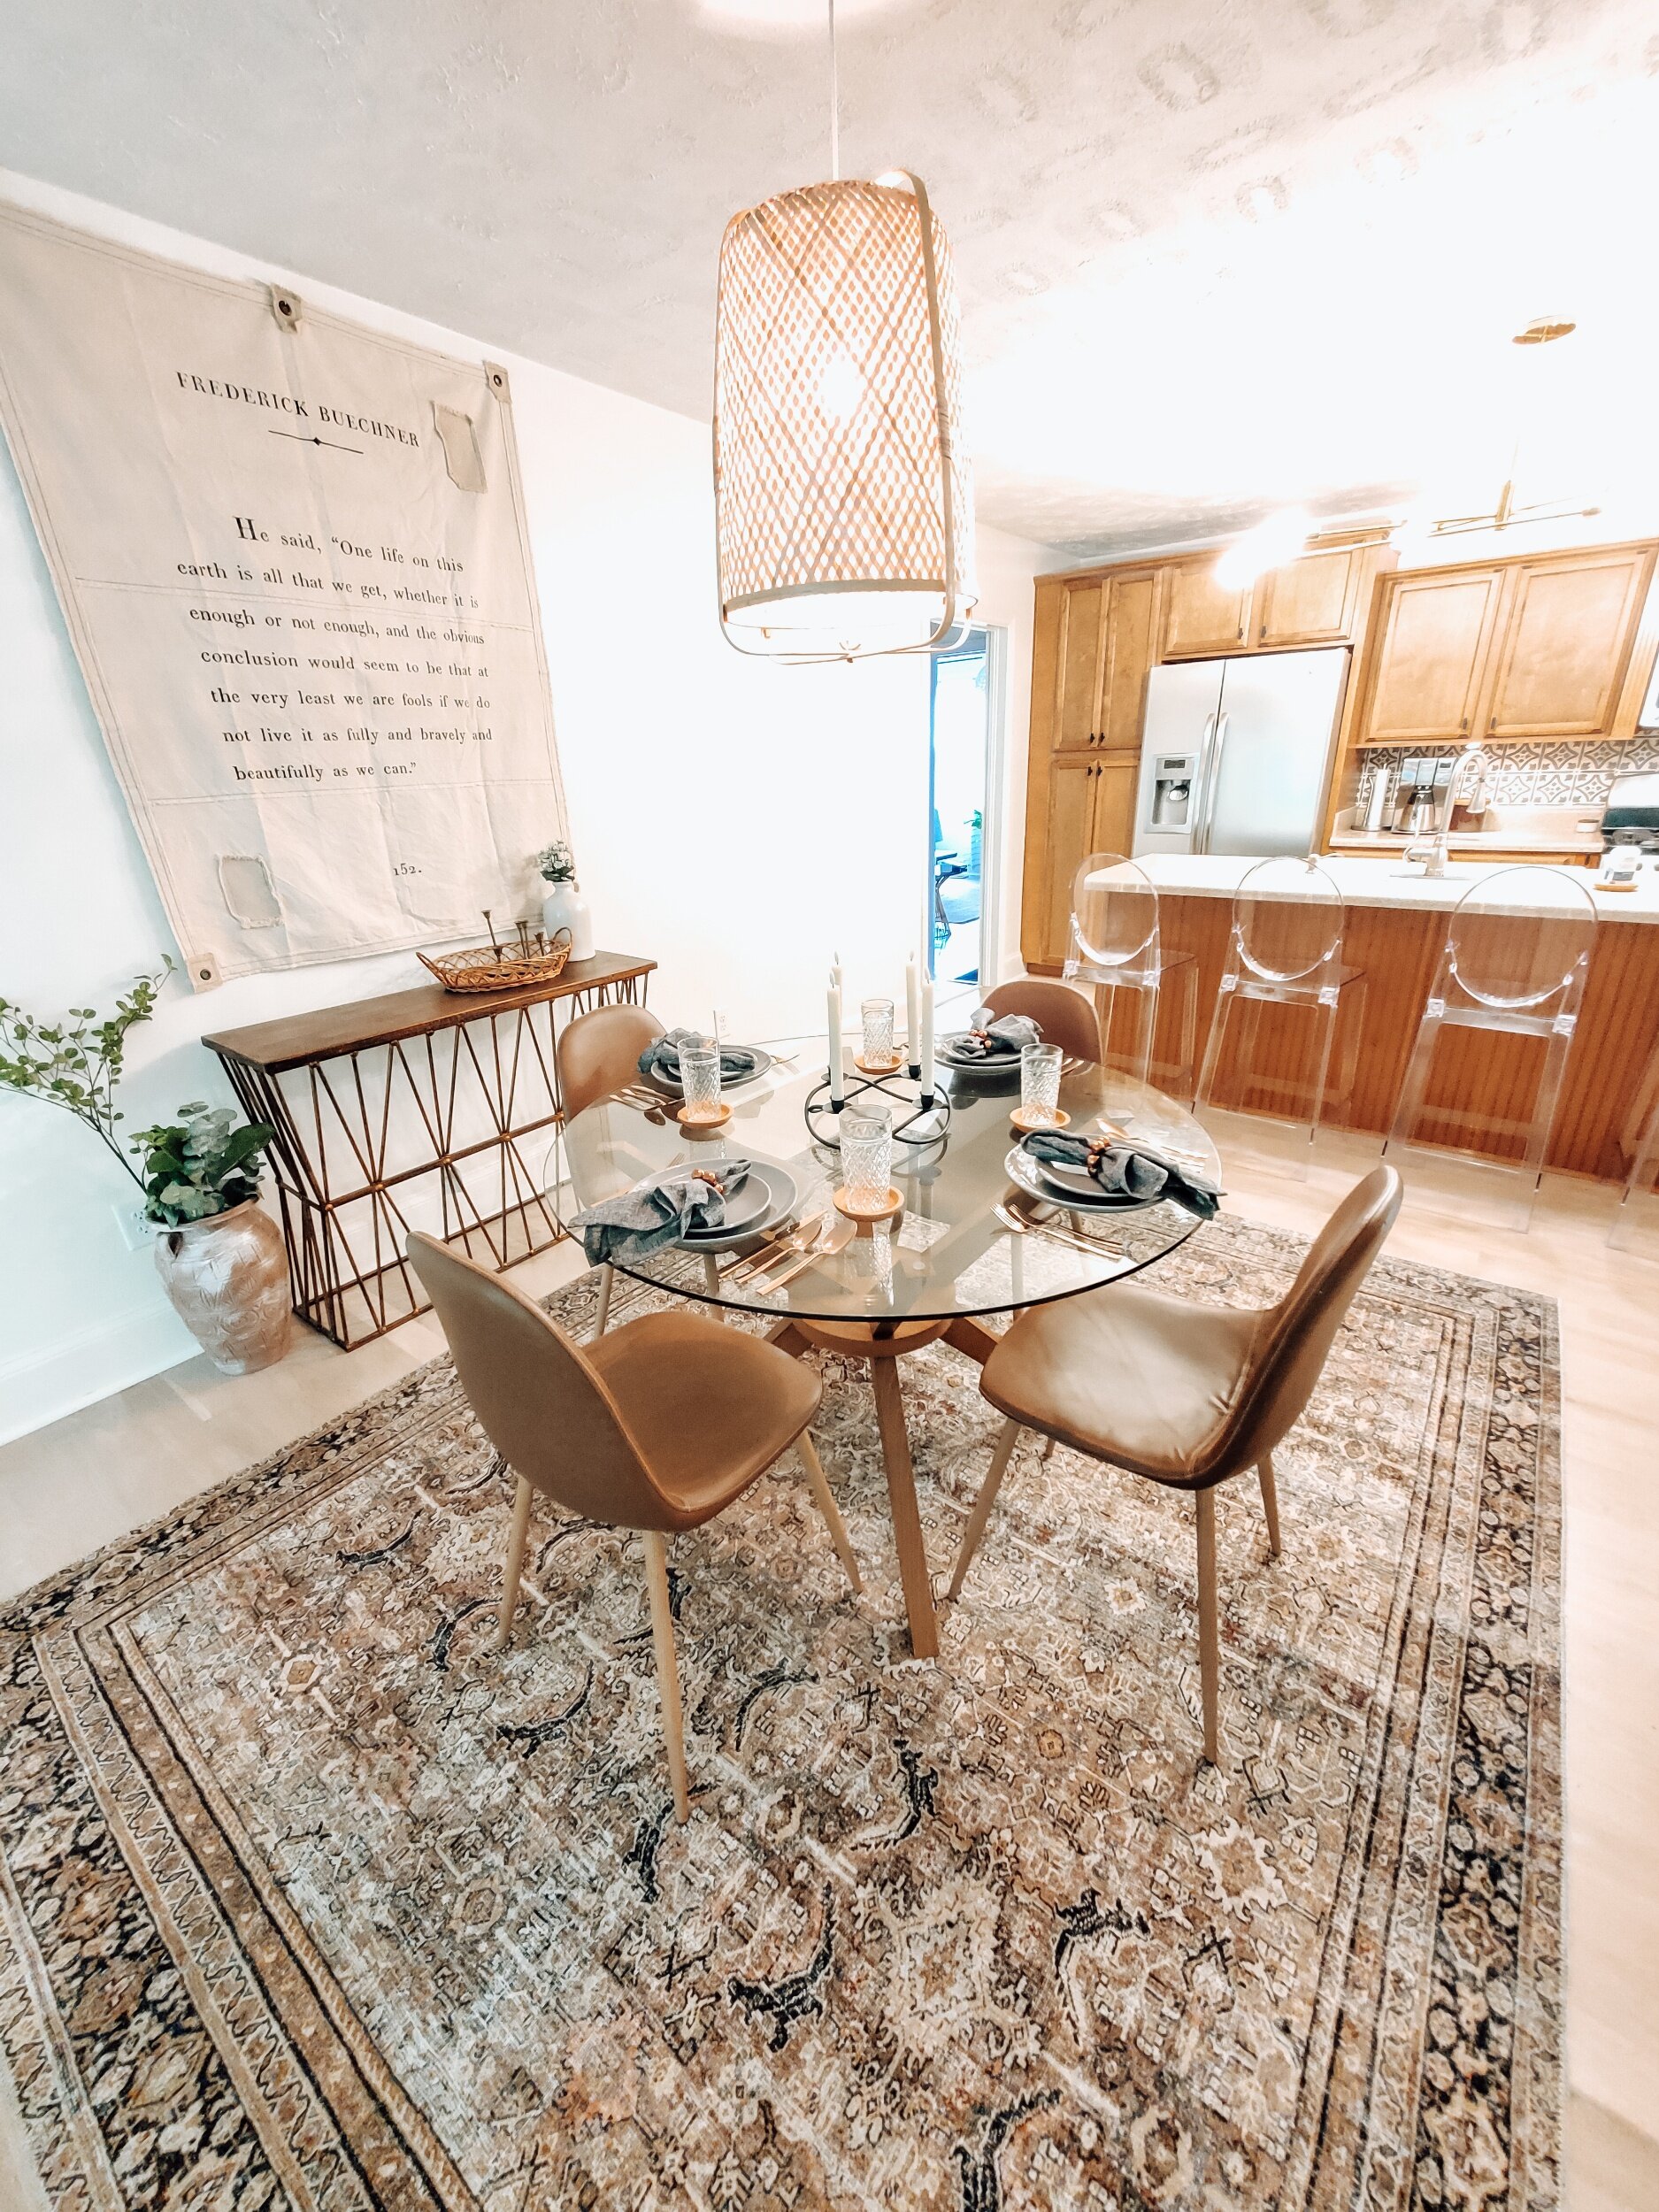
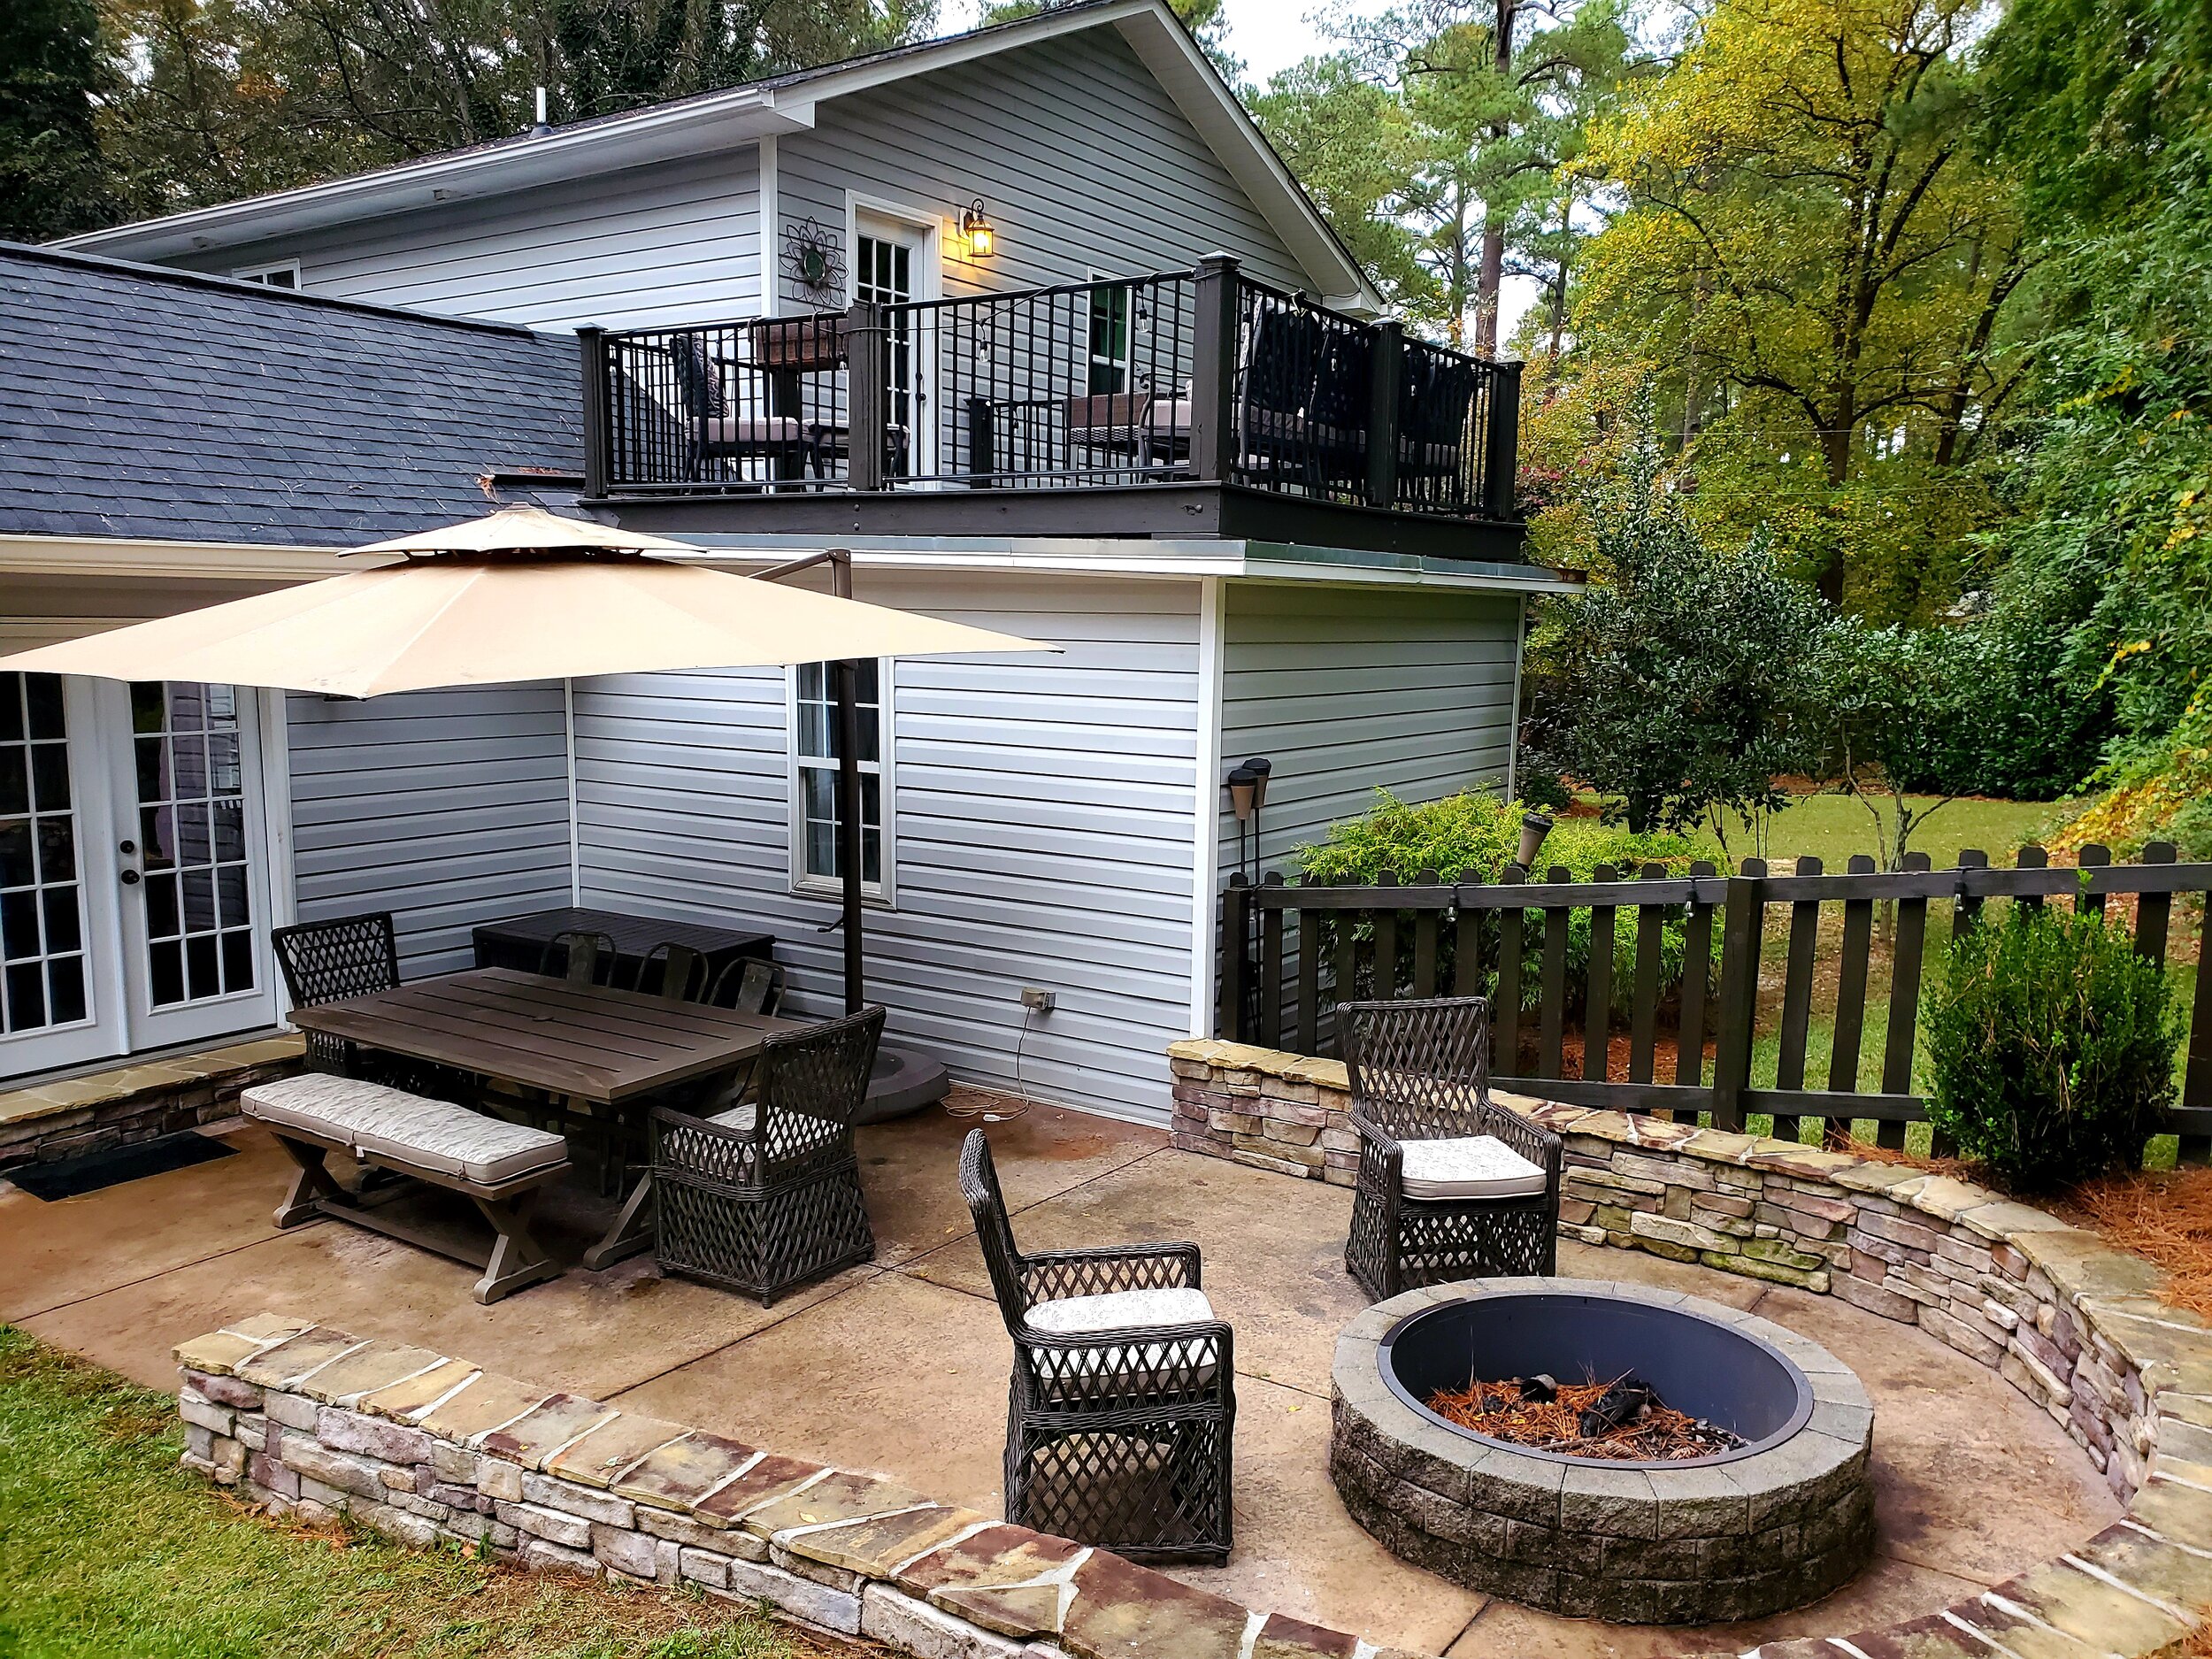
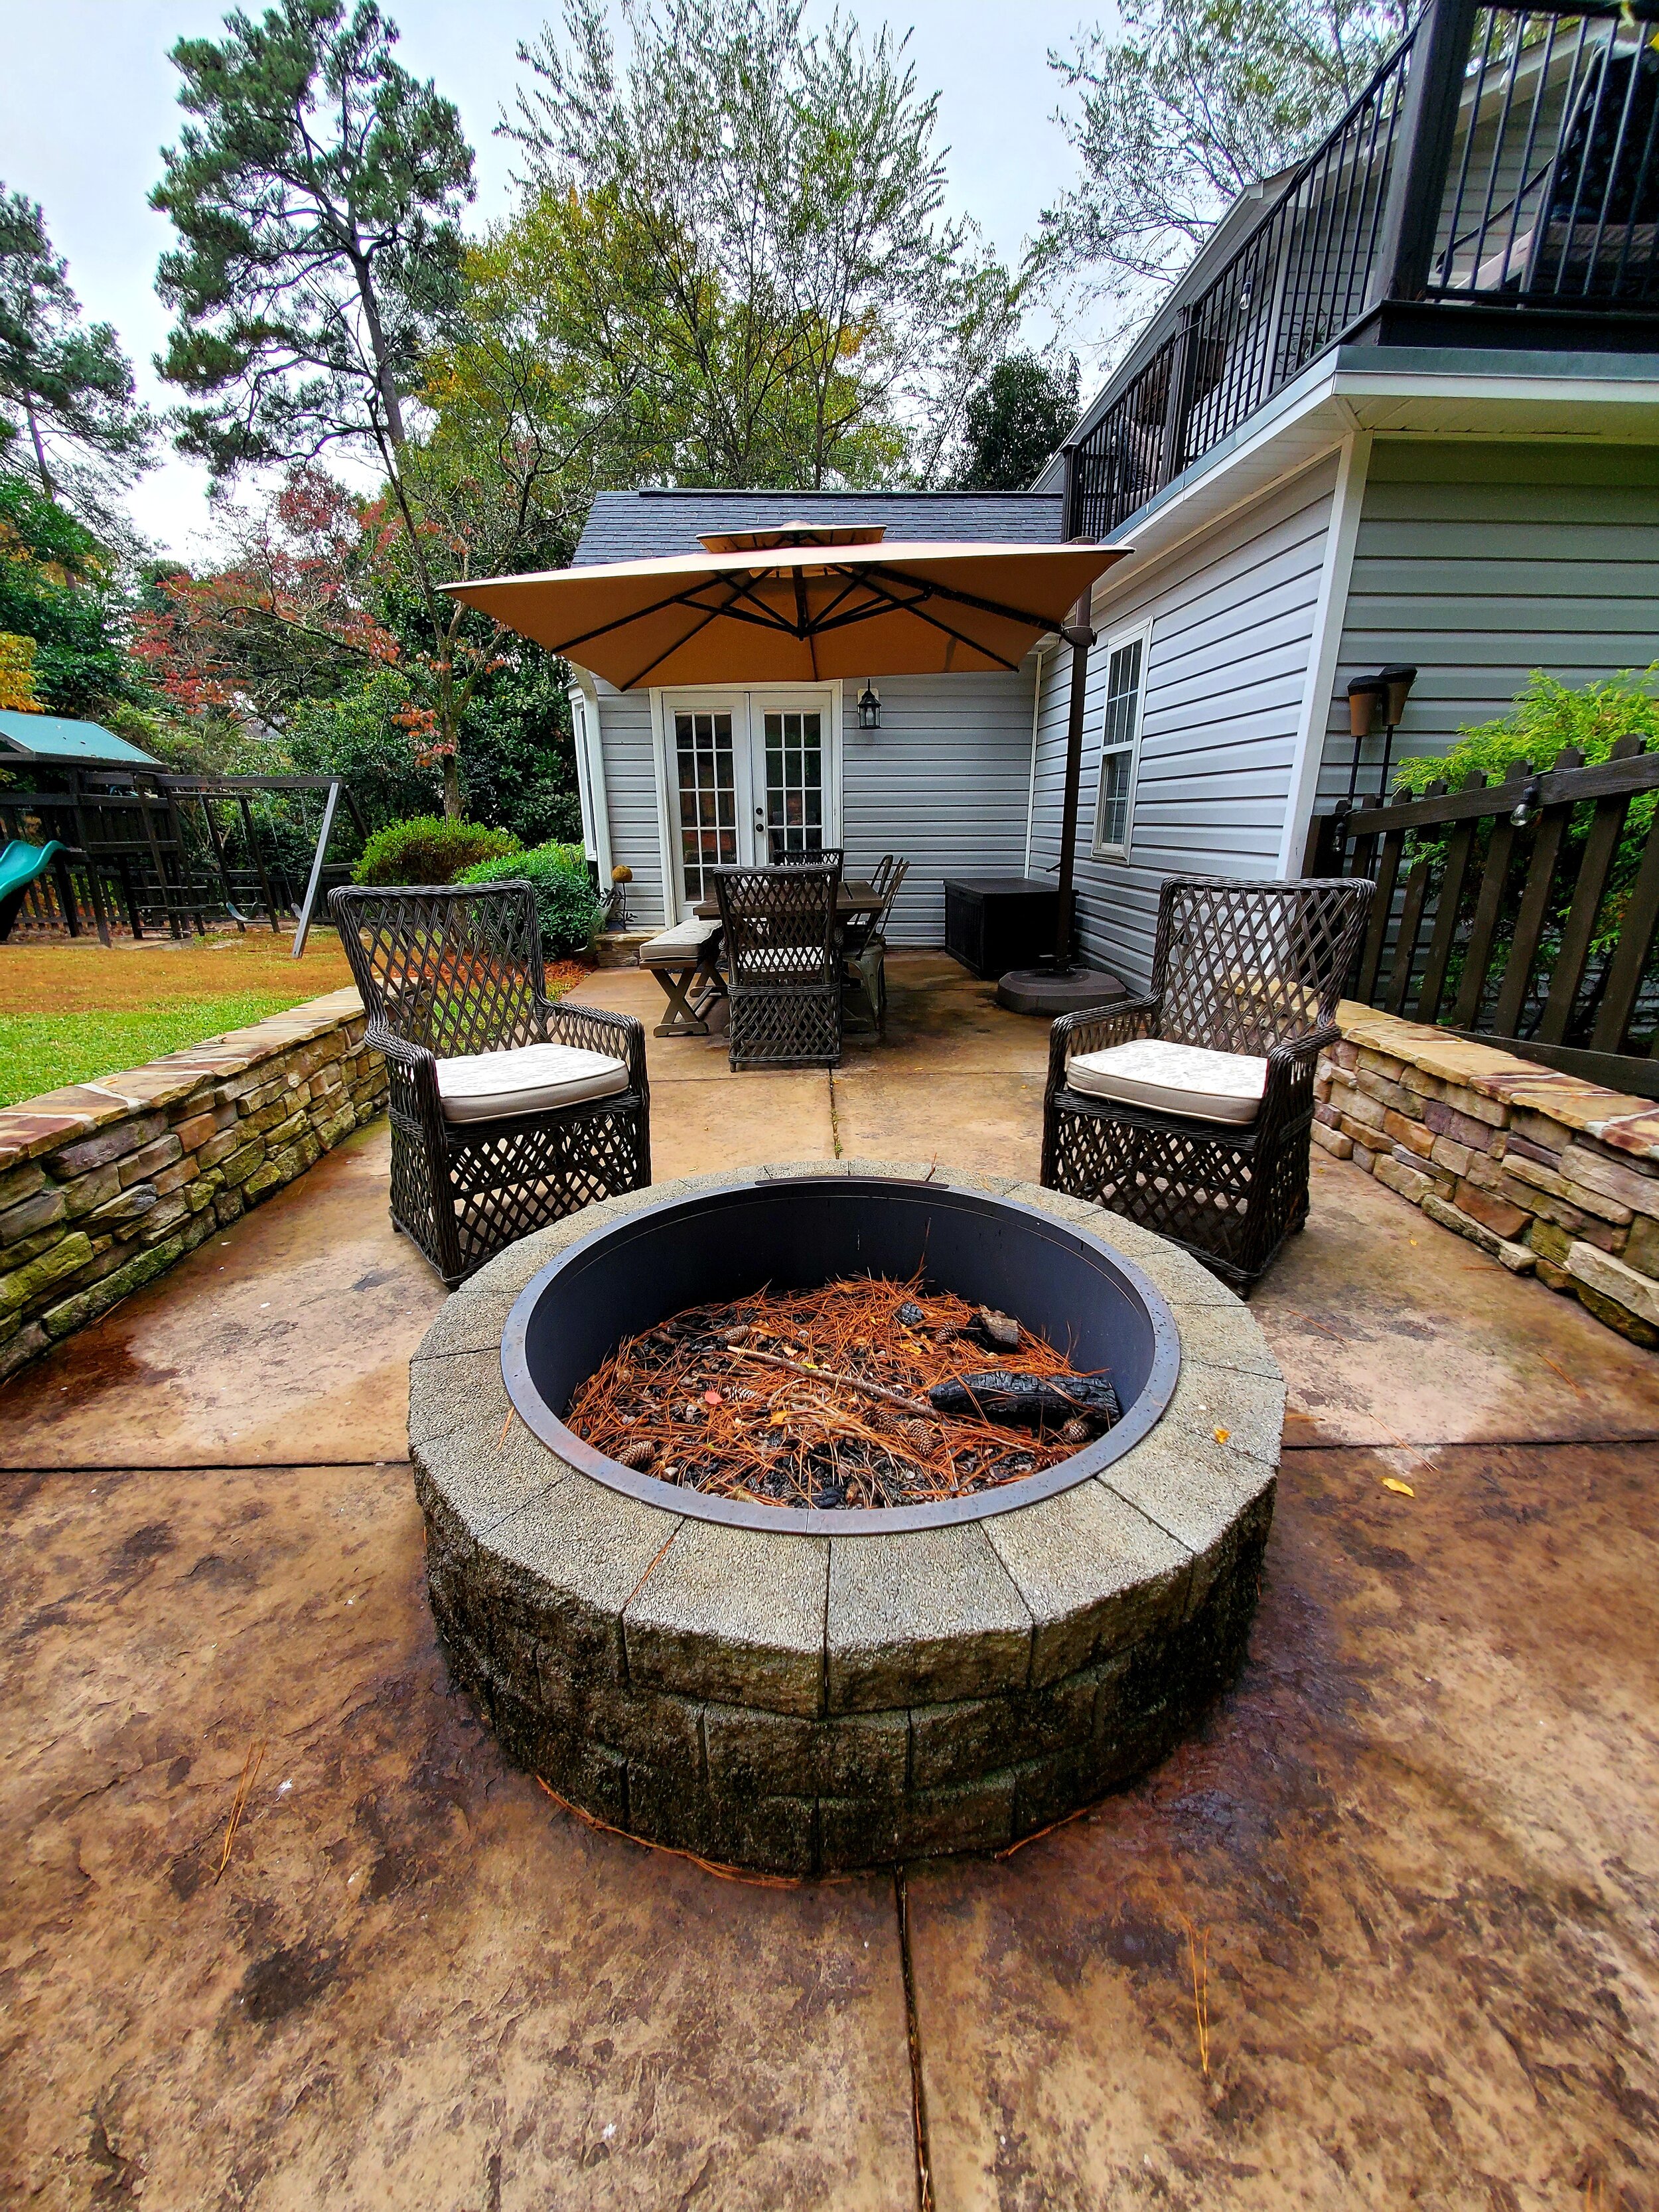
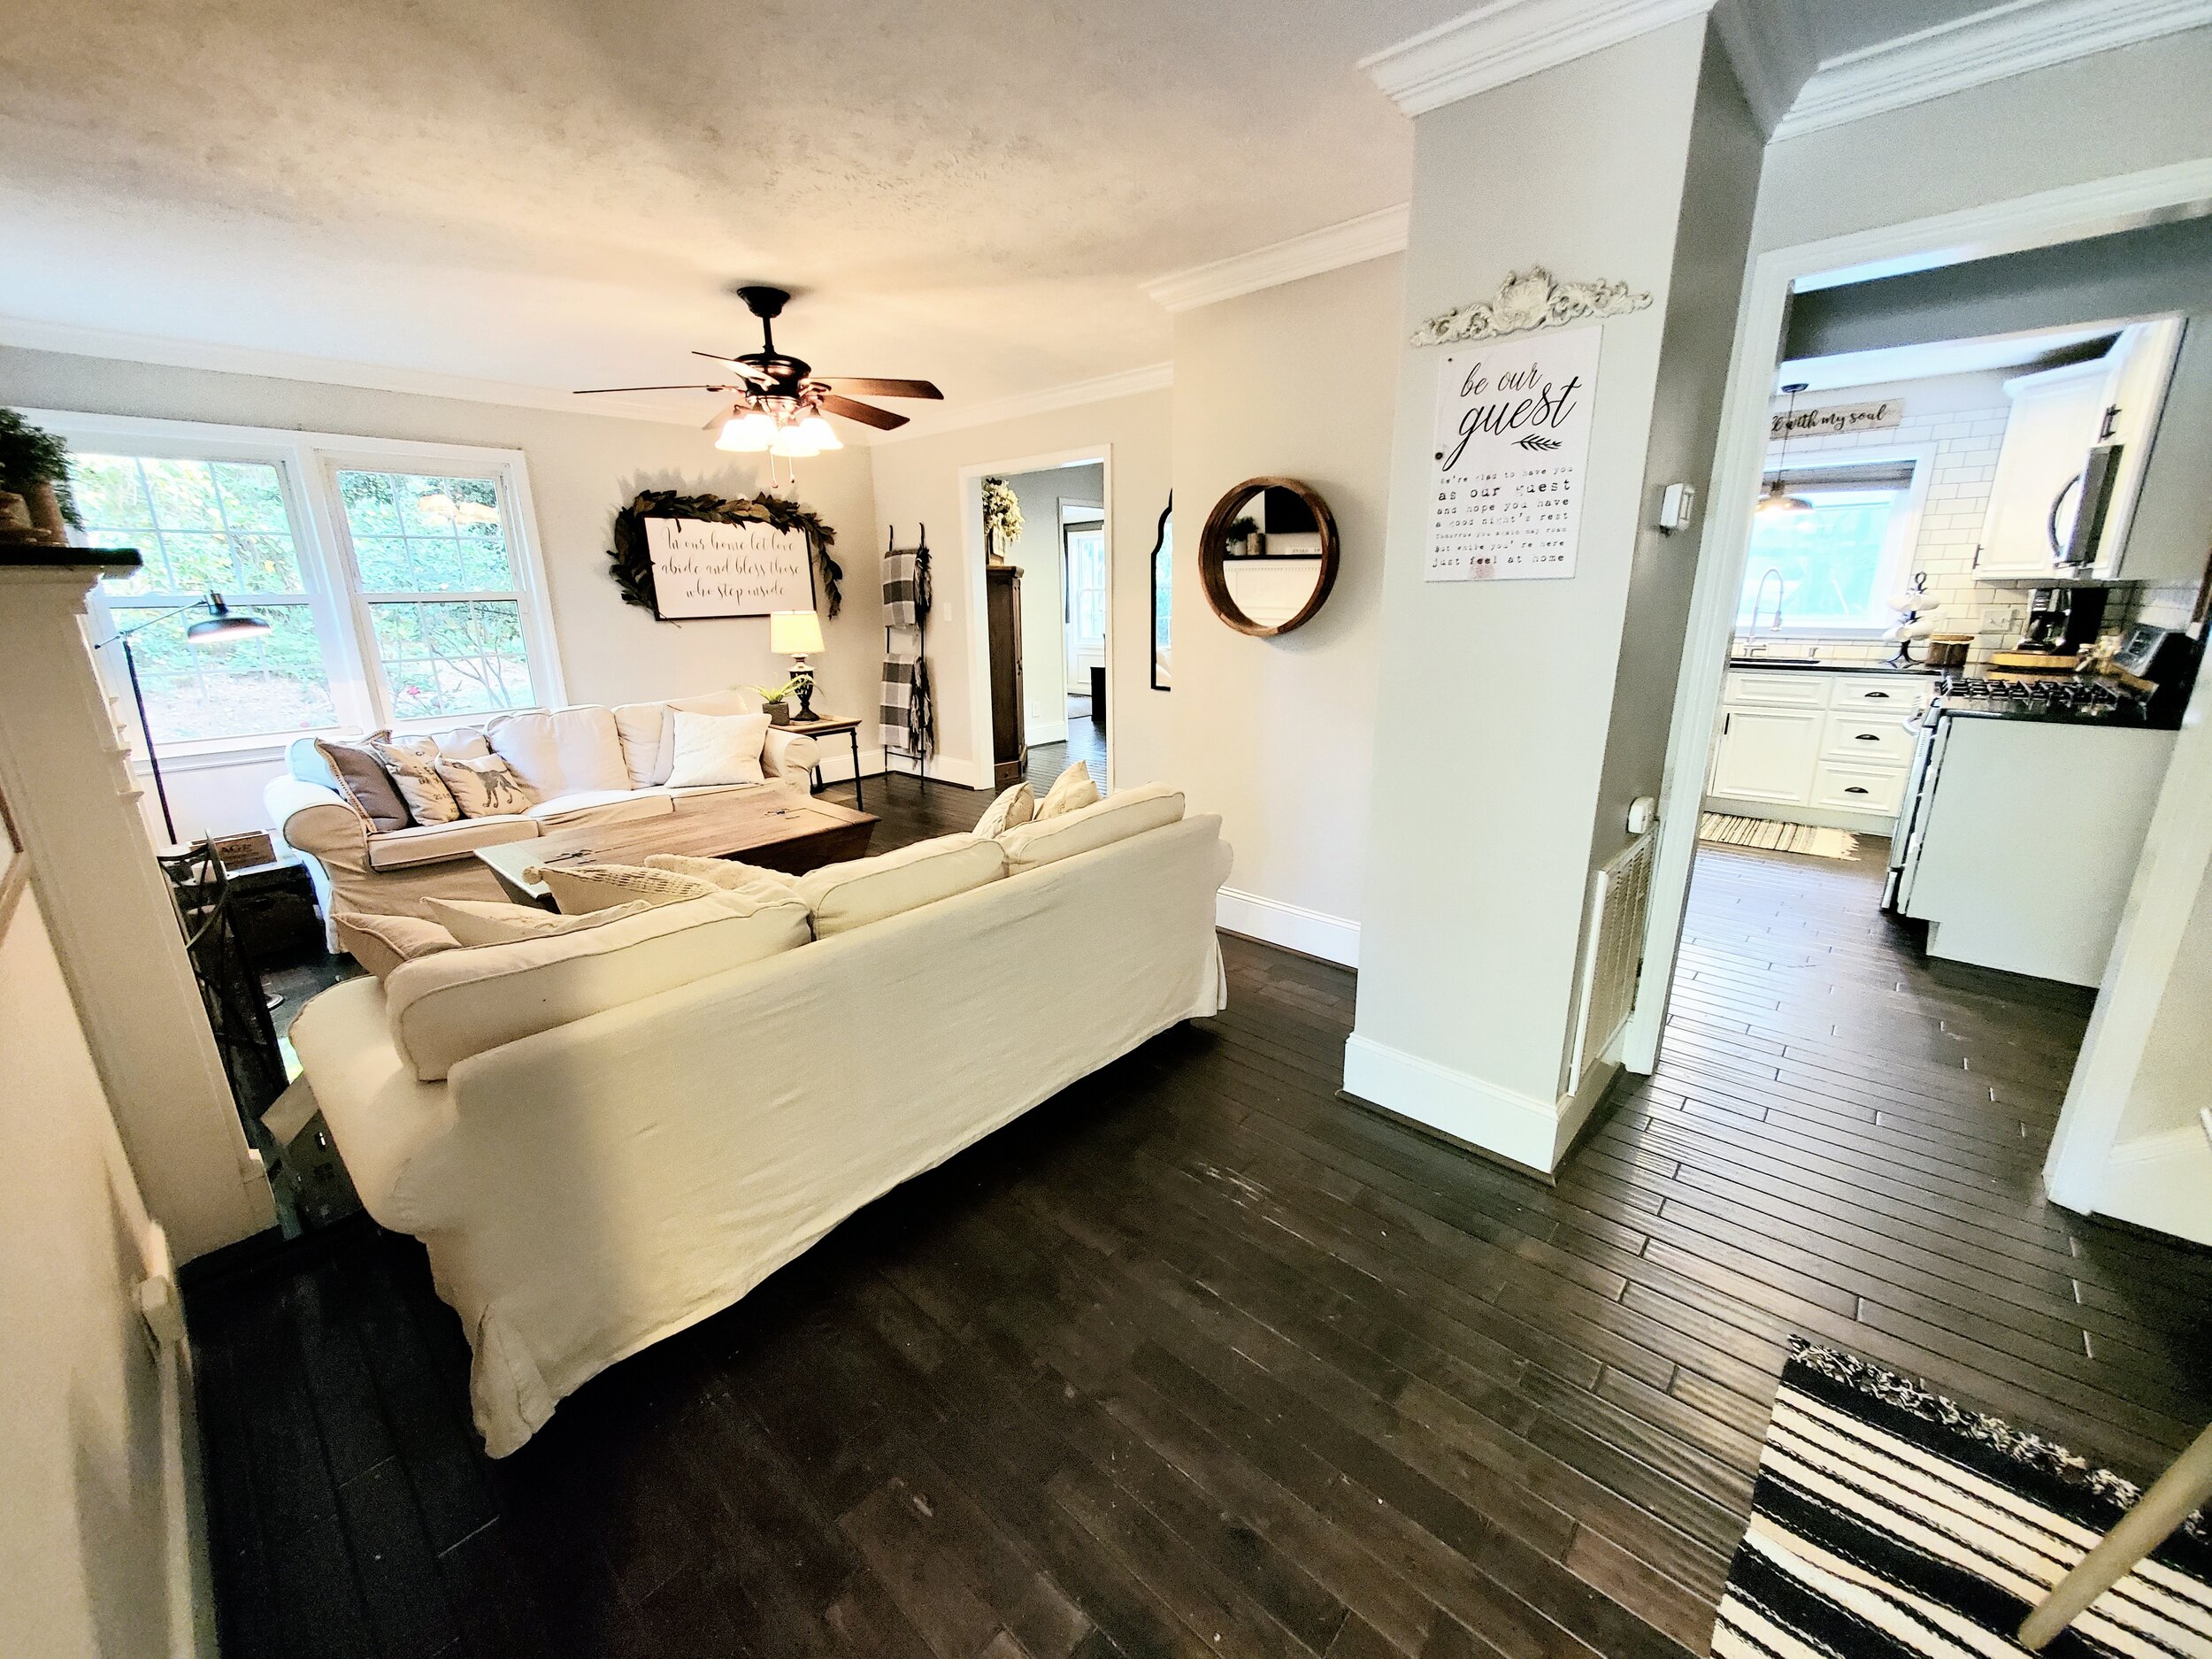
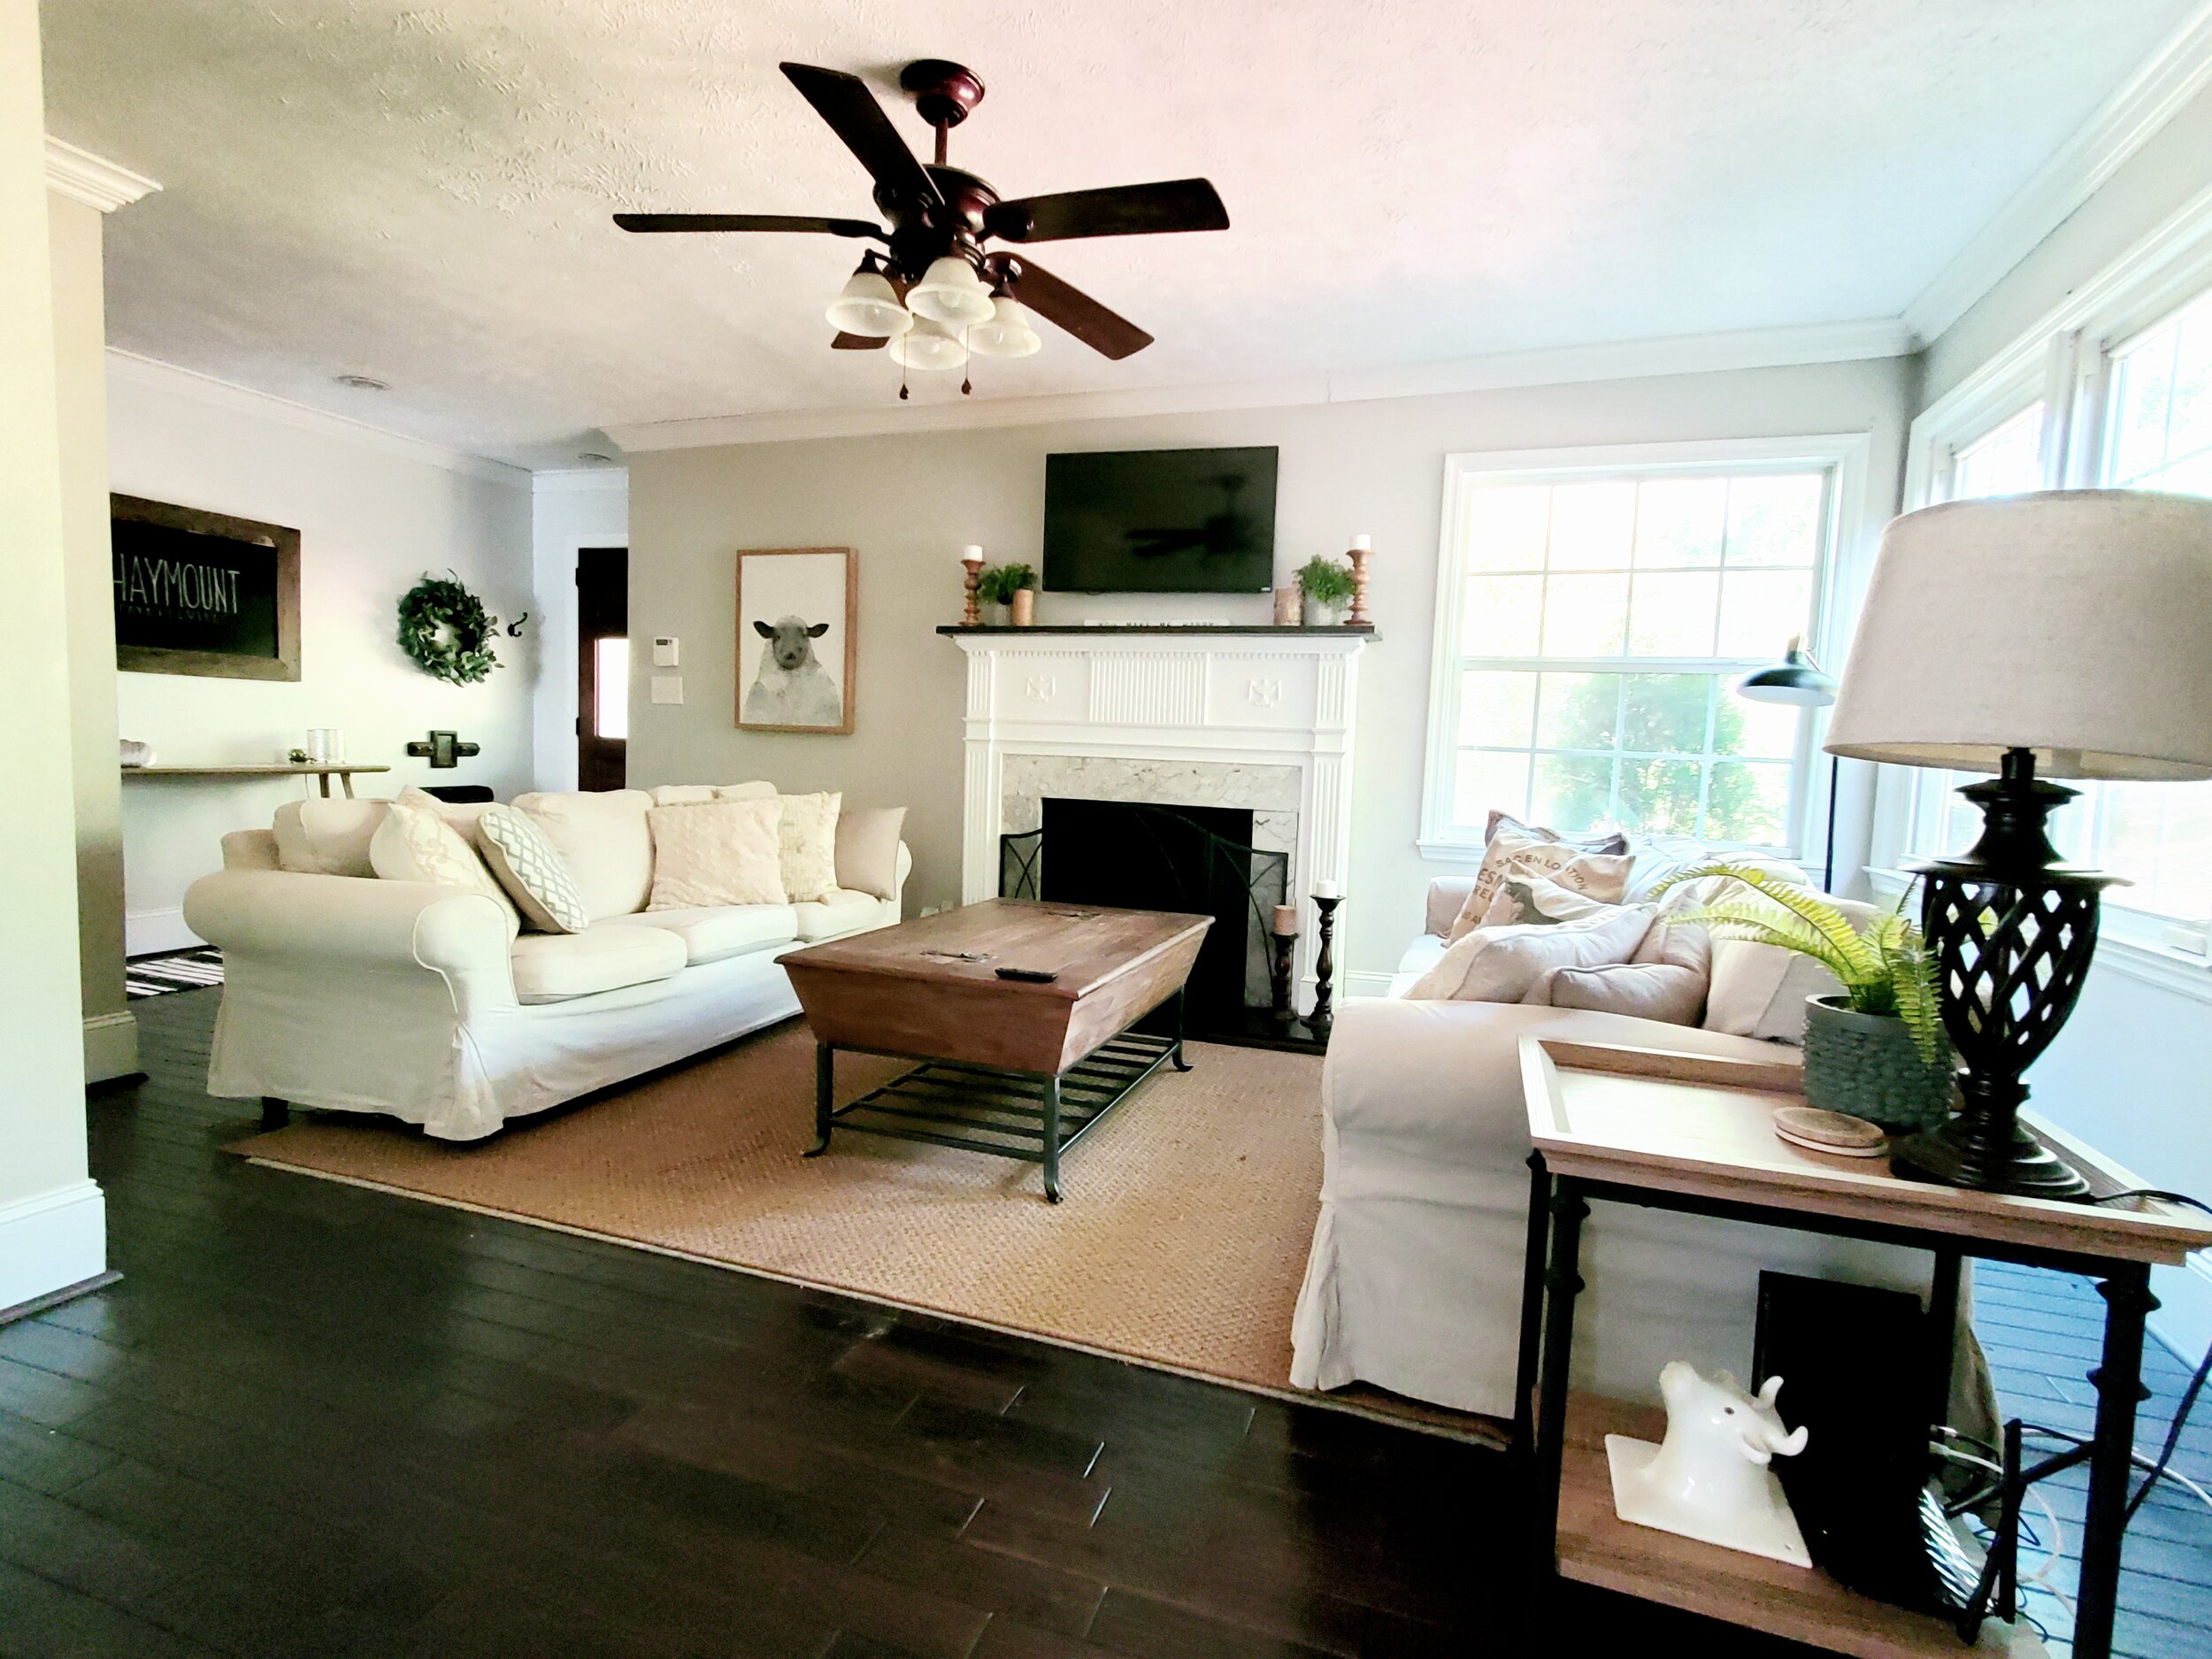
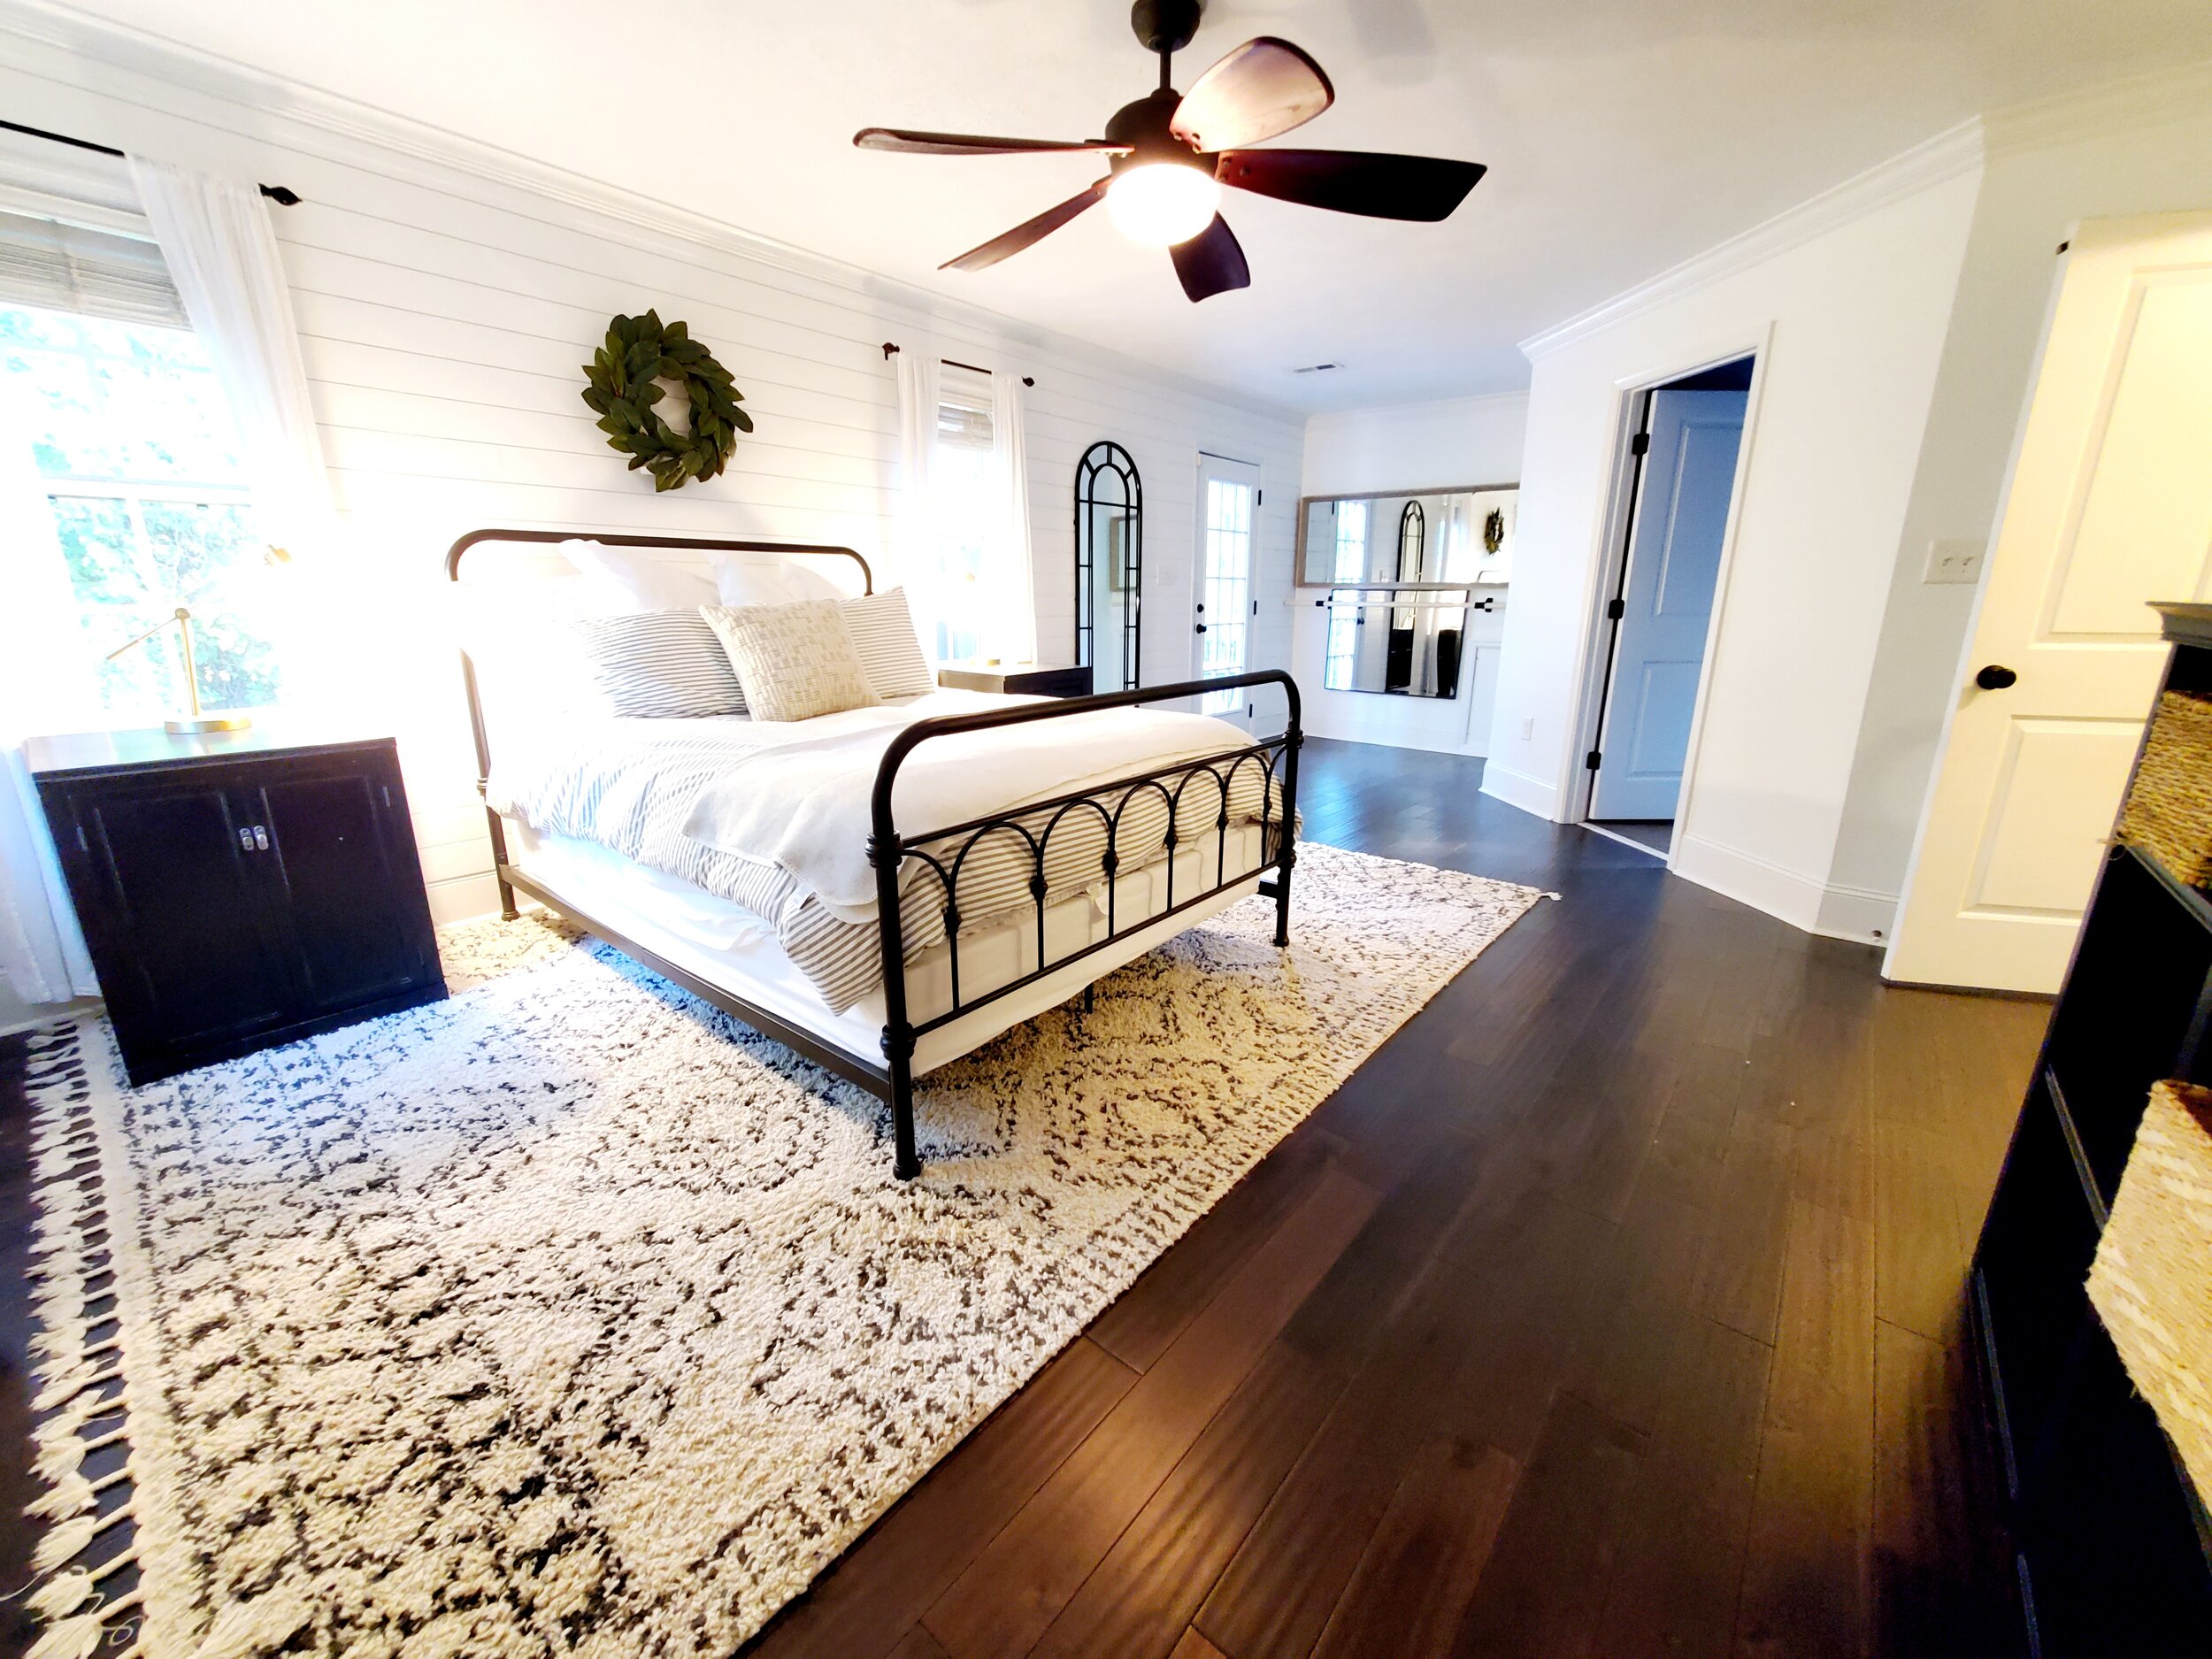
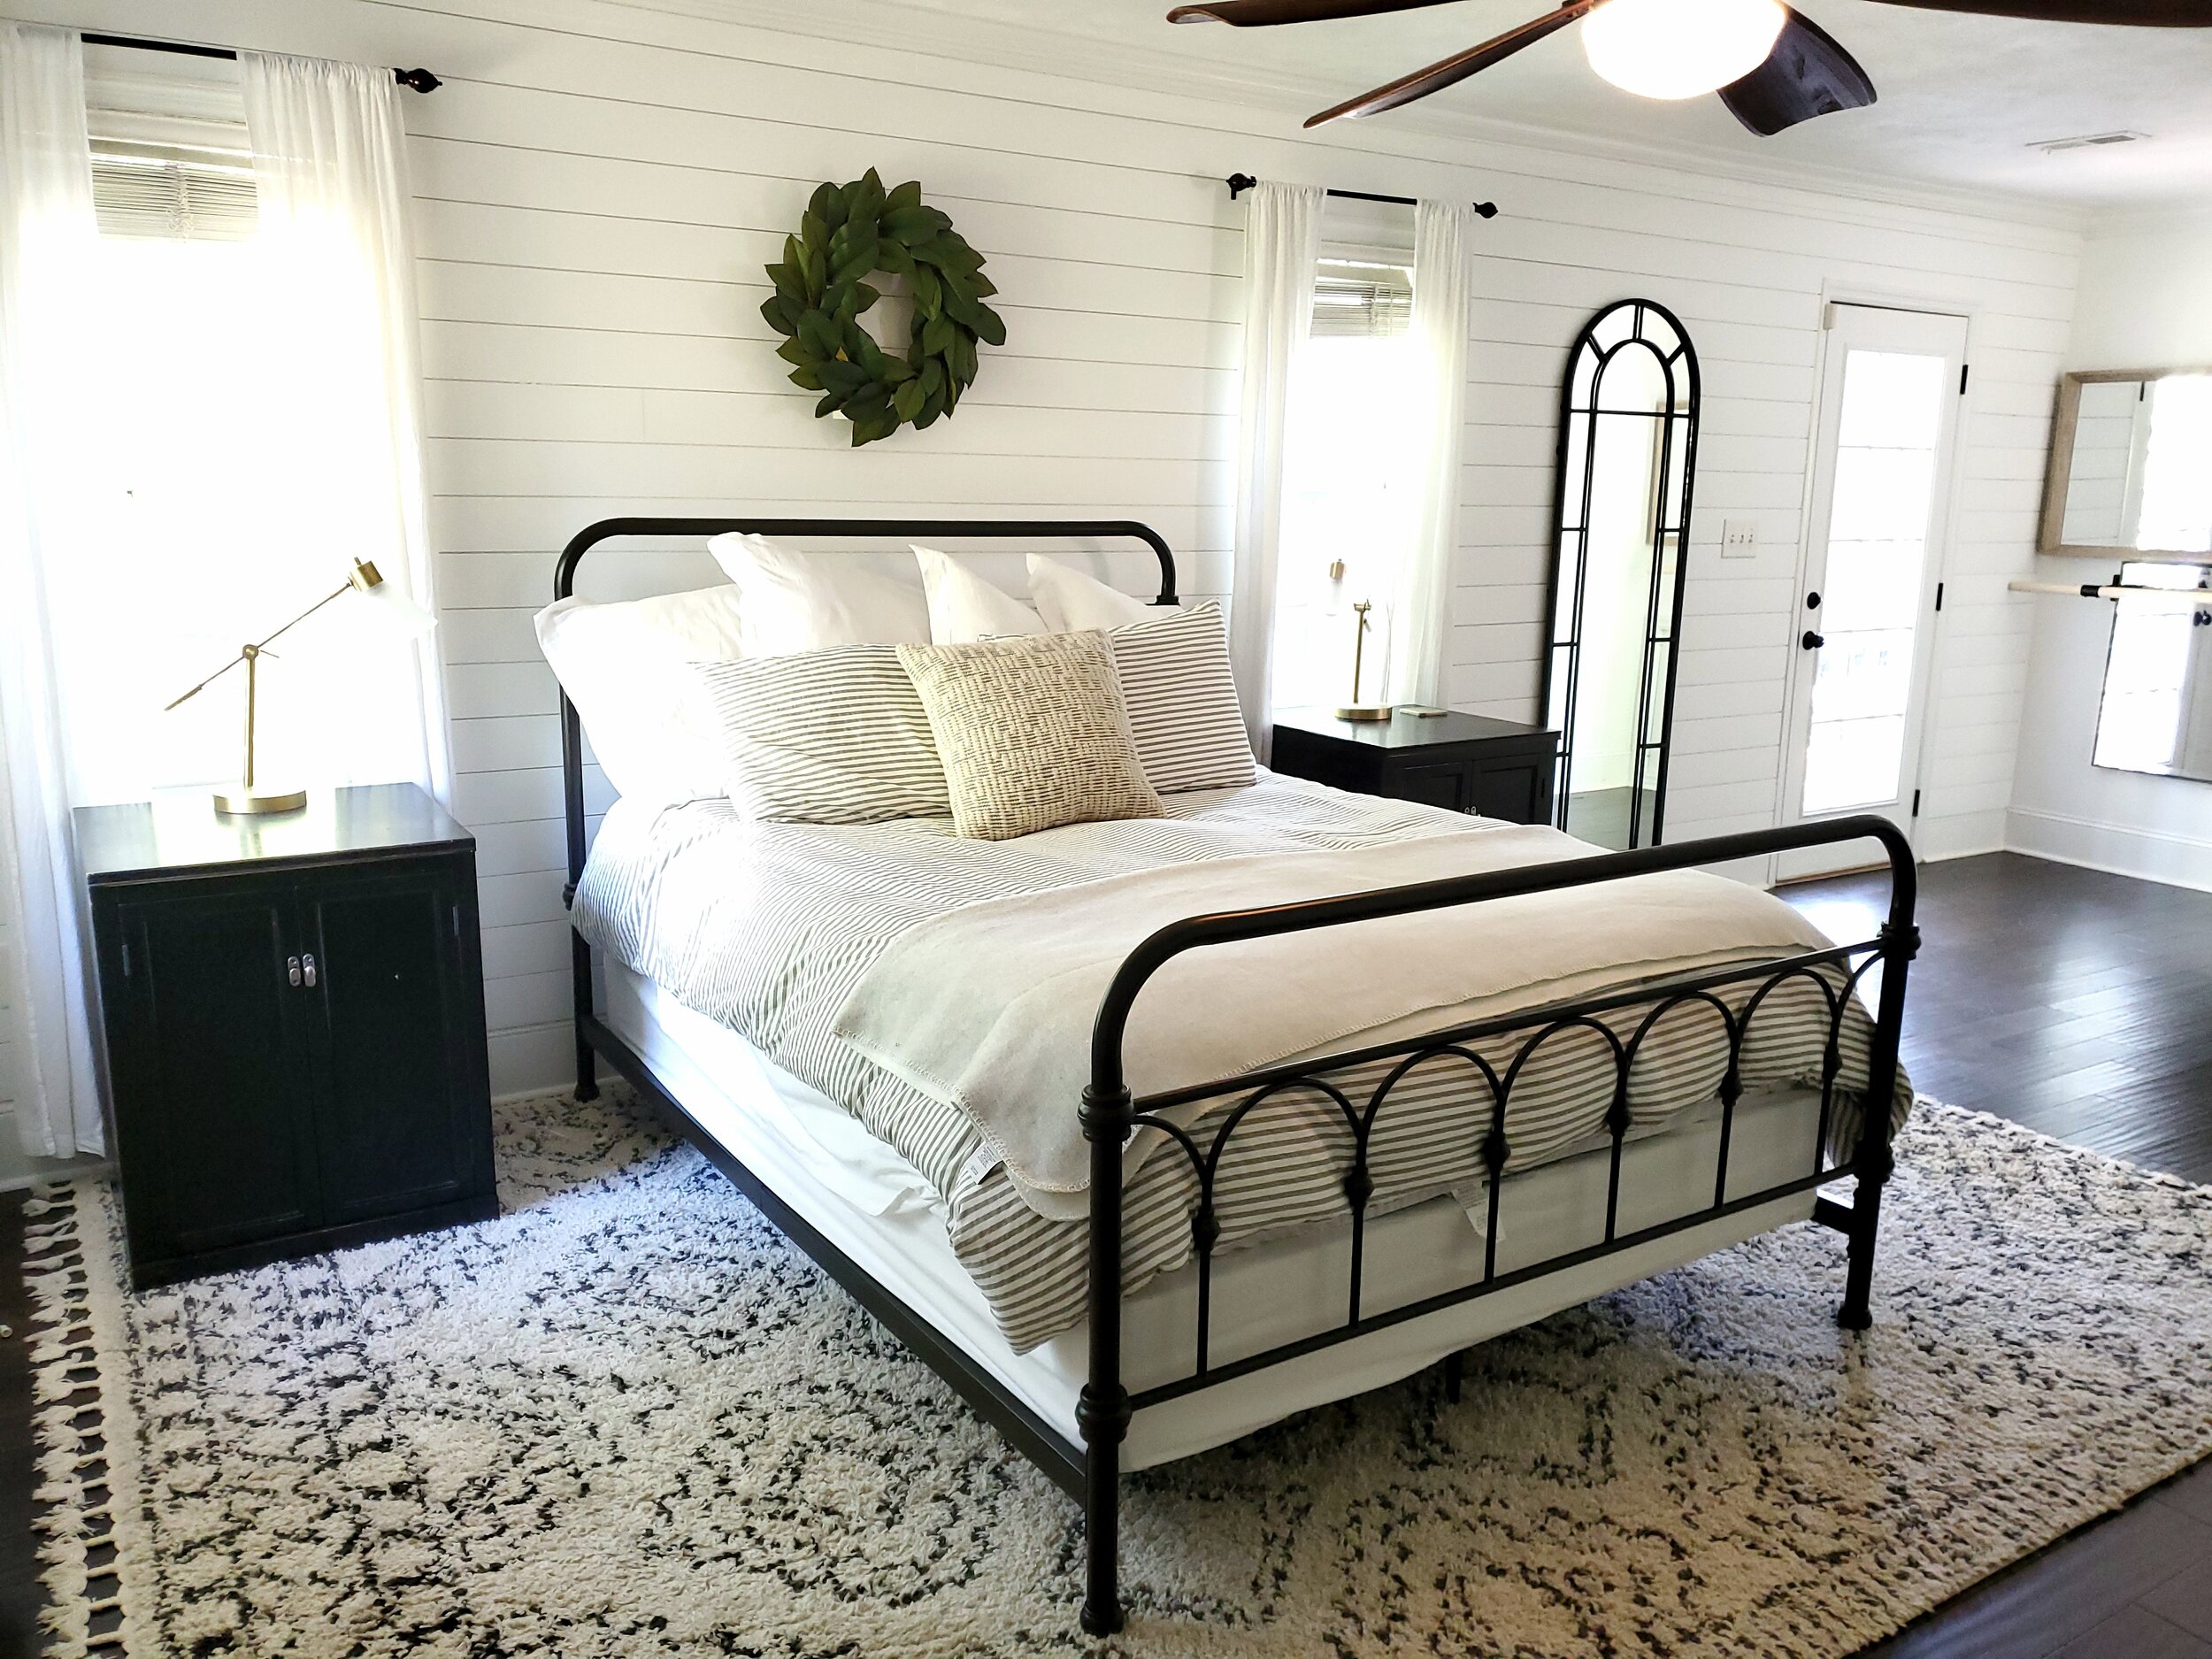
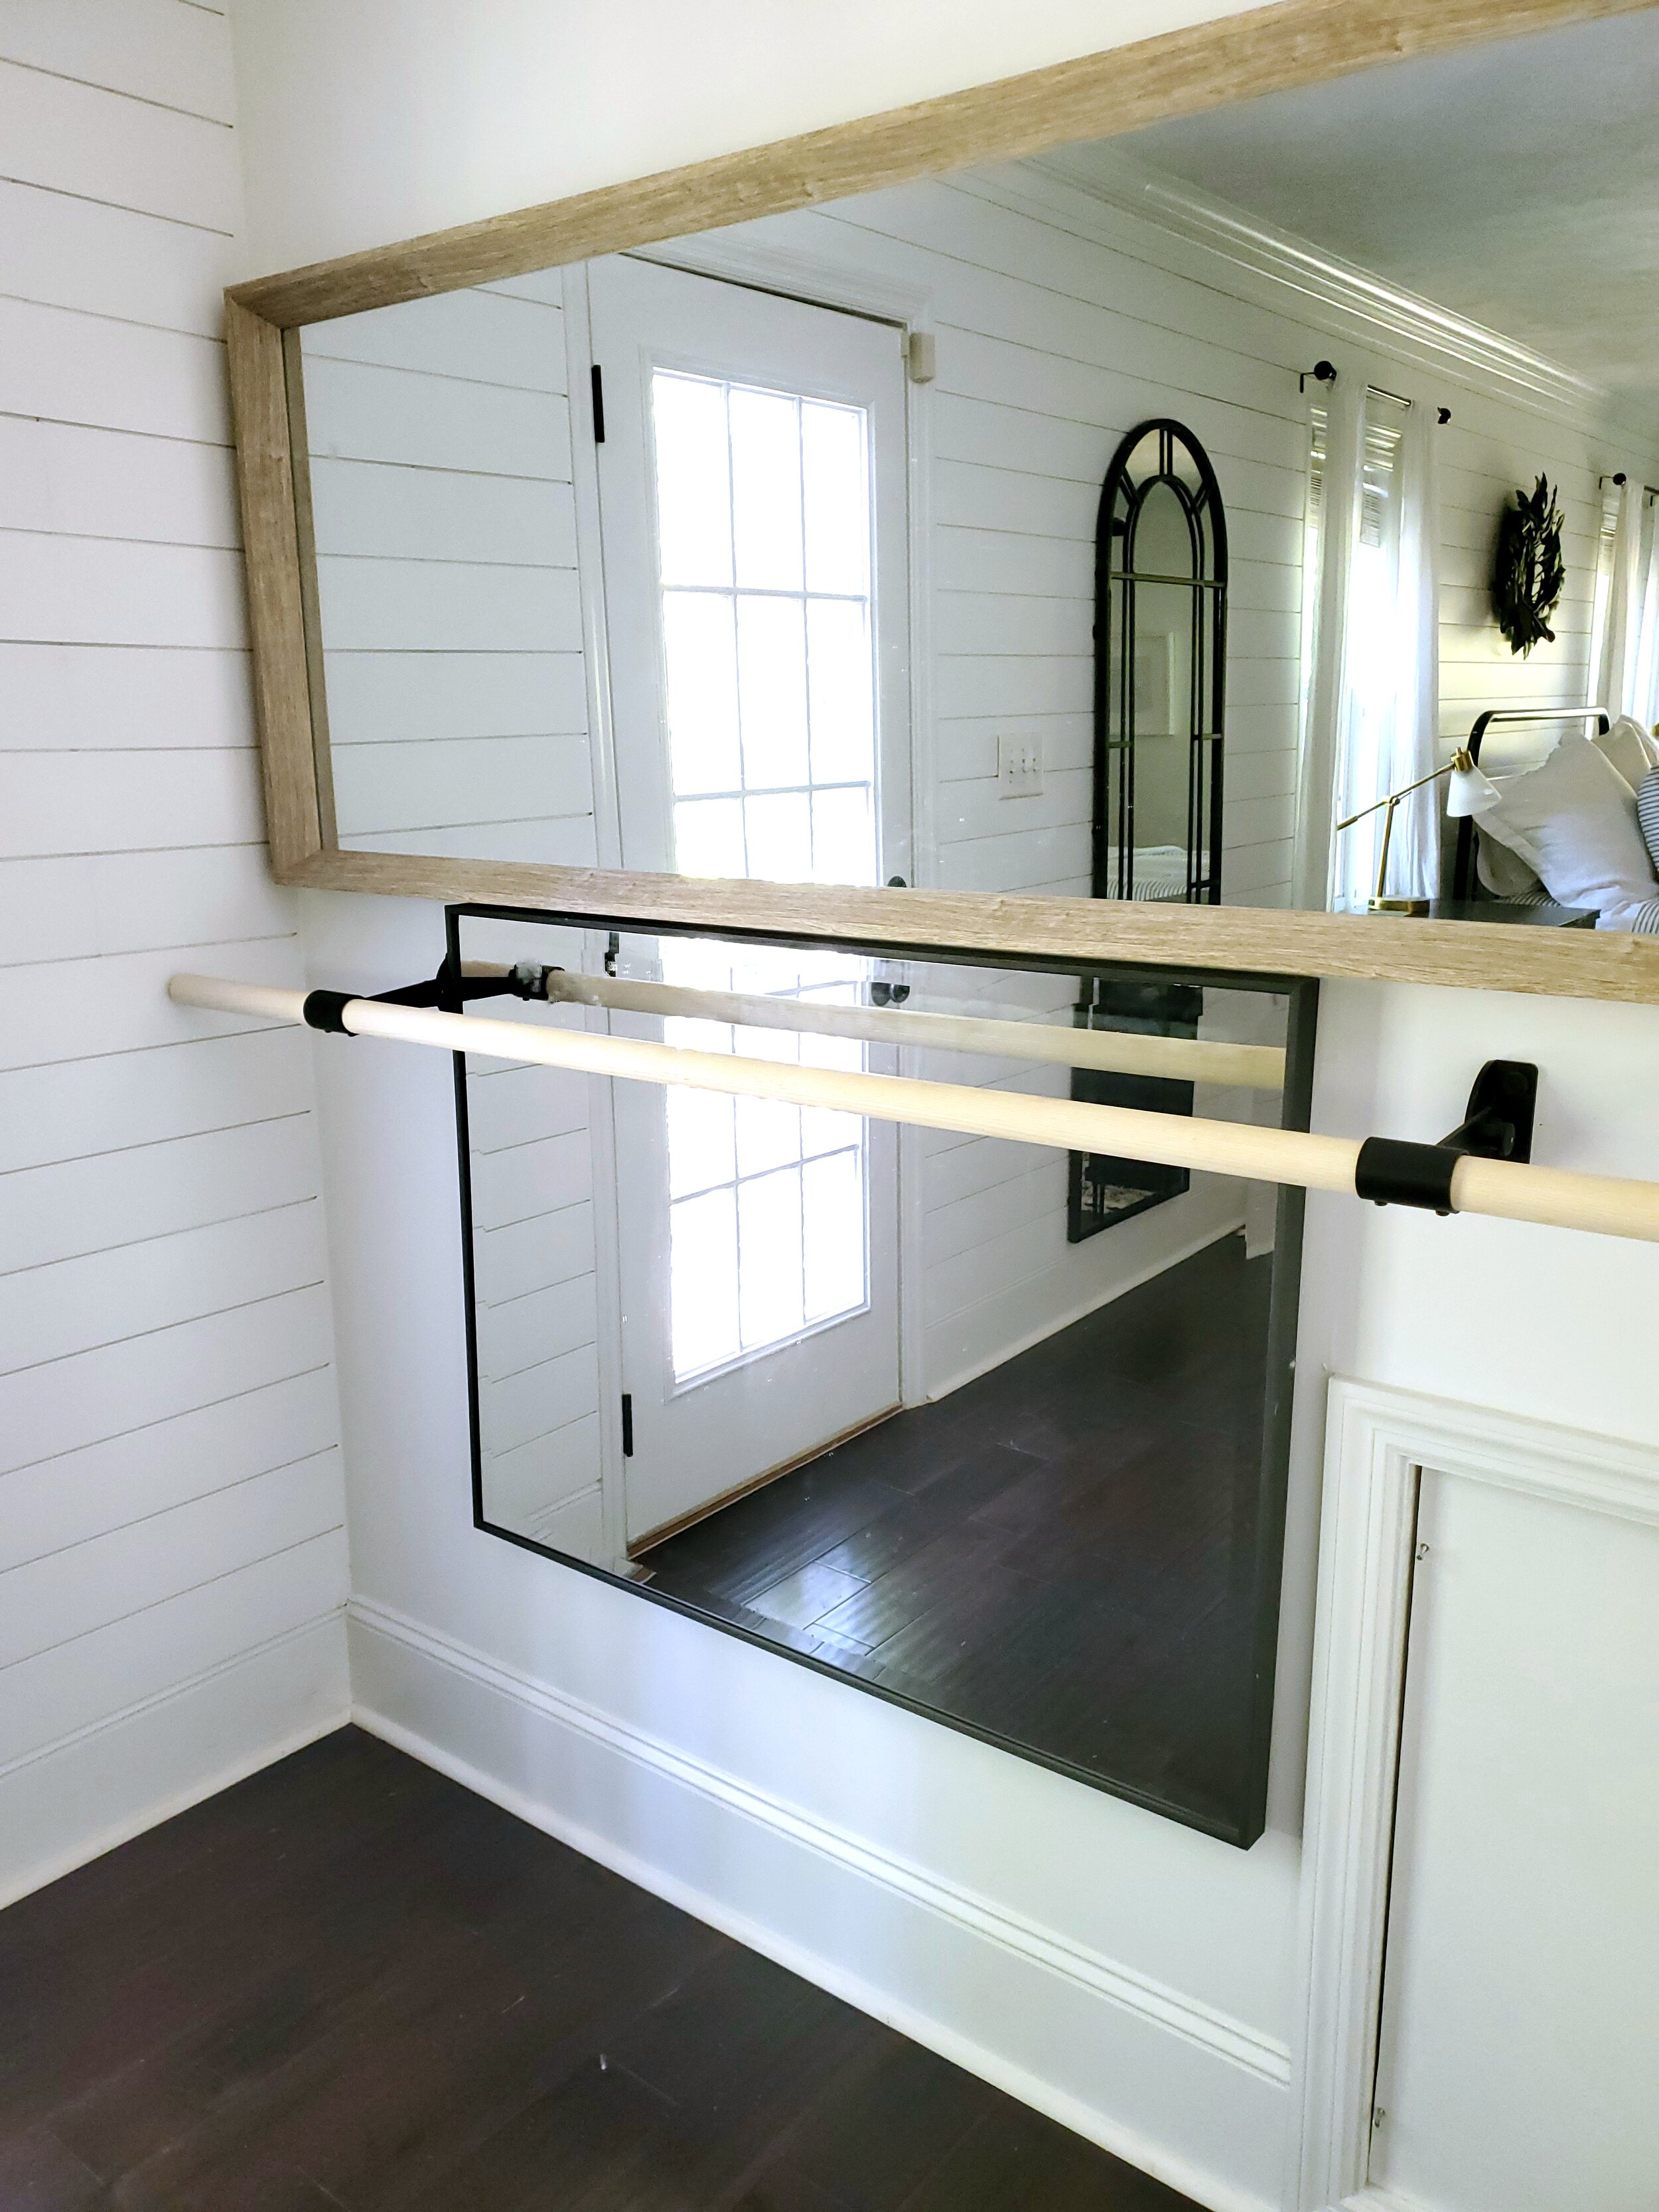
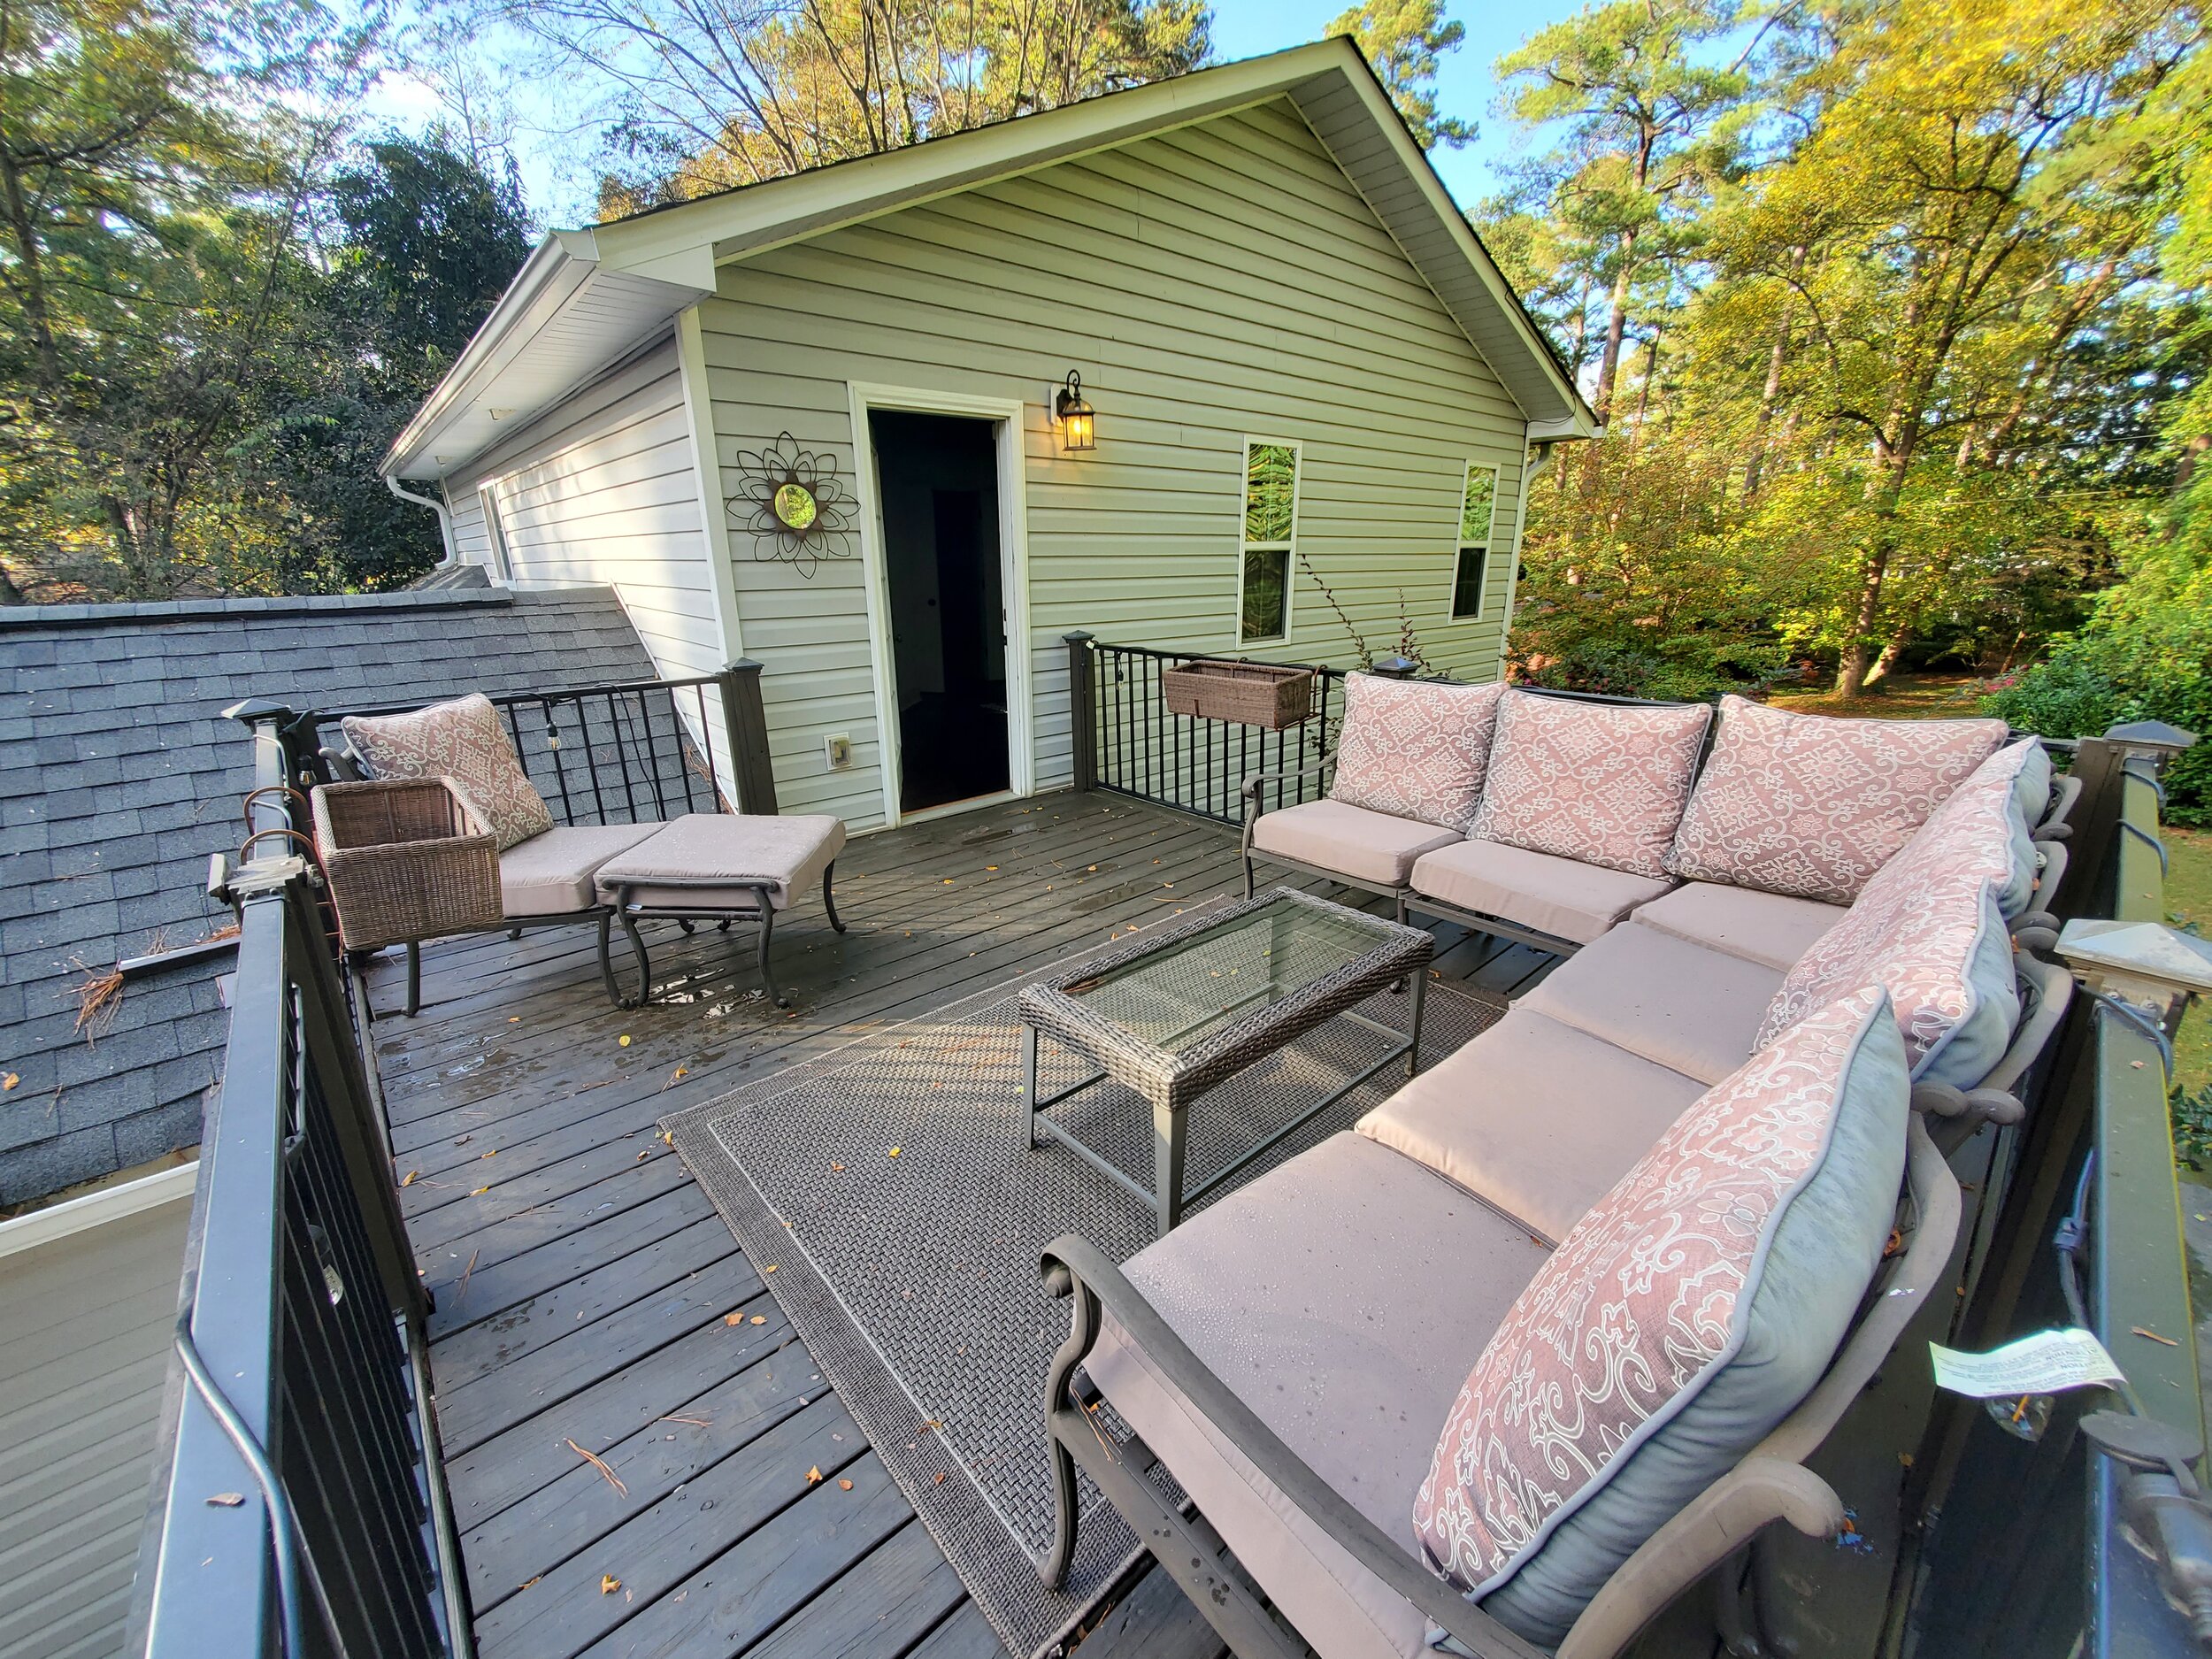
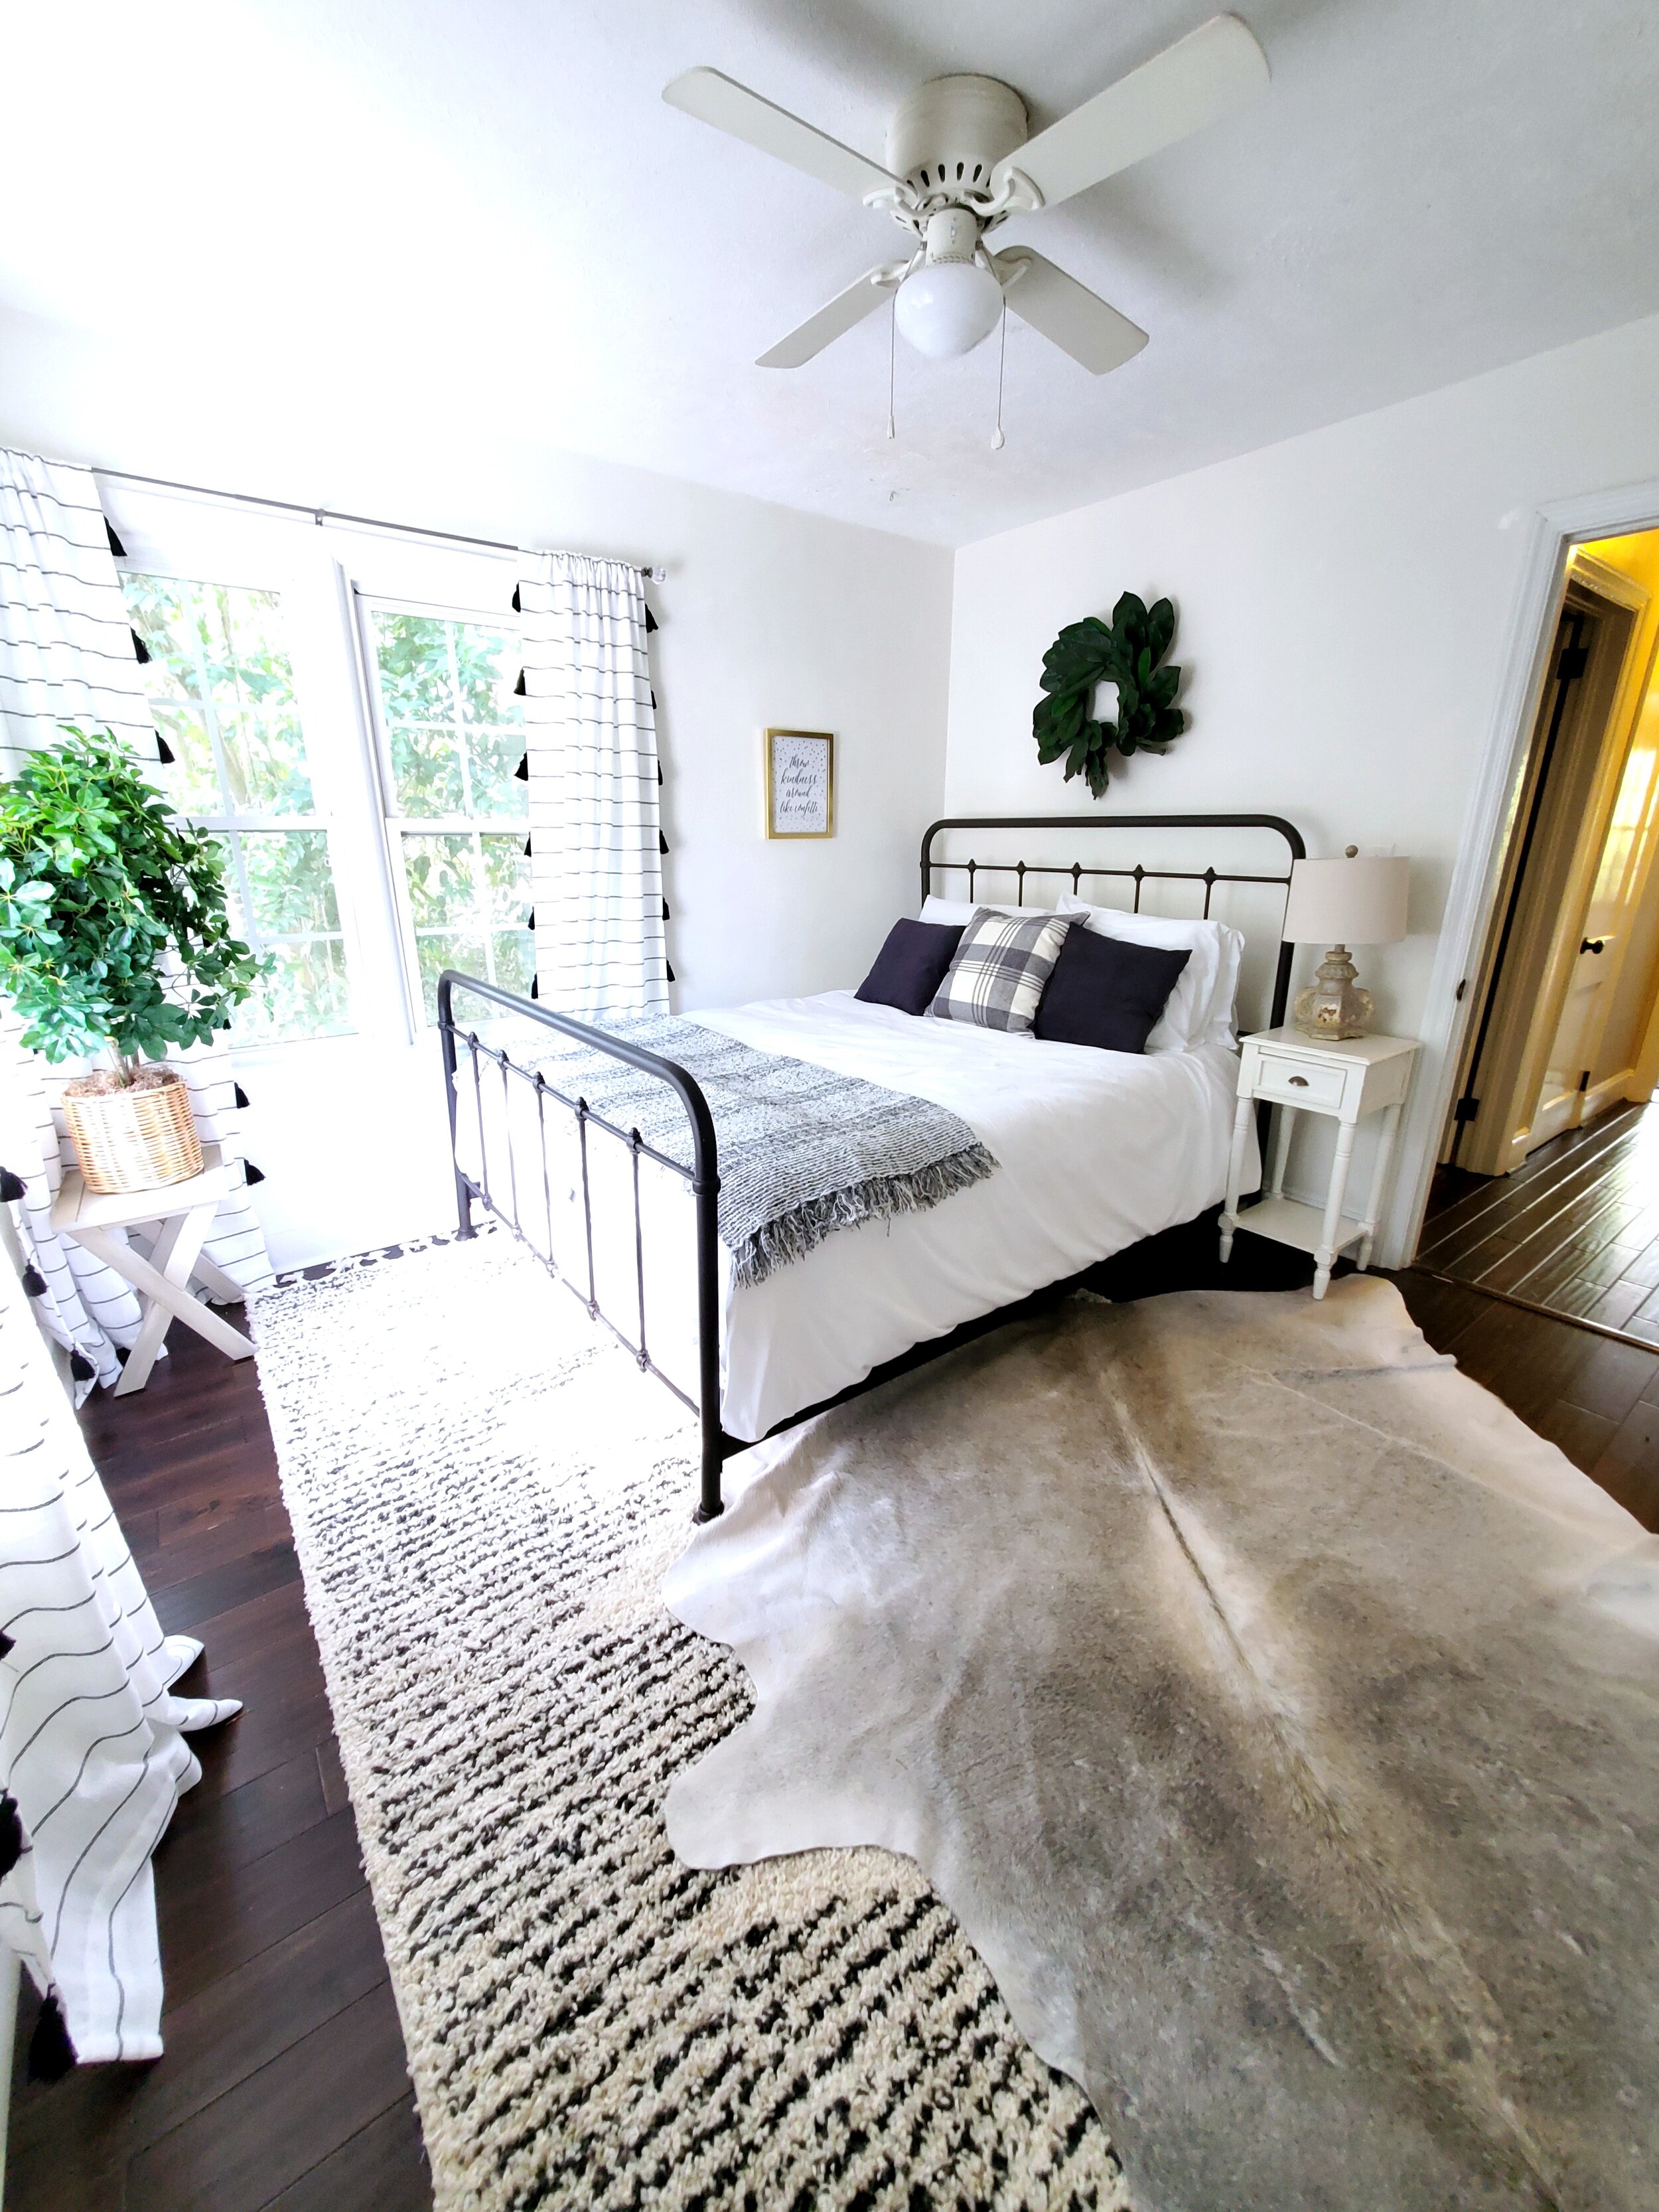
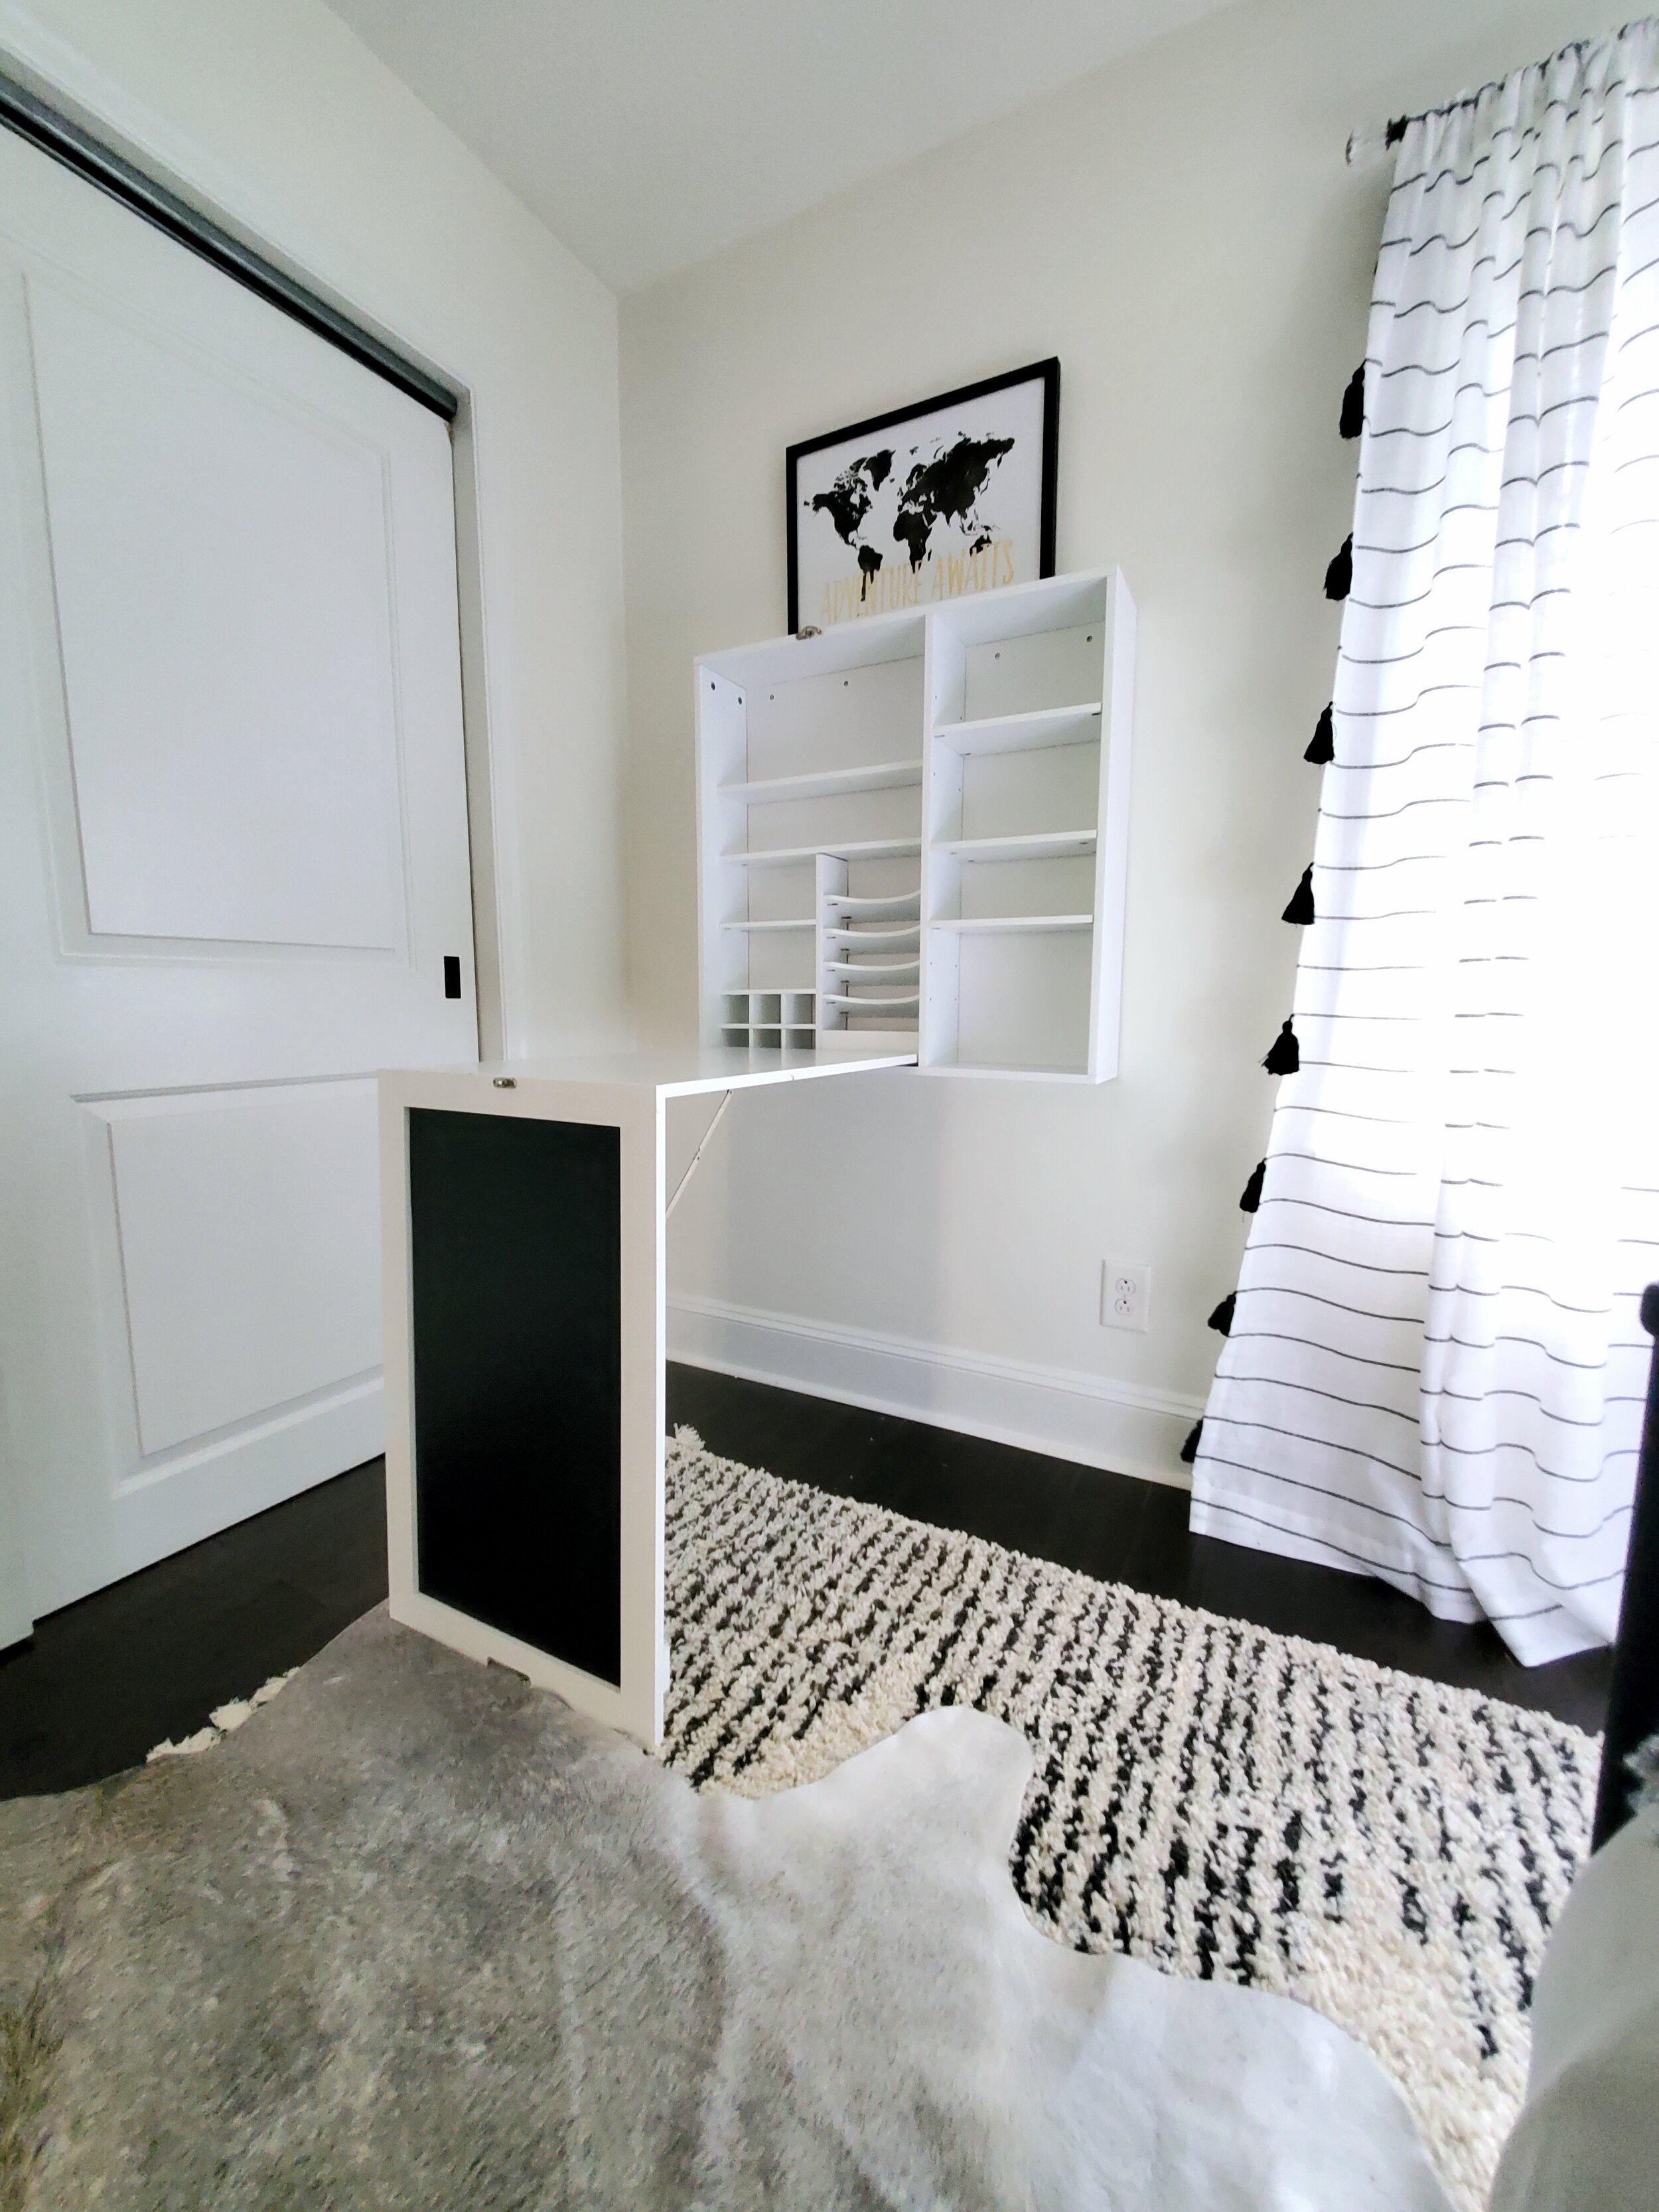
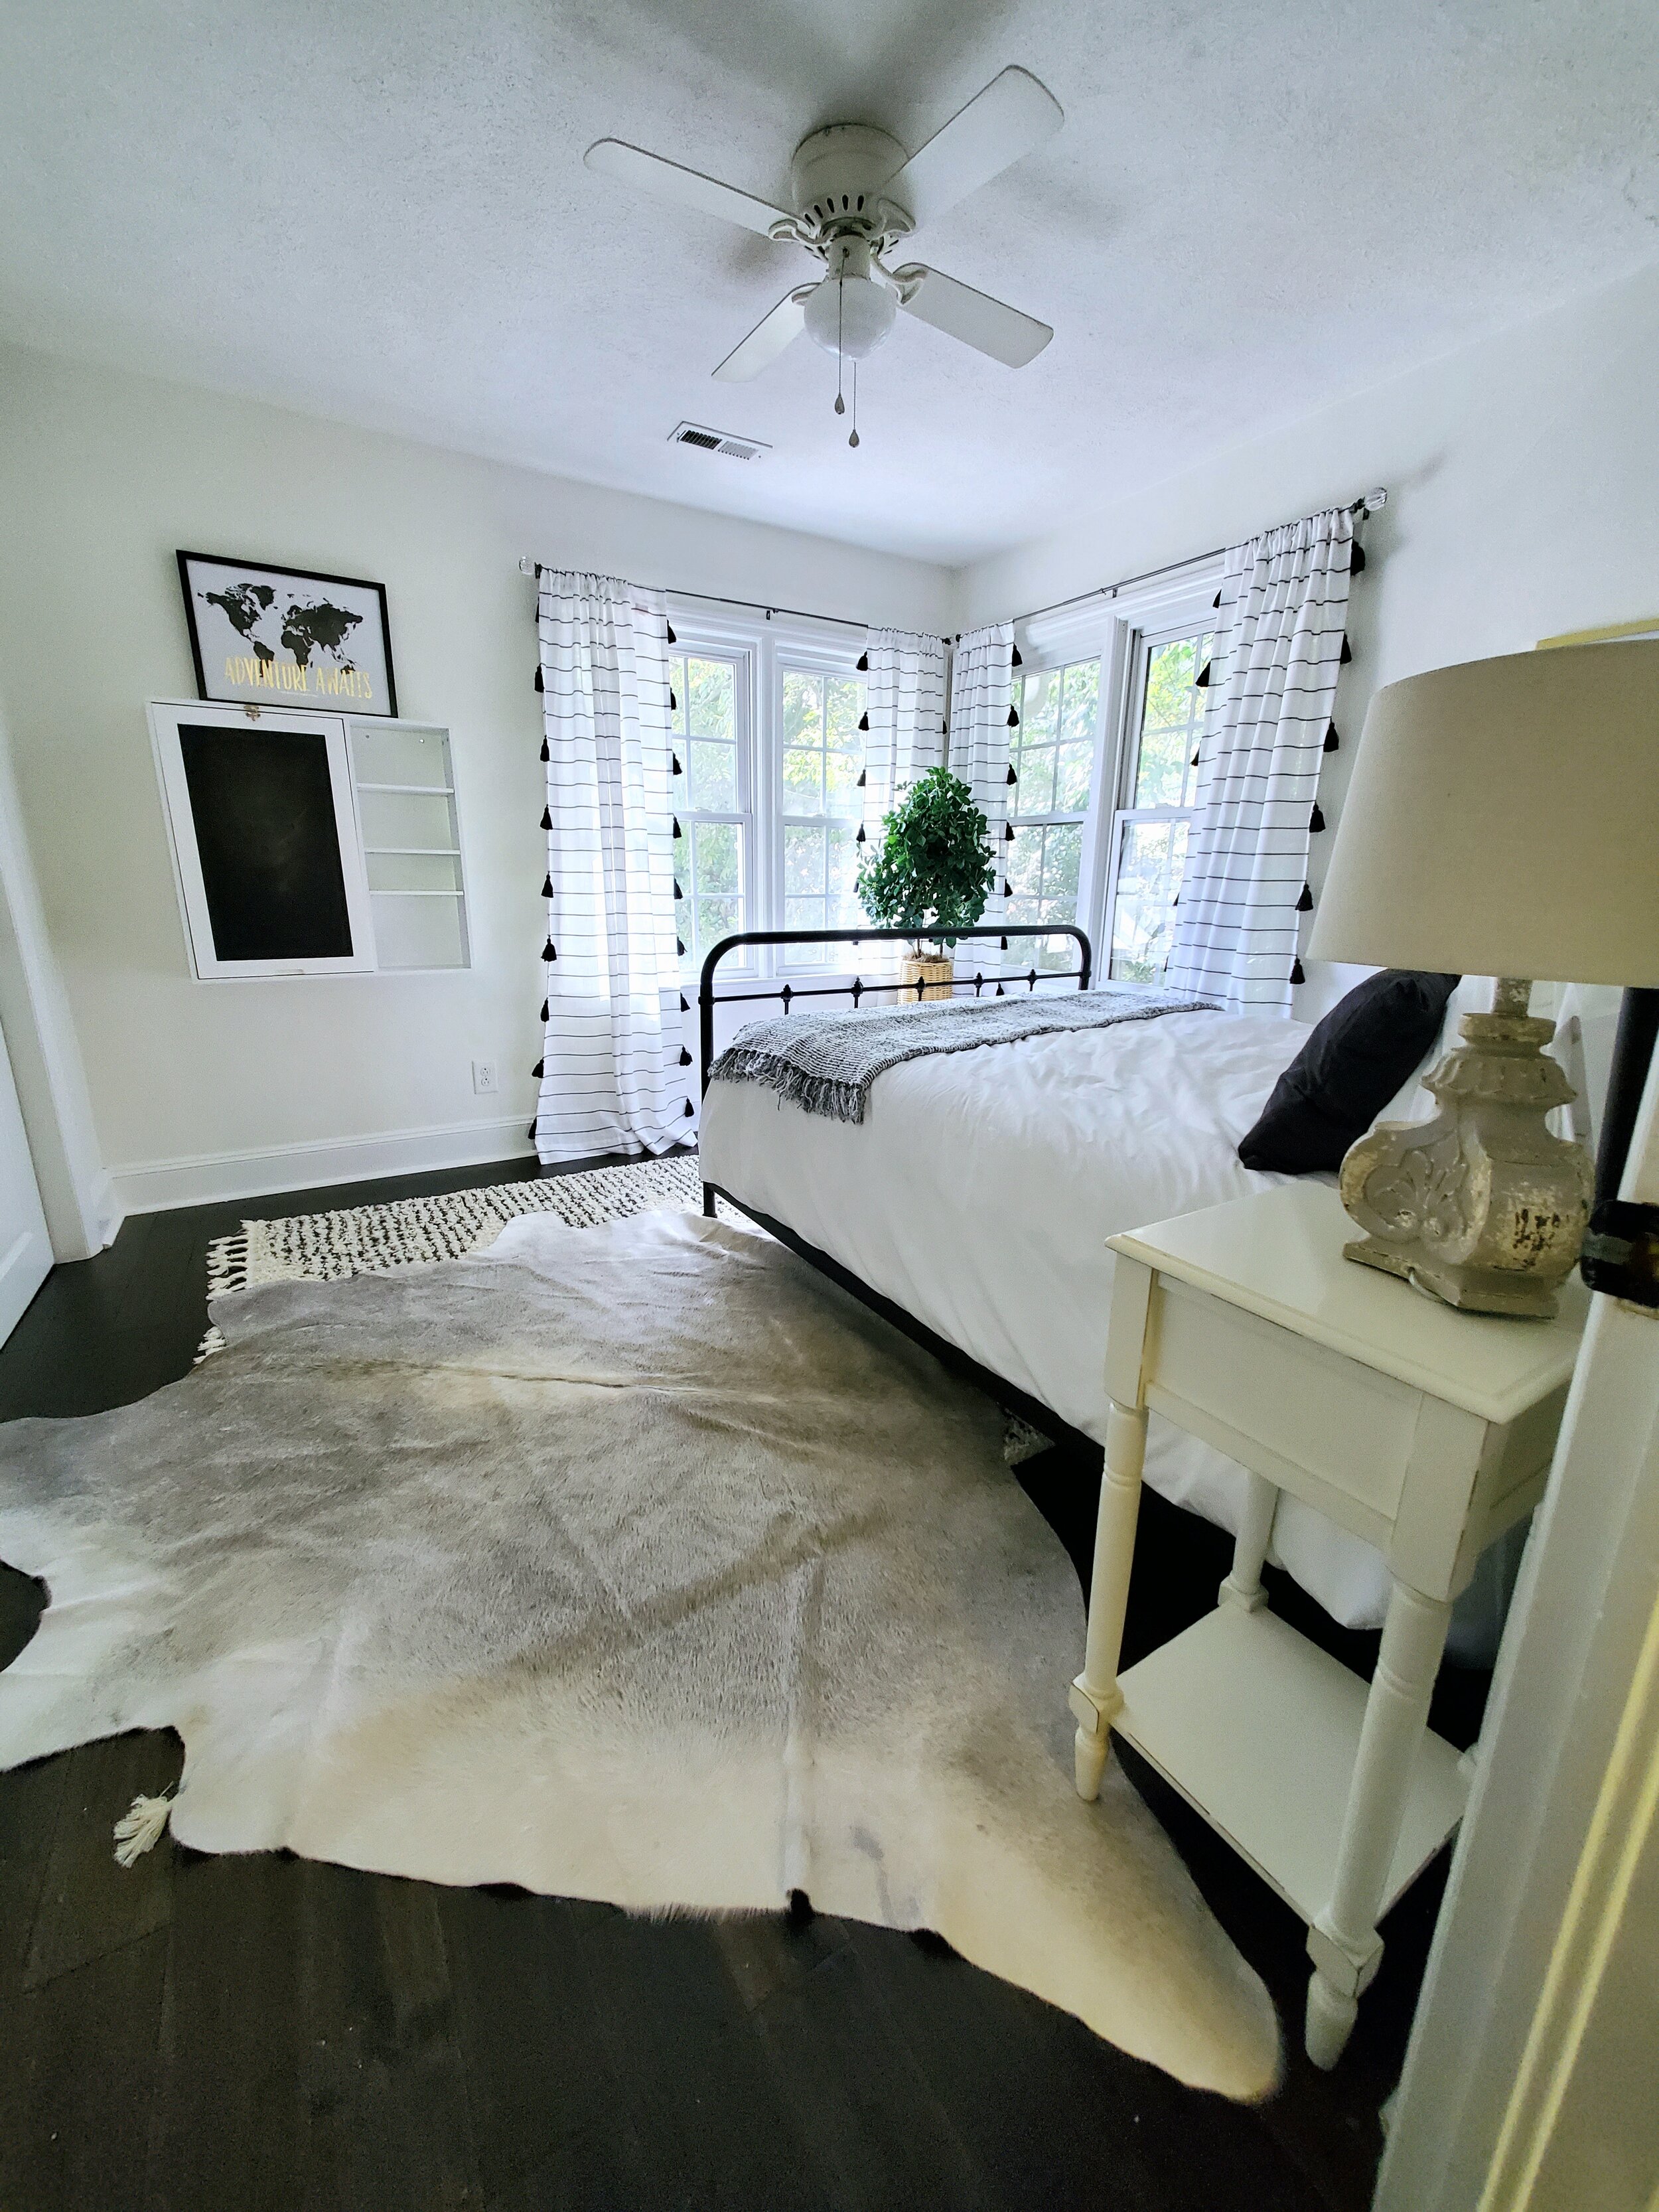
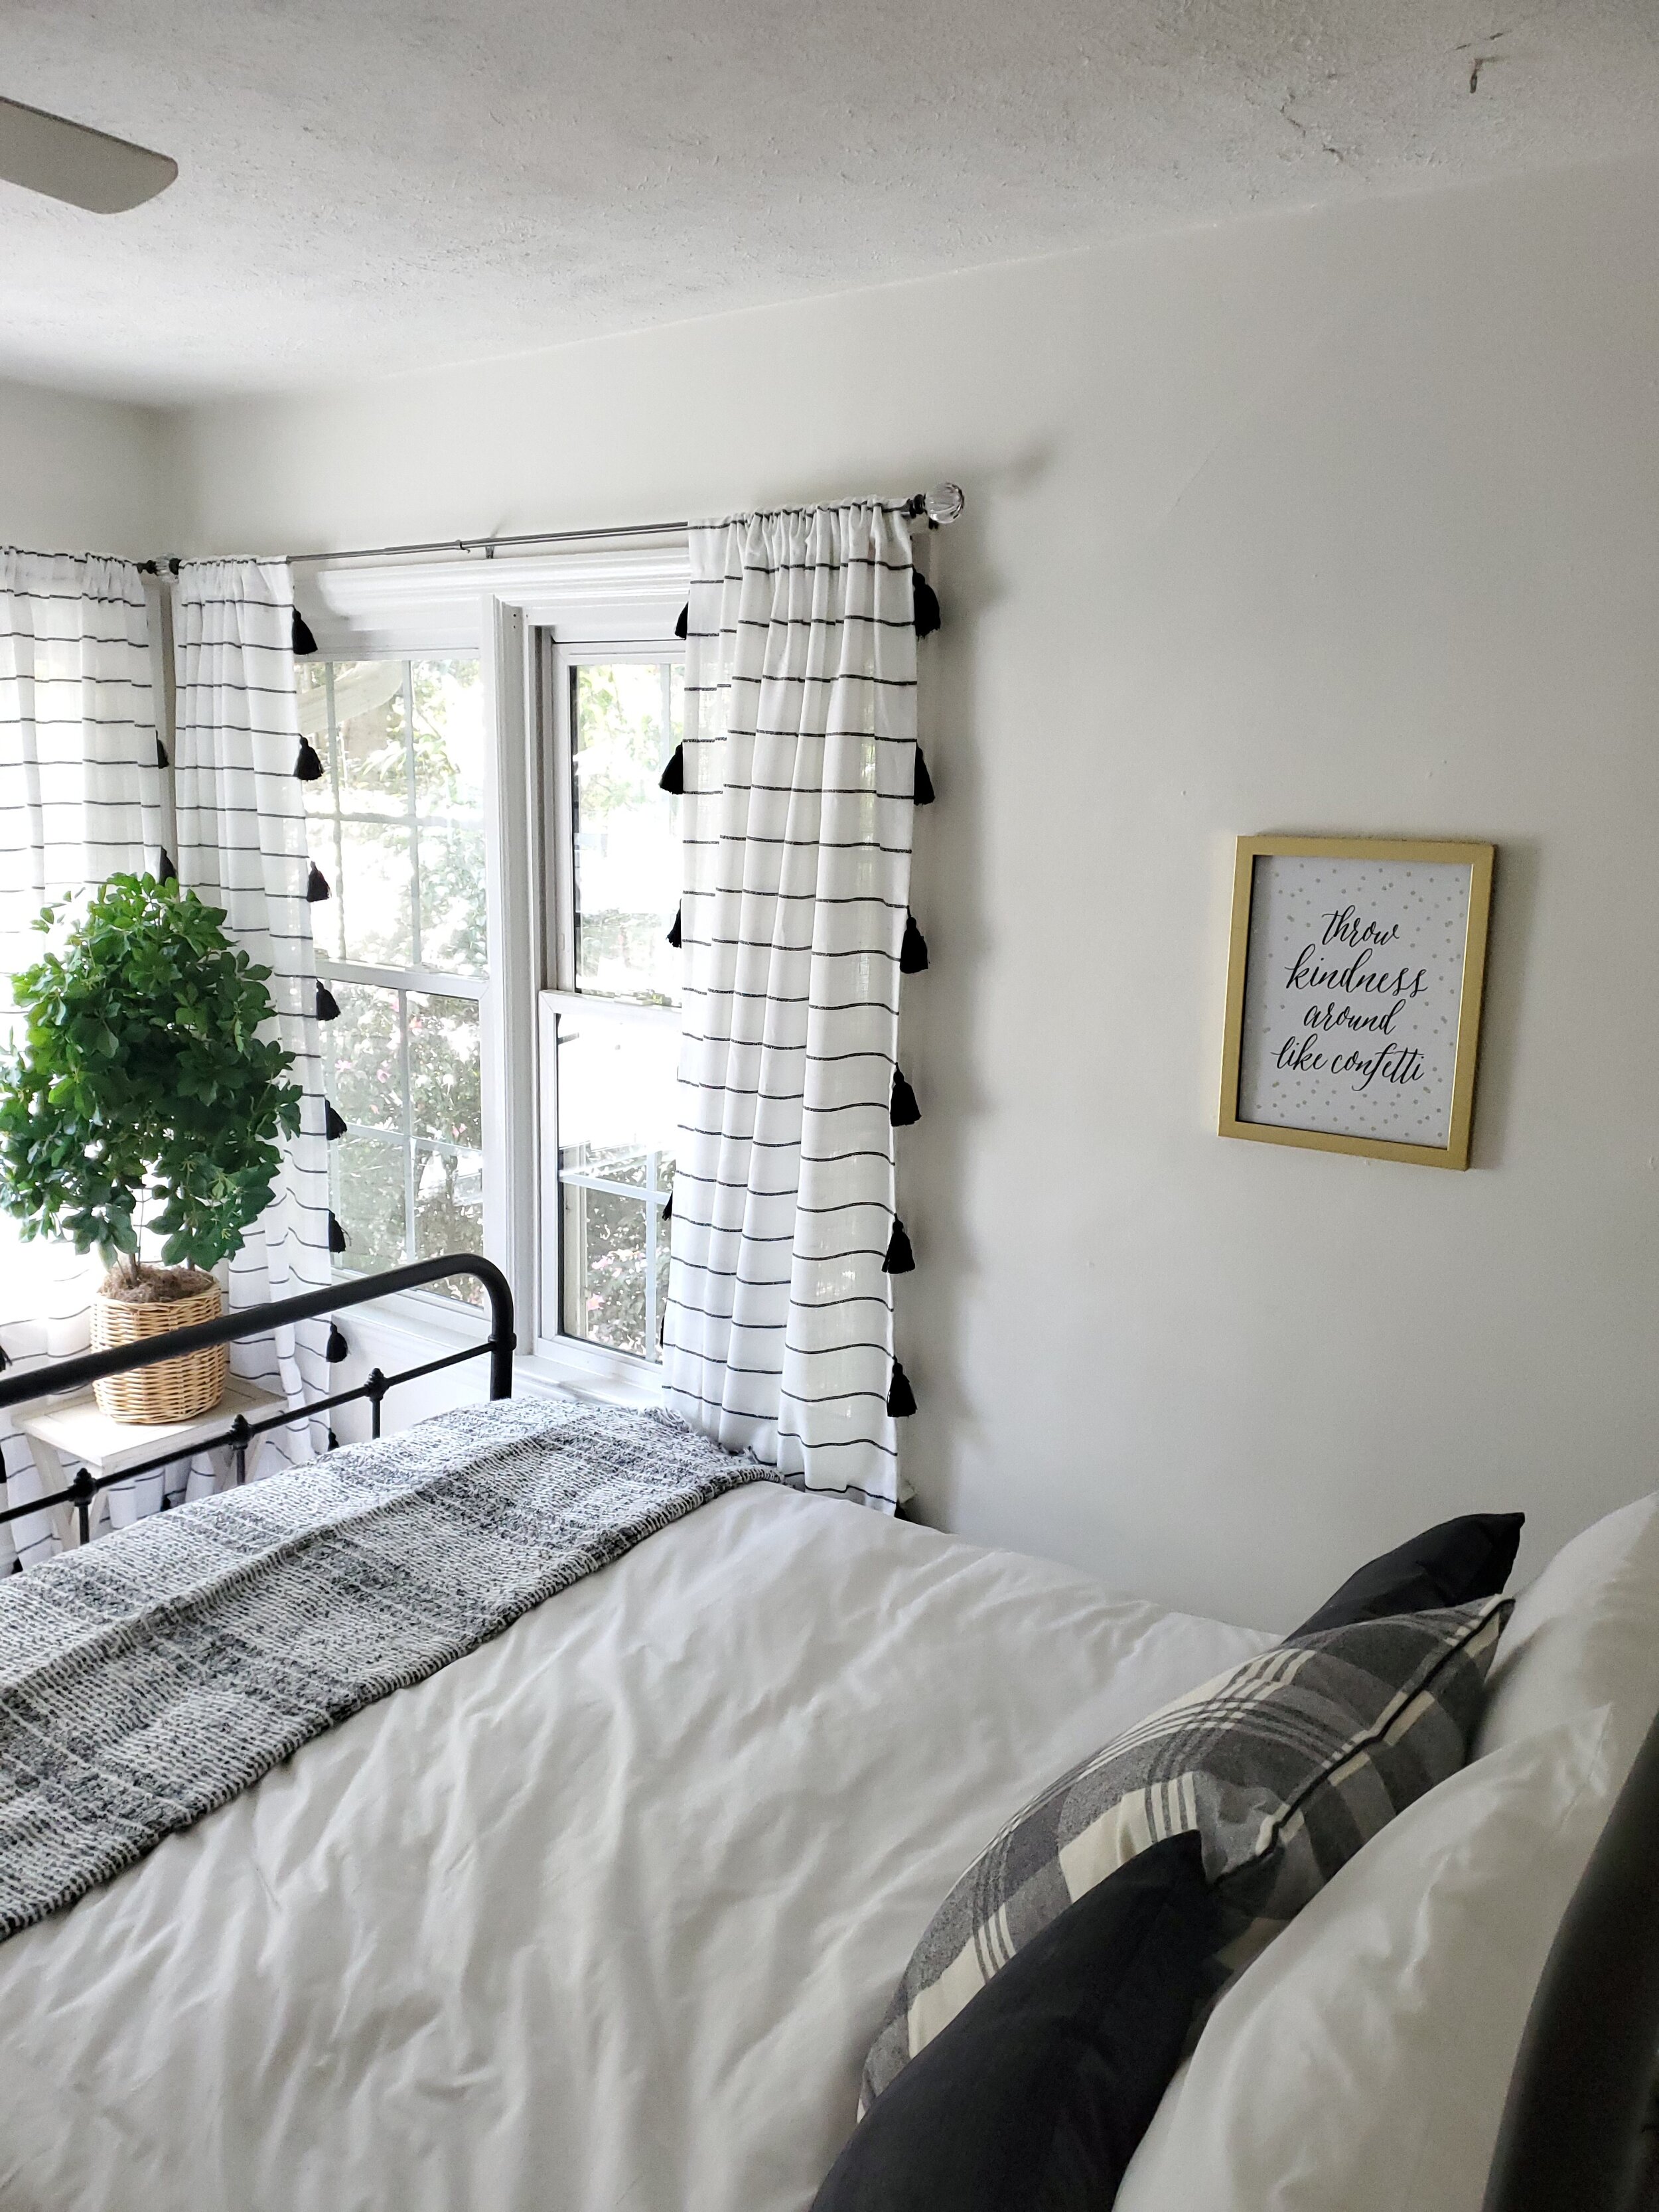
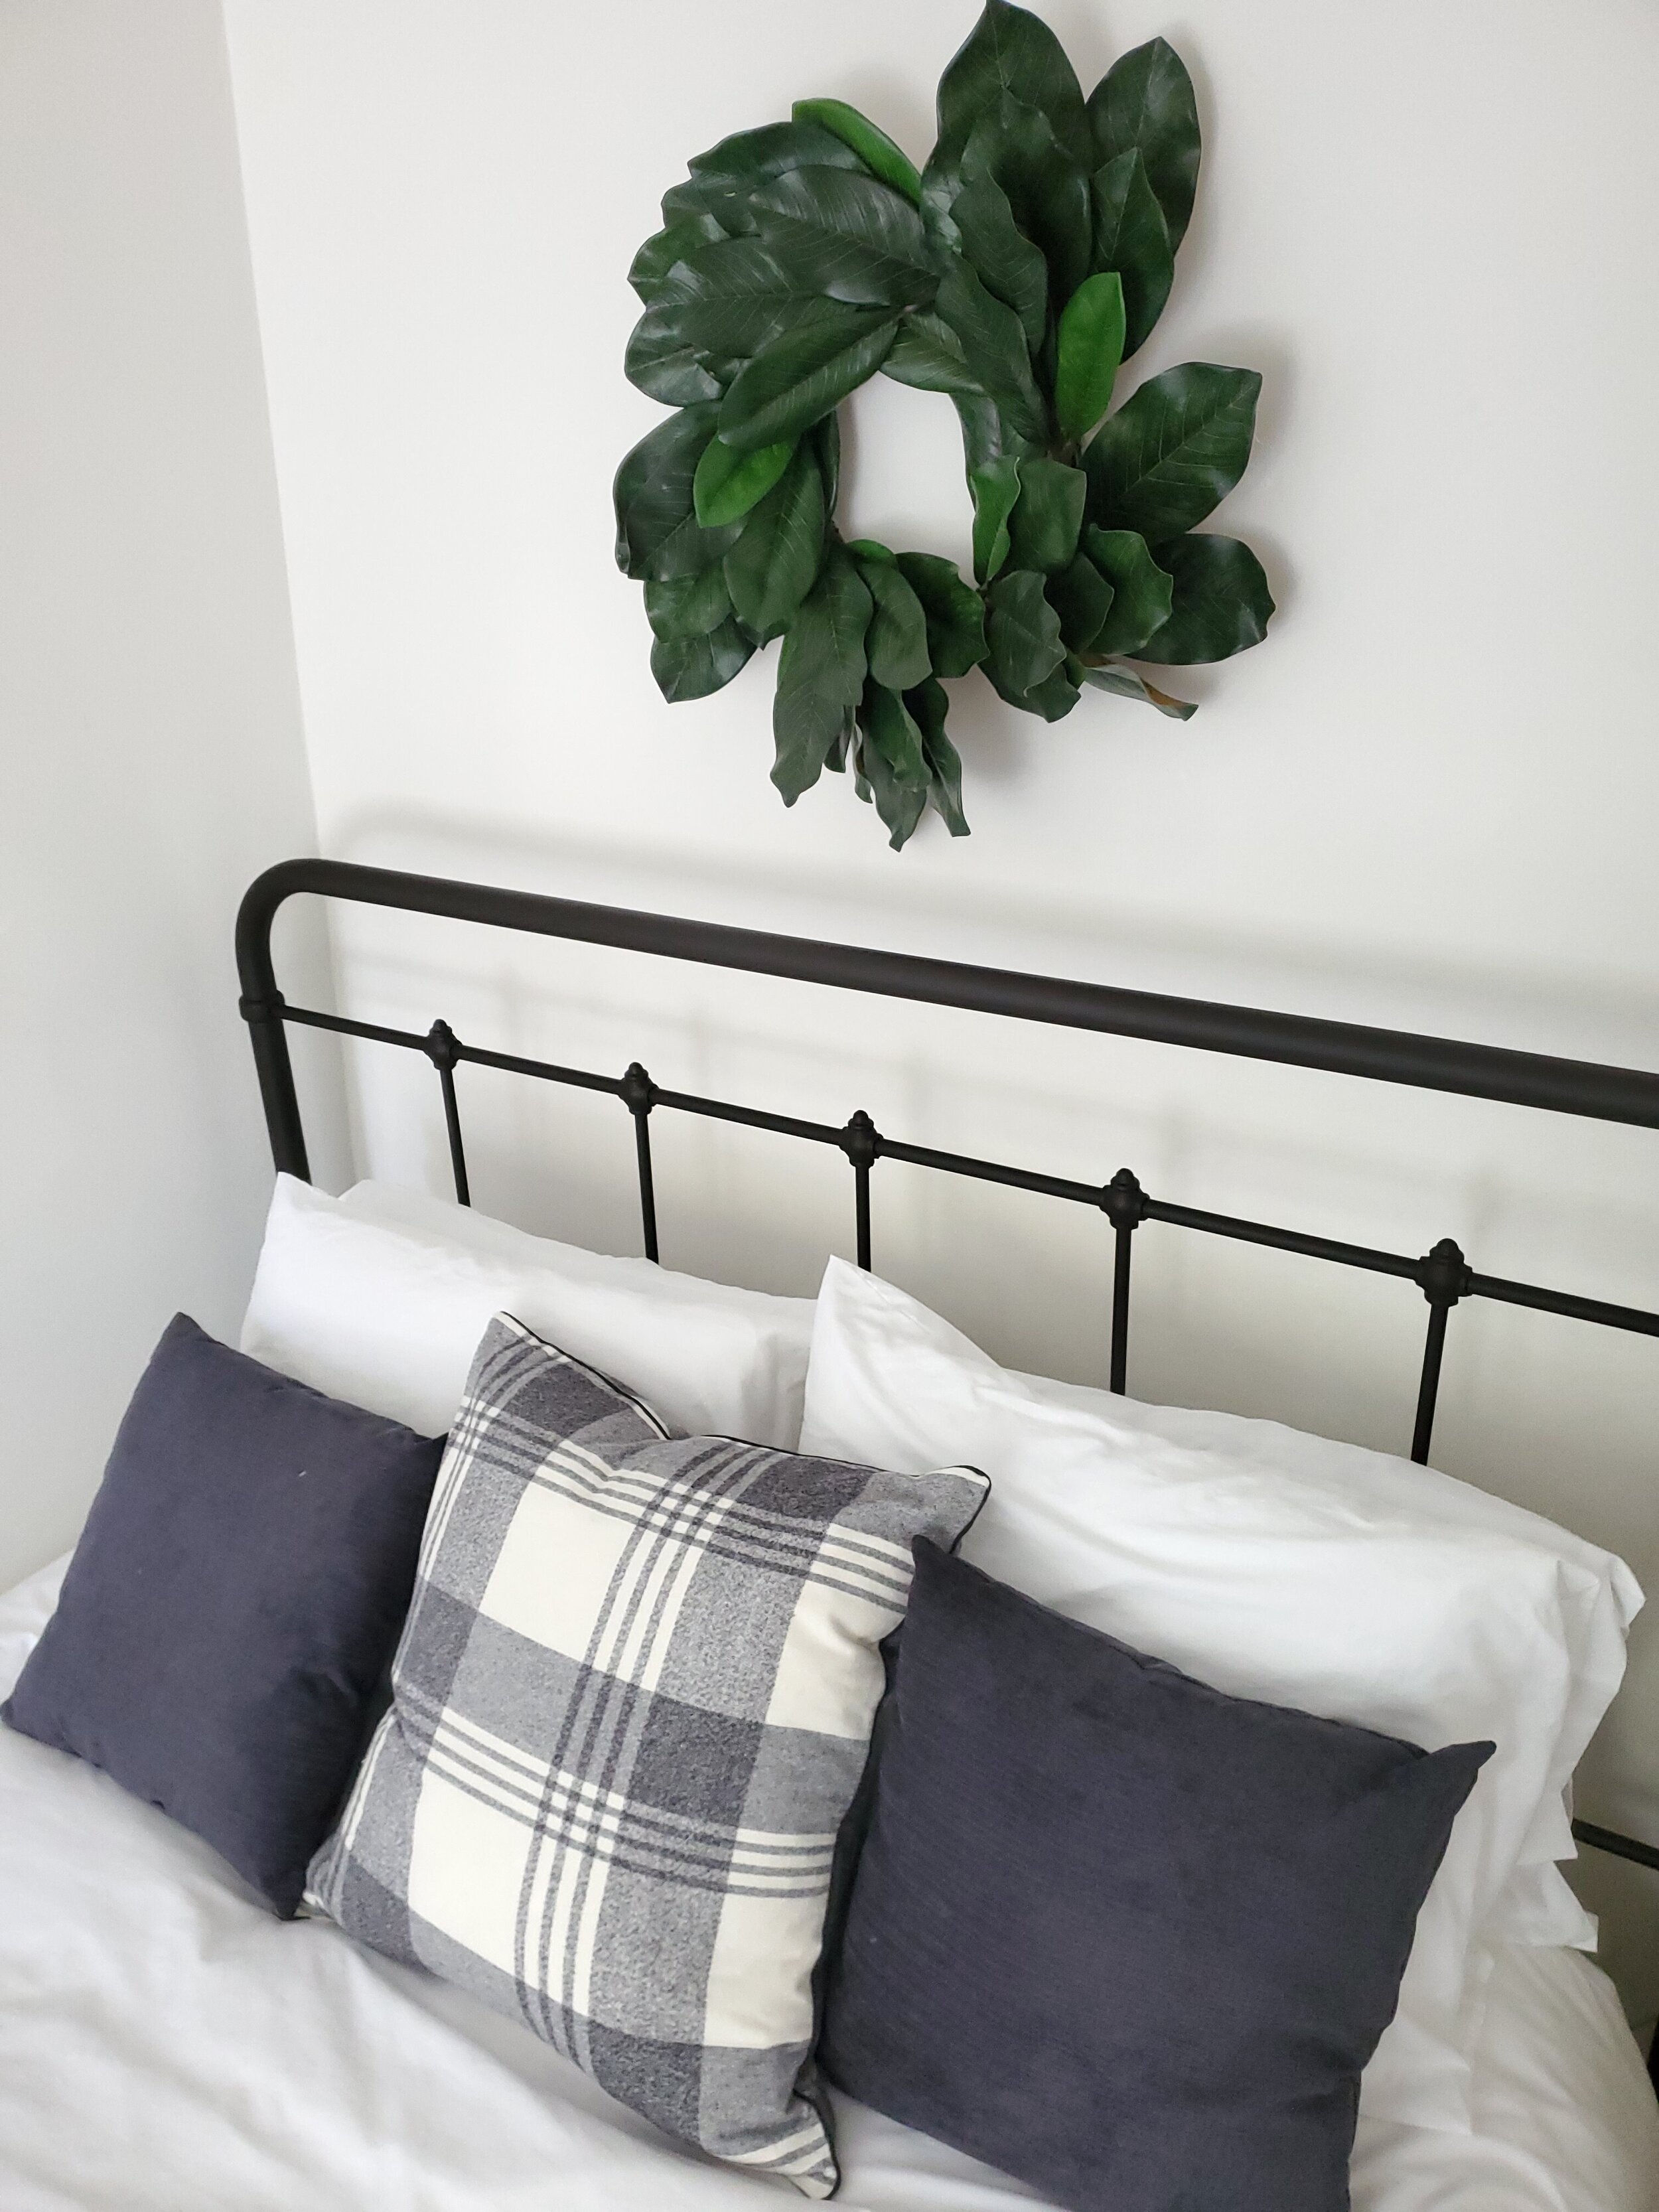
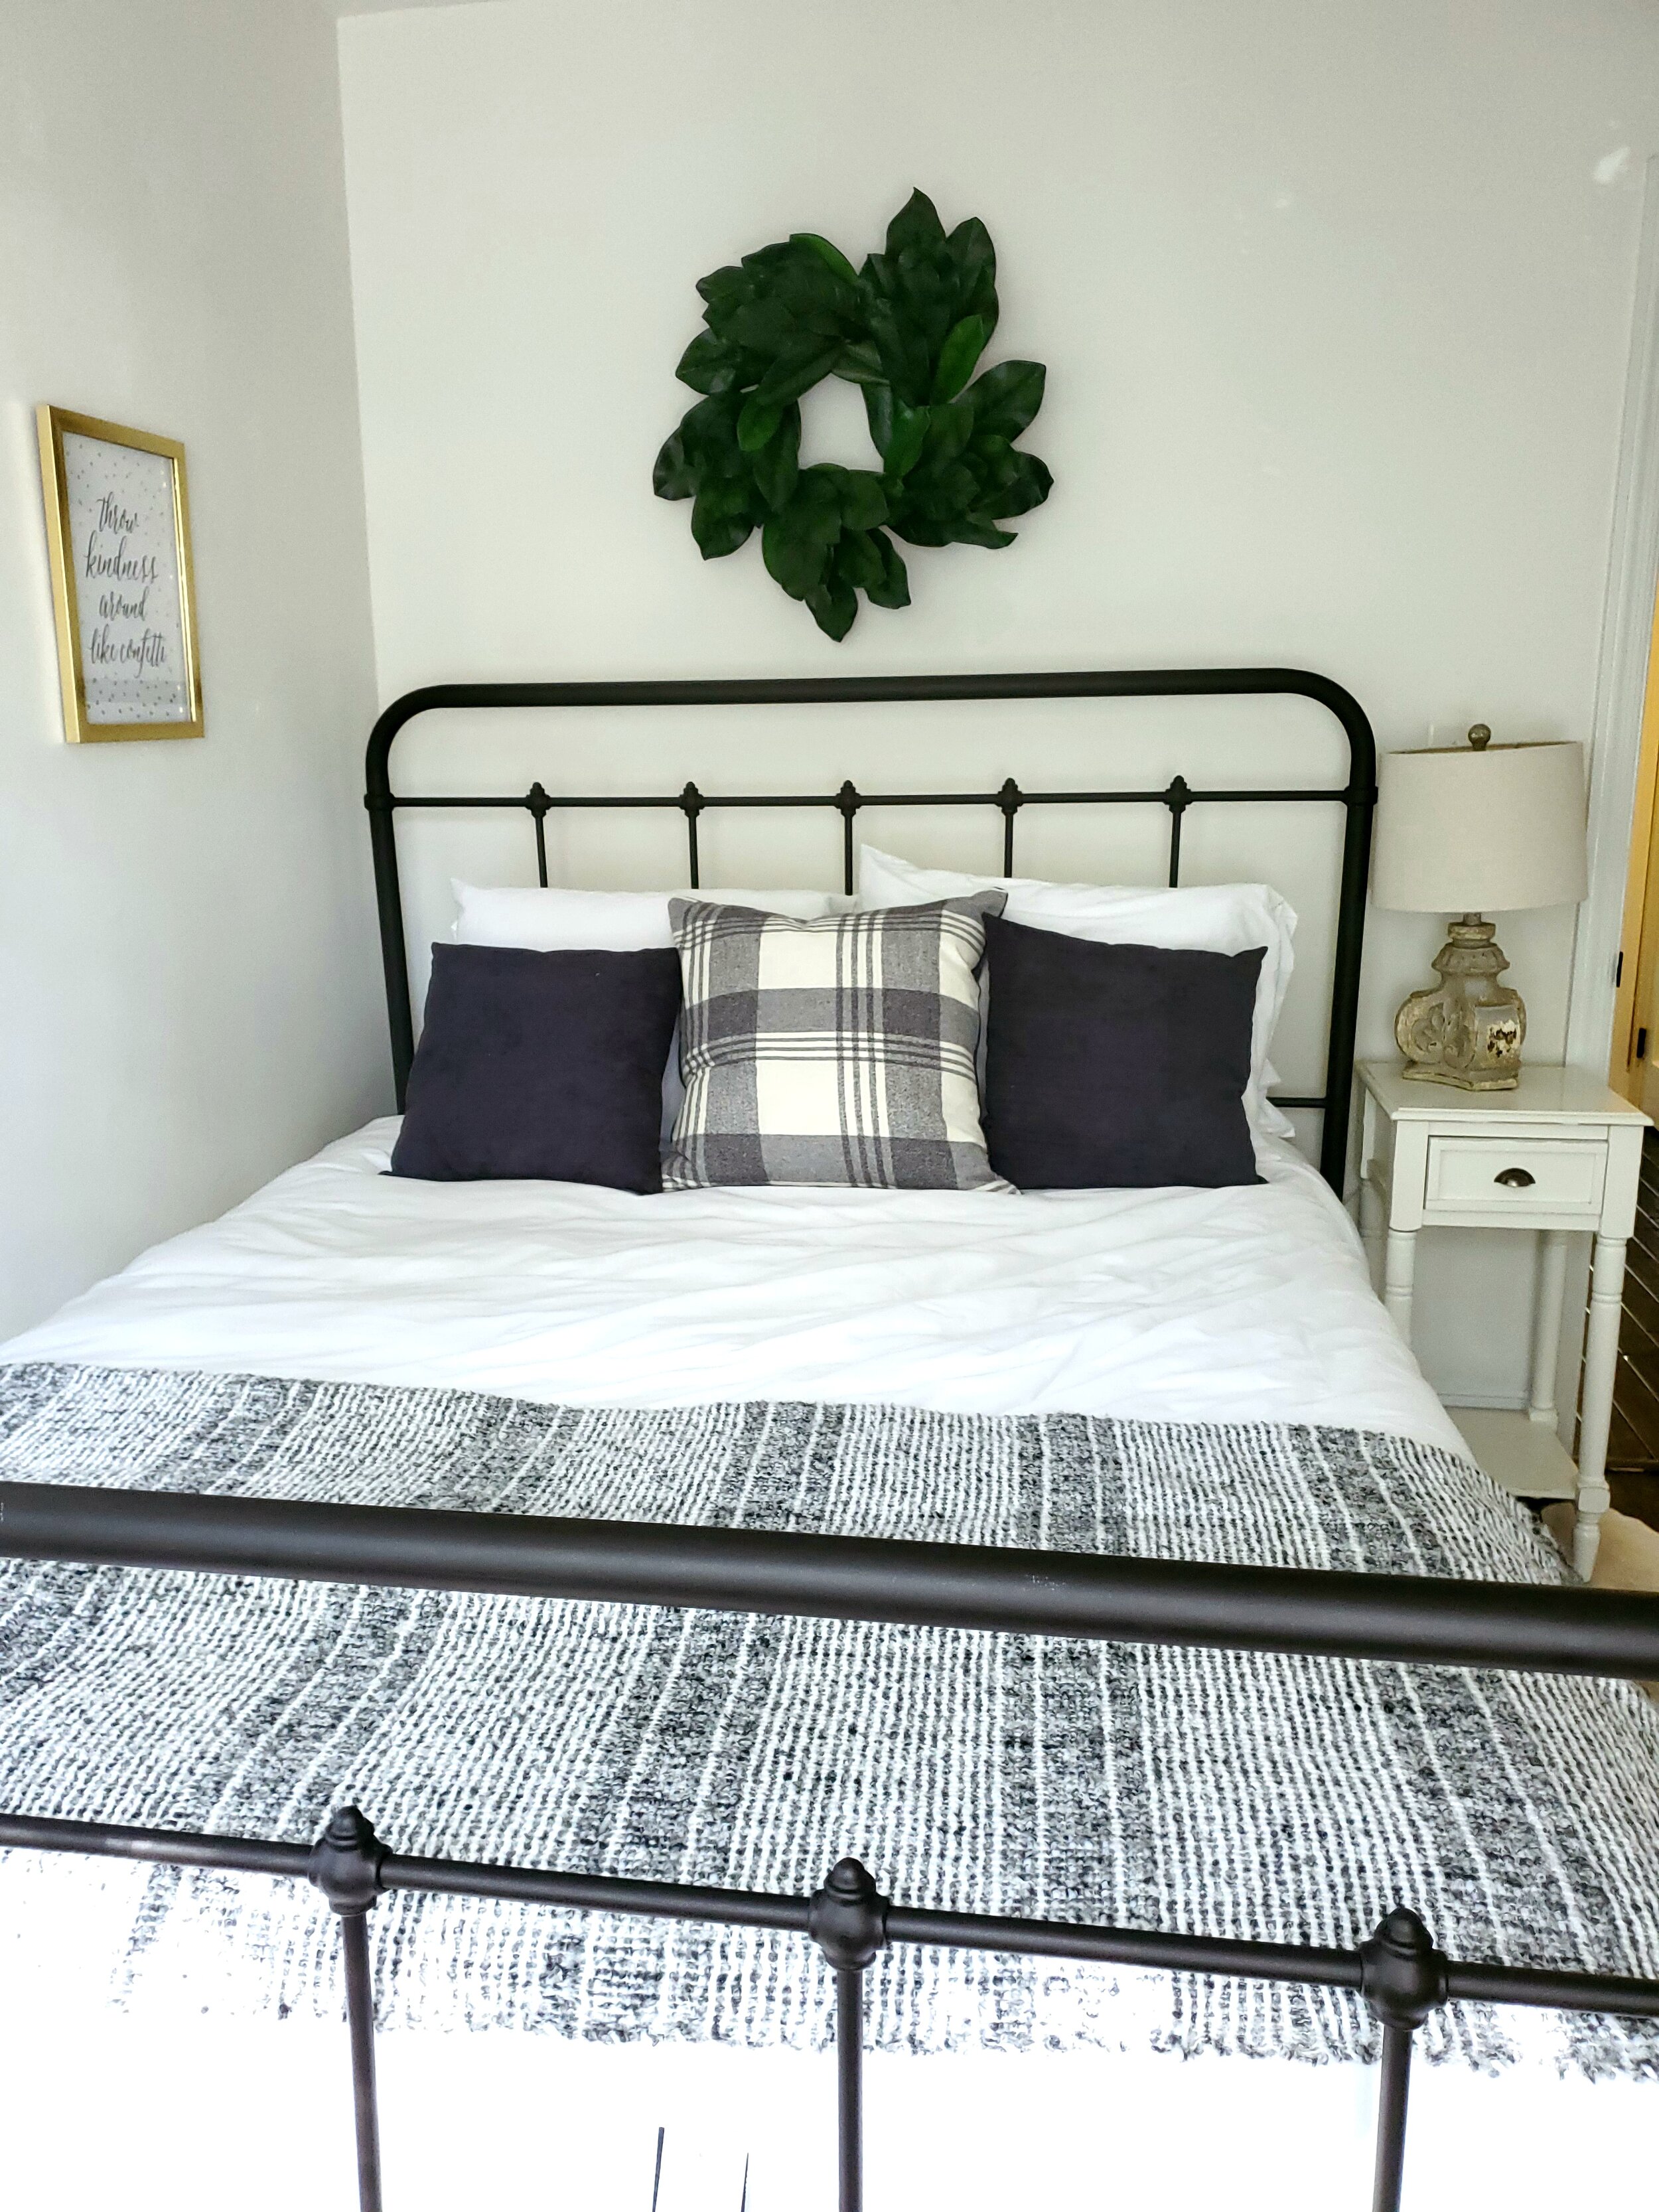
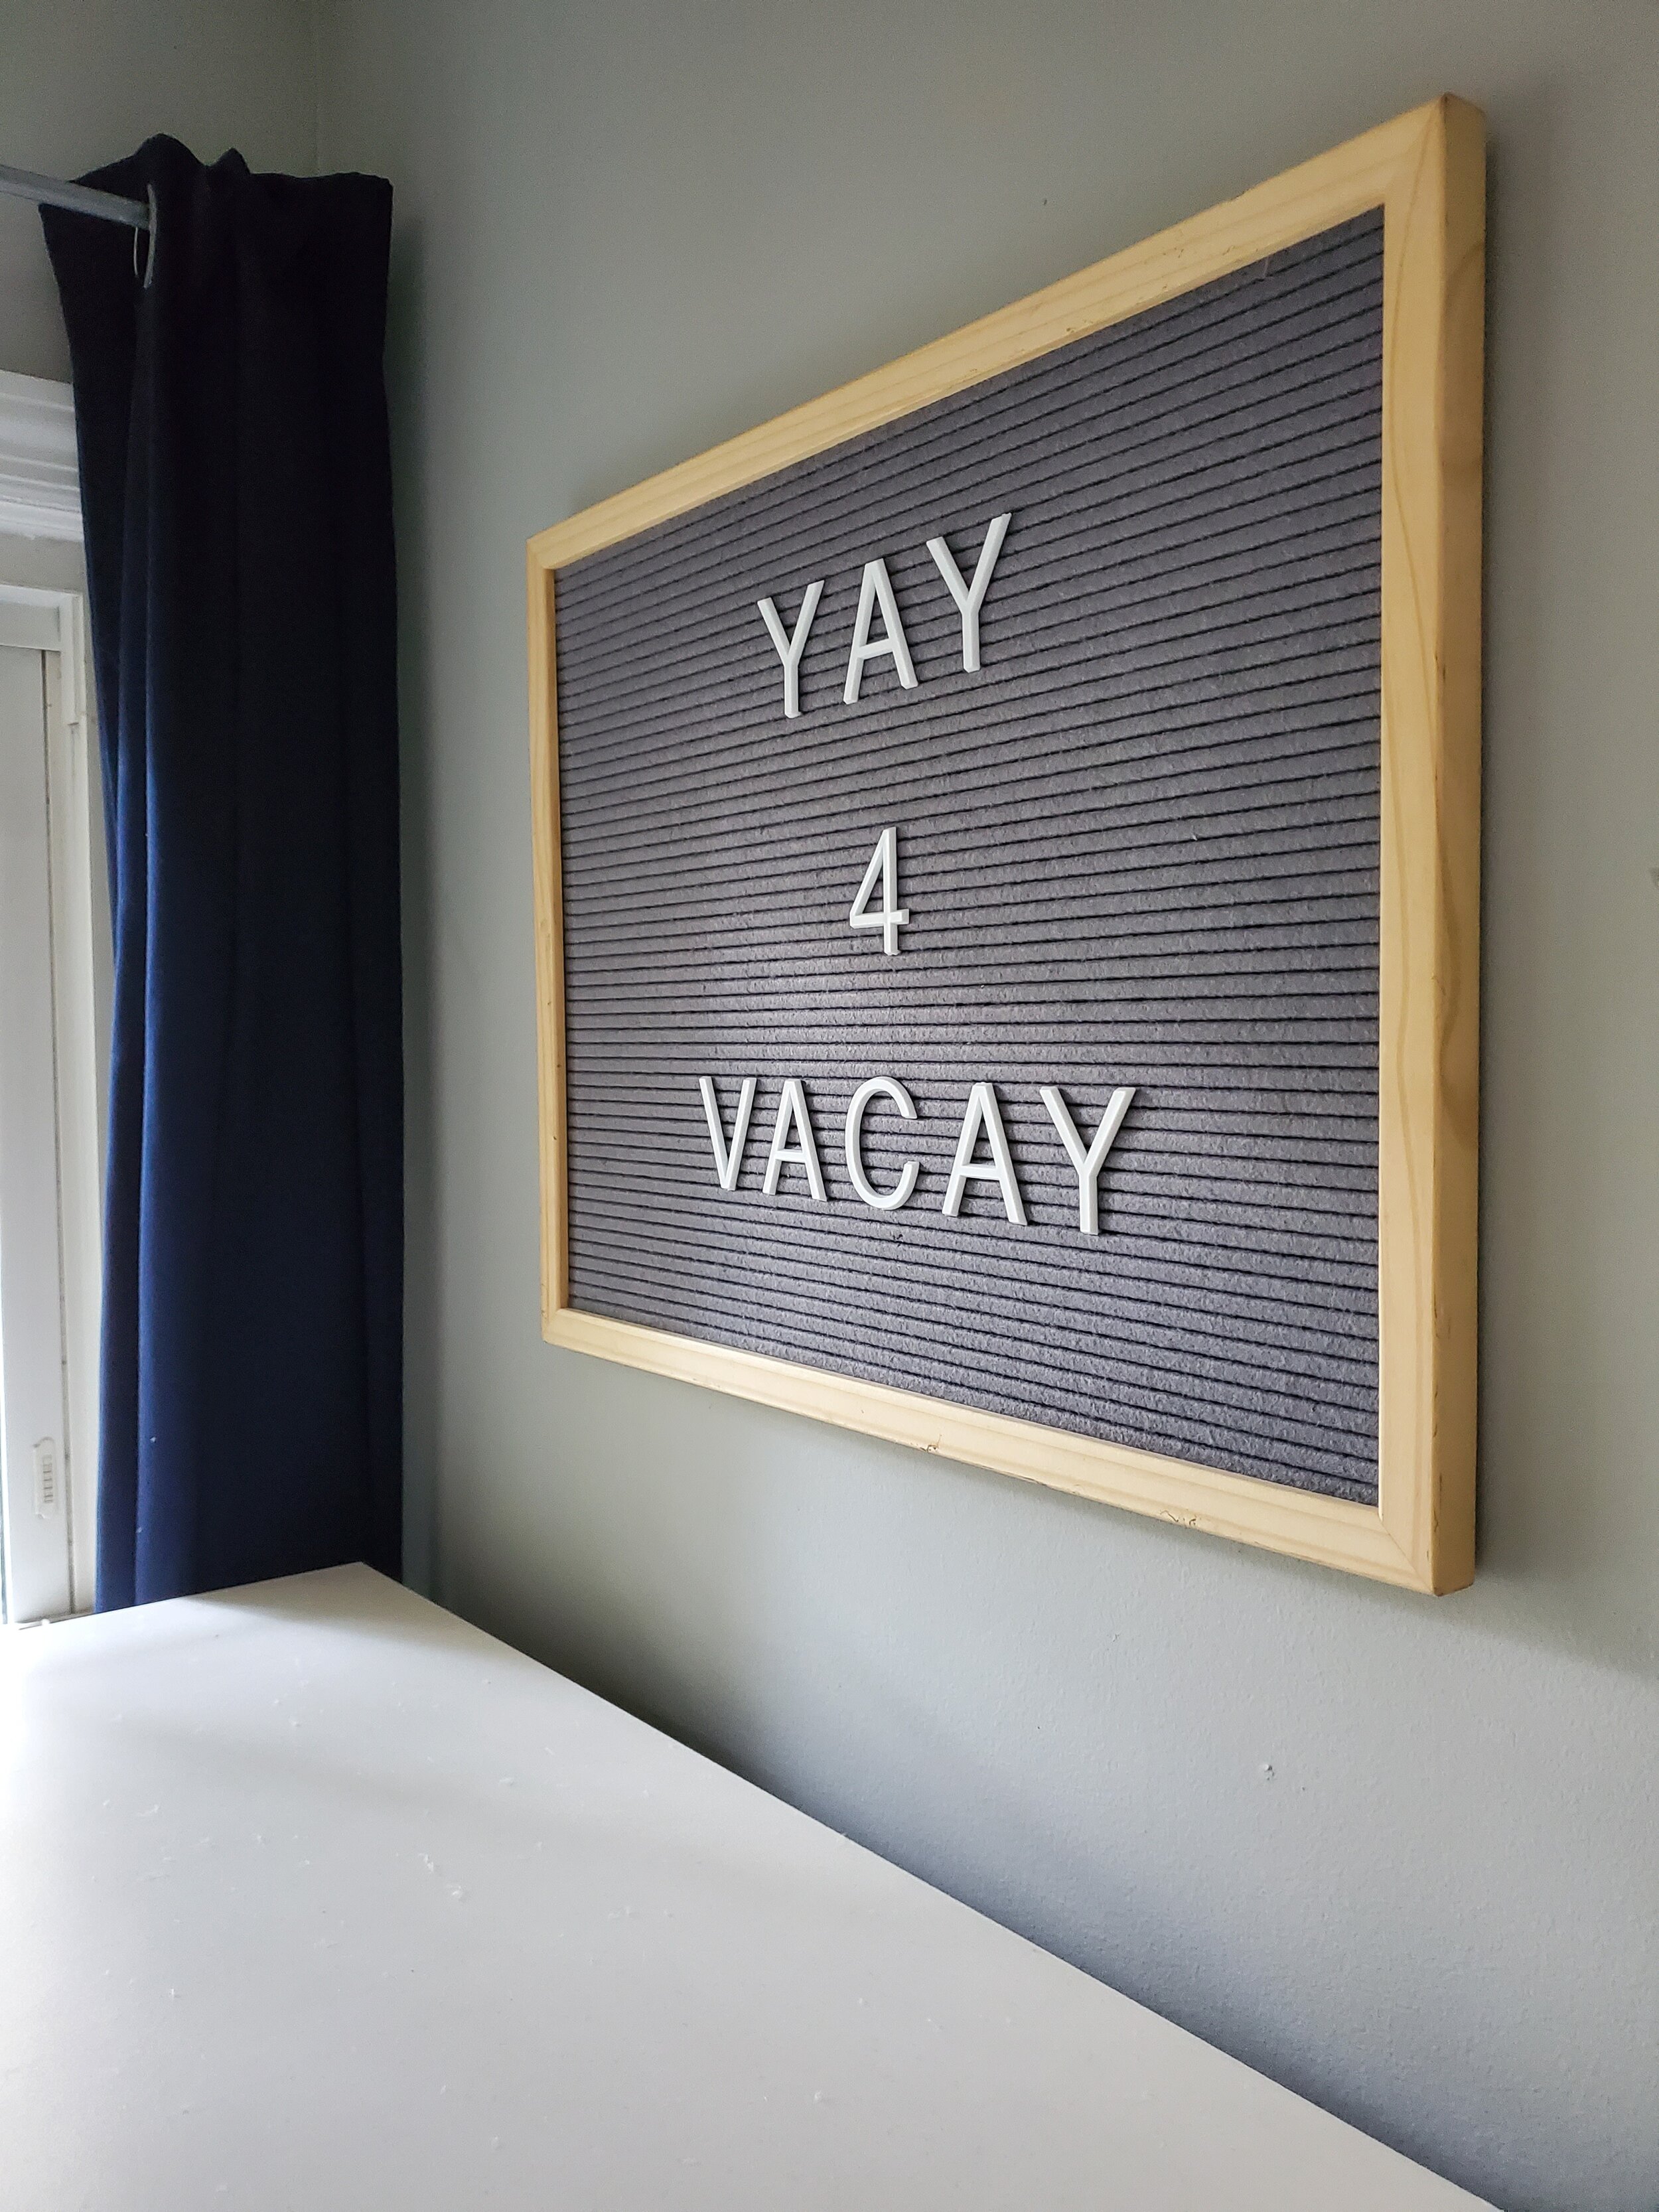
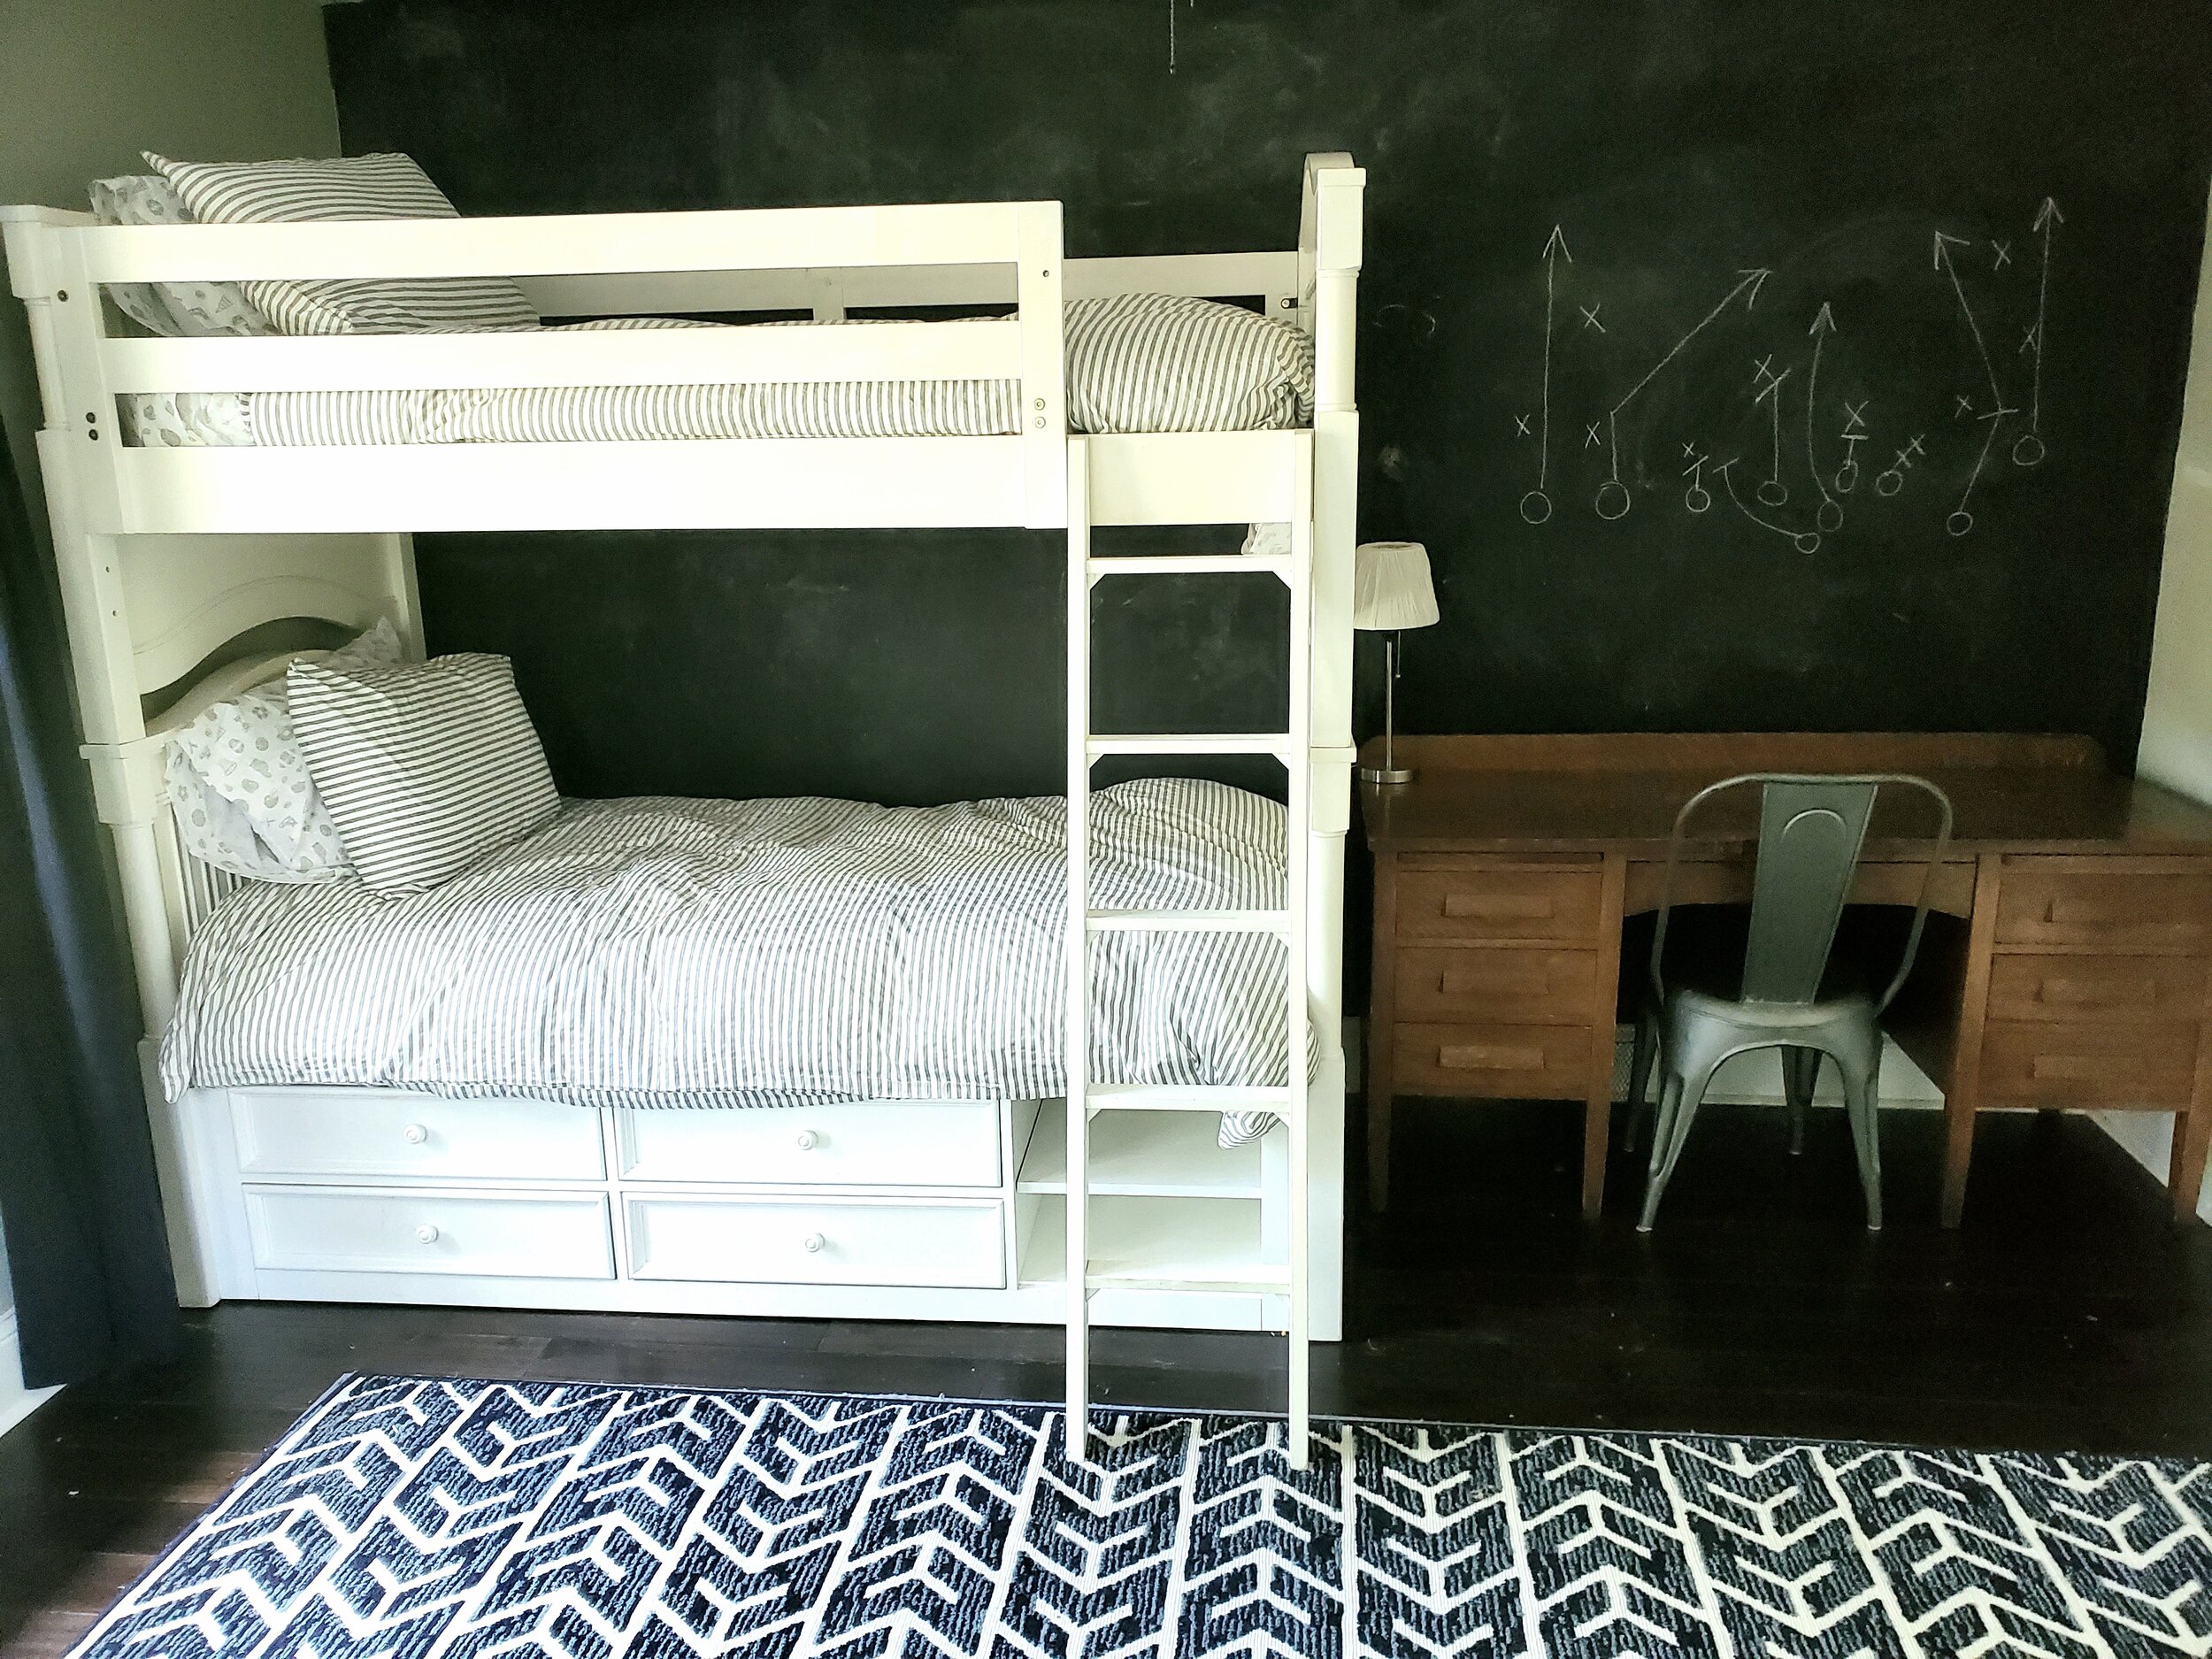
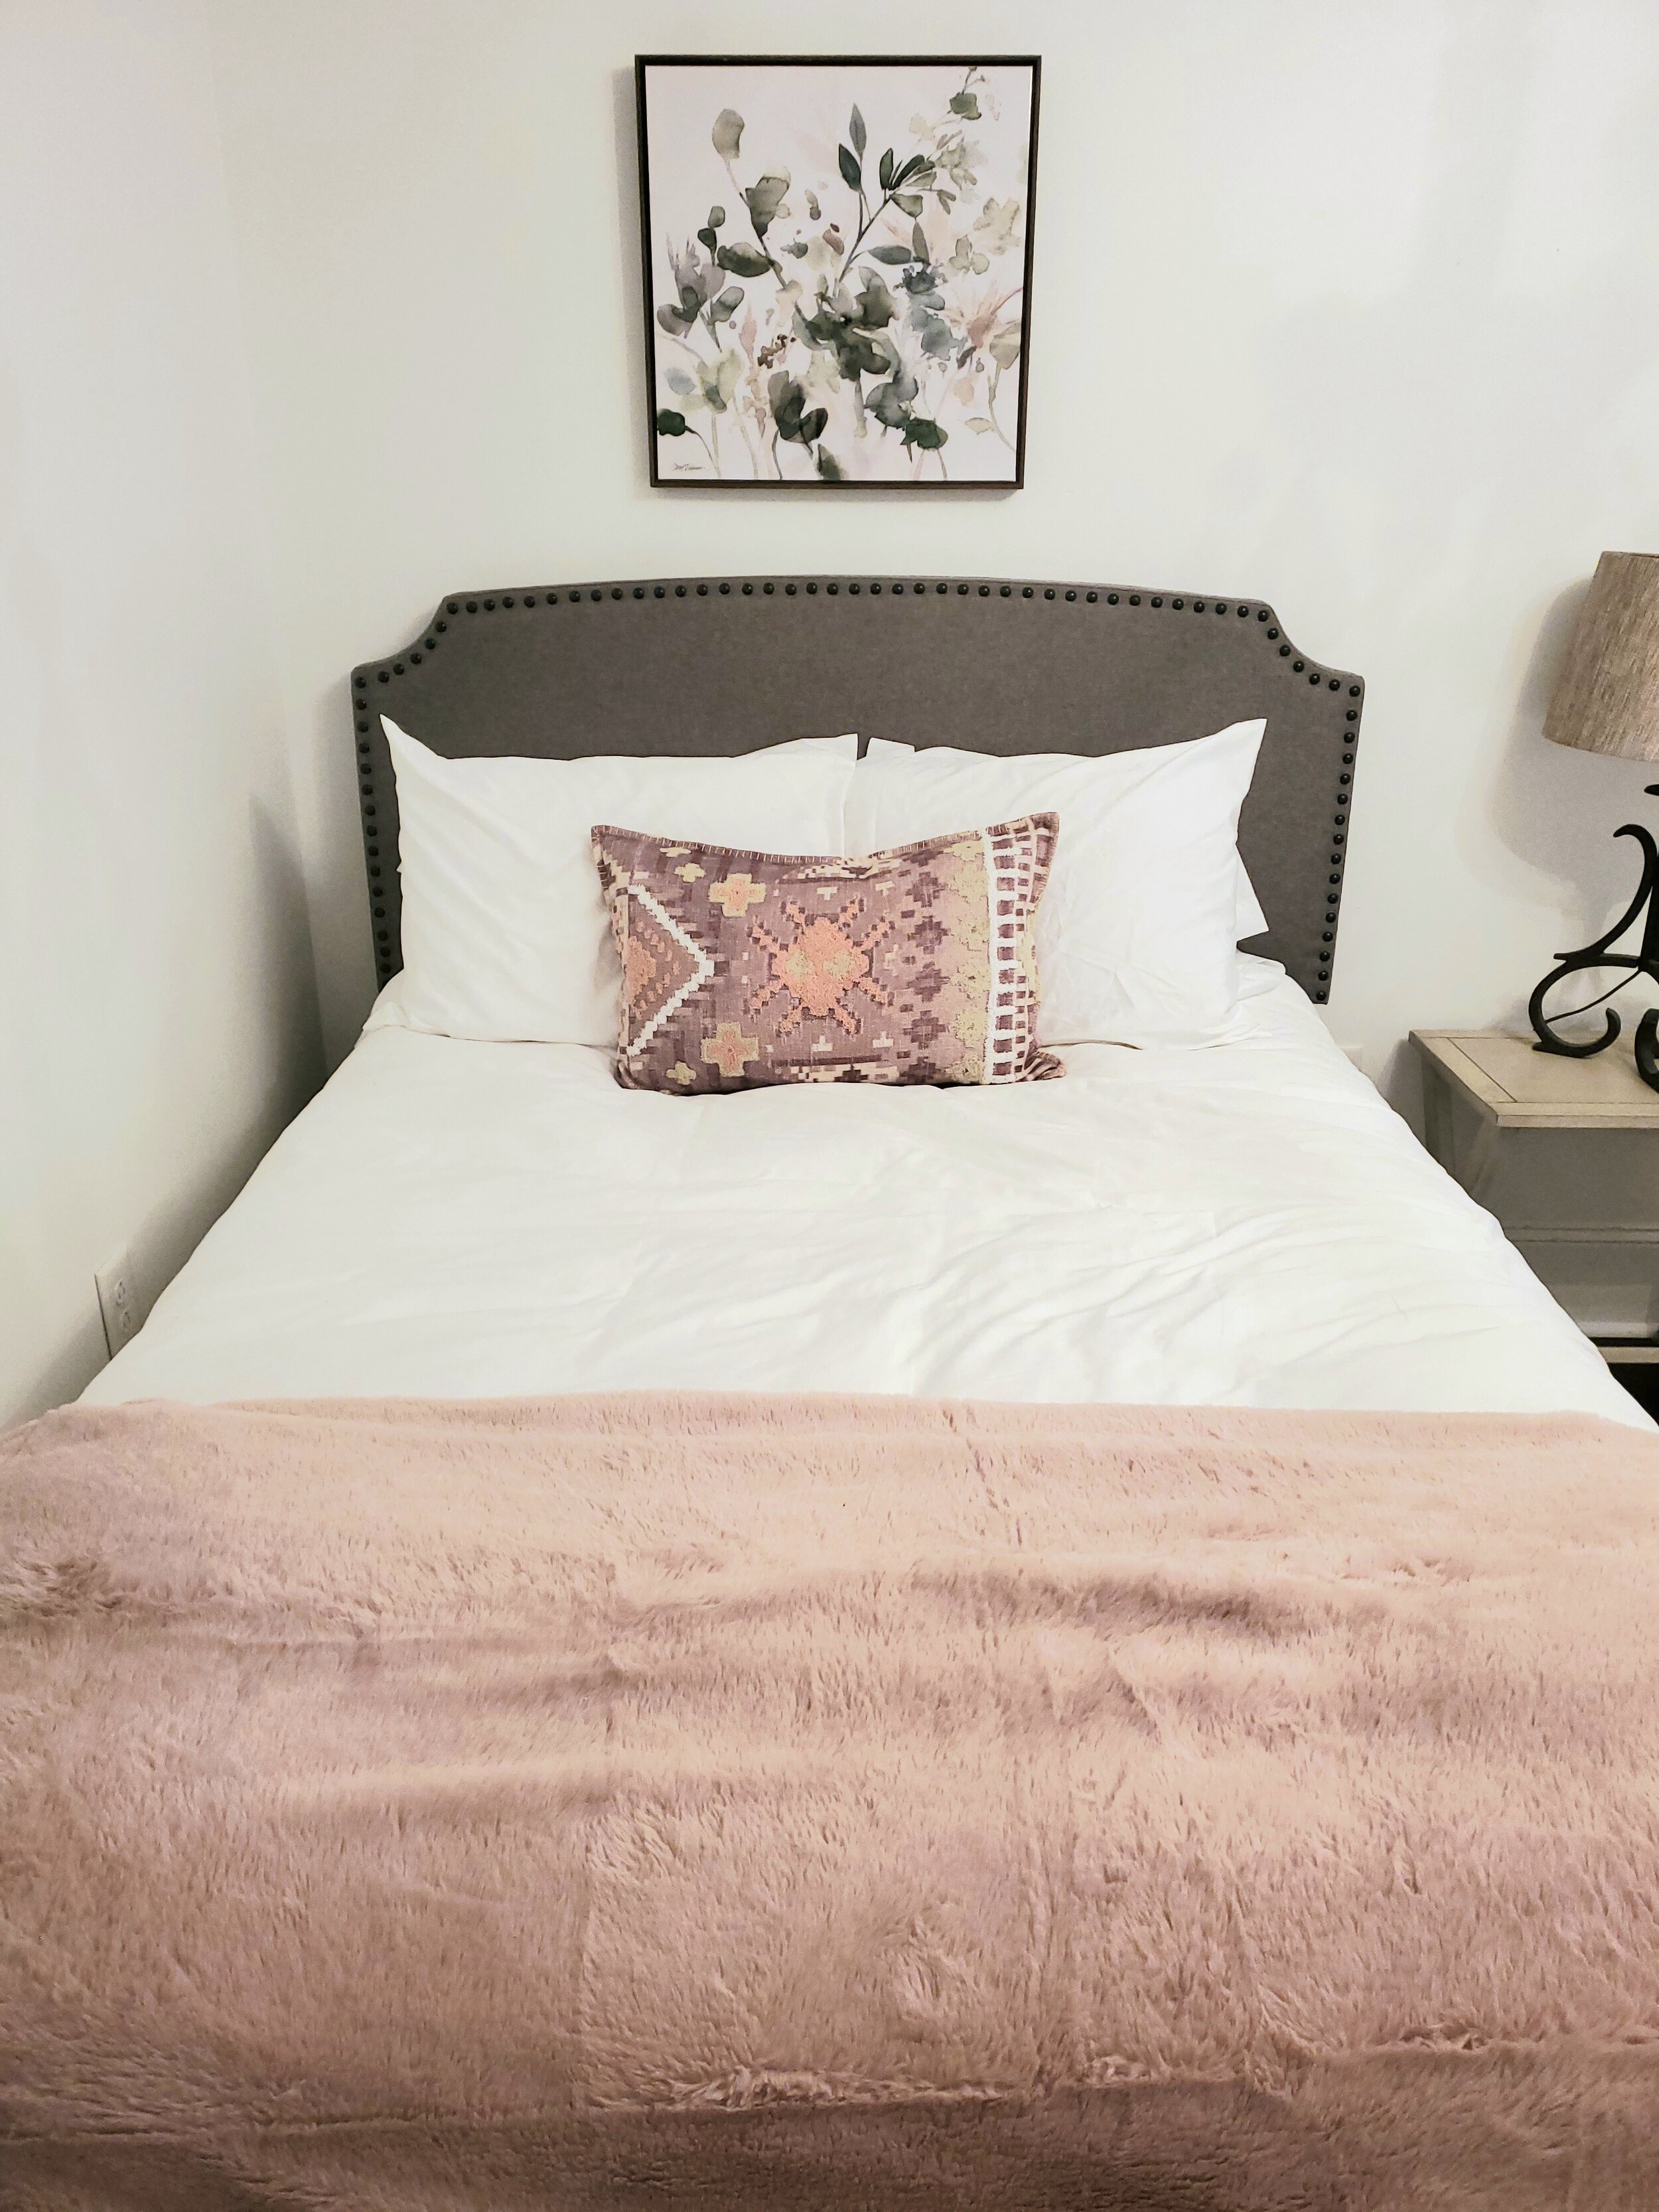
The Haymount Scandi- Our New Short Term Rental - Airbnb

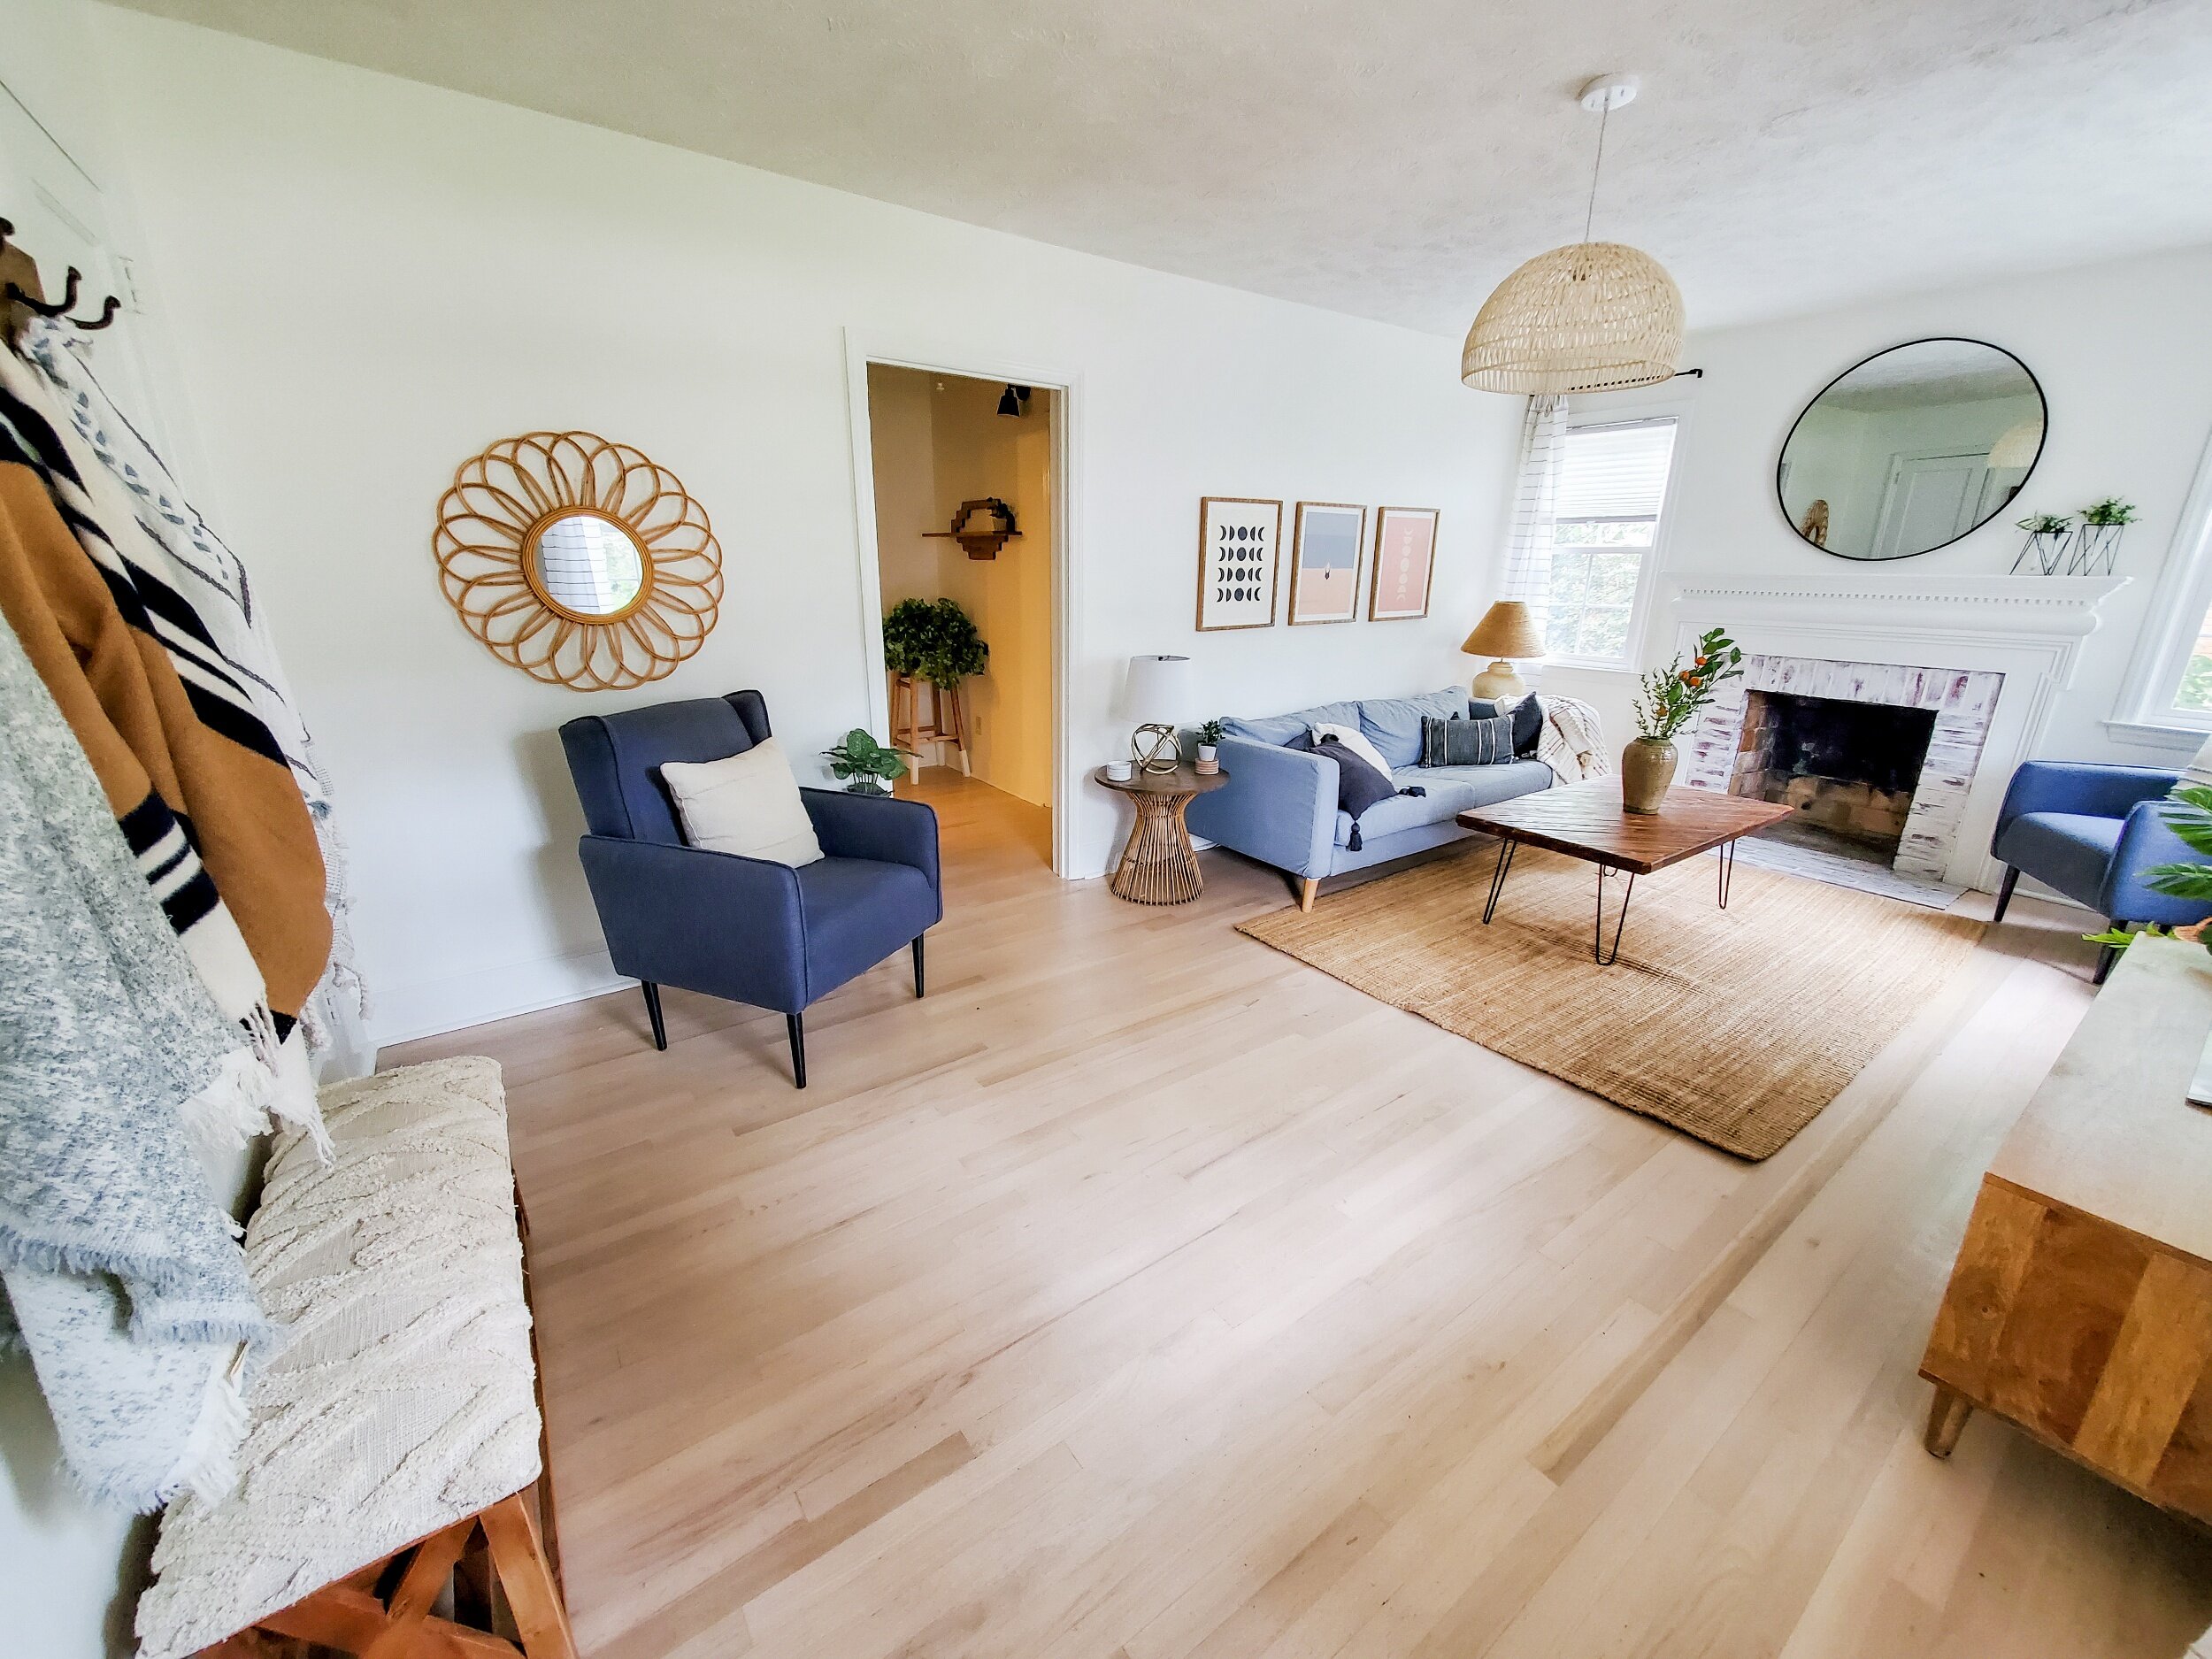
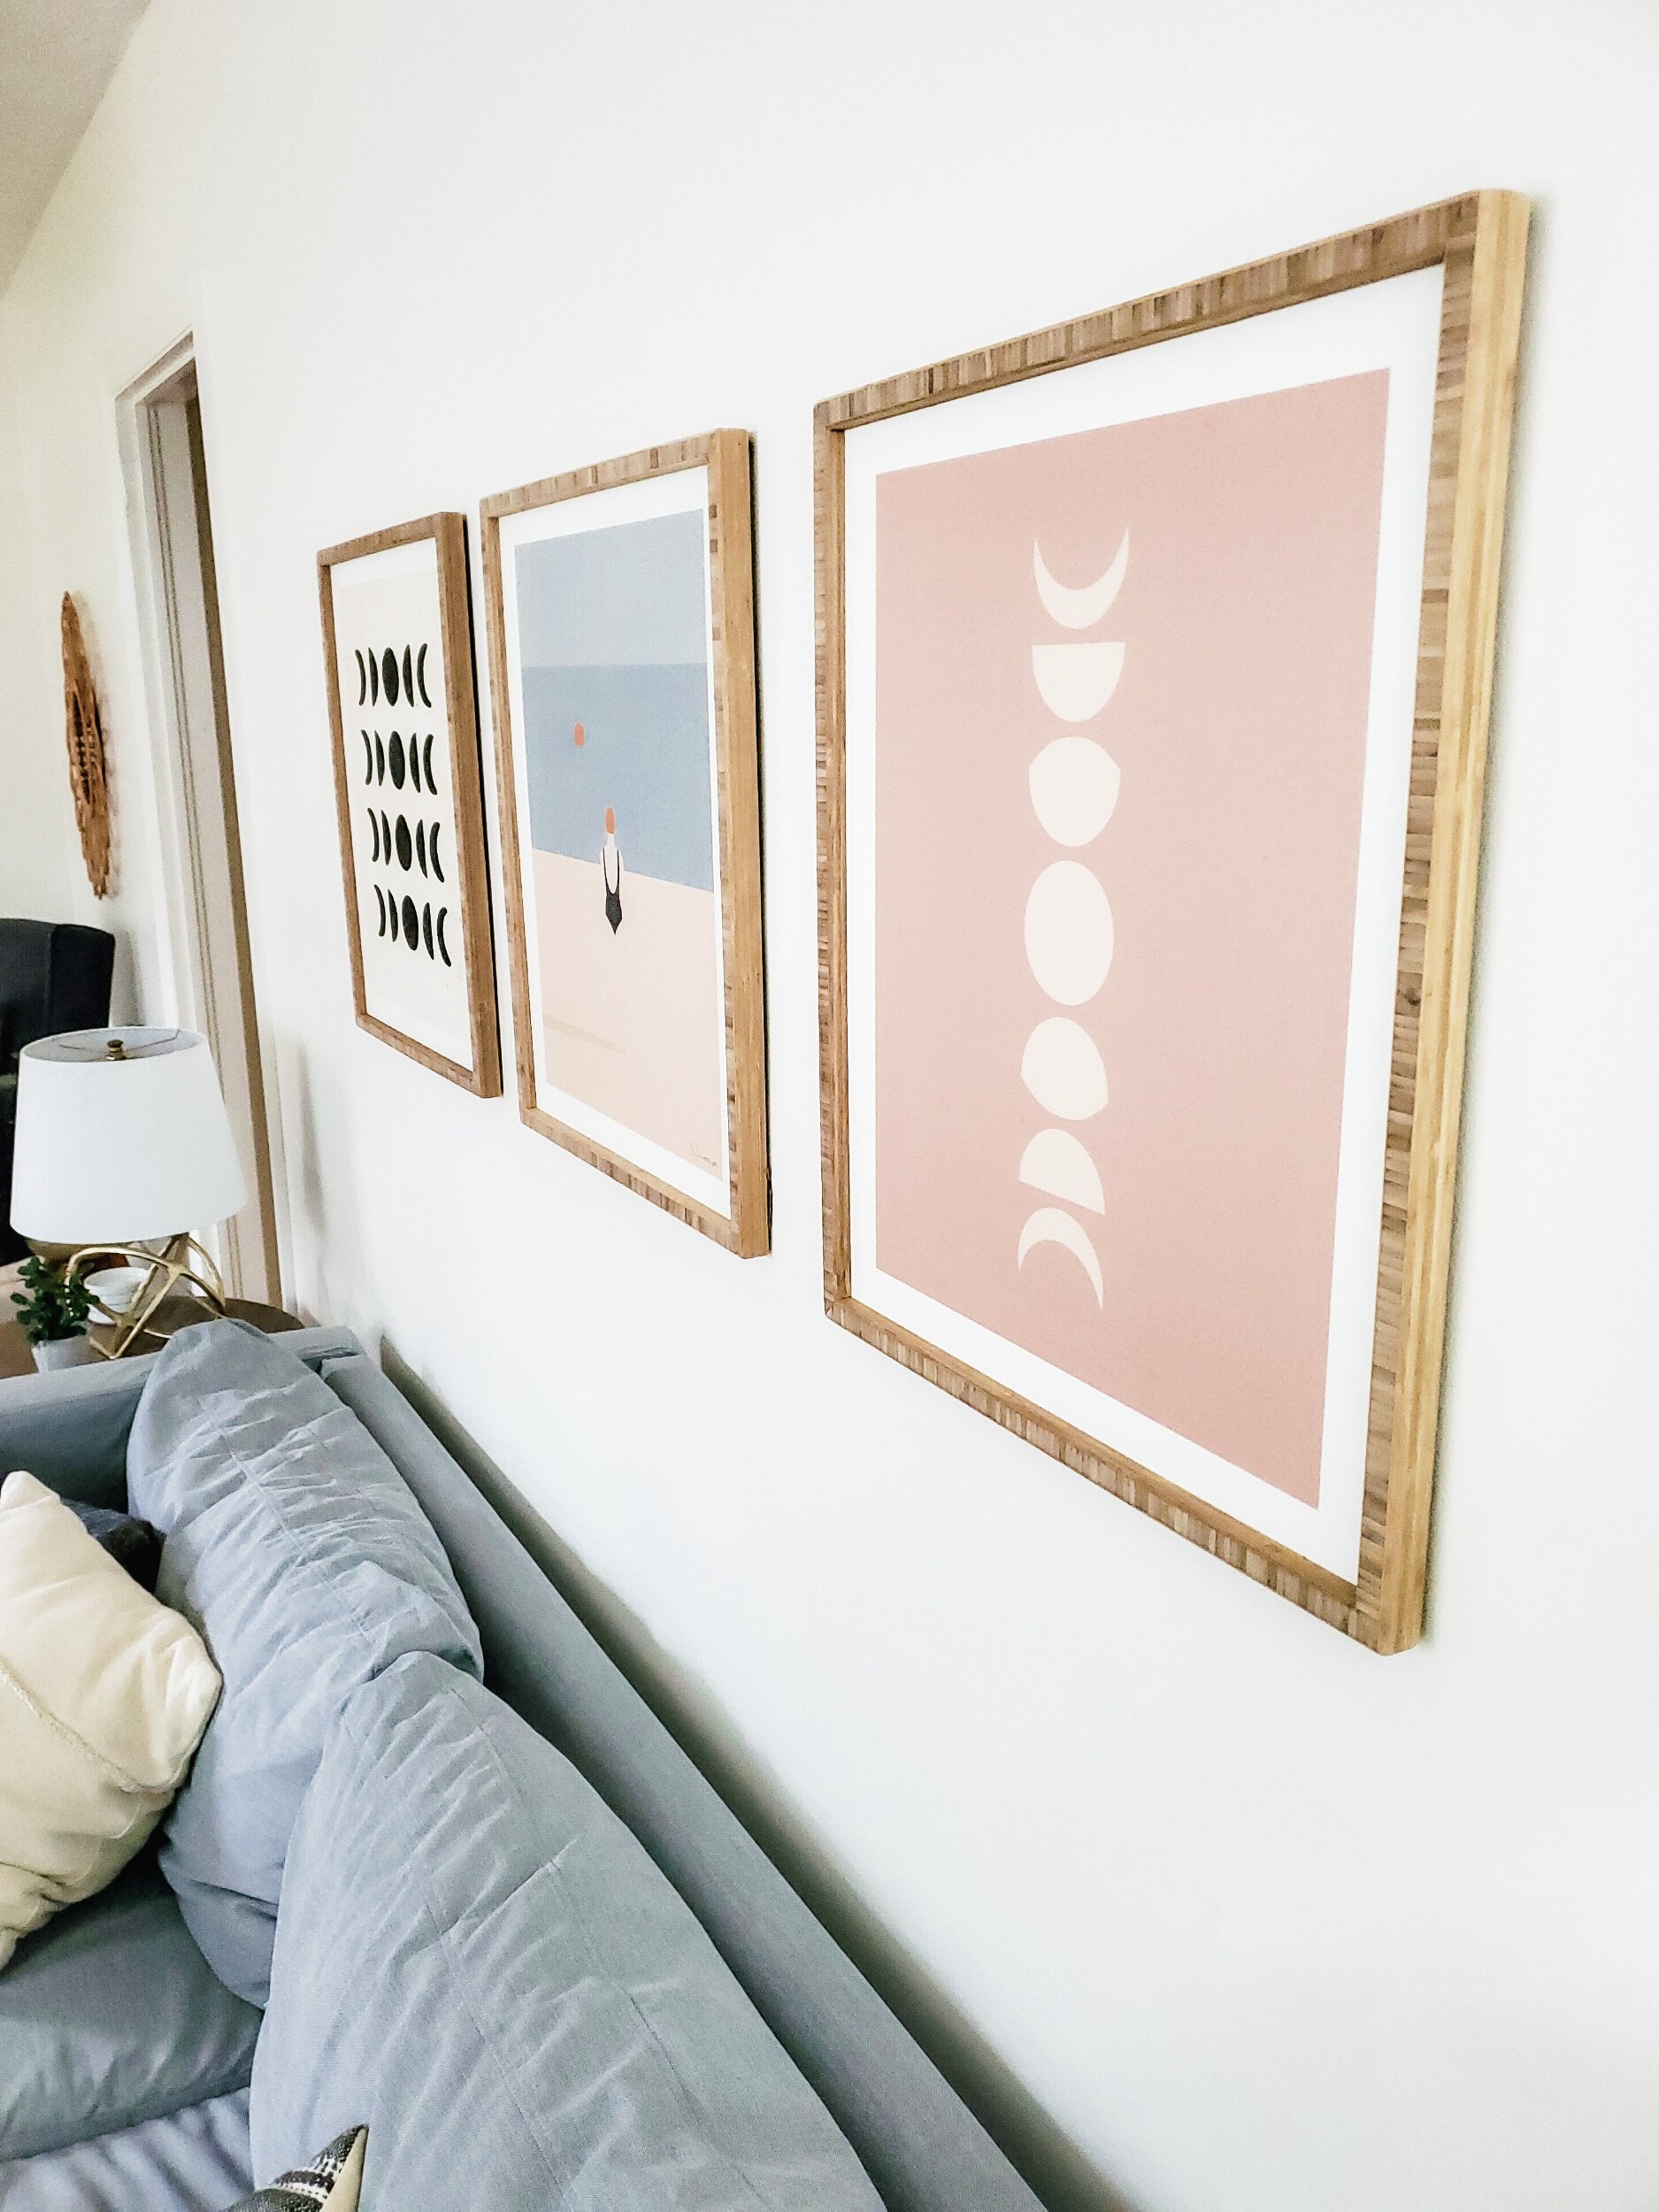
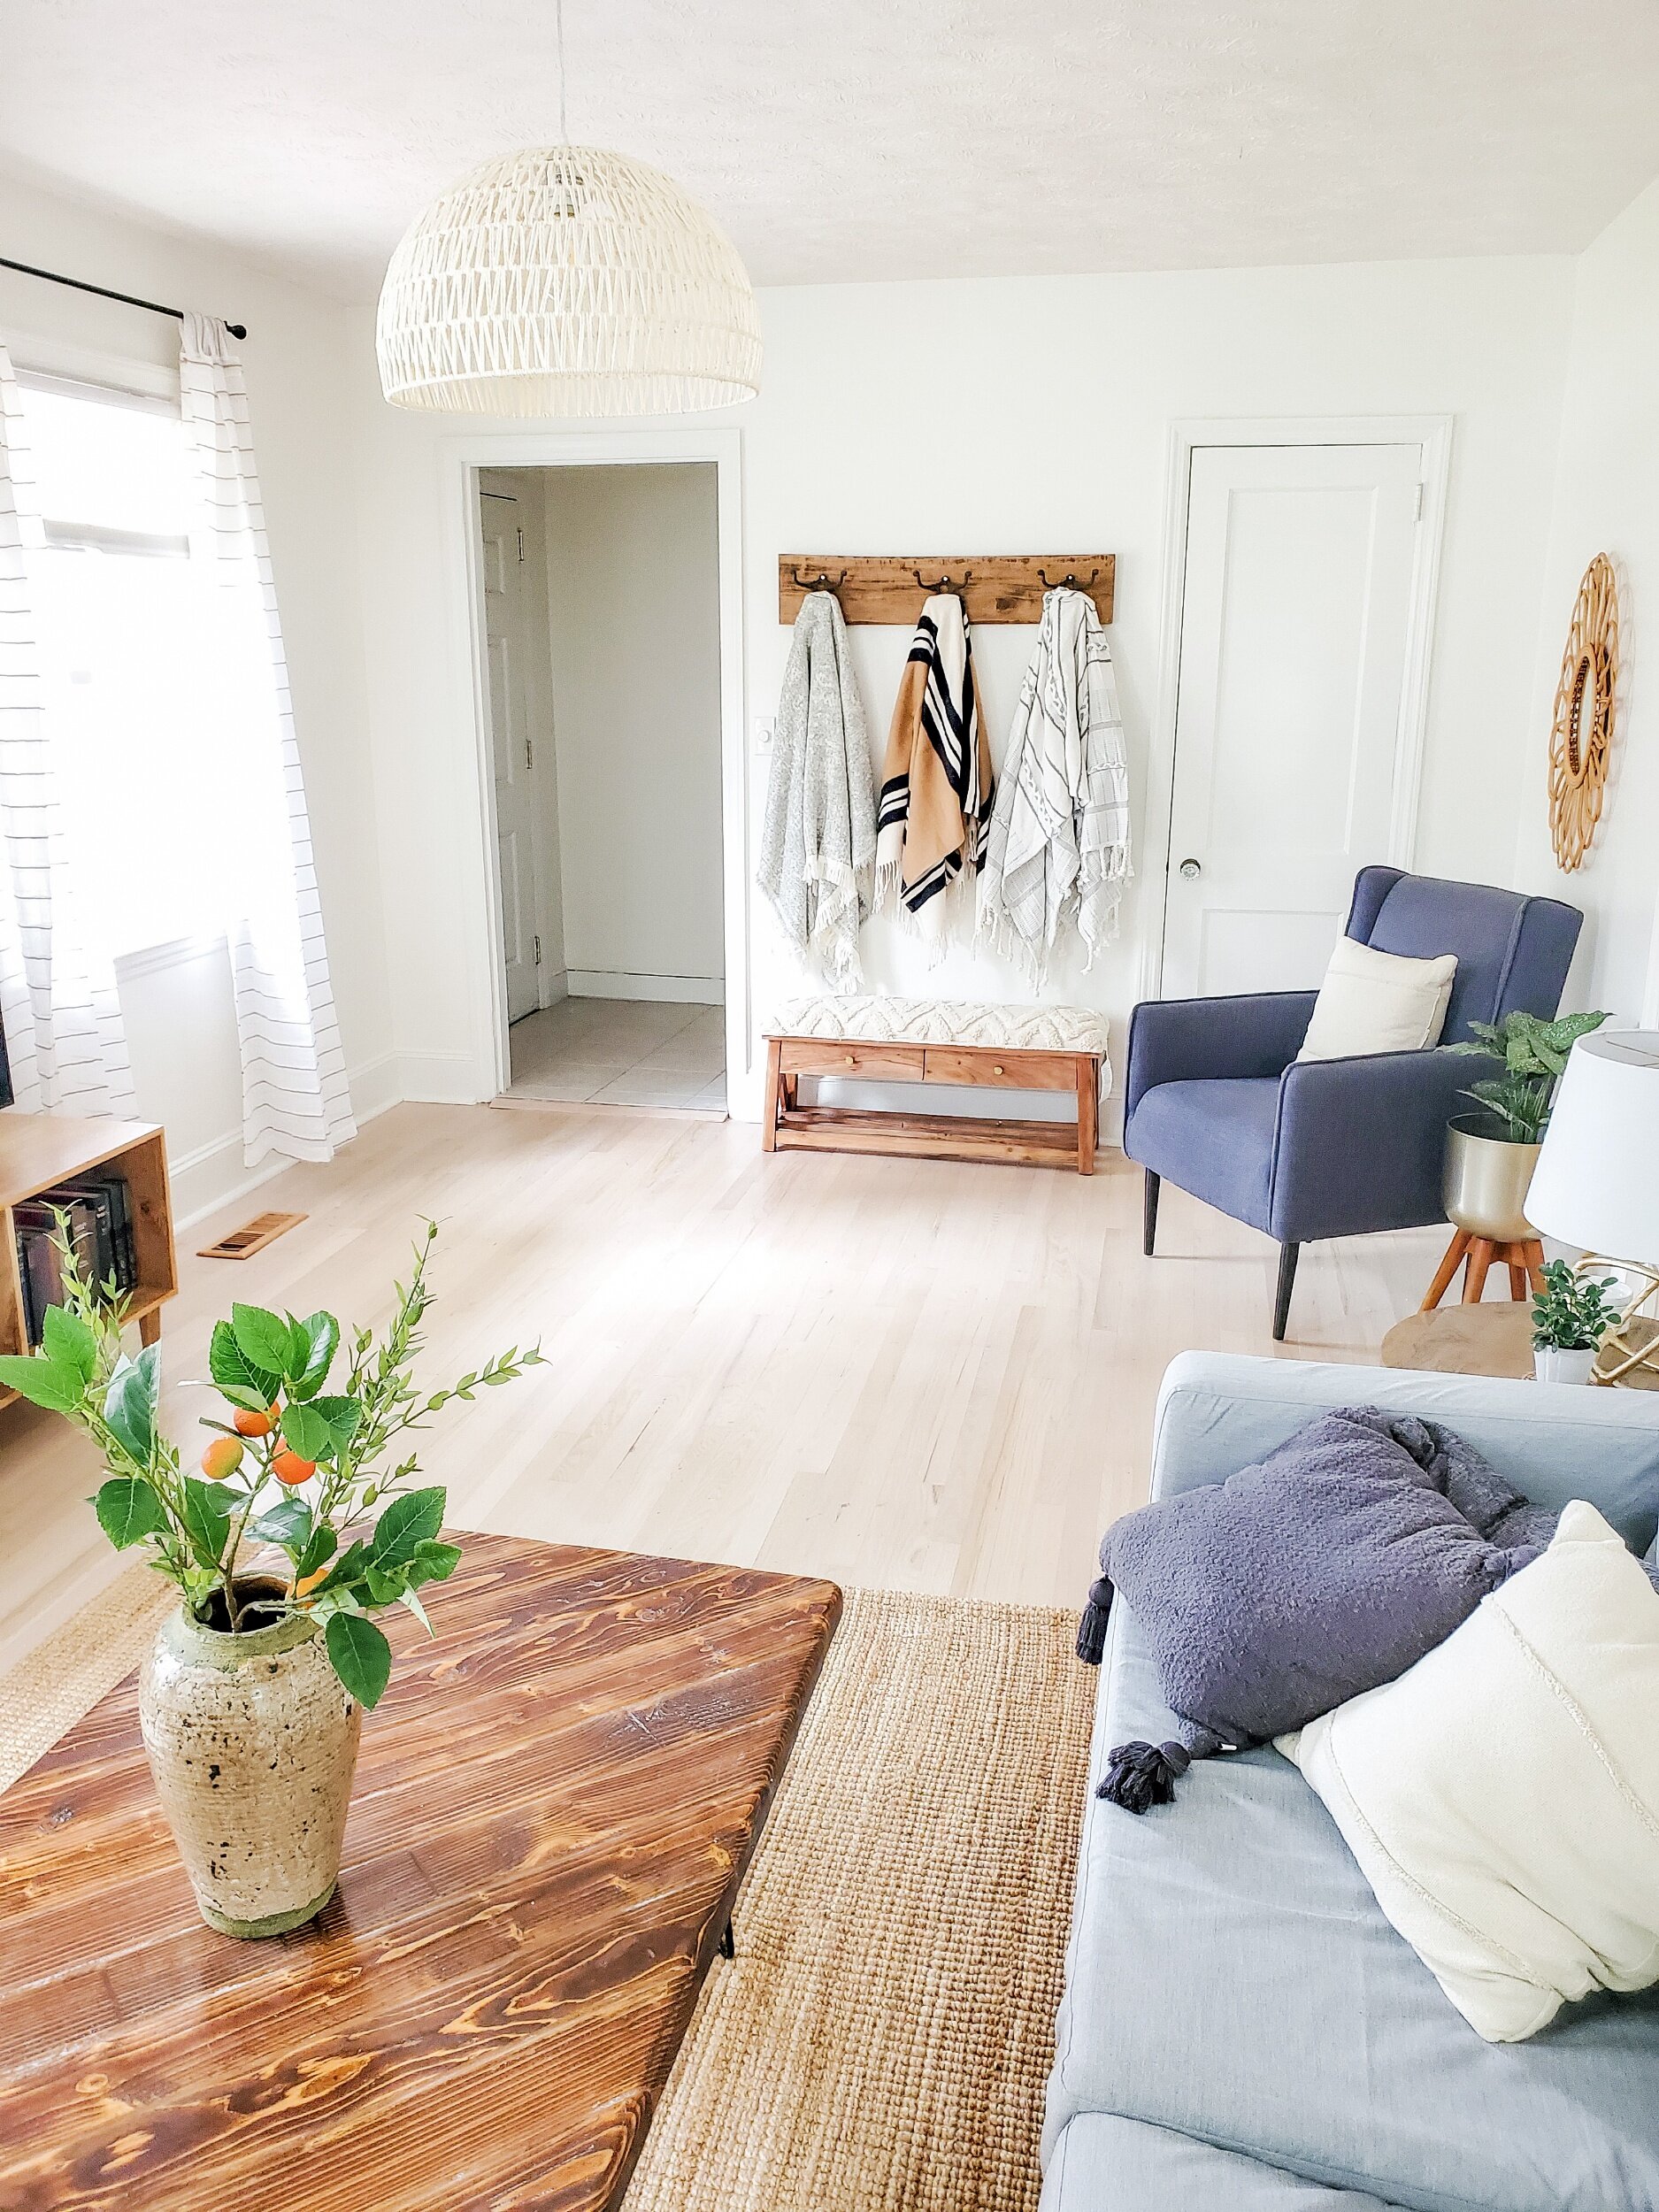
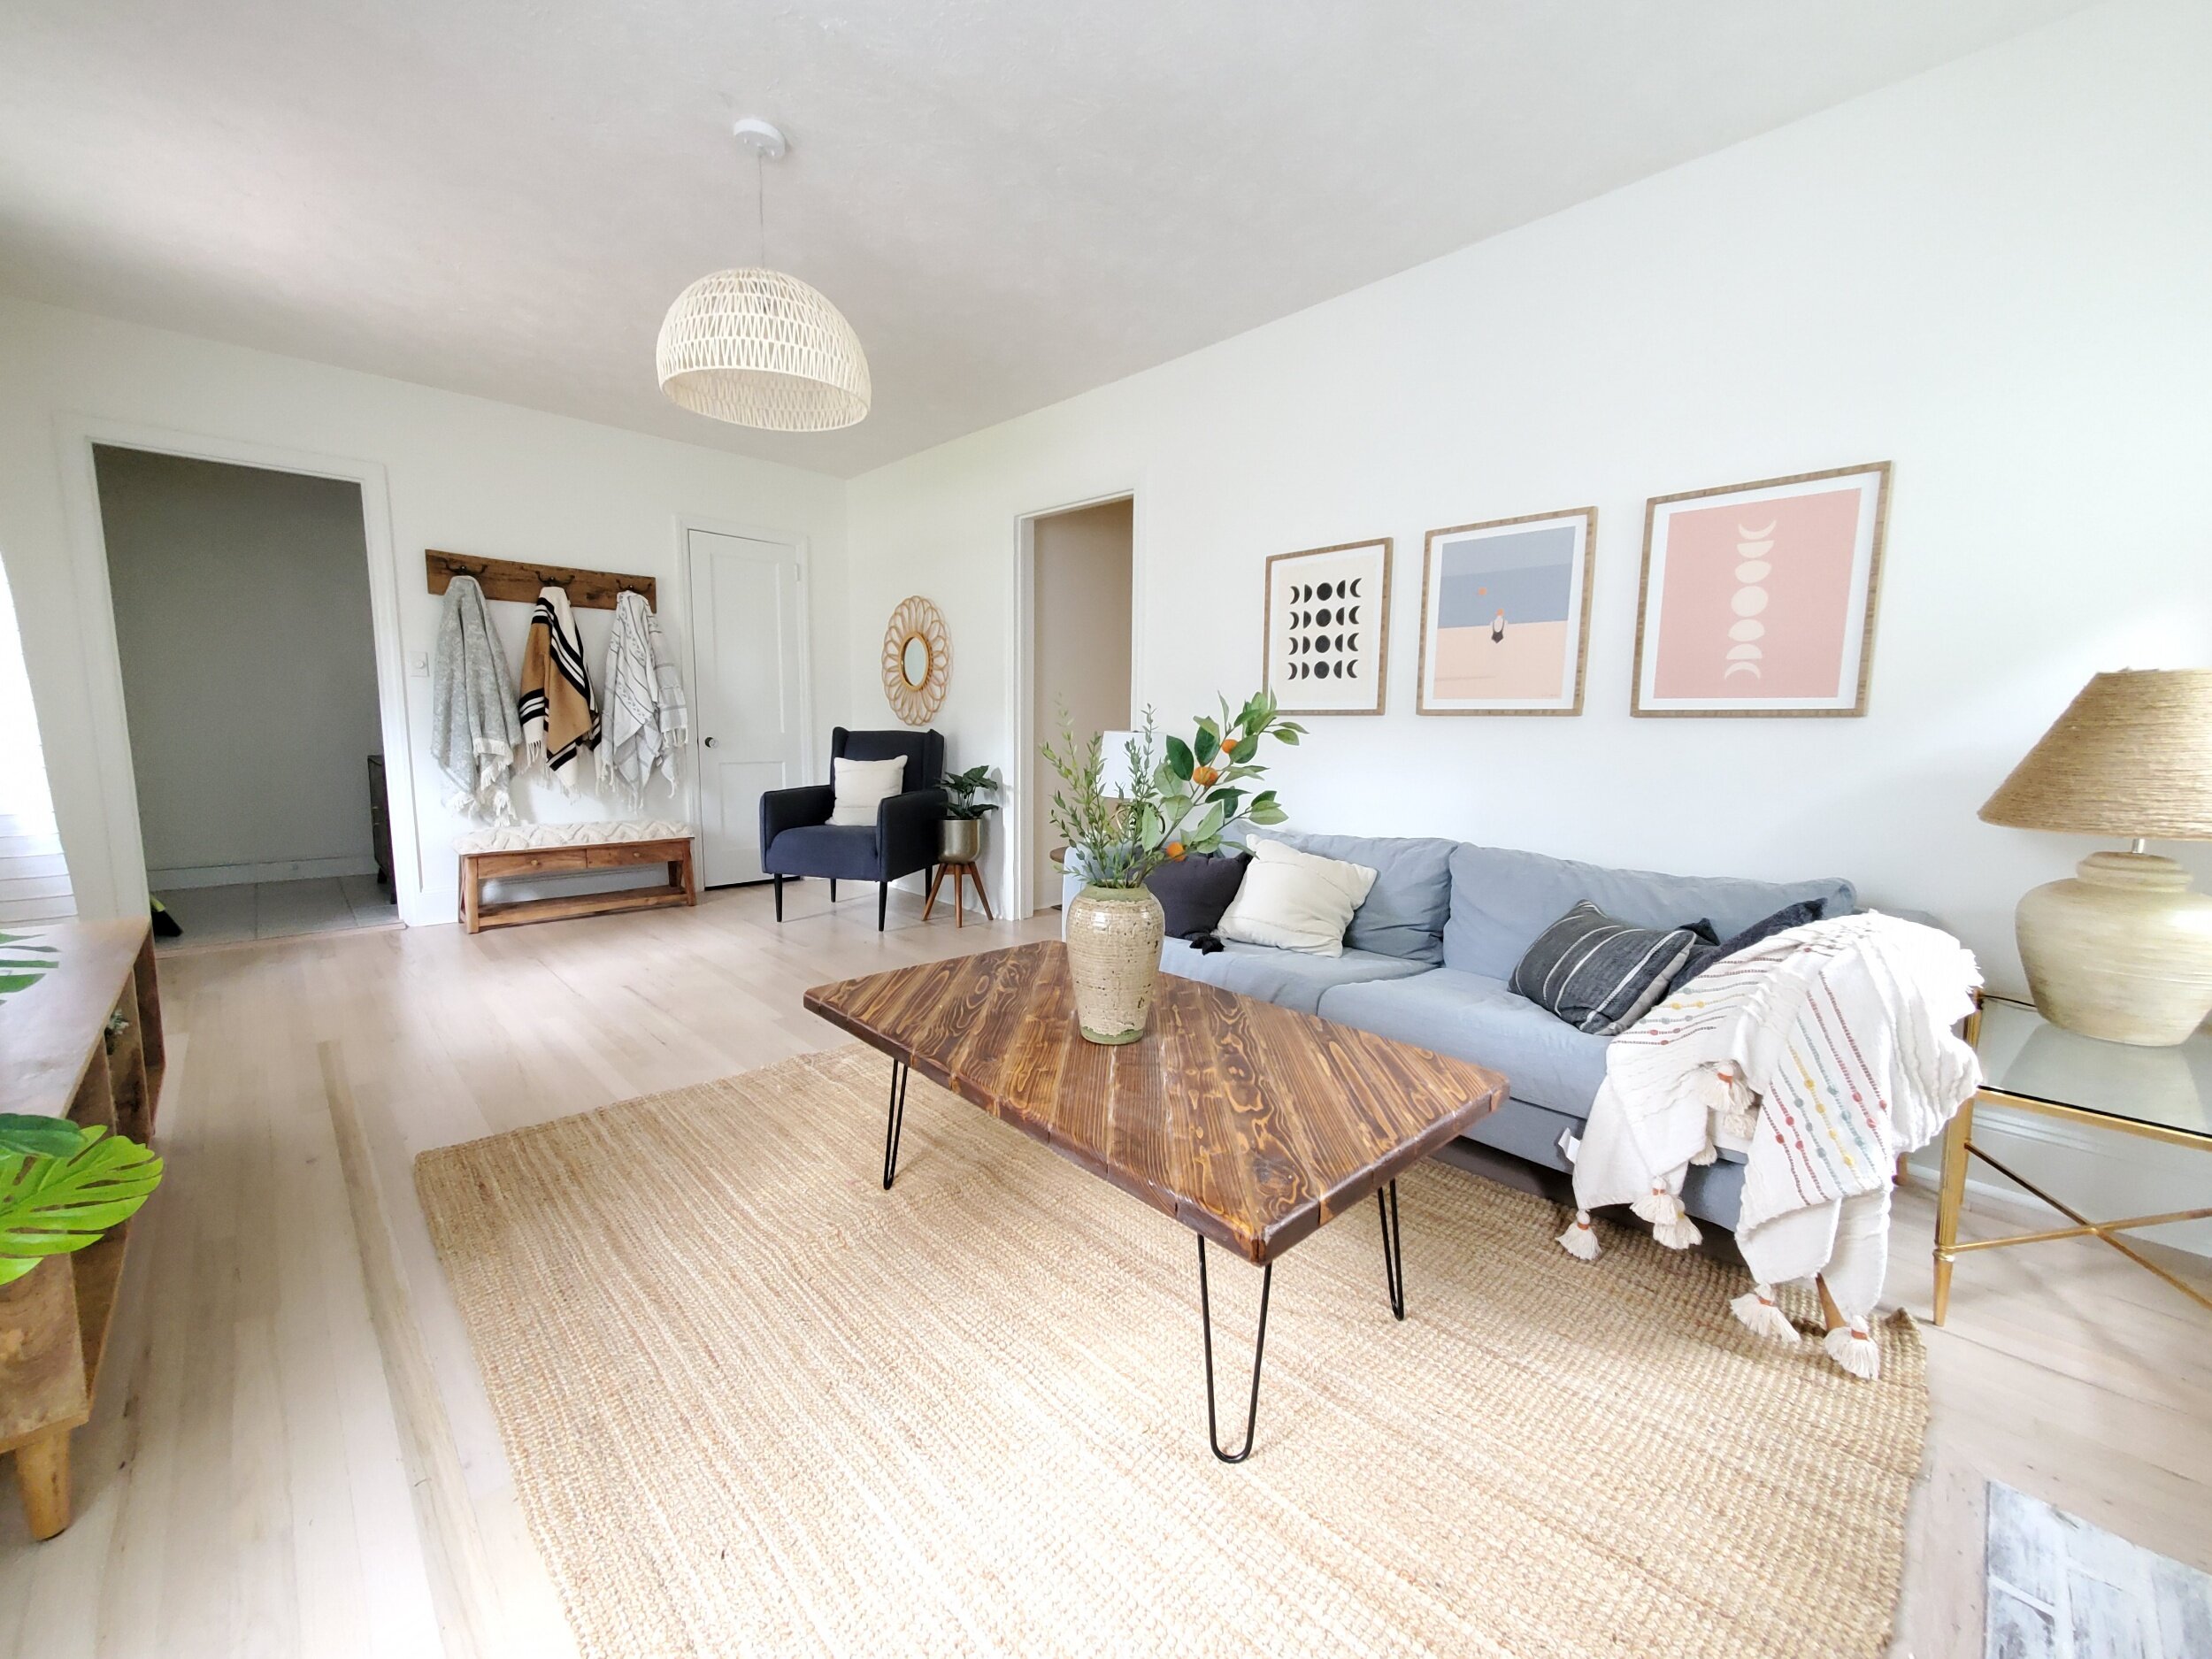
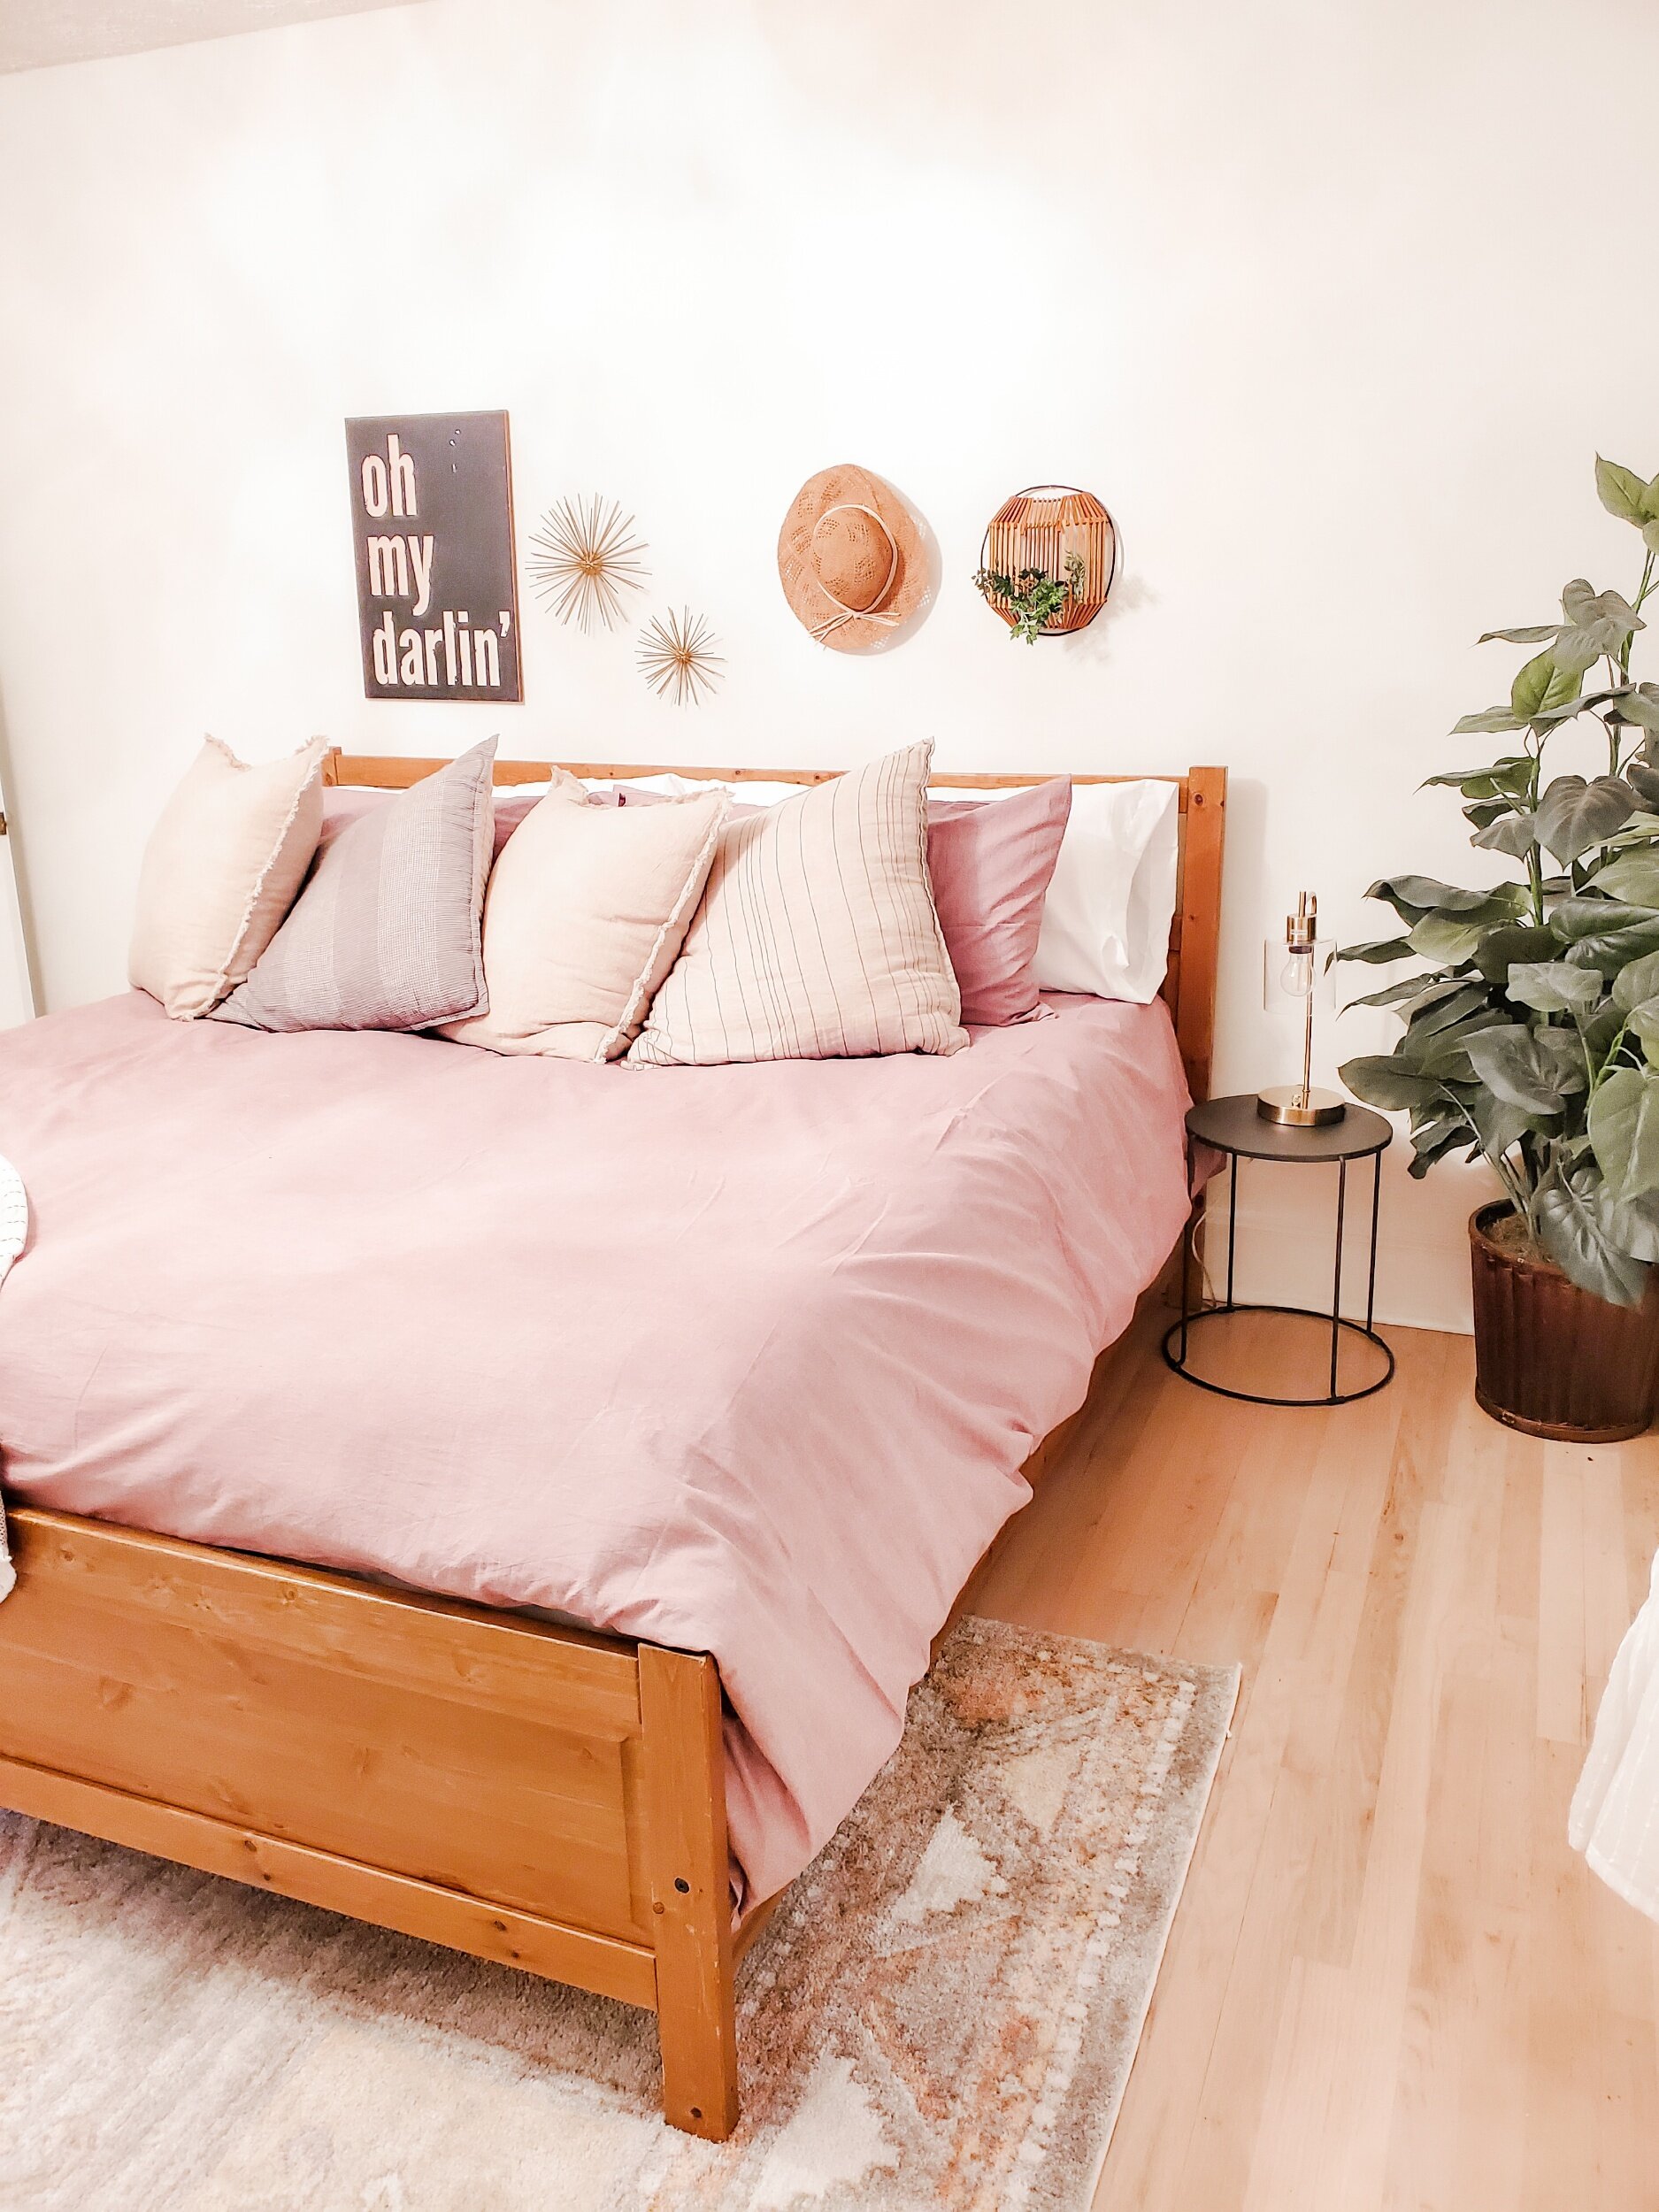
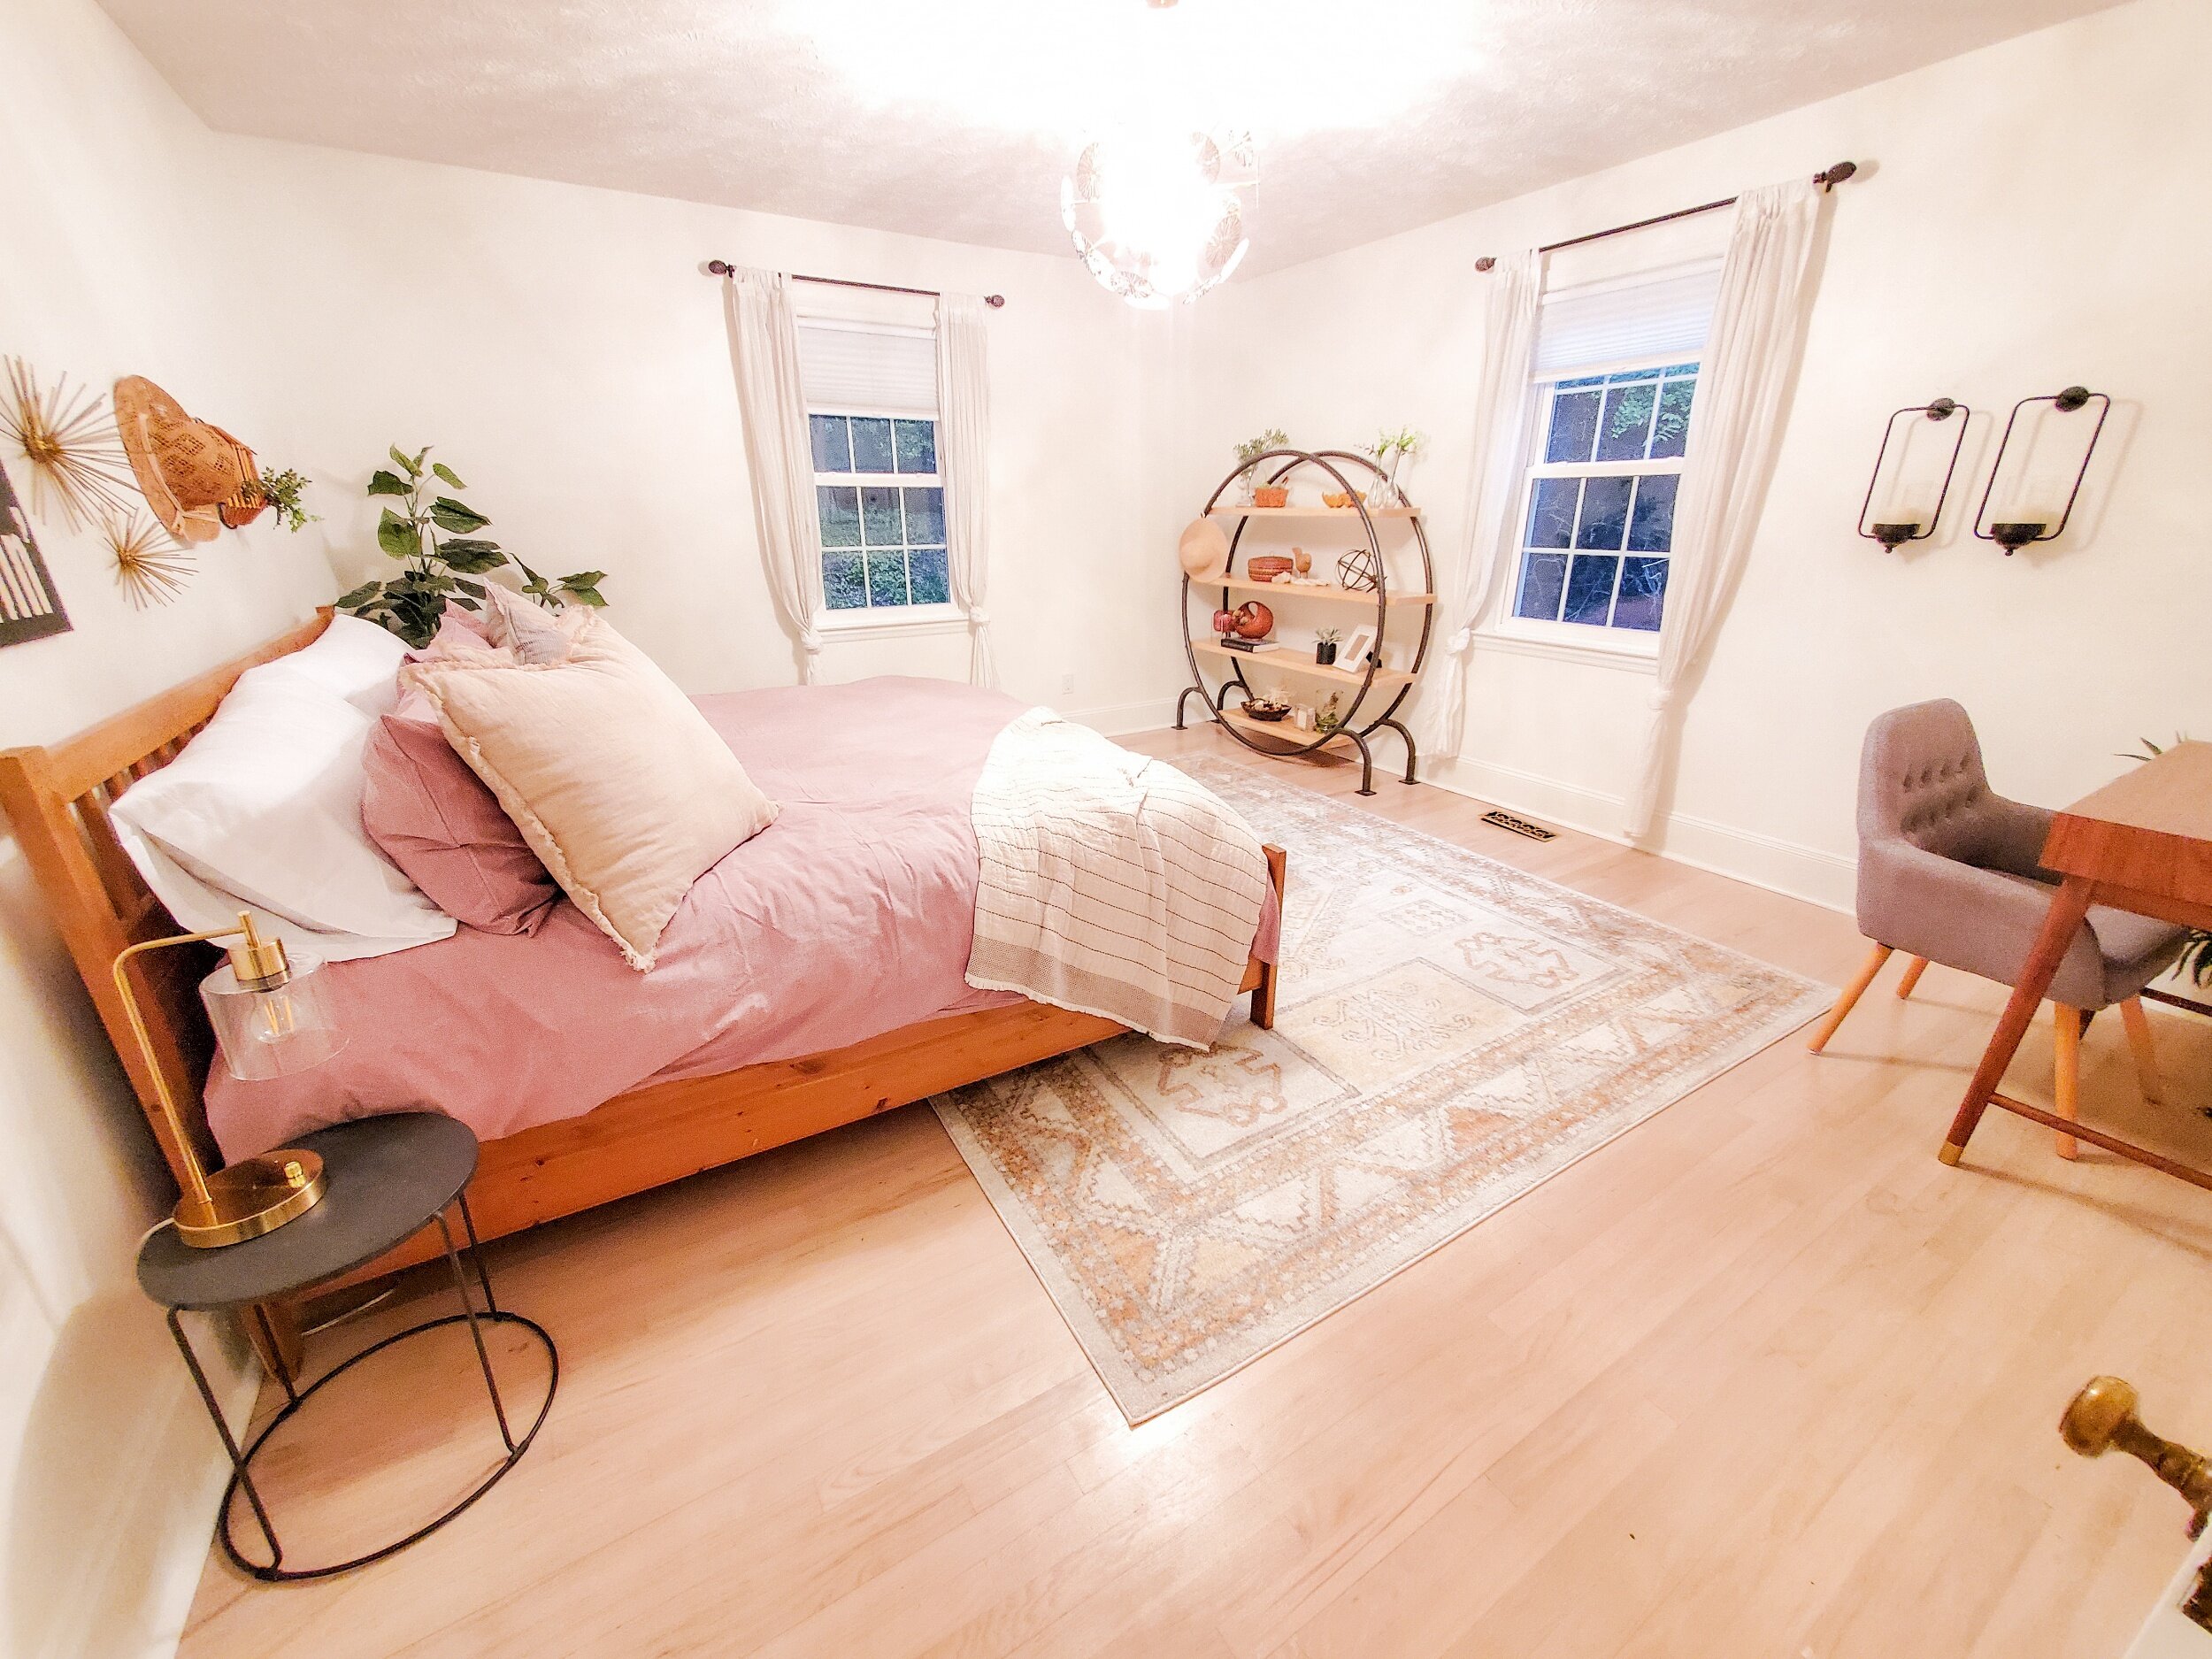
We are so excited to show you our brand new short term rental! Introducing the Haymount Scandi by Haymount Homes!
We had so much fun designing and renovating this home. We are bringing our Northern roots a little bit South with scandinavian design detail and fun styling throughout the home. As always, The Scandi is in the heart of Haymount, ready to showcase history with modern design.
At some point we will walk you through the renovation process, but for now enjoy the home tour. If you have friends or family visiting Fayetteville, we would love the opportunity to host them! You can contact us through the website, call or text us, or we will post our airbnb and VRBO links below. We look forward to your feedback and hope you had a great 4th of July.
Click to book!


Haymount Homes REDFIN FEATURE!! “choosing the right art for staging”
How to choose the right art to stage your home for sale. Tips from experts!

Don’t miss the recent Redfin article we were featured in!
Choosing art for staging sounds simple
..but anyone who has sifted through countless options of art and decor, realizes that it can become overwhelming and difficult to select the right art that will help sell your house!
Redfin has taken the guesswork out of it and put together an article to help you understand what you're looking for and how to select the best pieces to stage your home.
We were delighted to be featured in this article and hope you enjoy the tips below!
-Casey and crew

Experts Reveal Their Best Tips on Choosing the Right Art for Home Staging
A well-staged home can make all the difference in enticing a buyer to tour a listing, and something as simple as the artwork you choose can make or break a sale. Your home is where your design personality shines through, but when staging your home for sale, it’s important to keep personal mementos and photos tucked away to appeal to a wide range of buyers.
Everyone will inevitably have differing design opinions, but with a few simple tips and tricks, choosing the right artwork for your home when staging can help buyers envision themselves living there. To help put your home on a buyer’s “must-have” list, we reached out to design experts from Irvine, CA, all the way to Calgary, AB, for their best advice on choosing the right art for home staging.
Select artwork that enhances your home
Let the artwork serve two purposes - choose artwork that adds appeal to the home and markets the geographical region. This makes the home even more appealing to potential buyers. For example, if you are staging a home near a big city, choose artwork that shows images of the city. -Elegant Transitions
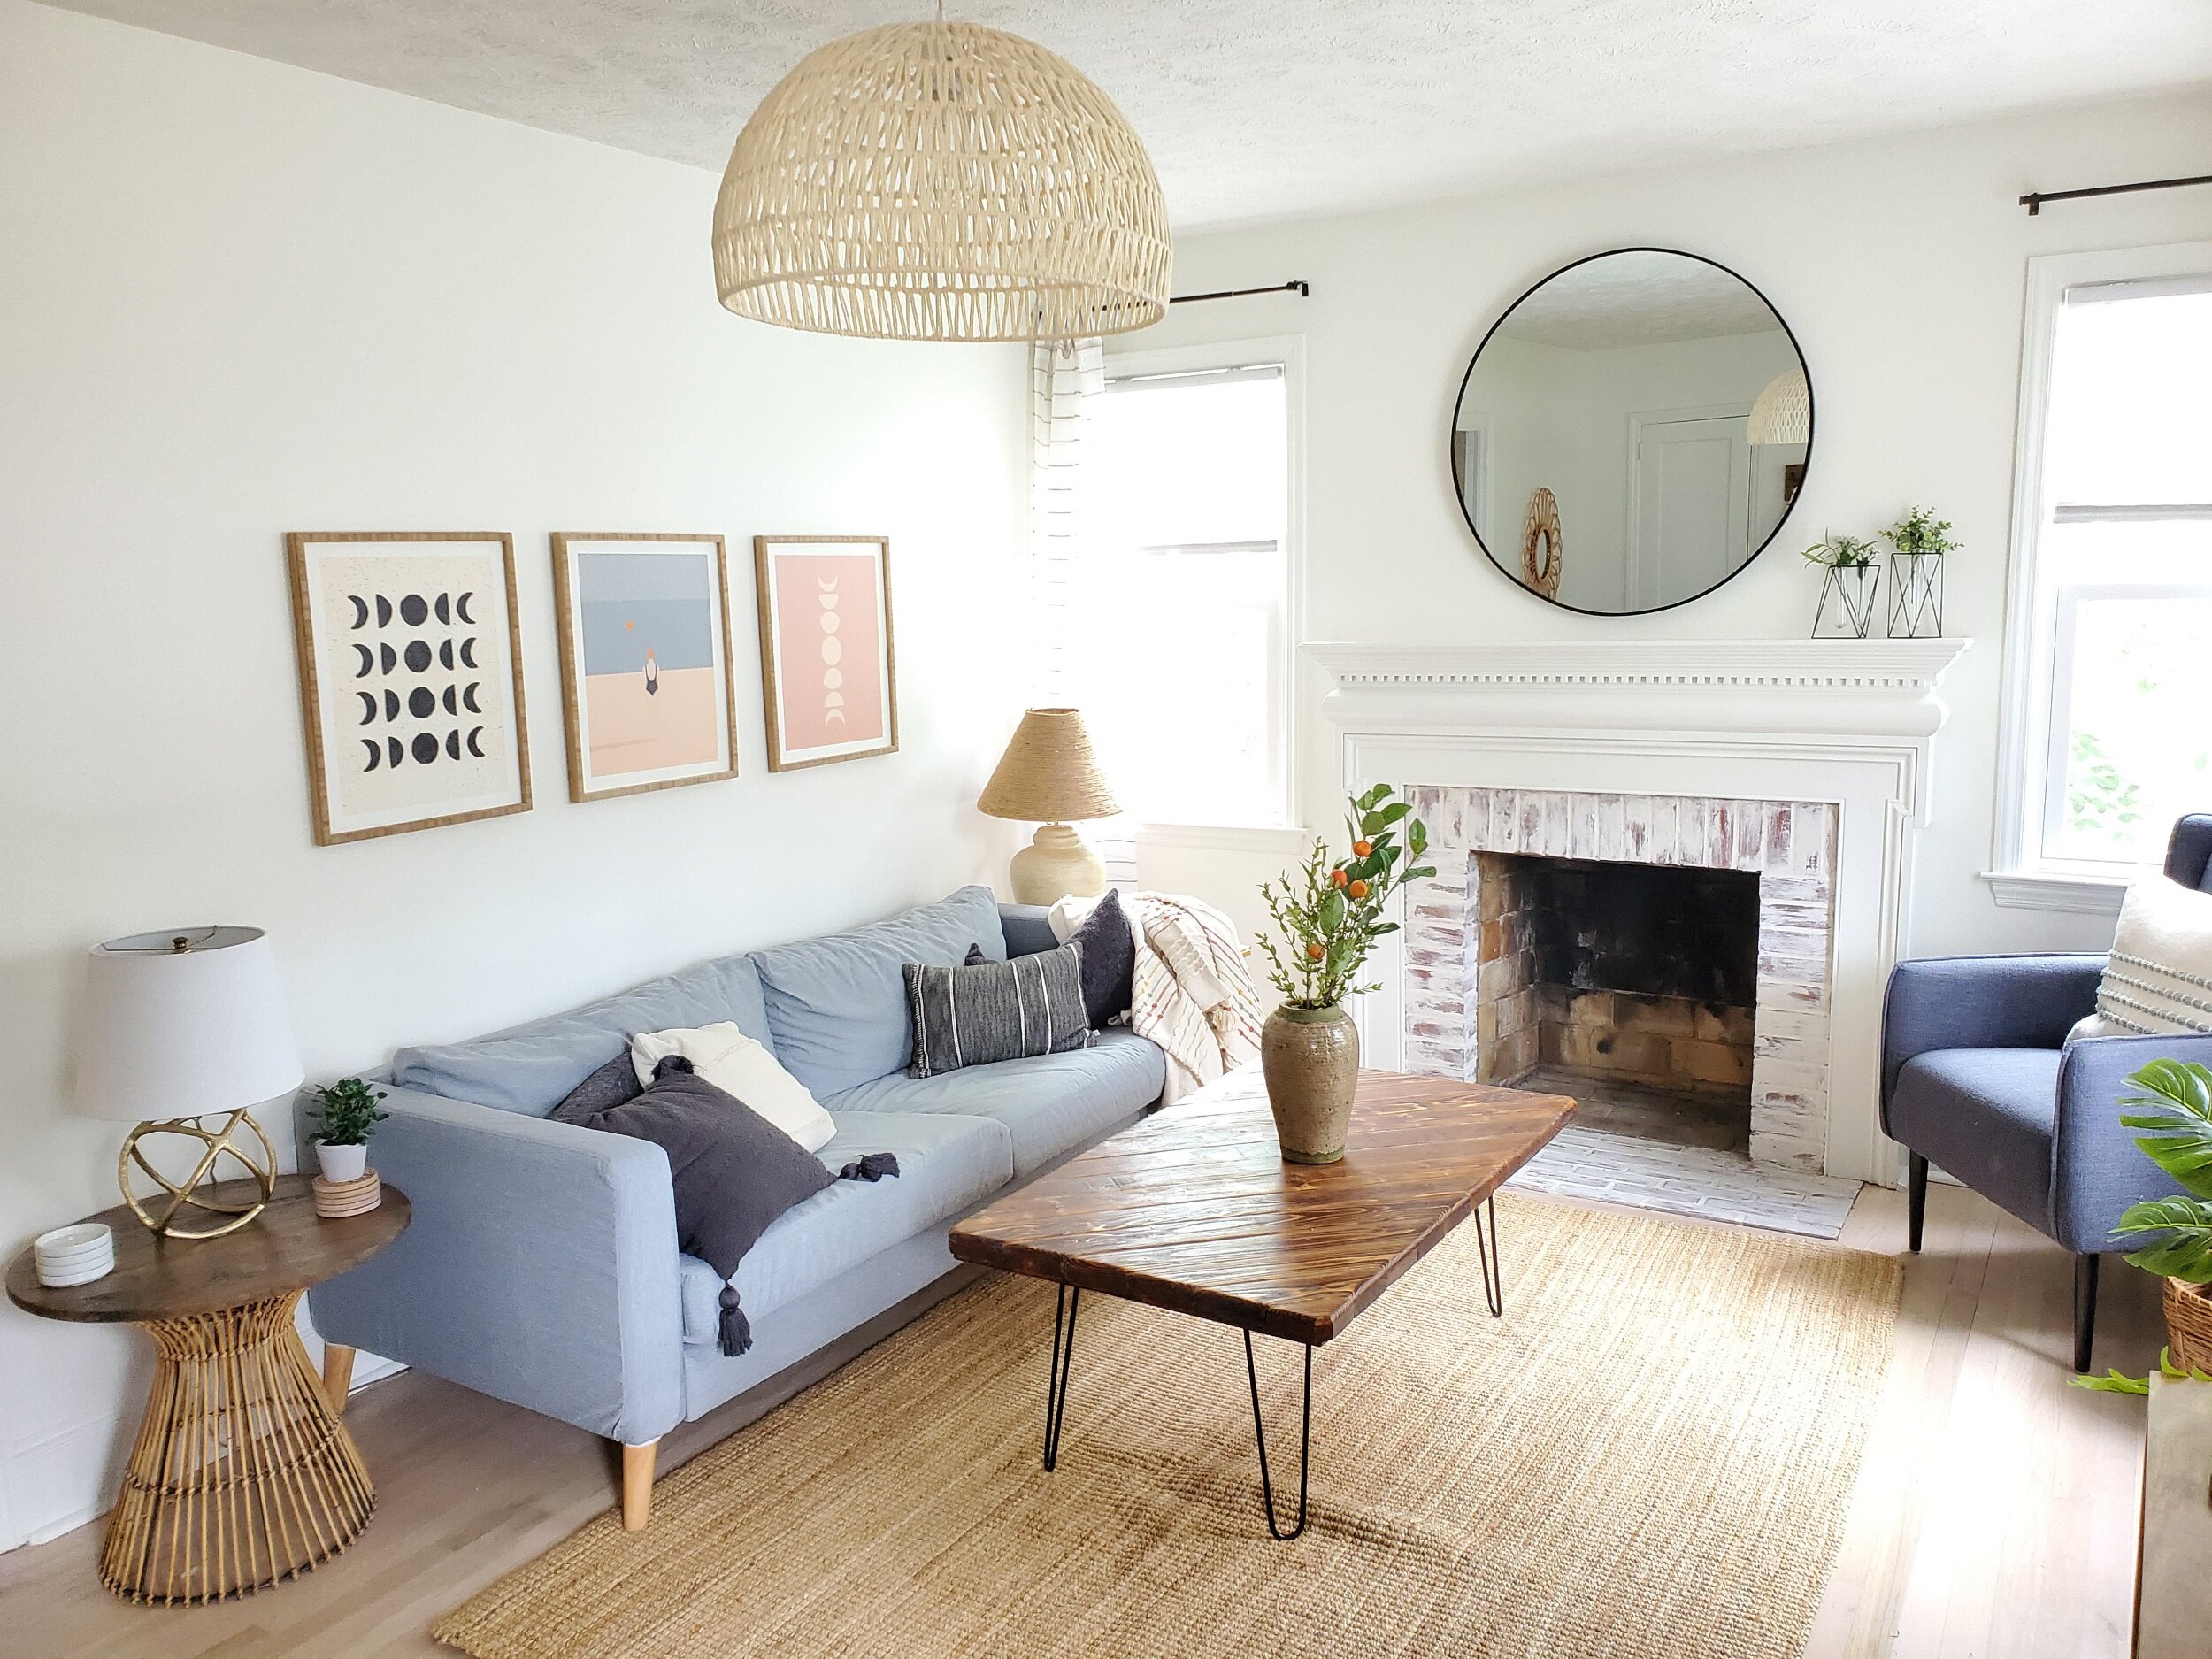
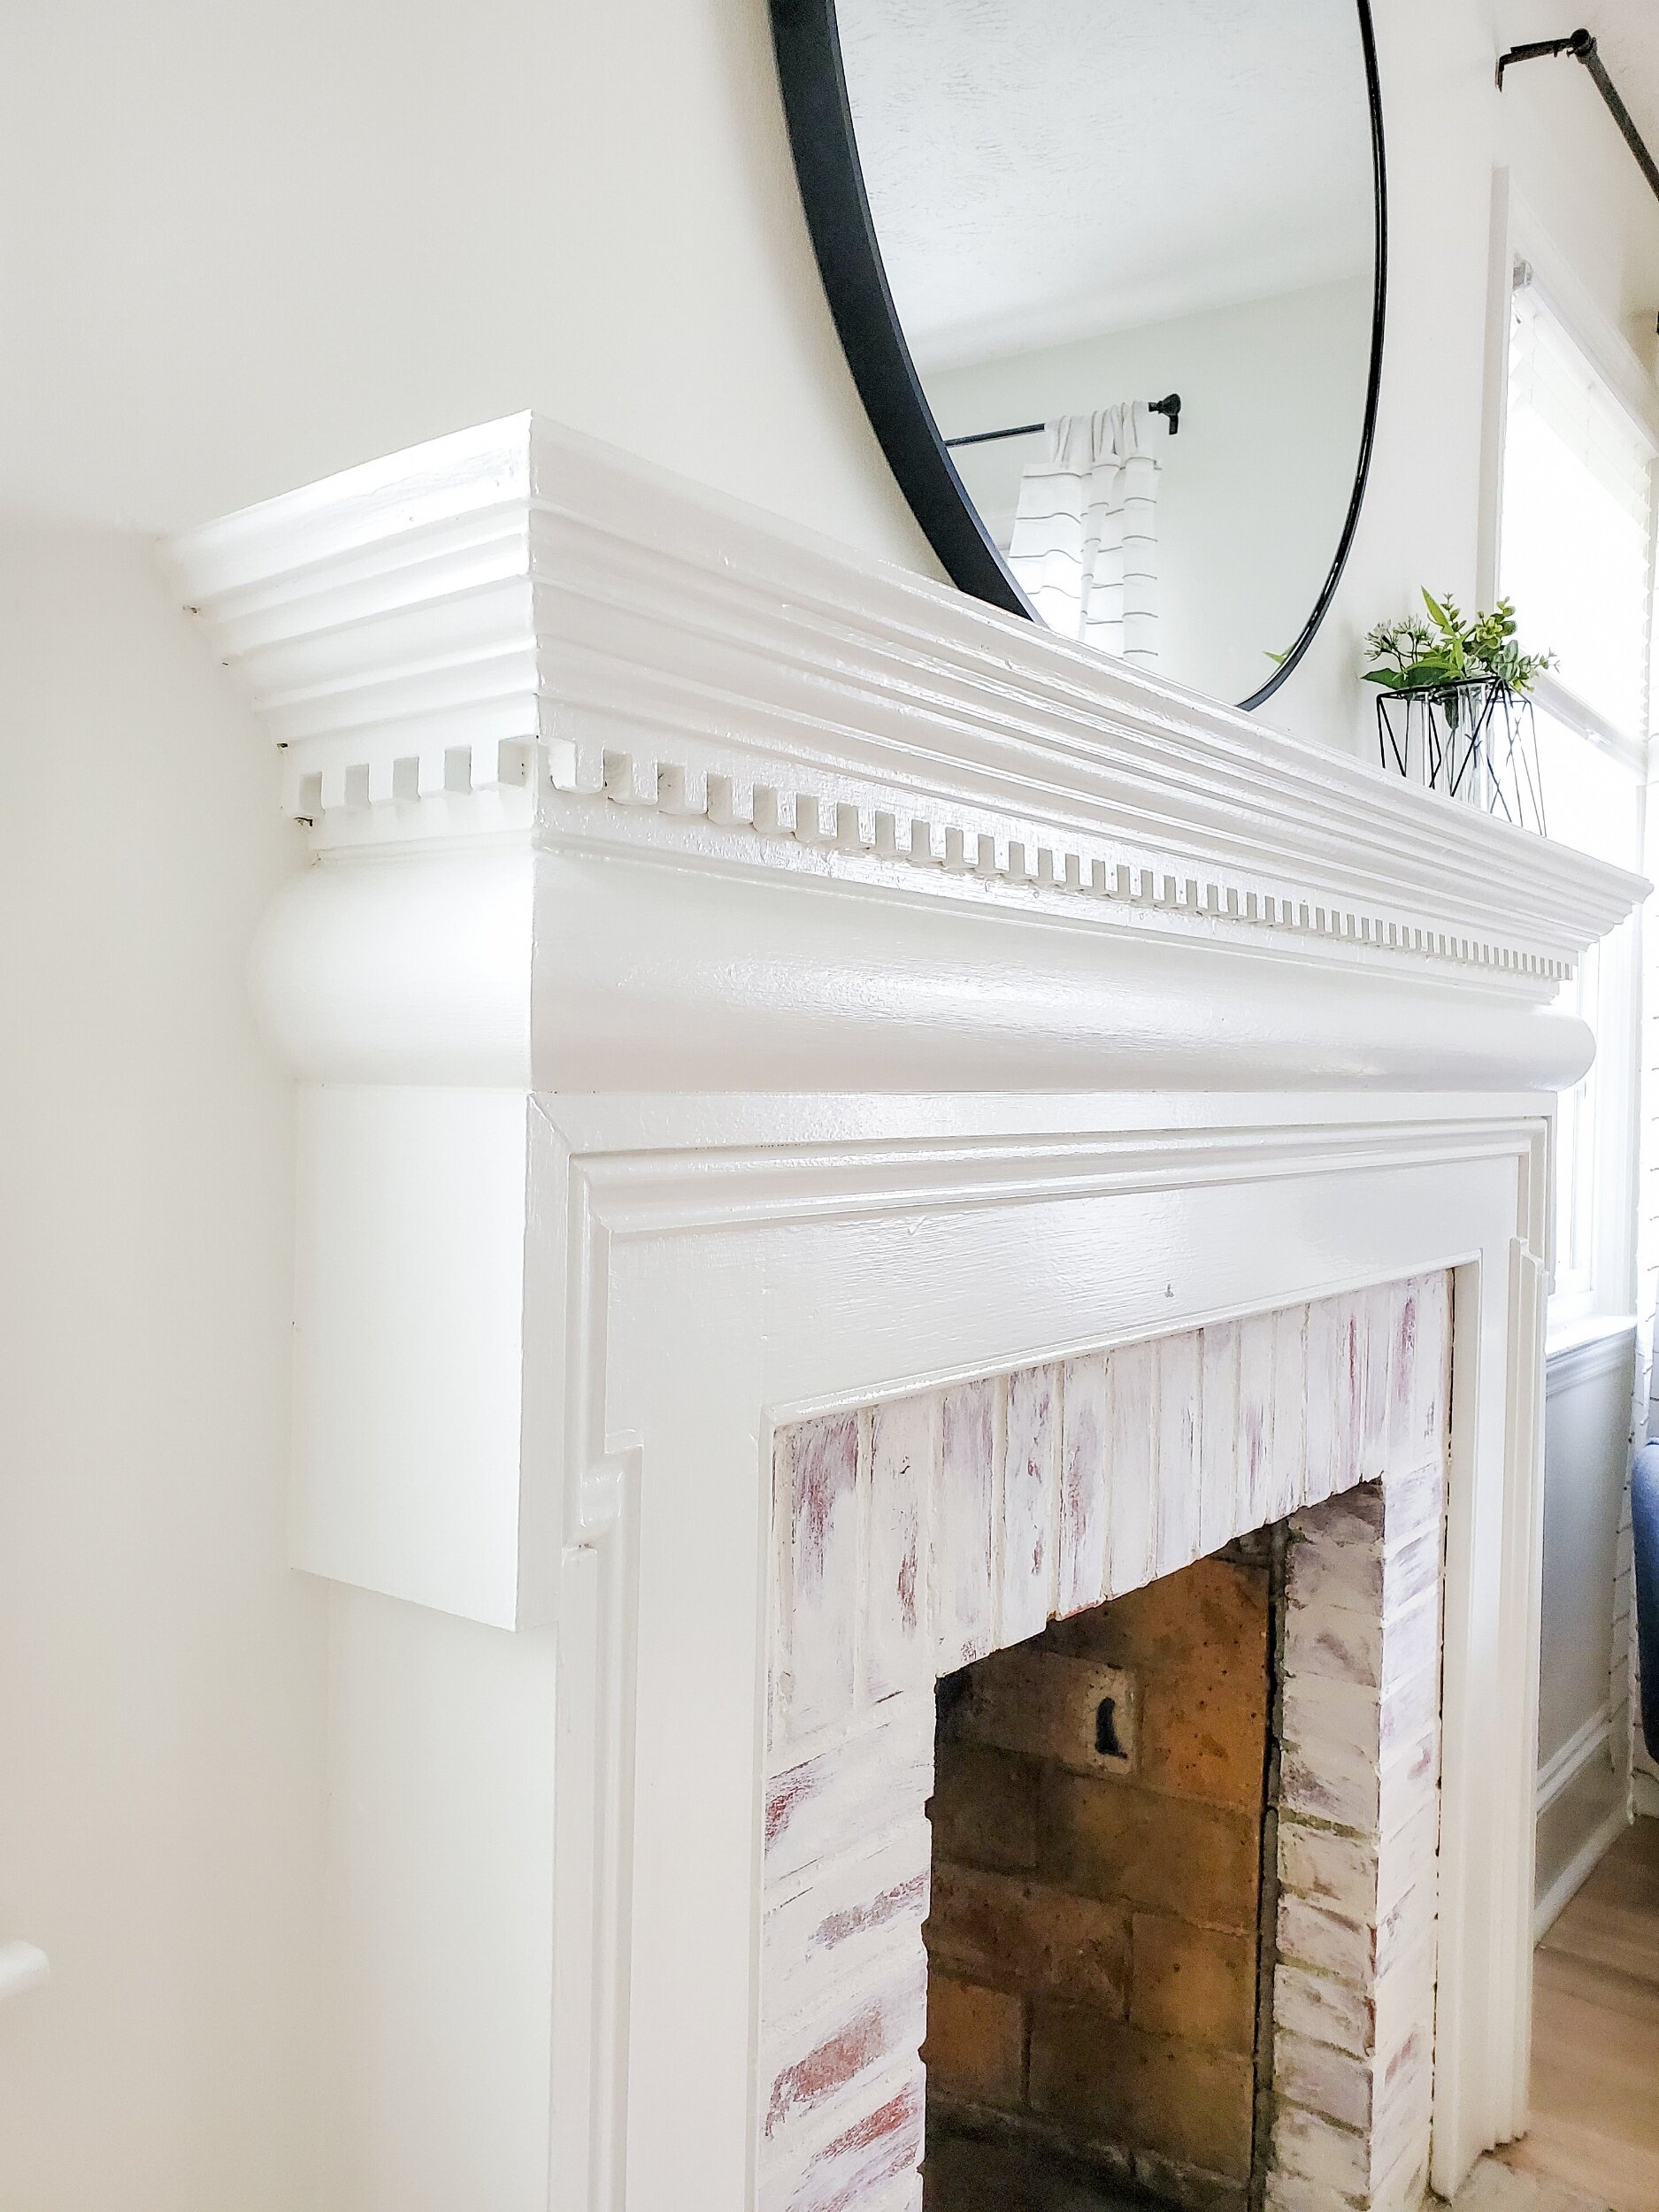
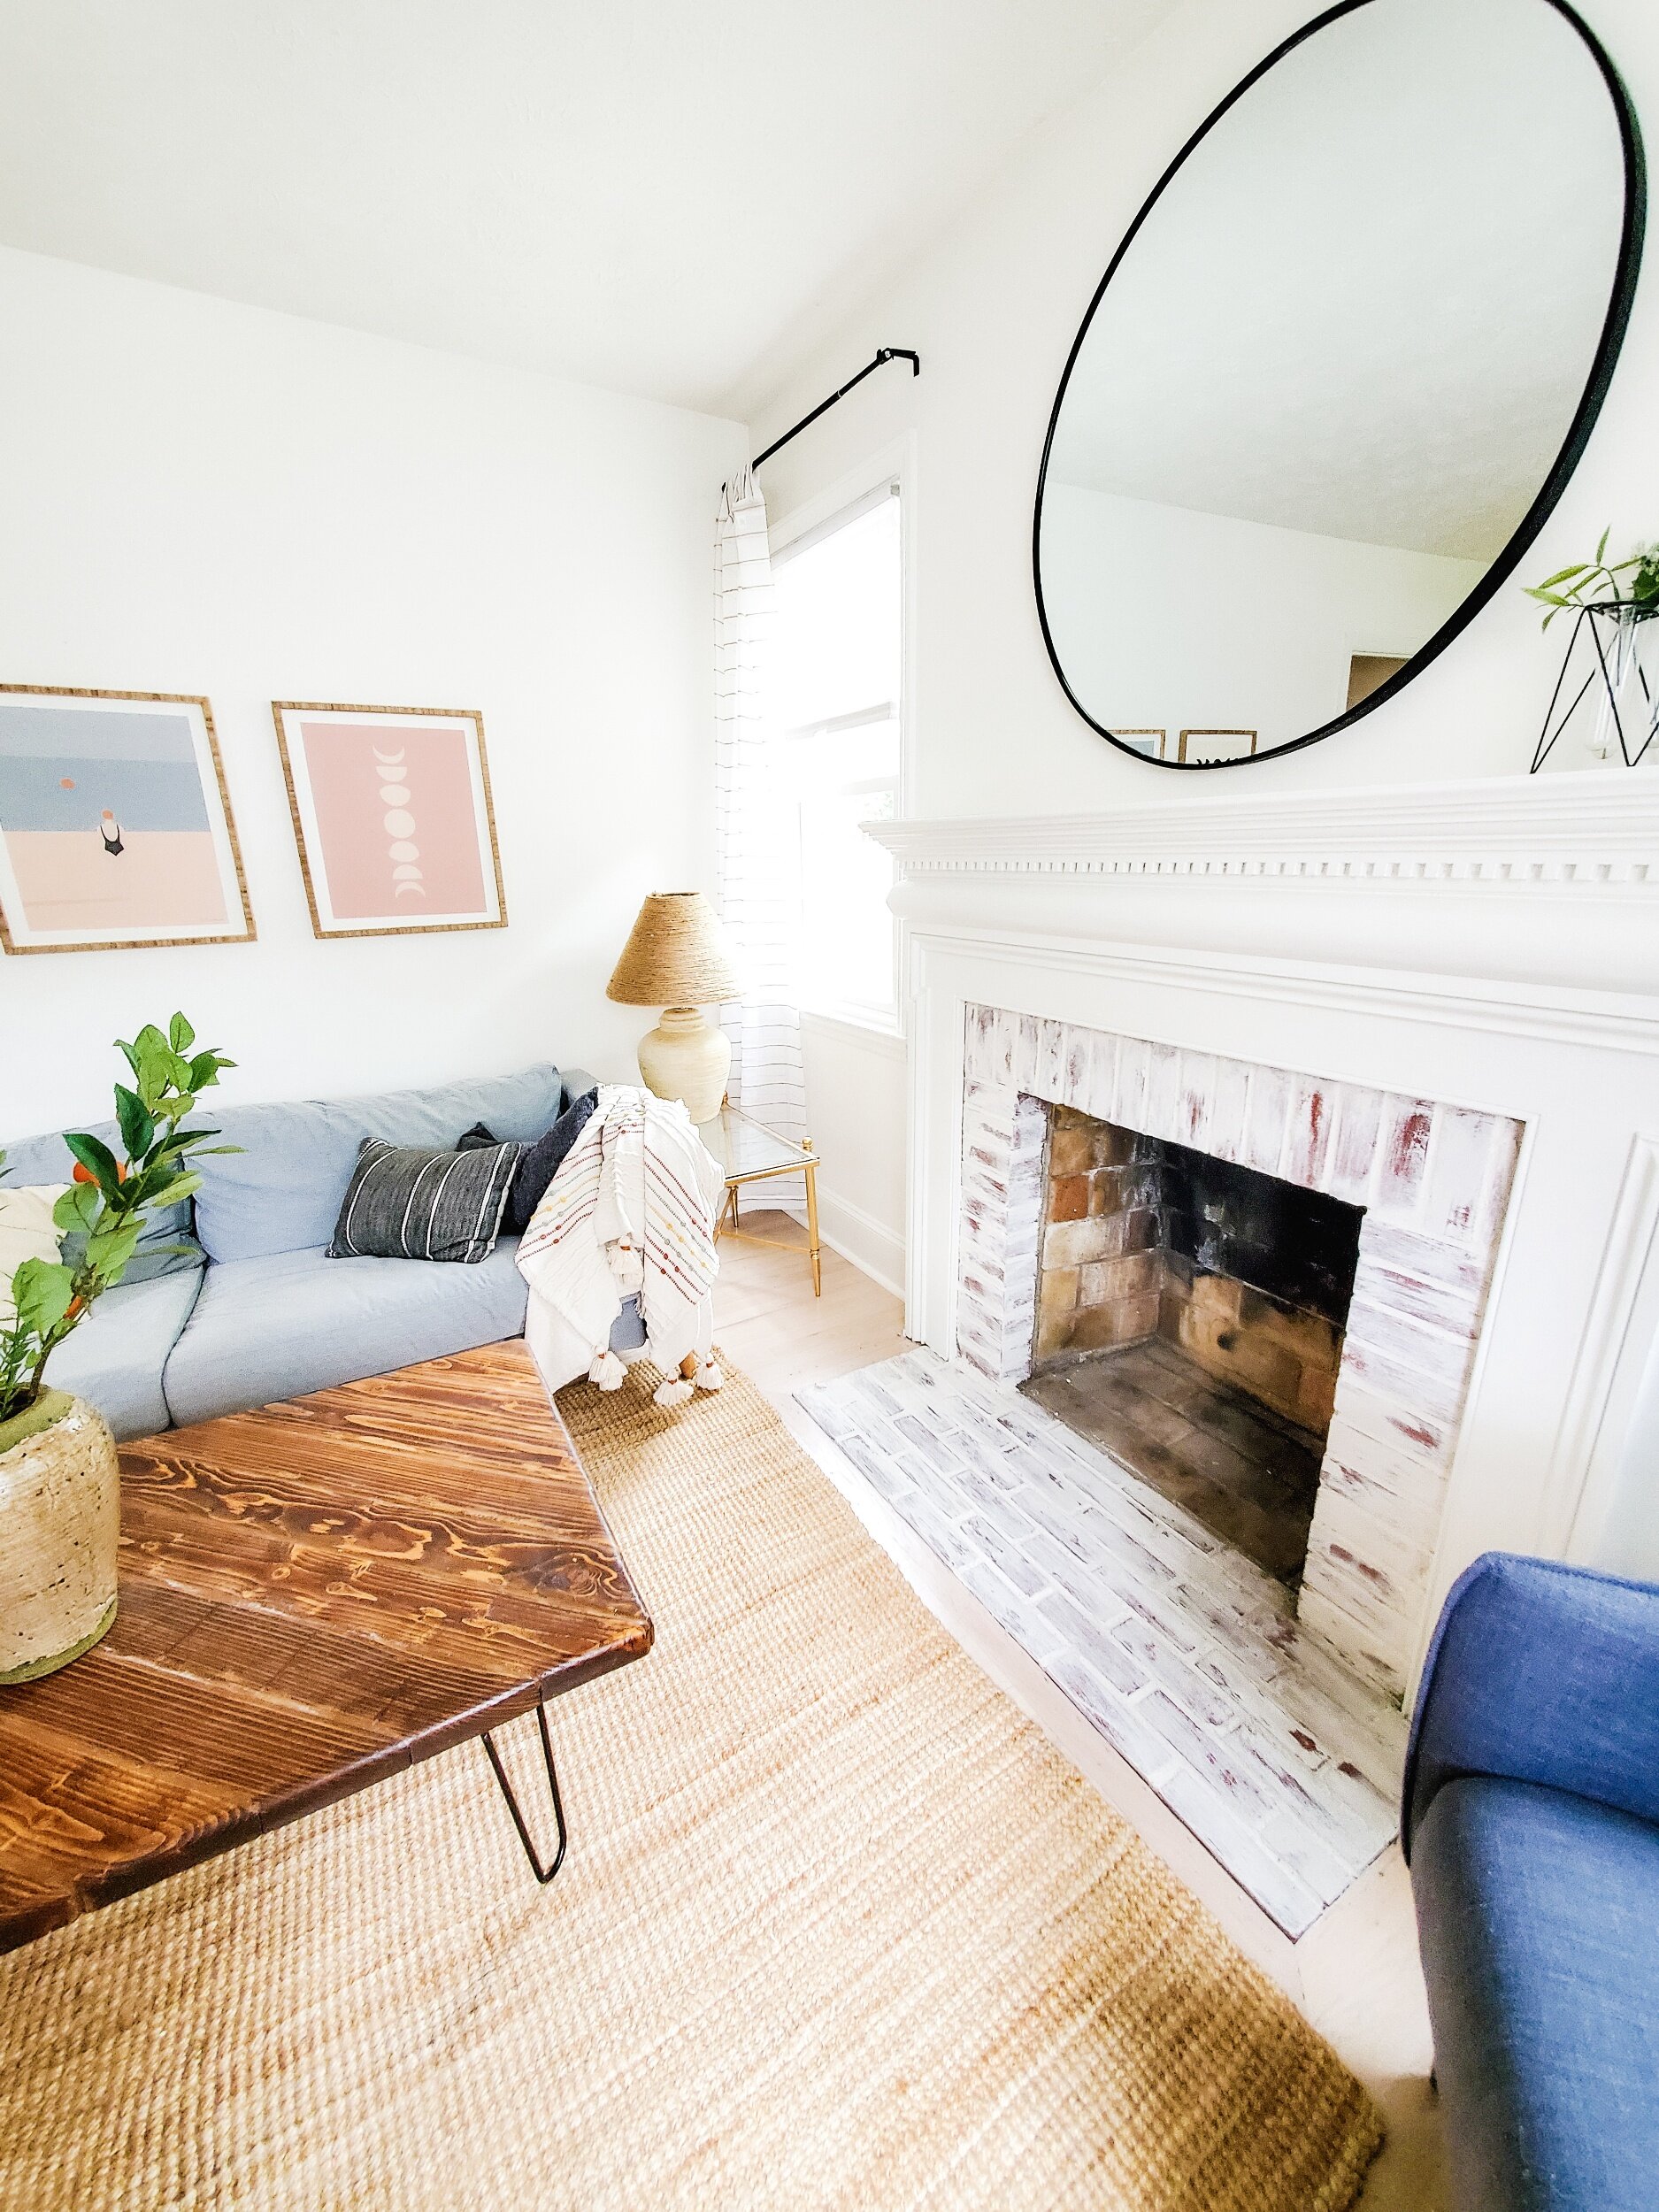
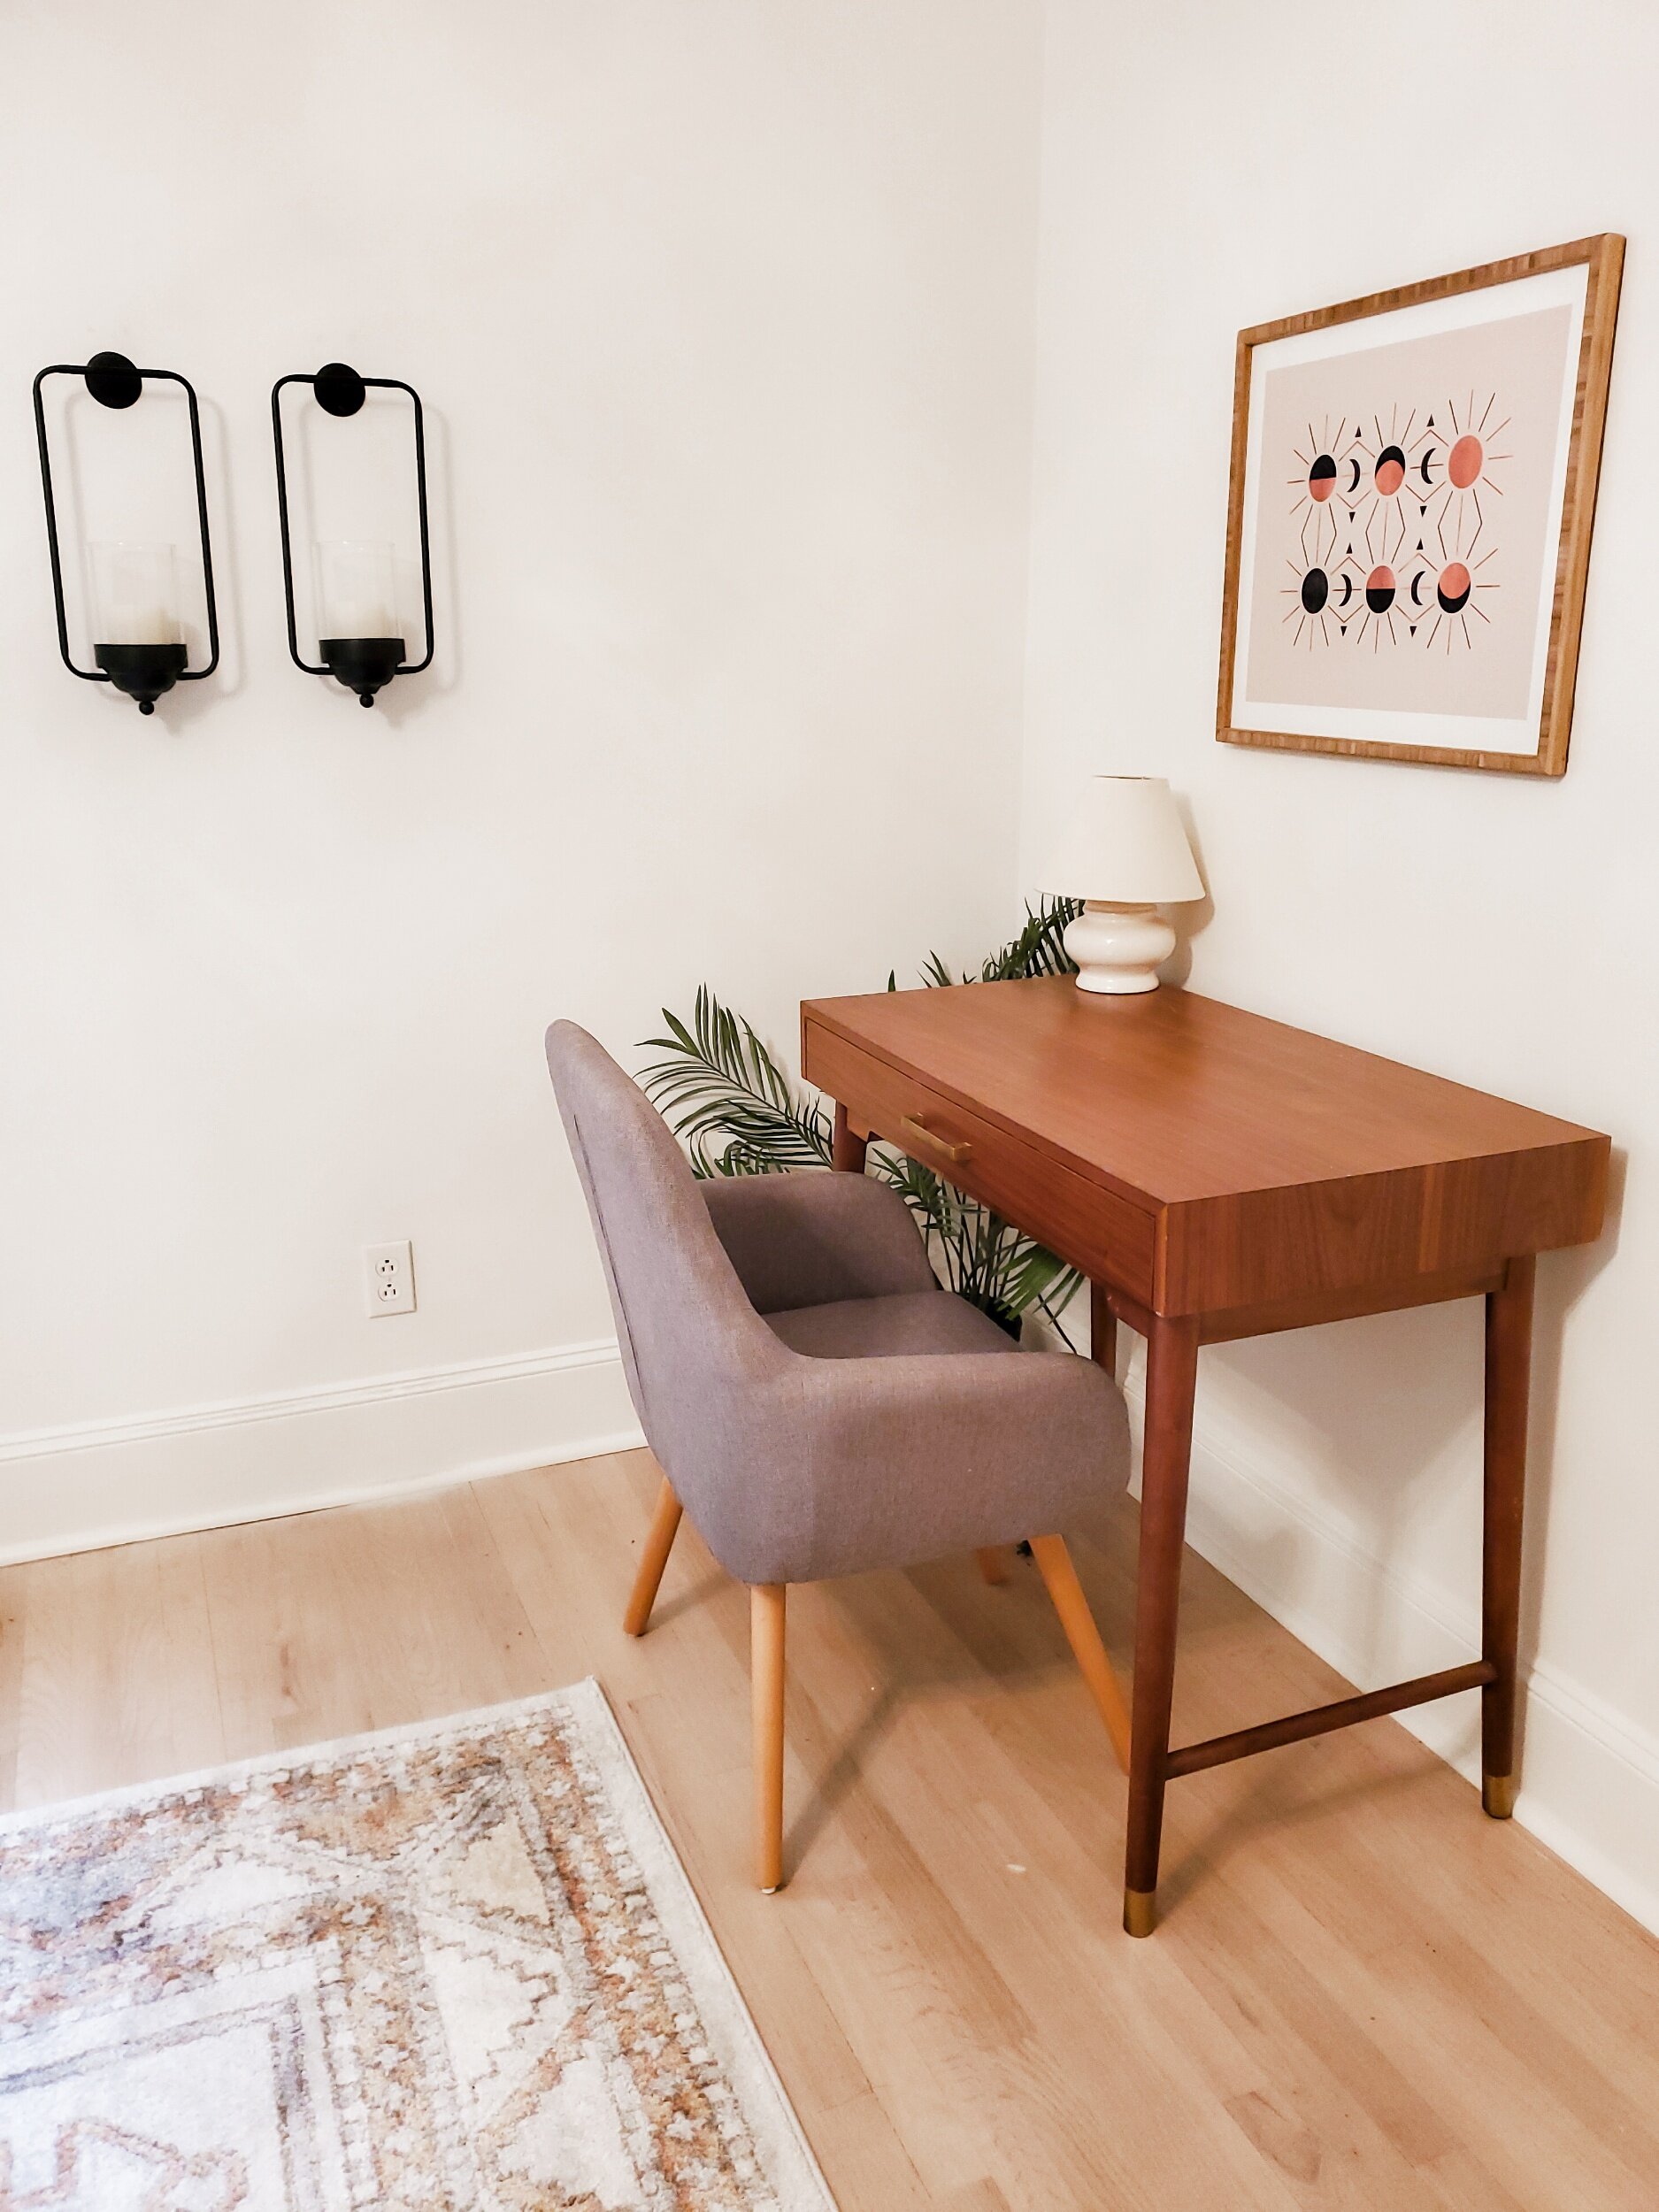
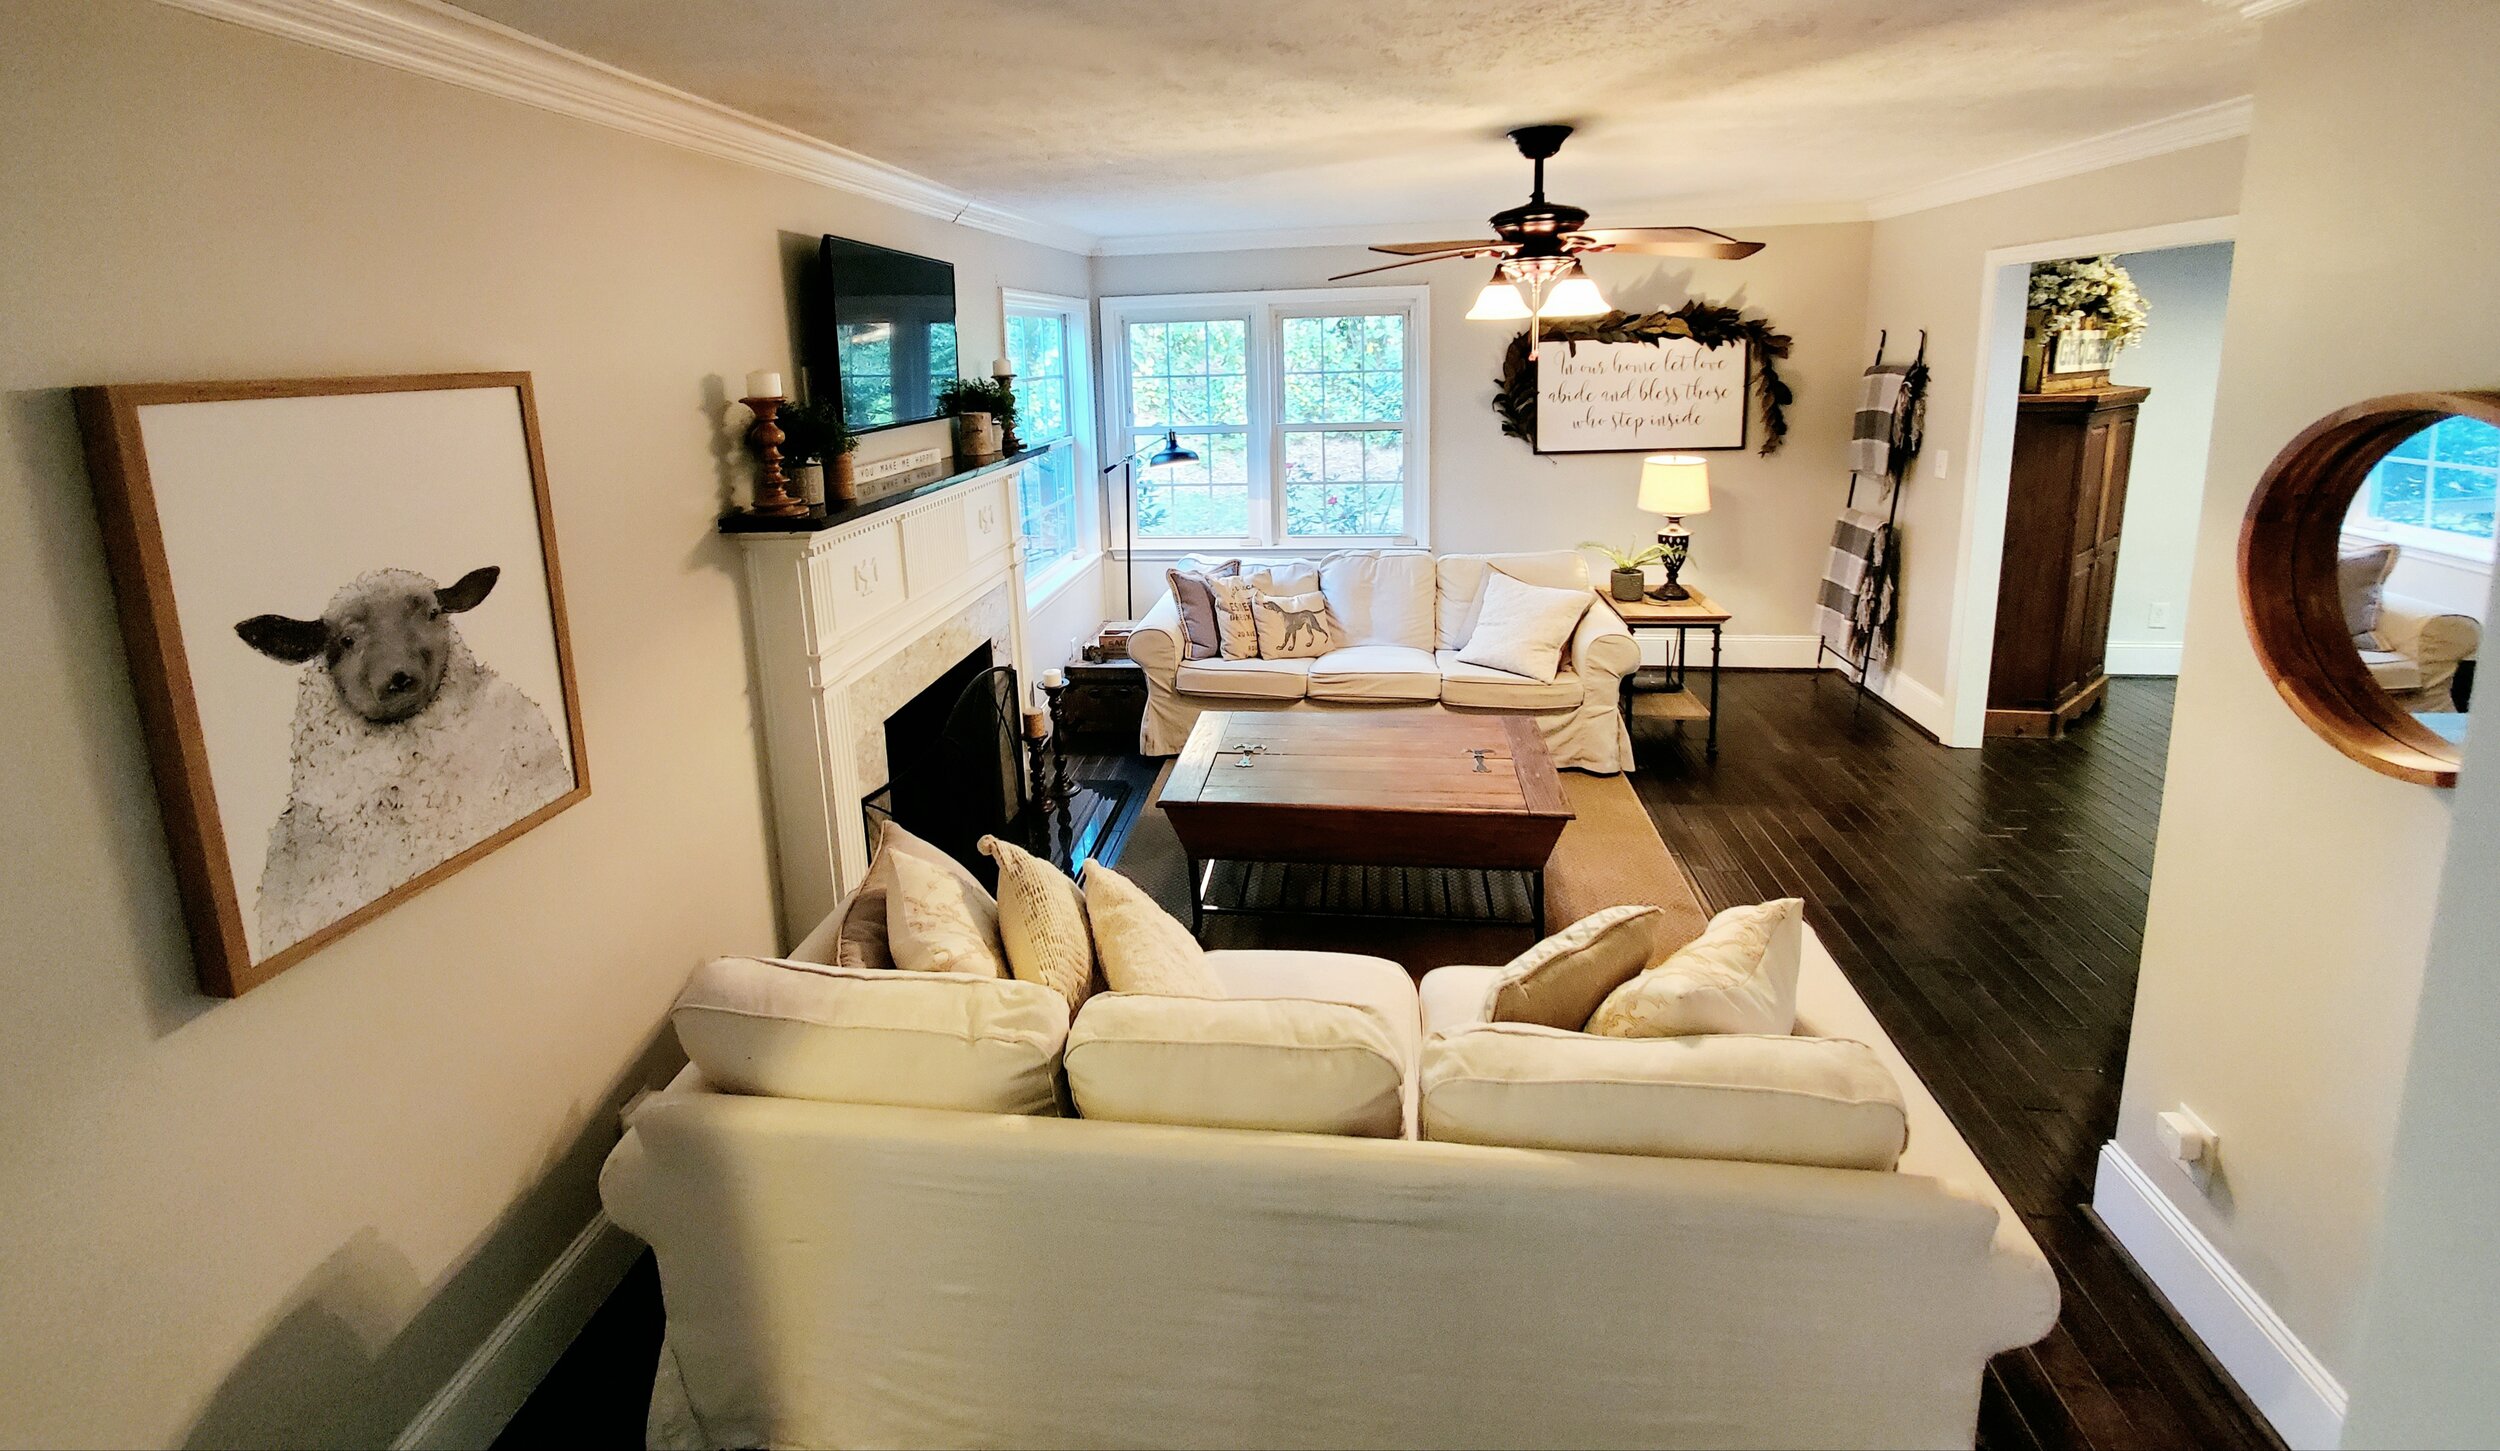
Be intentional when selecting artwork to showcase a property. Placement and scale are critical when enhancing the space around the art or using it as a tool to draw the eye to an architectural feature nearby, such as a fireplace. Also, the subject matter of the artwork you choose should be deliberate, such as using a landscape piece to create interest in a dark or windowless room. -Diversa Design
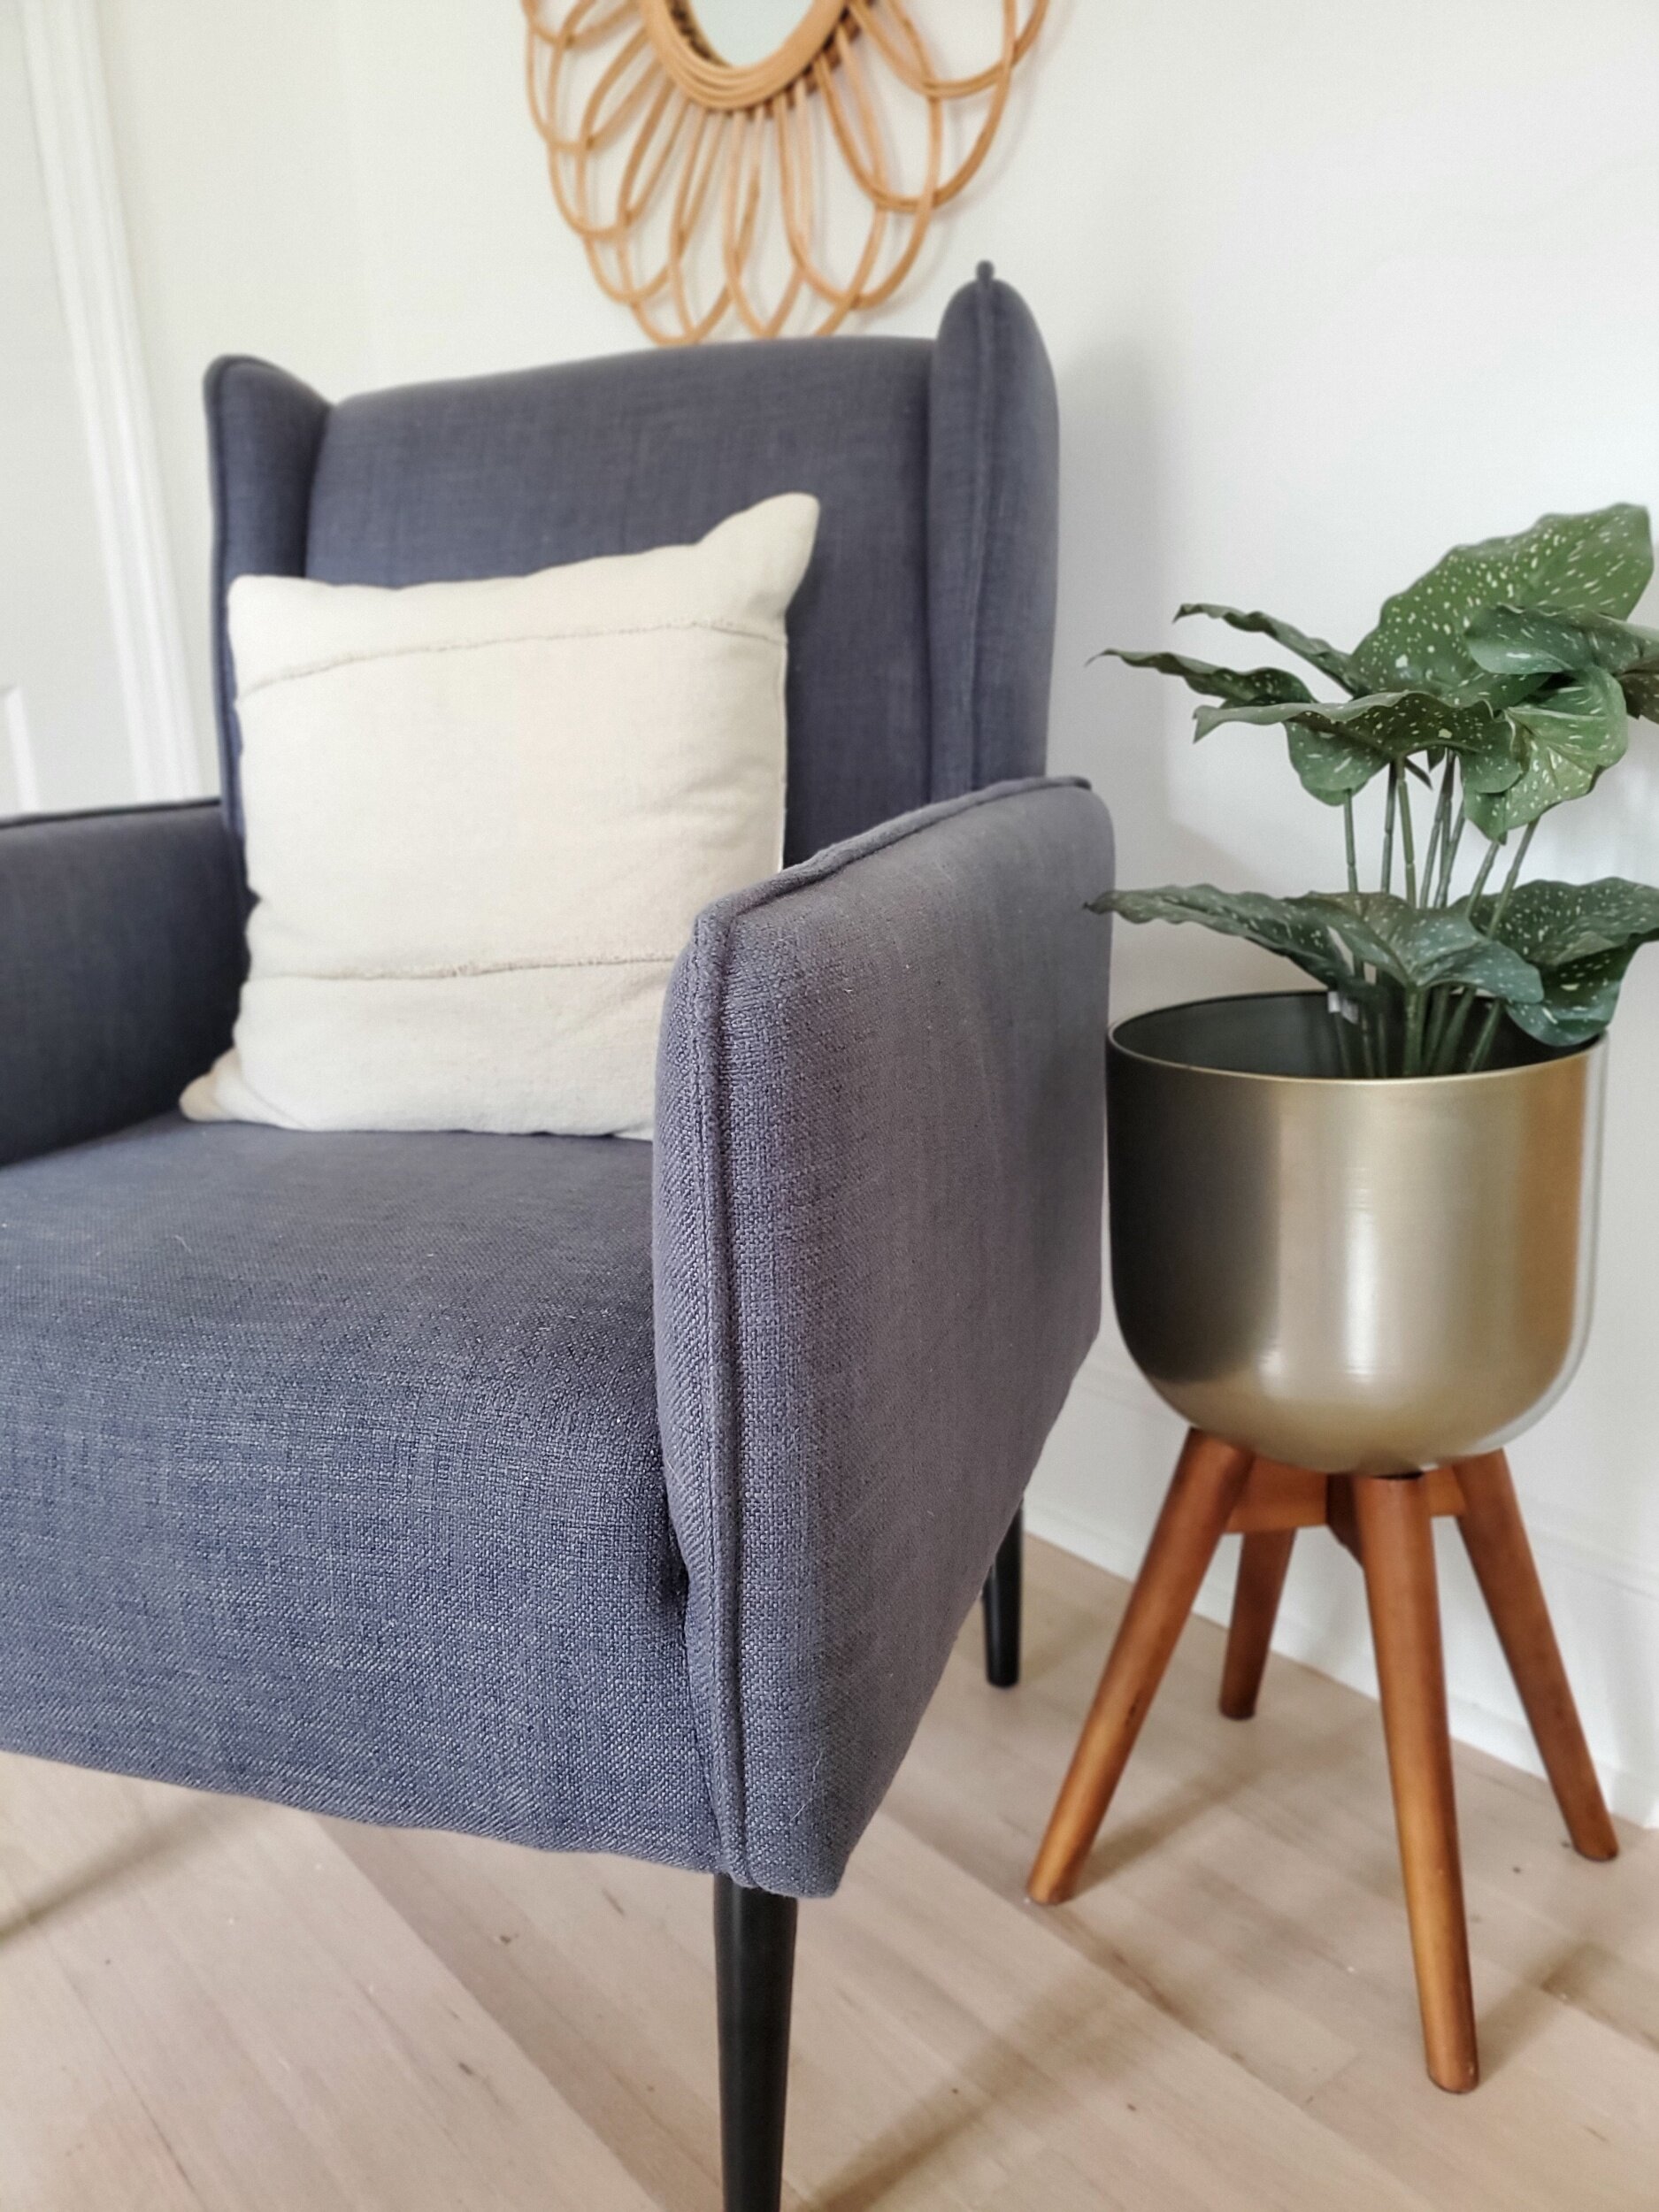
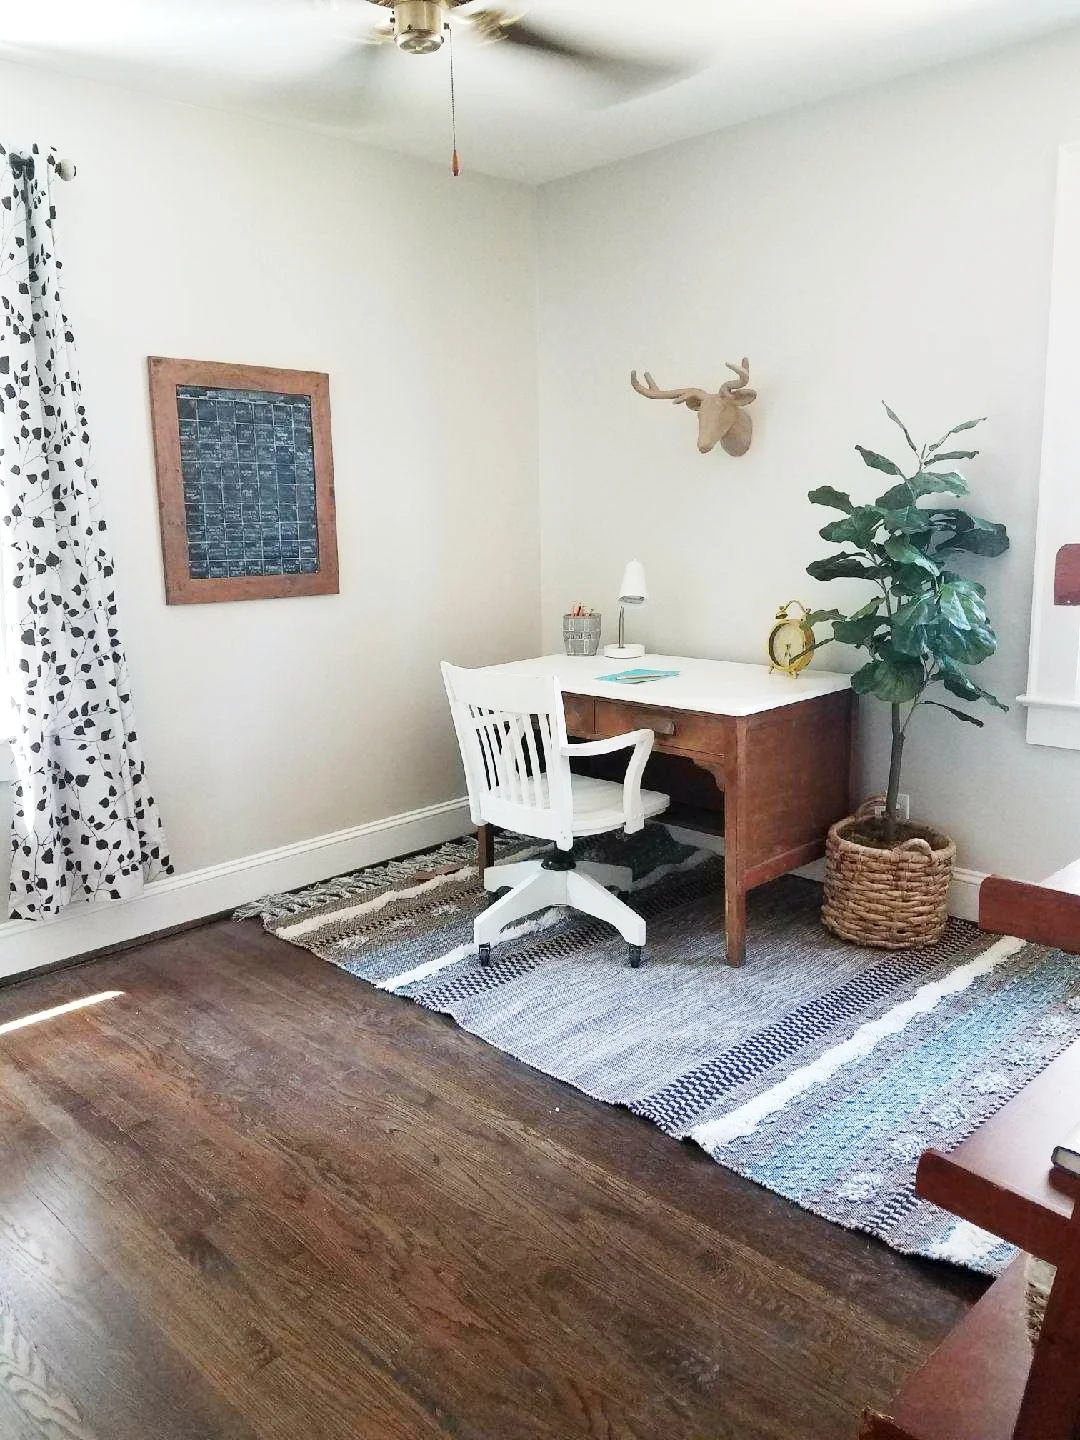
Think of art as an accent piece. Artwork can be used to provide a focal point, highlight a feature in your home, and add color to a space. I have found modern art or landscapes to be the most effective when staging a house - framed family photos and religious art tend to make prospective buyers uncomfortable. Also, be selective about placement. When staging, only a few walls need to be adorned - less is truly more. -Gin Treadwell Home Interiors
Art placement and procurement create a statement within the room by adding focal points, becoming a key role in enhancing the room. Artwork can bring the room to life and serve as an attractive feature to help build up the environment within the room. When you're looking to add character to your room, a few key art pieces may be all you need to bring that “wow” factor that your wall needed. -Eden Home Staging
Be mindful of your artwork choices
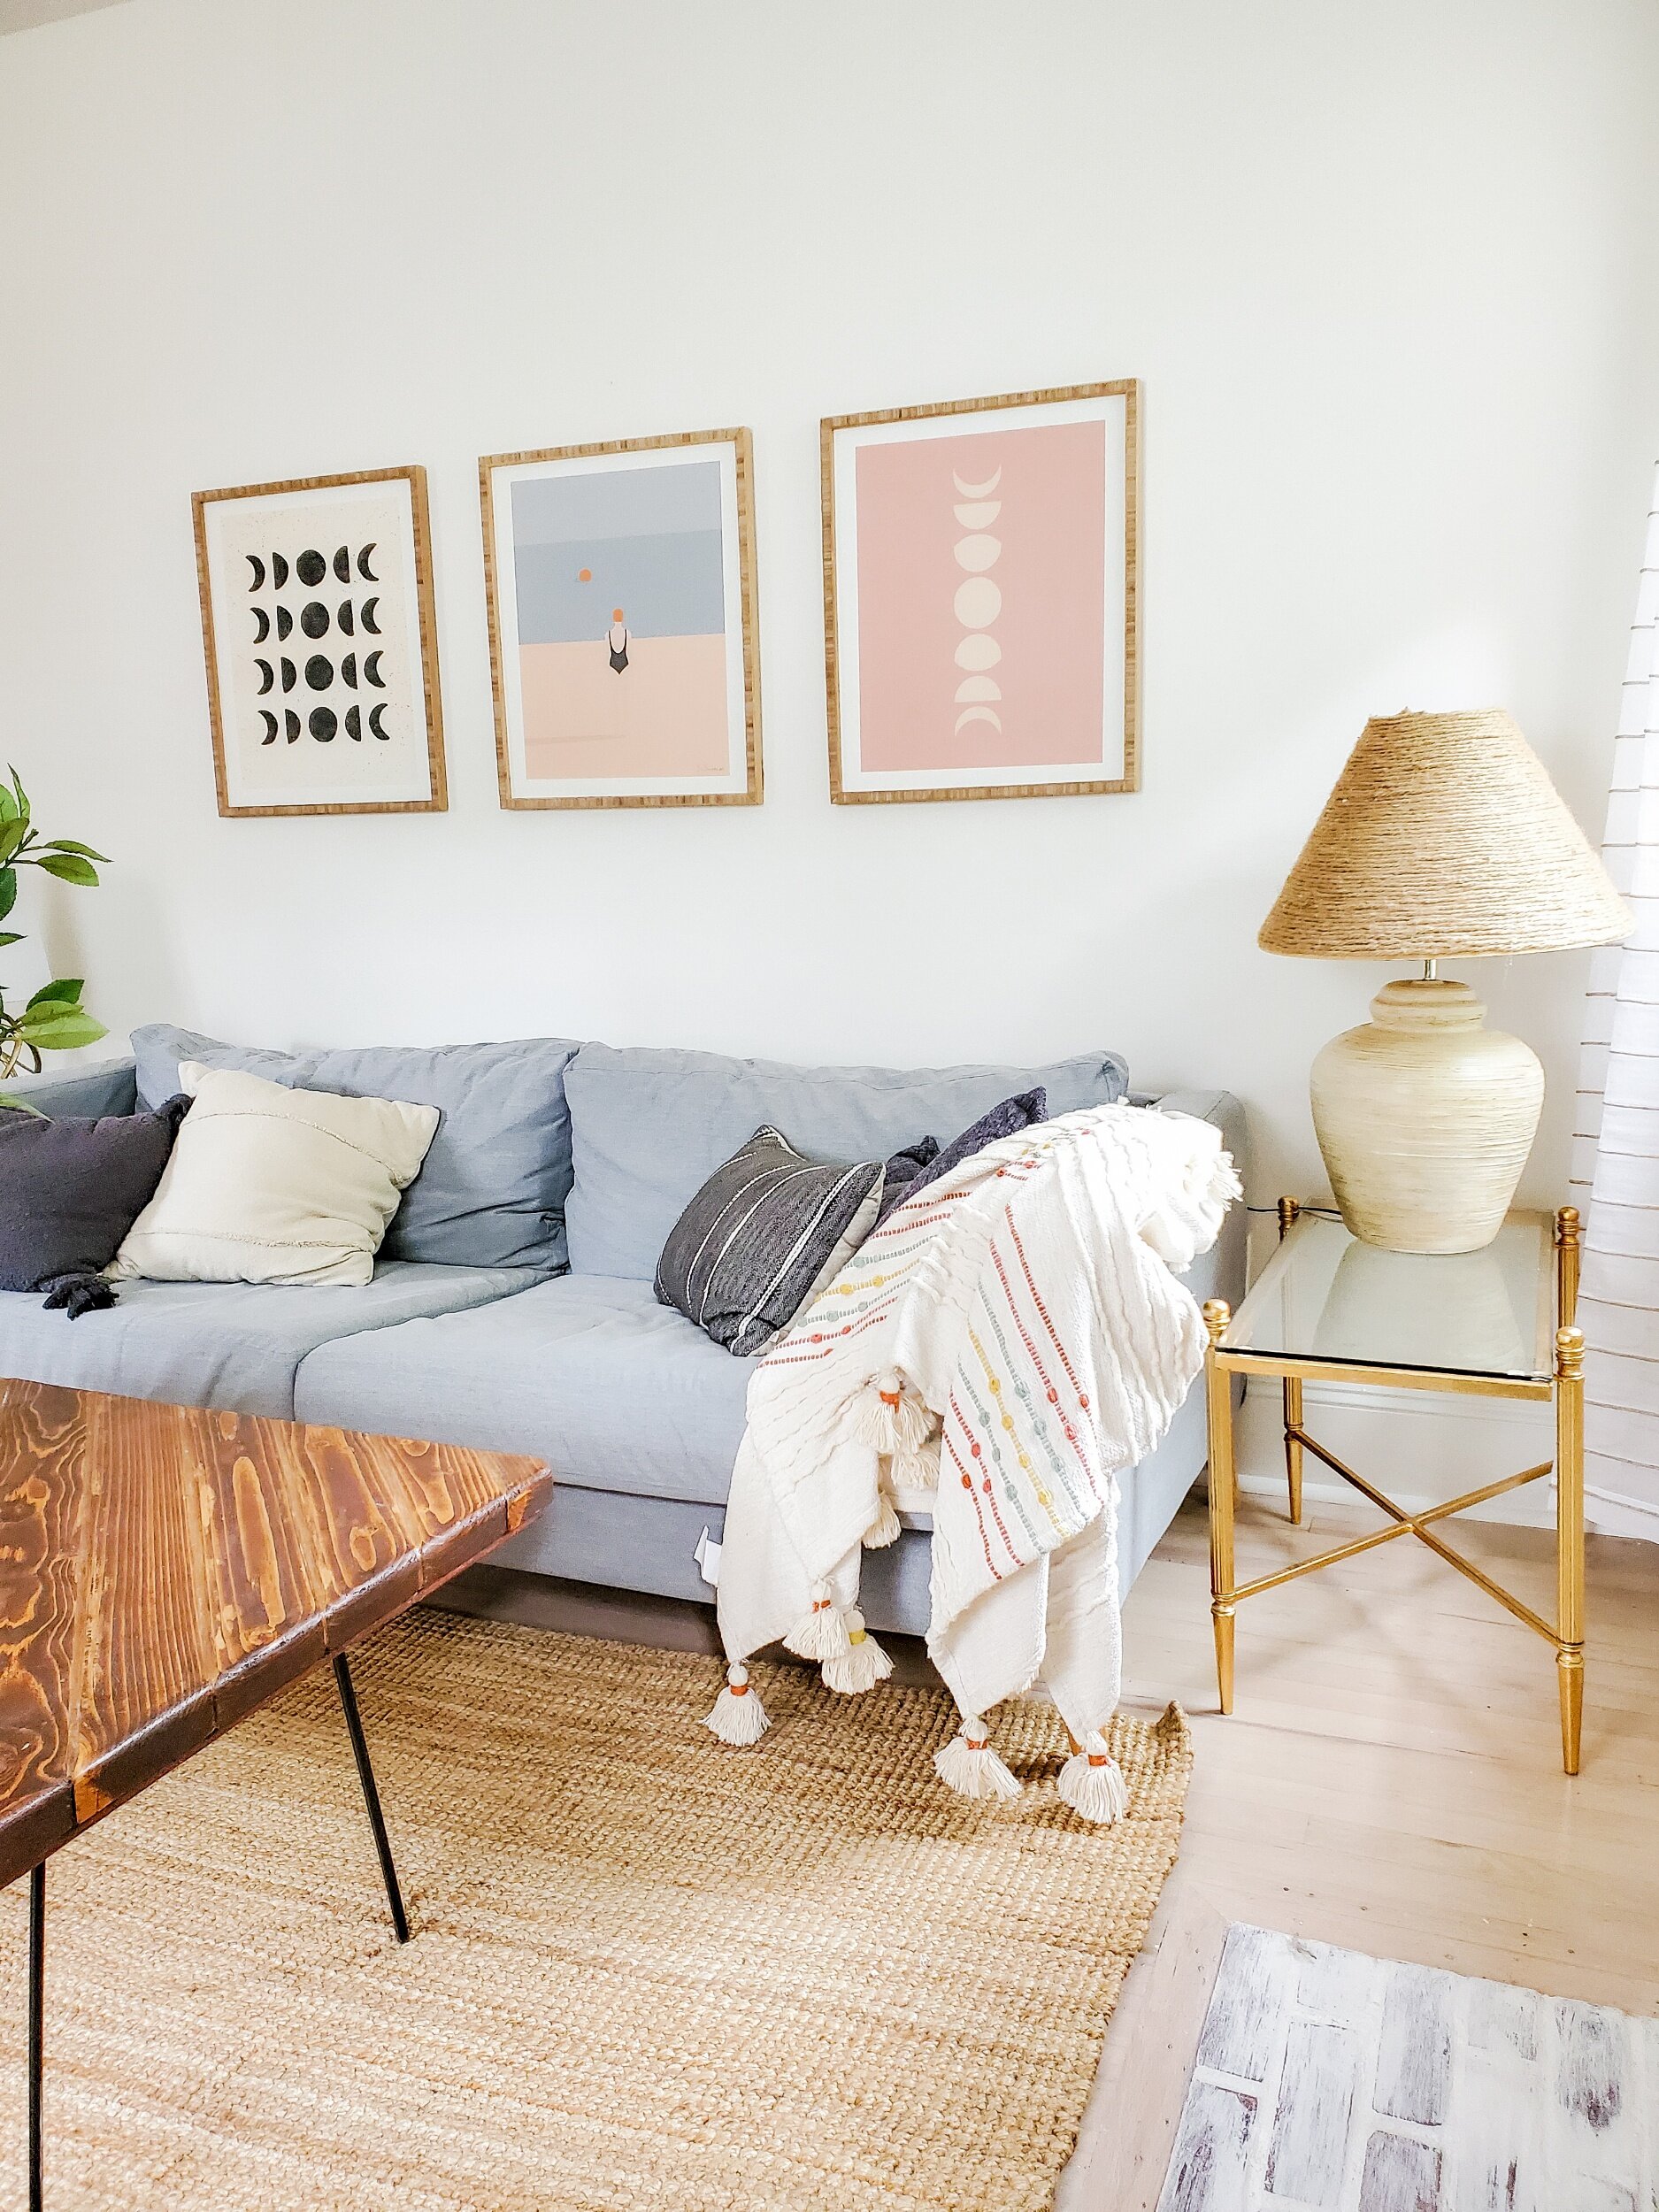
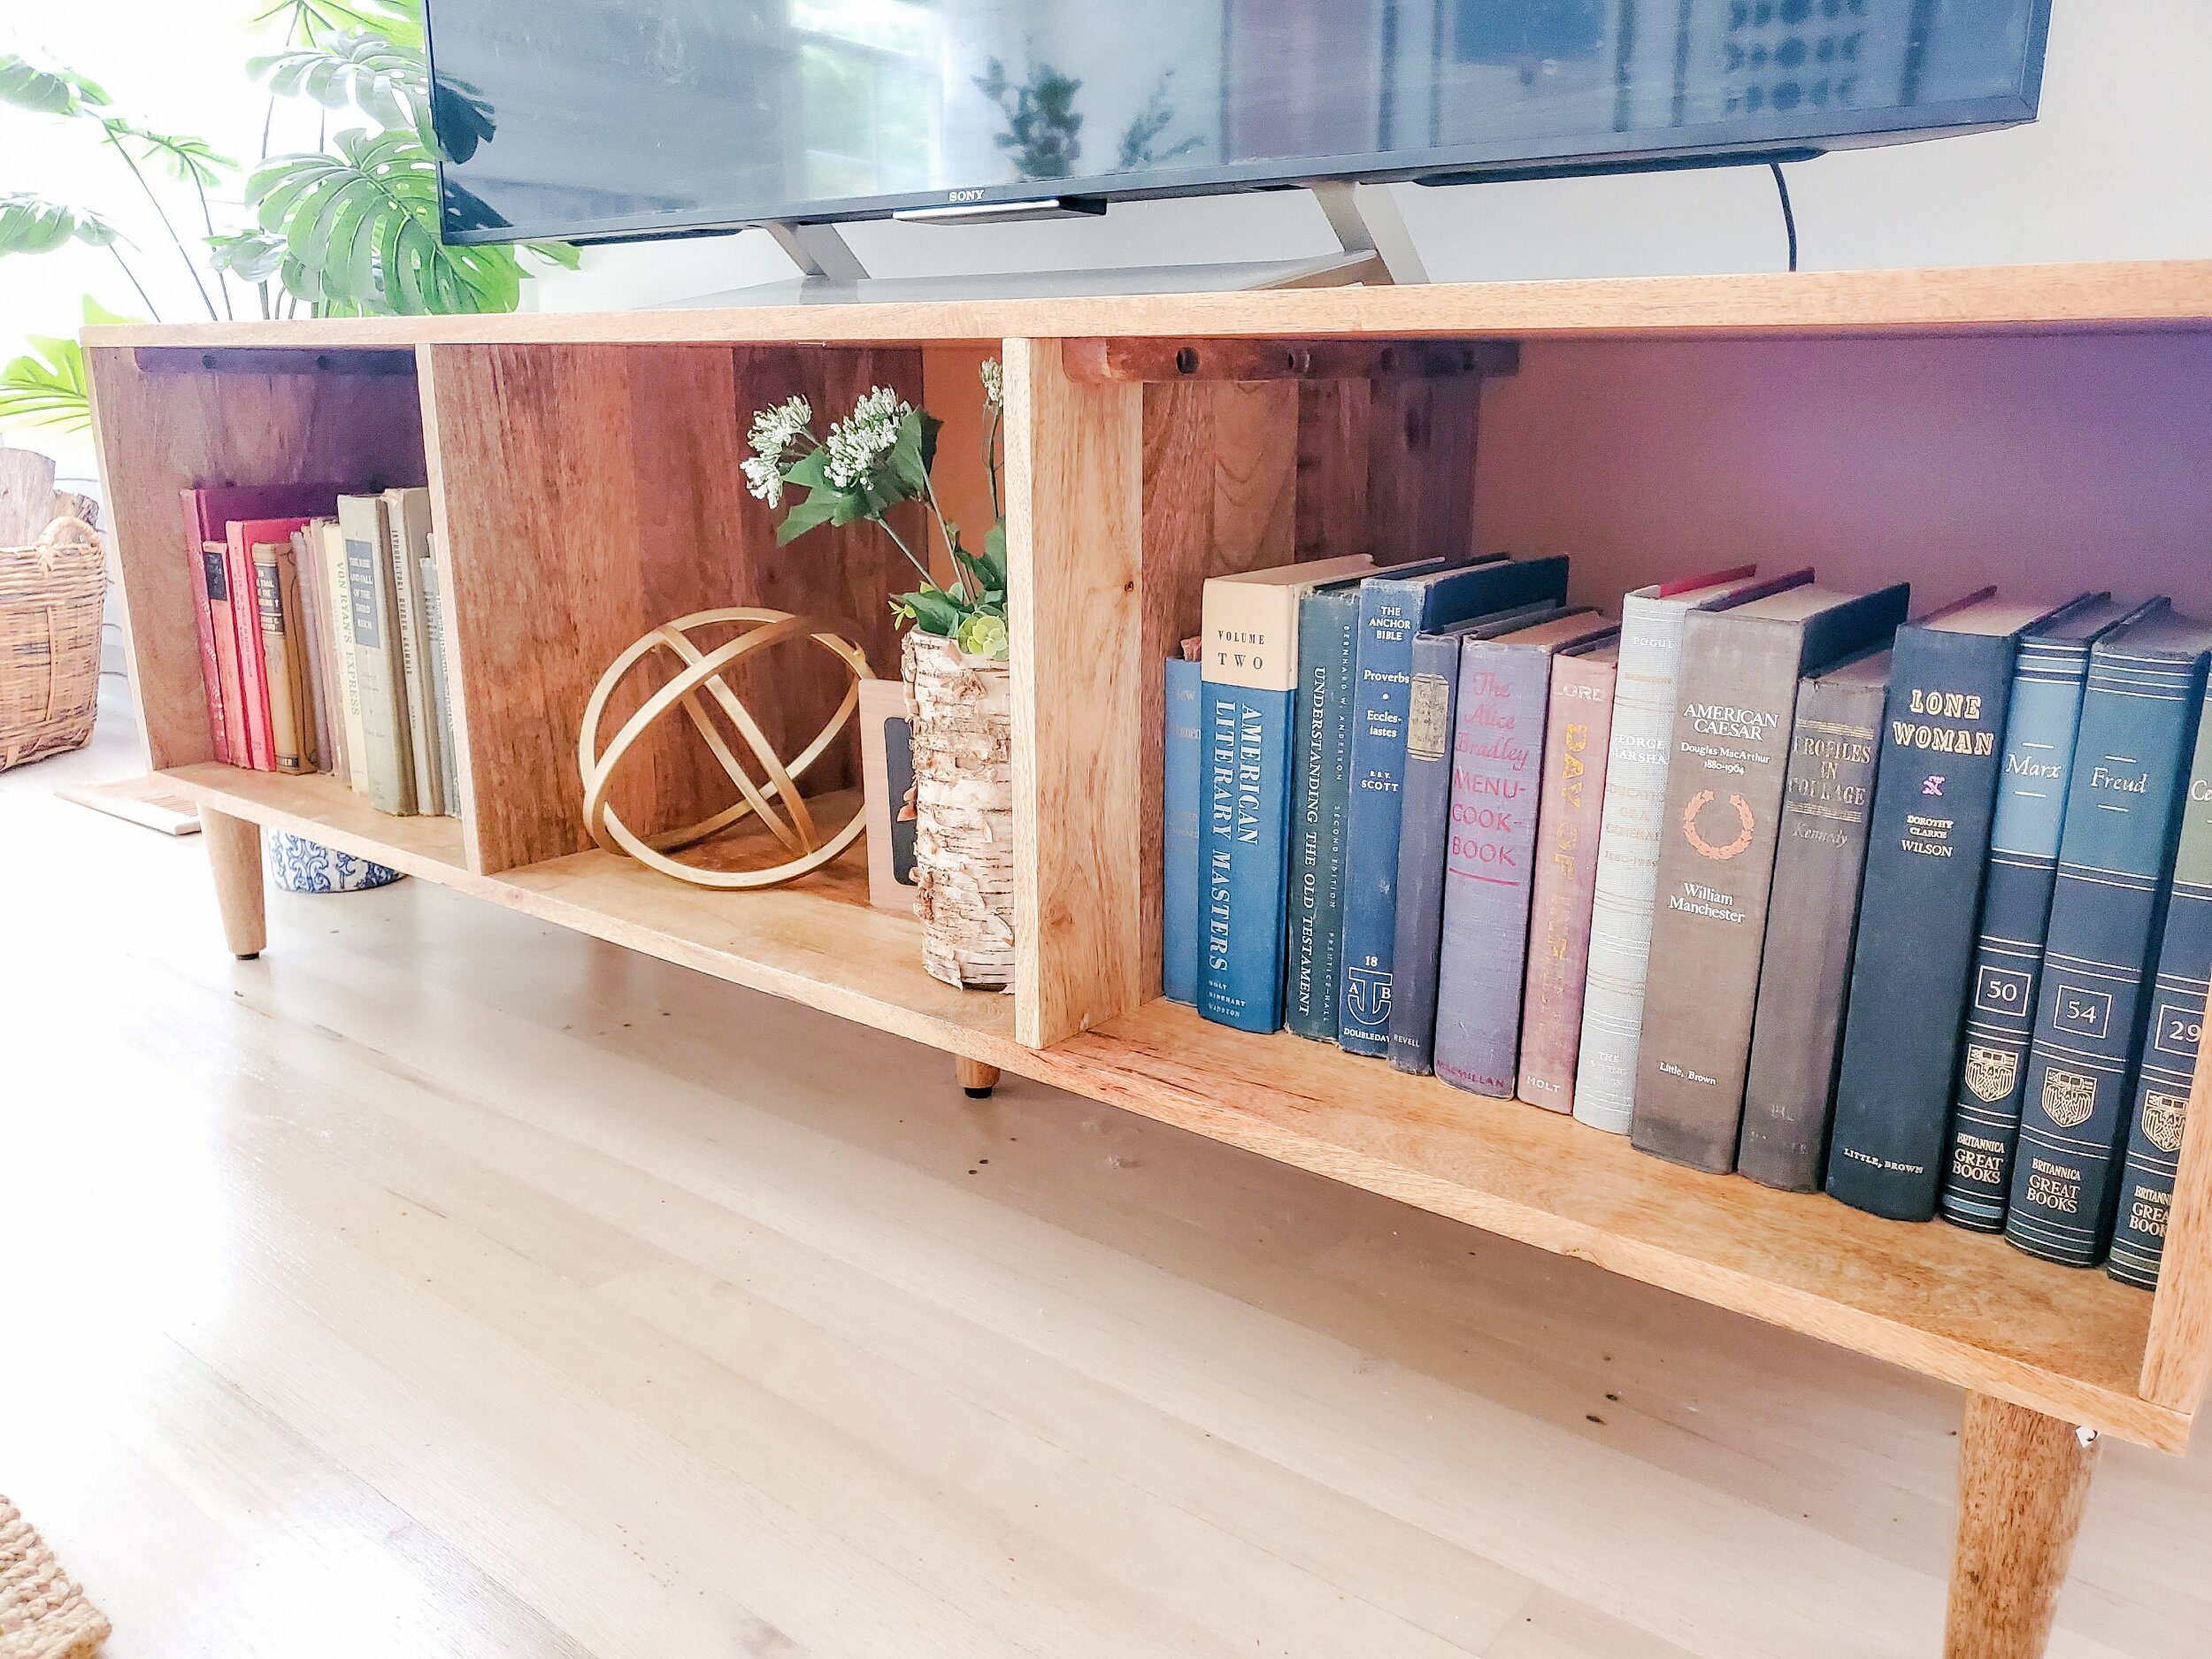
Consider the three C's: Color, Contemplation, and Coalescence. First, a pop of color can enliven an otherwise neutral space. Second, art helps buyers envision living in your space by hinting at how a room may be used and evoking certain emotions. Think about the feeling conveyed by a black-and-white cityscape in an office or a blue abstract in a bedroom. Third, art can help unify a space, as may be seen if two or more related pieces are hung on the walls in one or more rooms. For example, use a geometric abstract on a wall in a living room and a similar piece on the wall in the adjacent dining room to create a cohesive look. -Greenhouse
When selecting the artwork, keep your target audience in mind and avoid using art that portrays sinister or risqué scenes, which may not appeal to a broader audience. Instead, choose pieces that can provide a space with a focal point where there isn't one, add color, or emphasize the home's custom features. -CT Exclusive Homes
Envision the finished space when choosing artwork. Know the art story, context, color, size, and location of the wall art when choosing artwork for staging your home. Each piece should have a designated spot in mind (ambiance) to avoid misplaced wall art or proportion (size). -Designs By Dannette
Artwork is the supporting role; the main actor, the central character, is the home. Your artwork choices should mirror a home's style and design - its role is to enhance the vibrant elements and unique features. The masterpiece is always the property; thus, the buyer's eyes should be drawn toward the kitchen, bath, or living space, not a trendy art piece. -Alison Is Real Estate
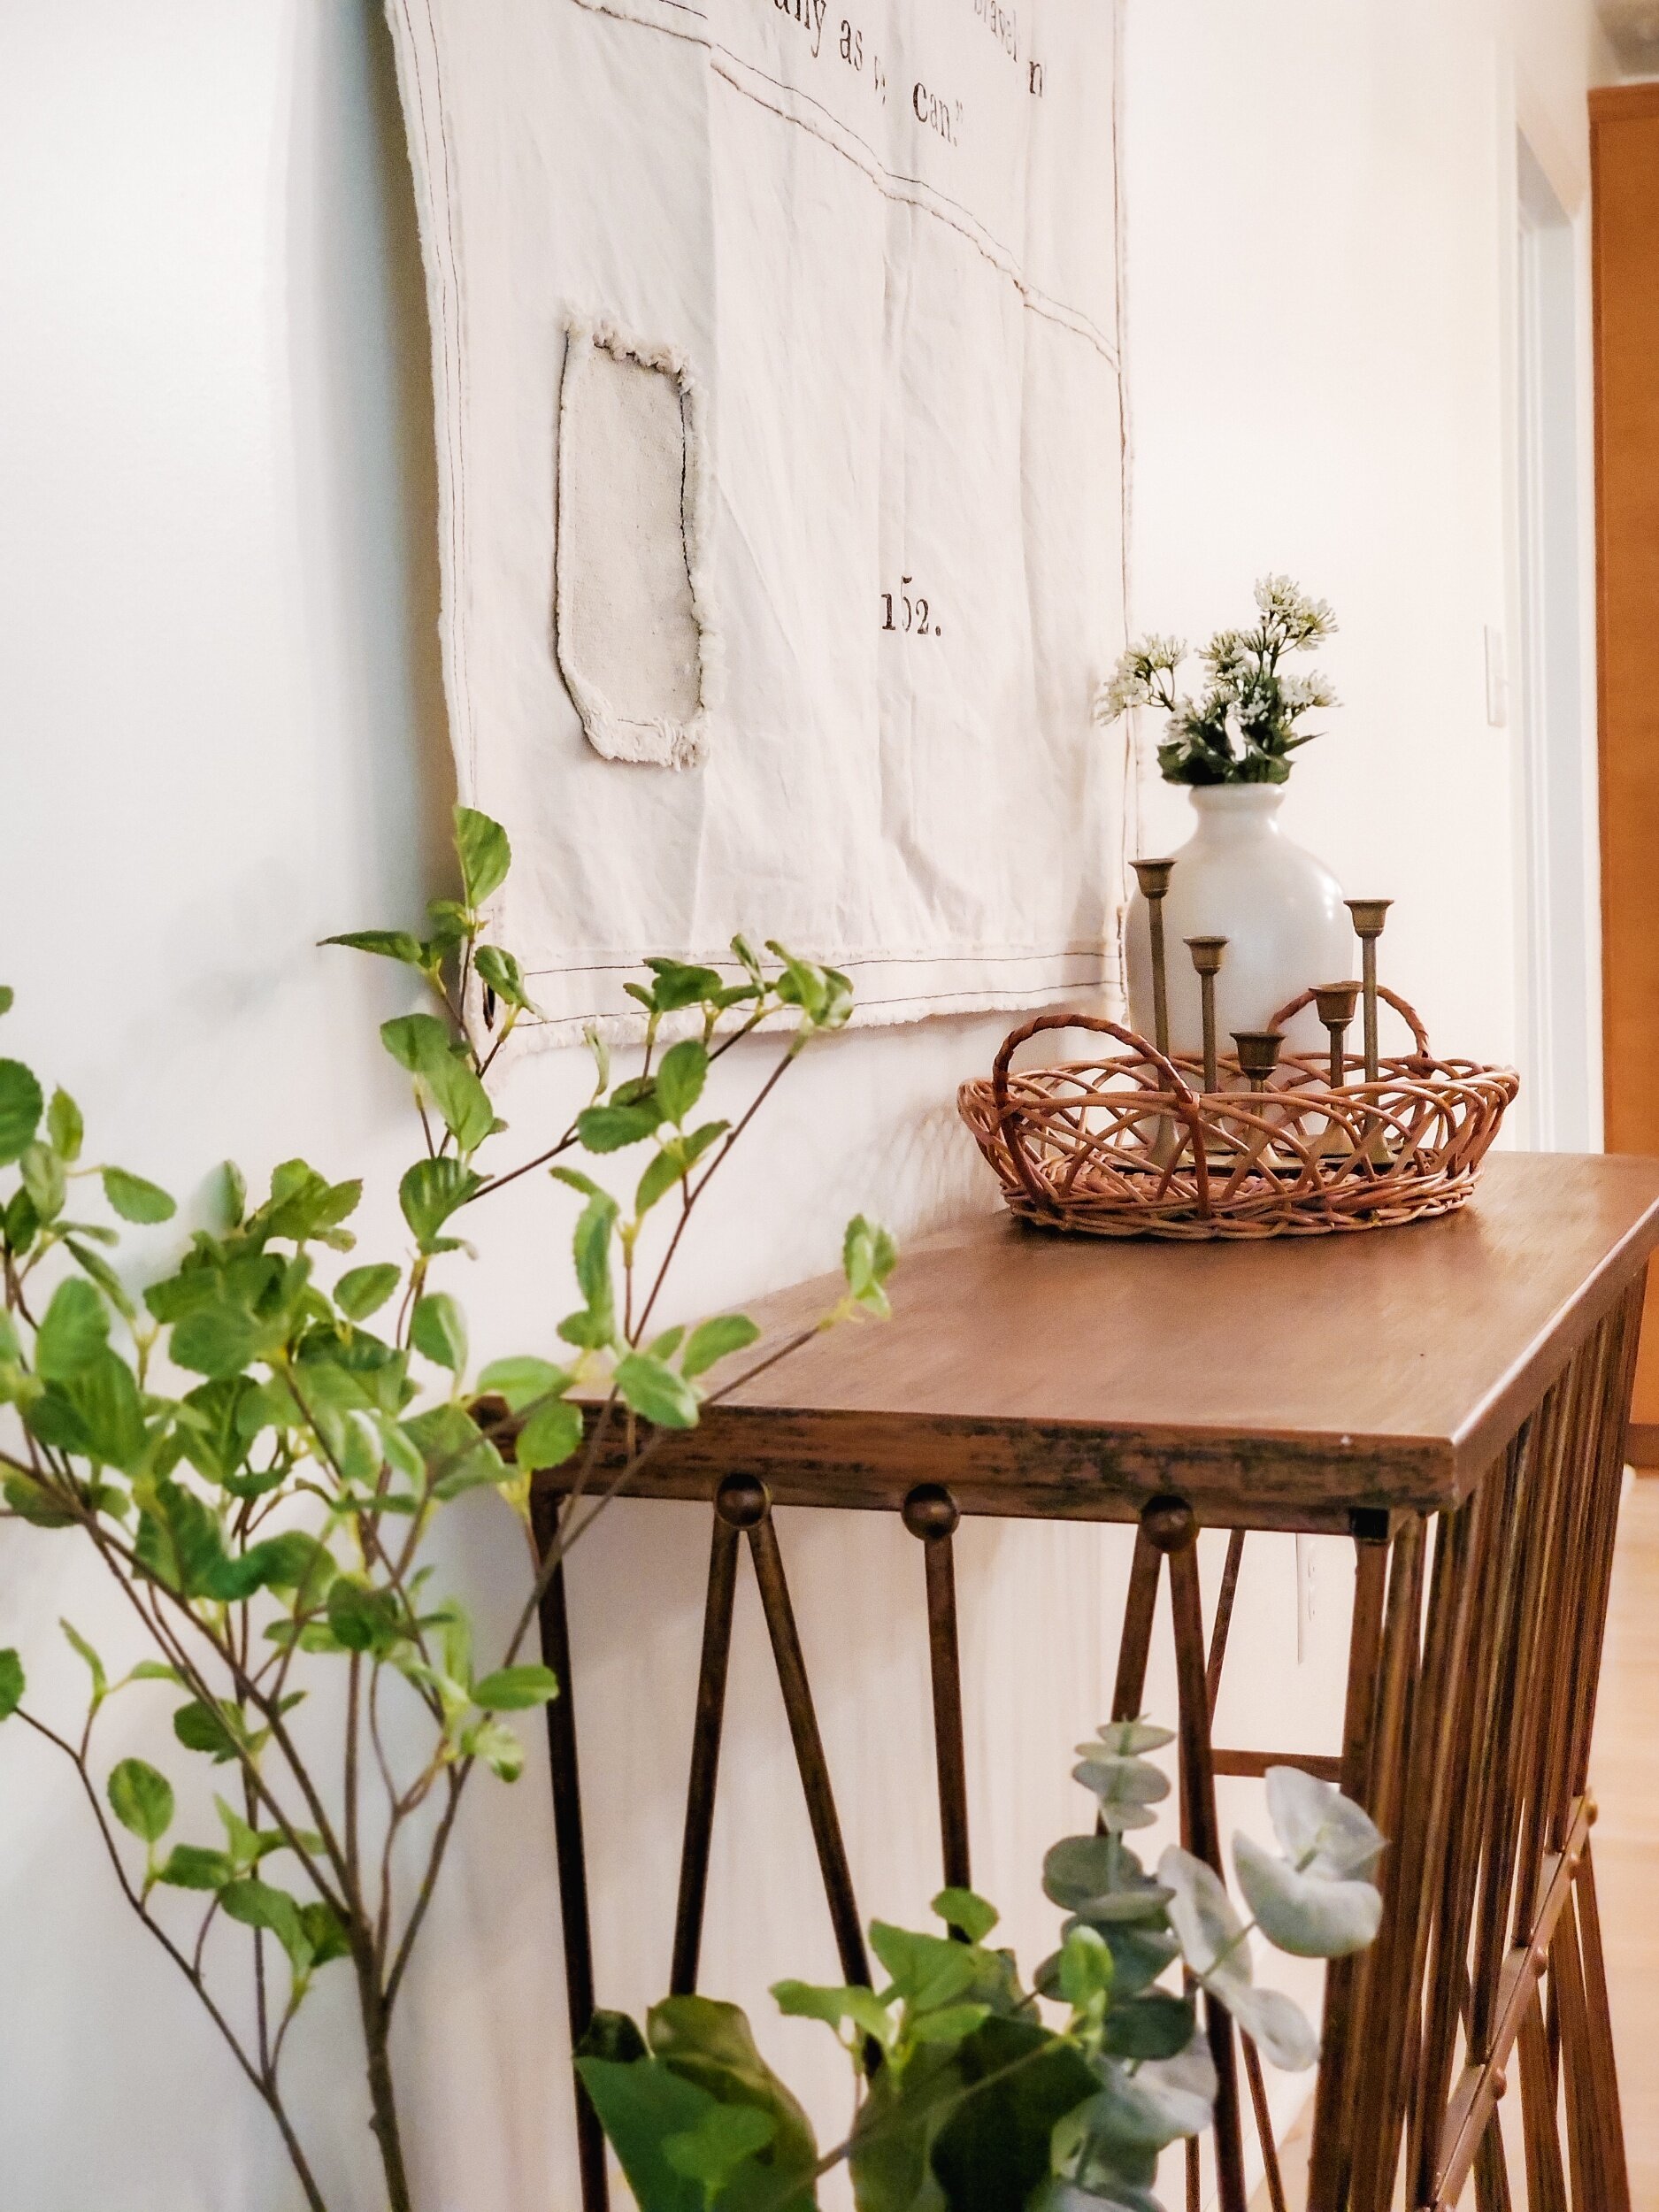
Freshen up your home with unique pieces
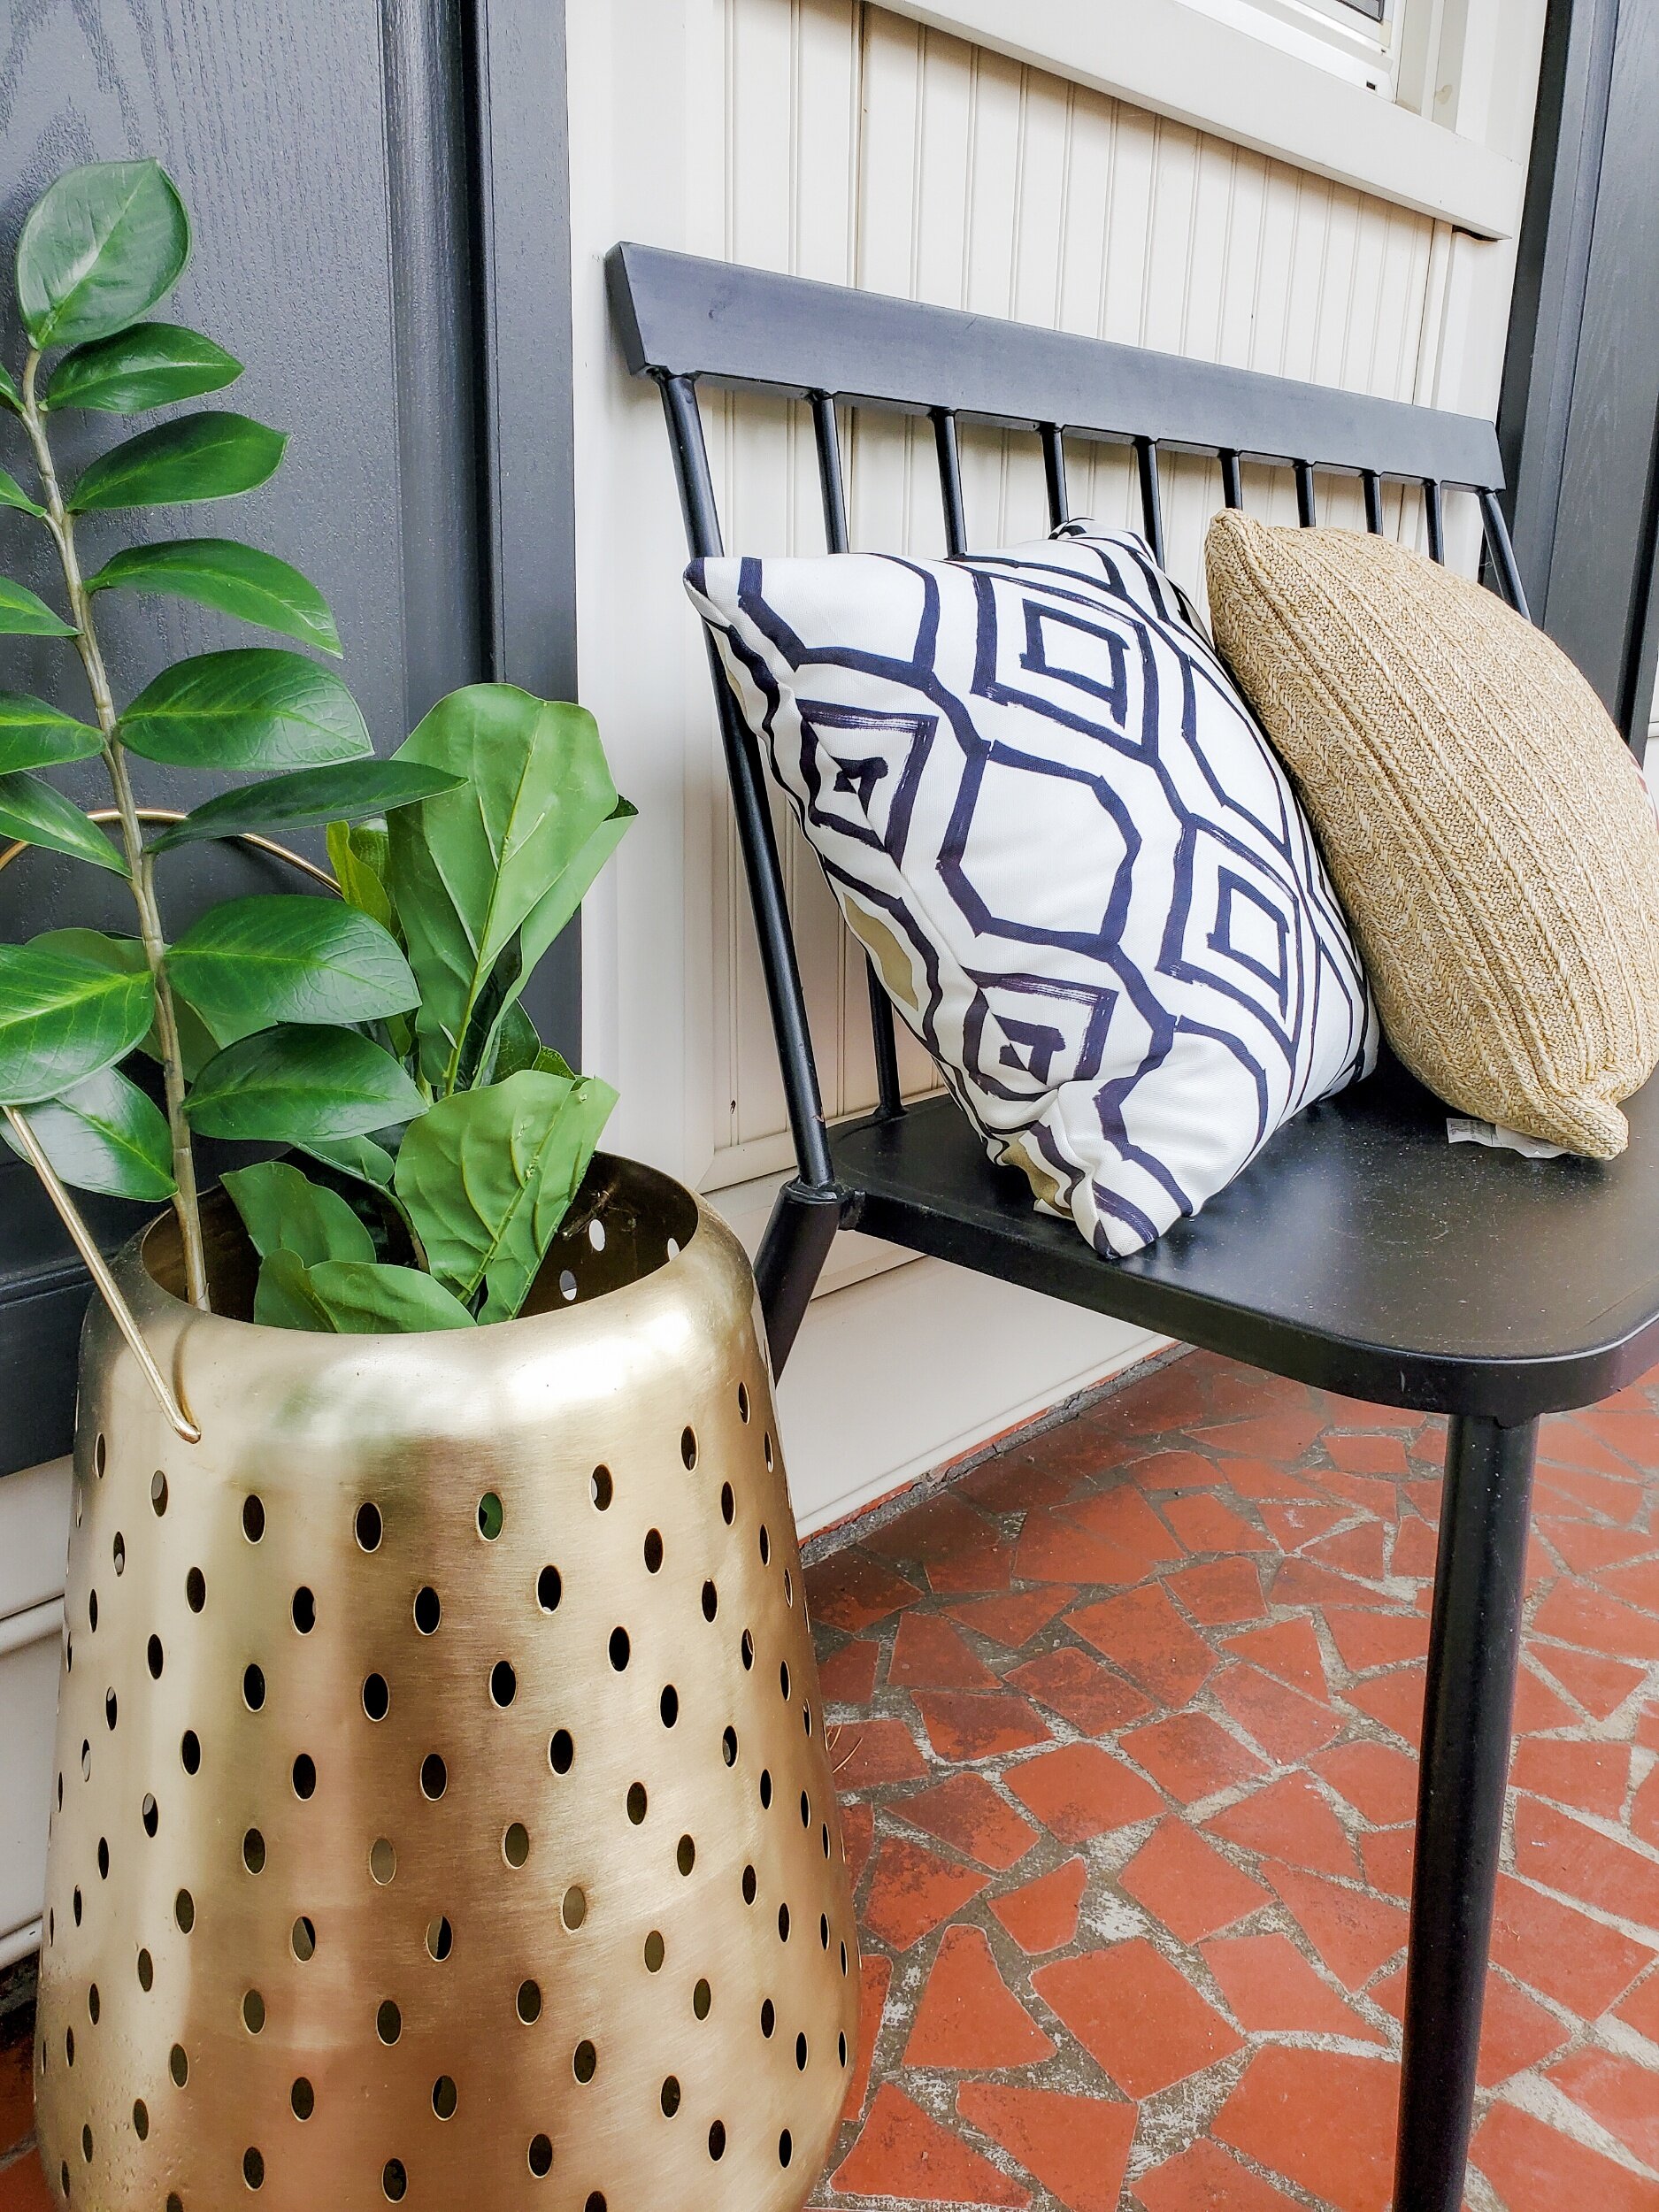
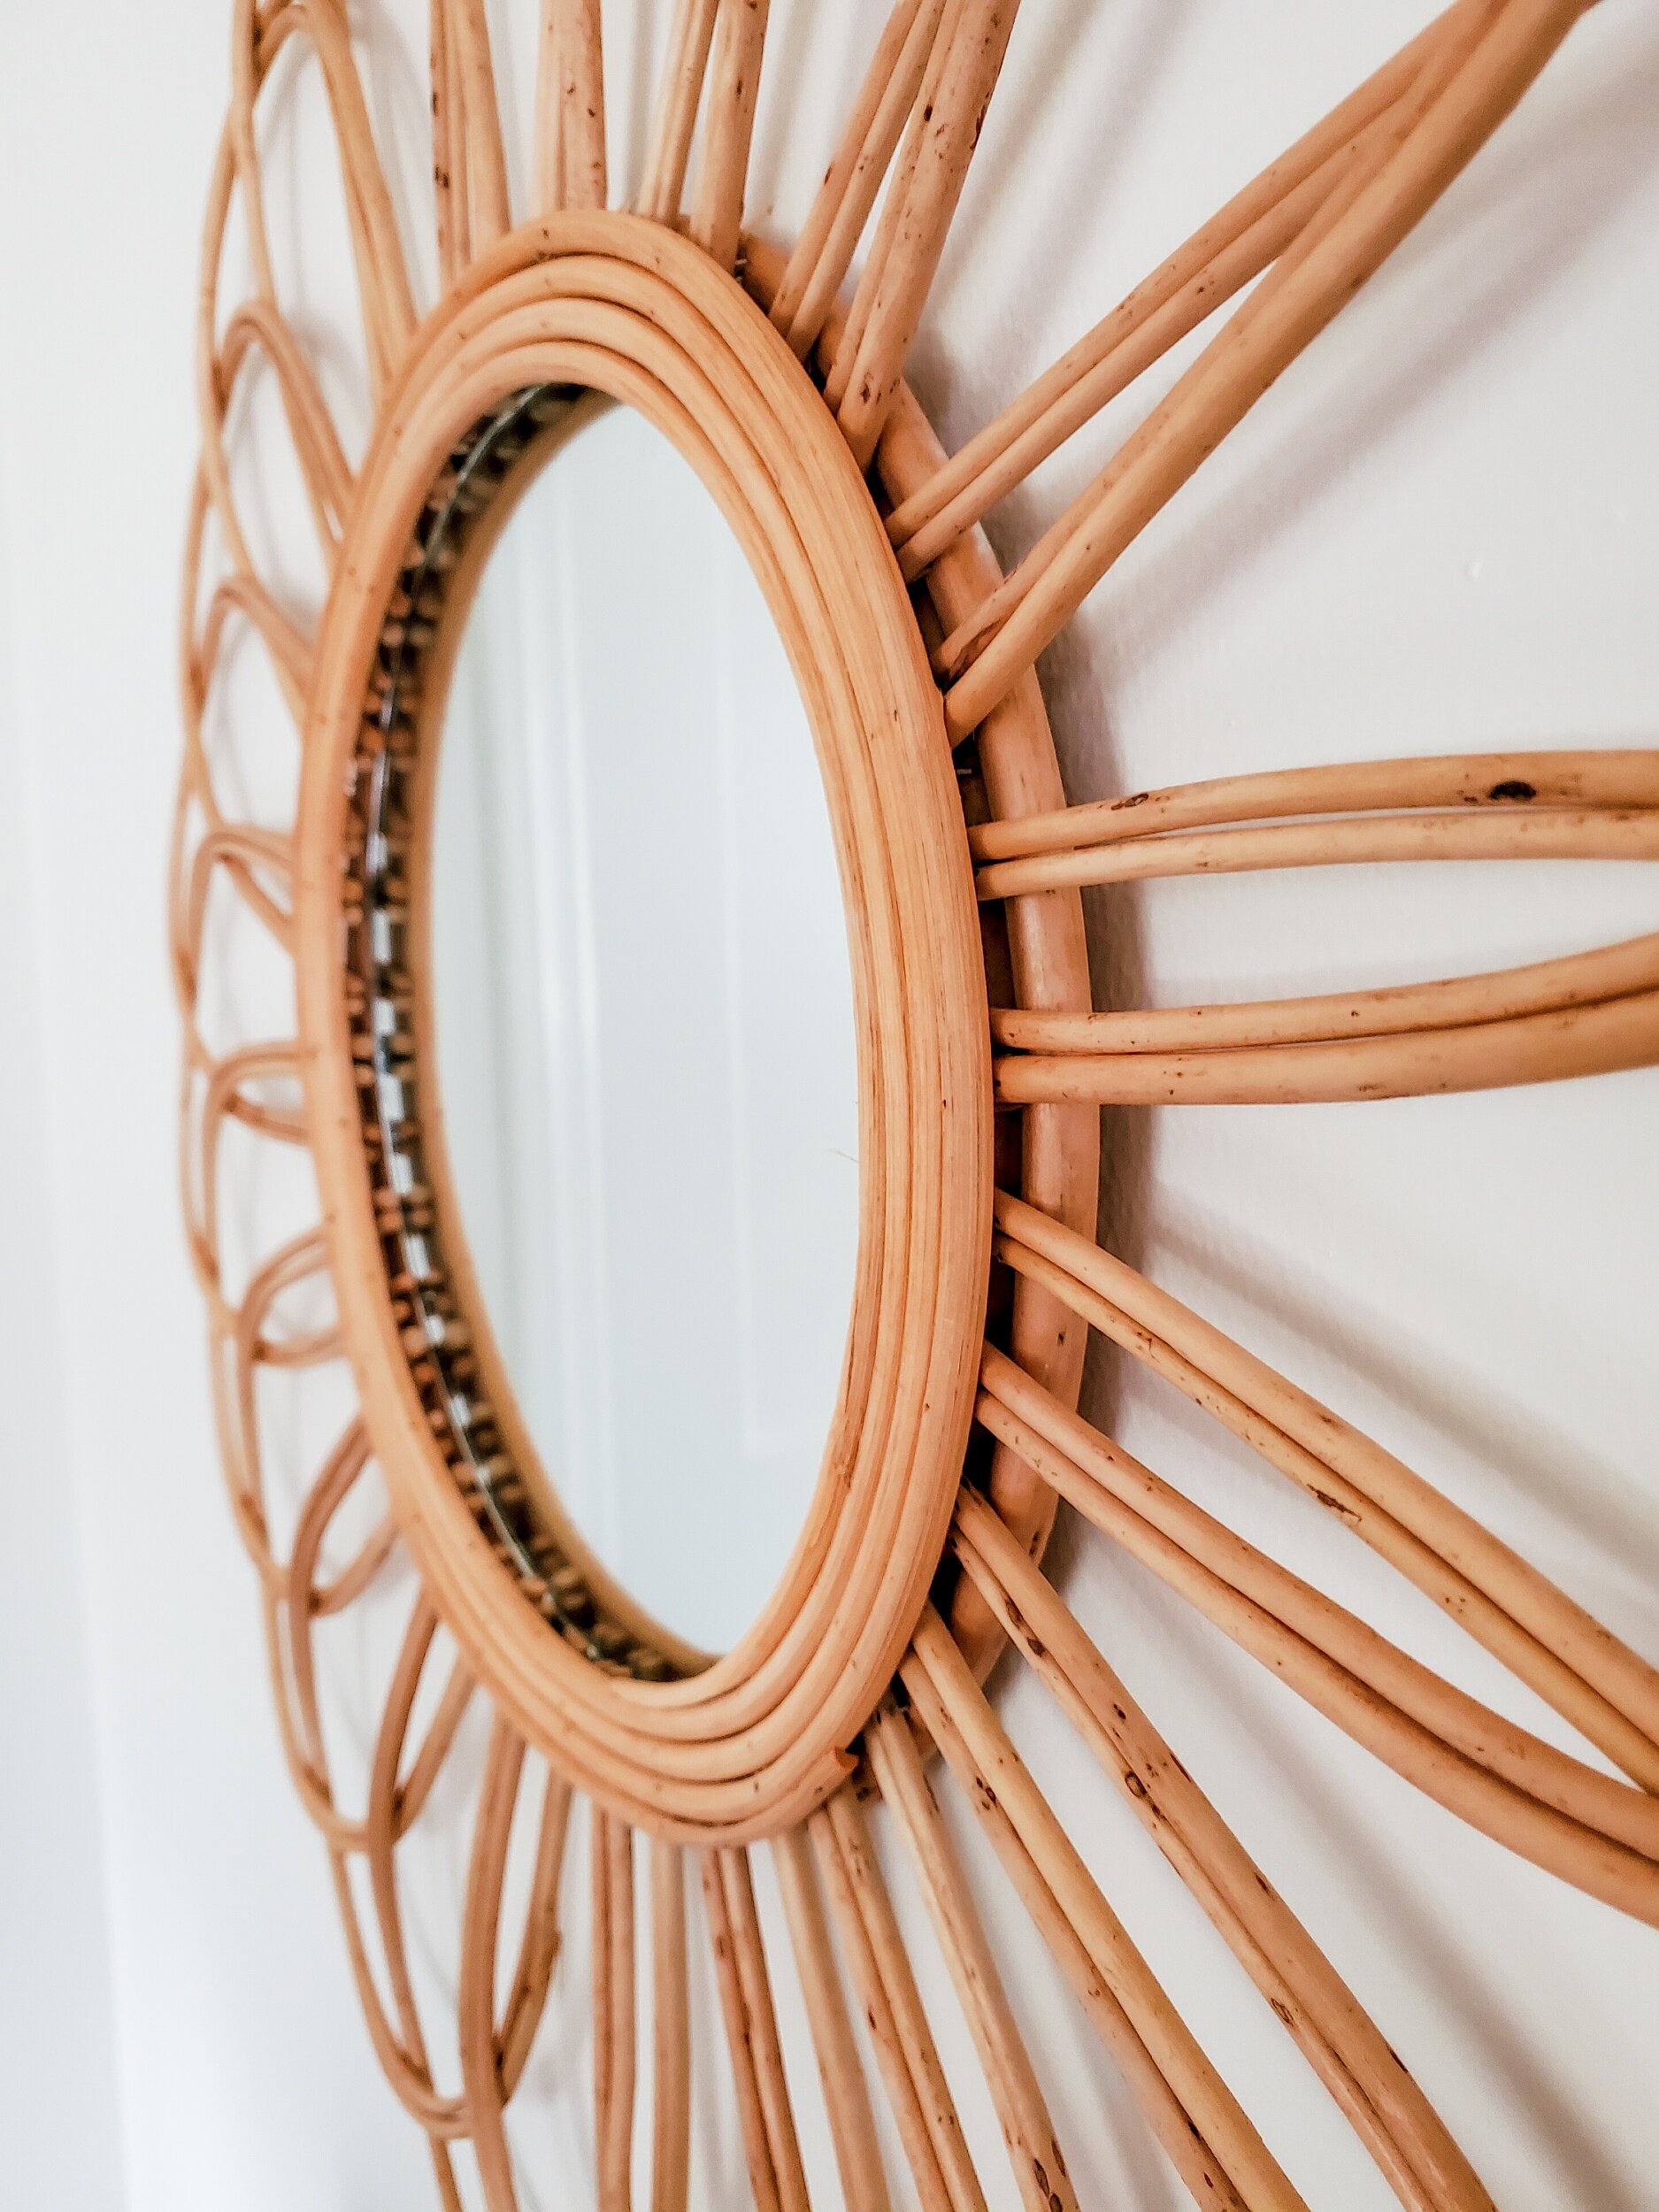
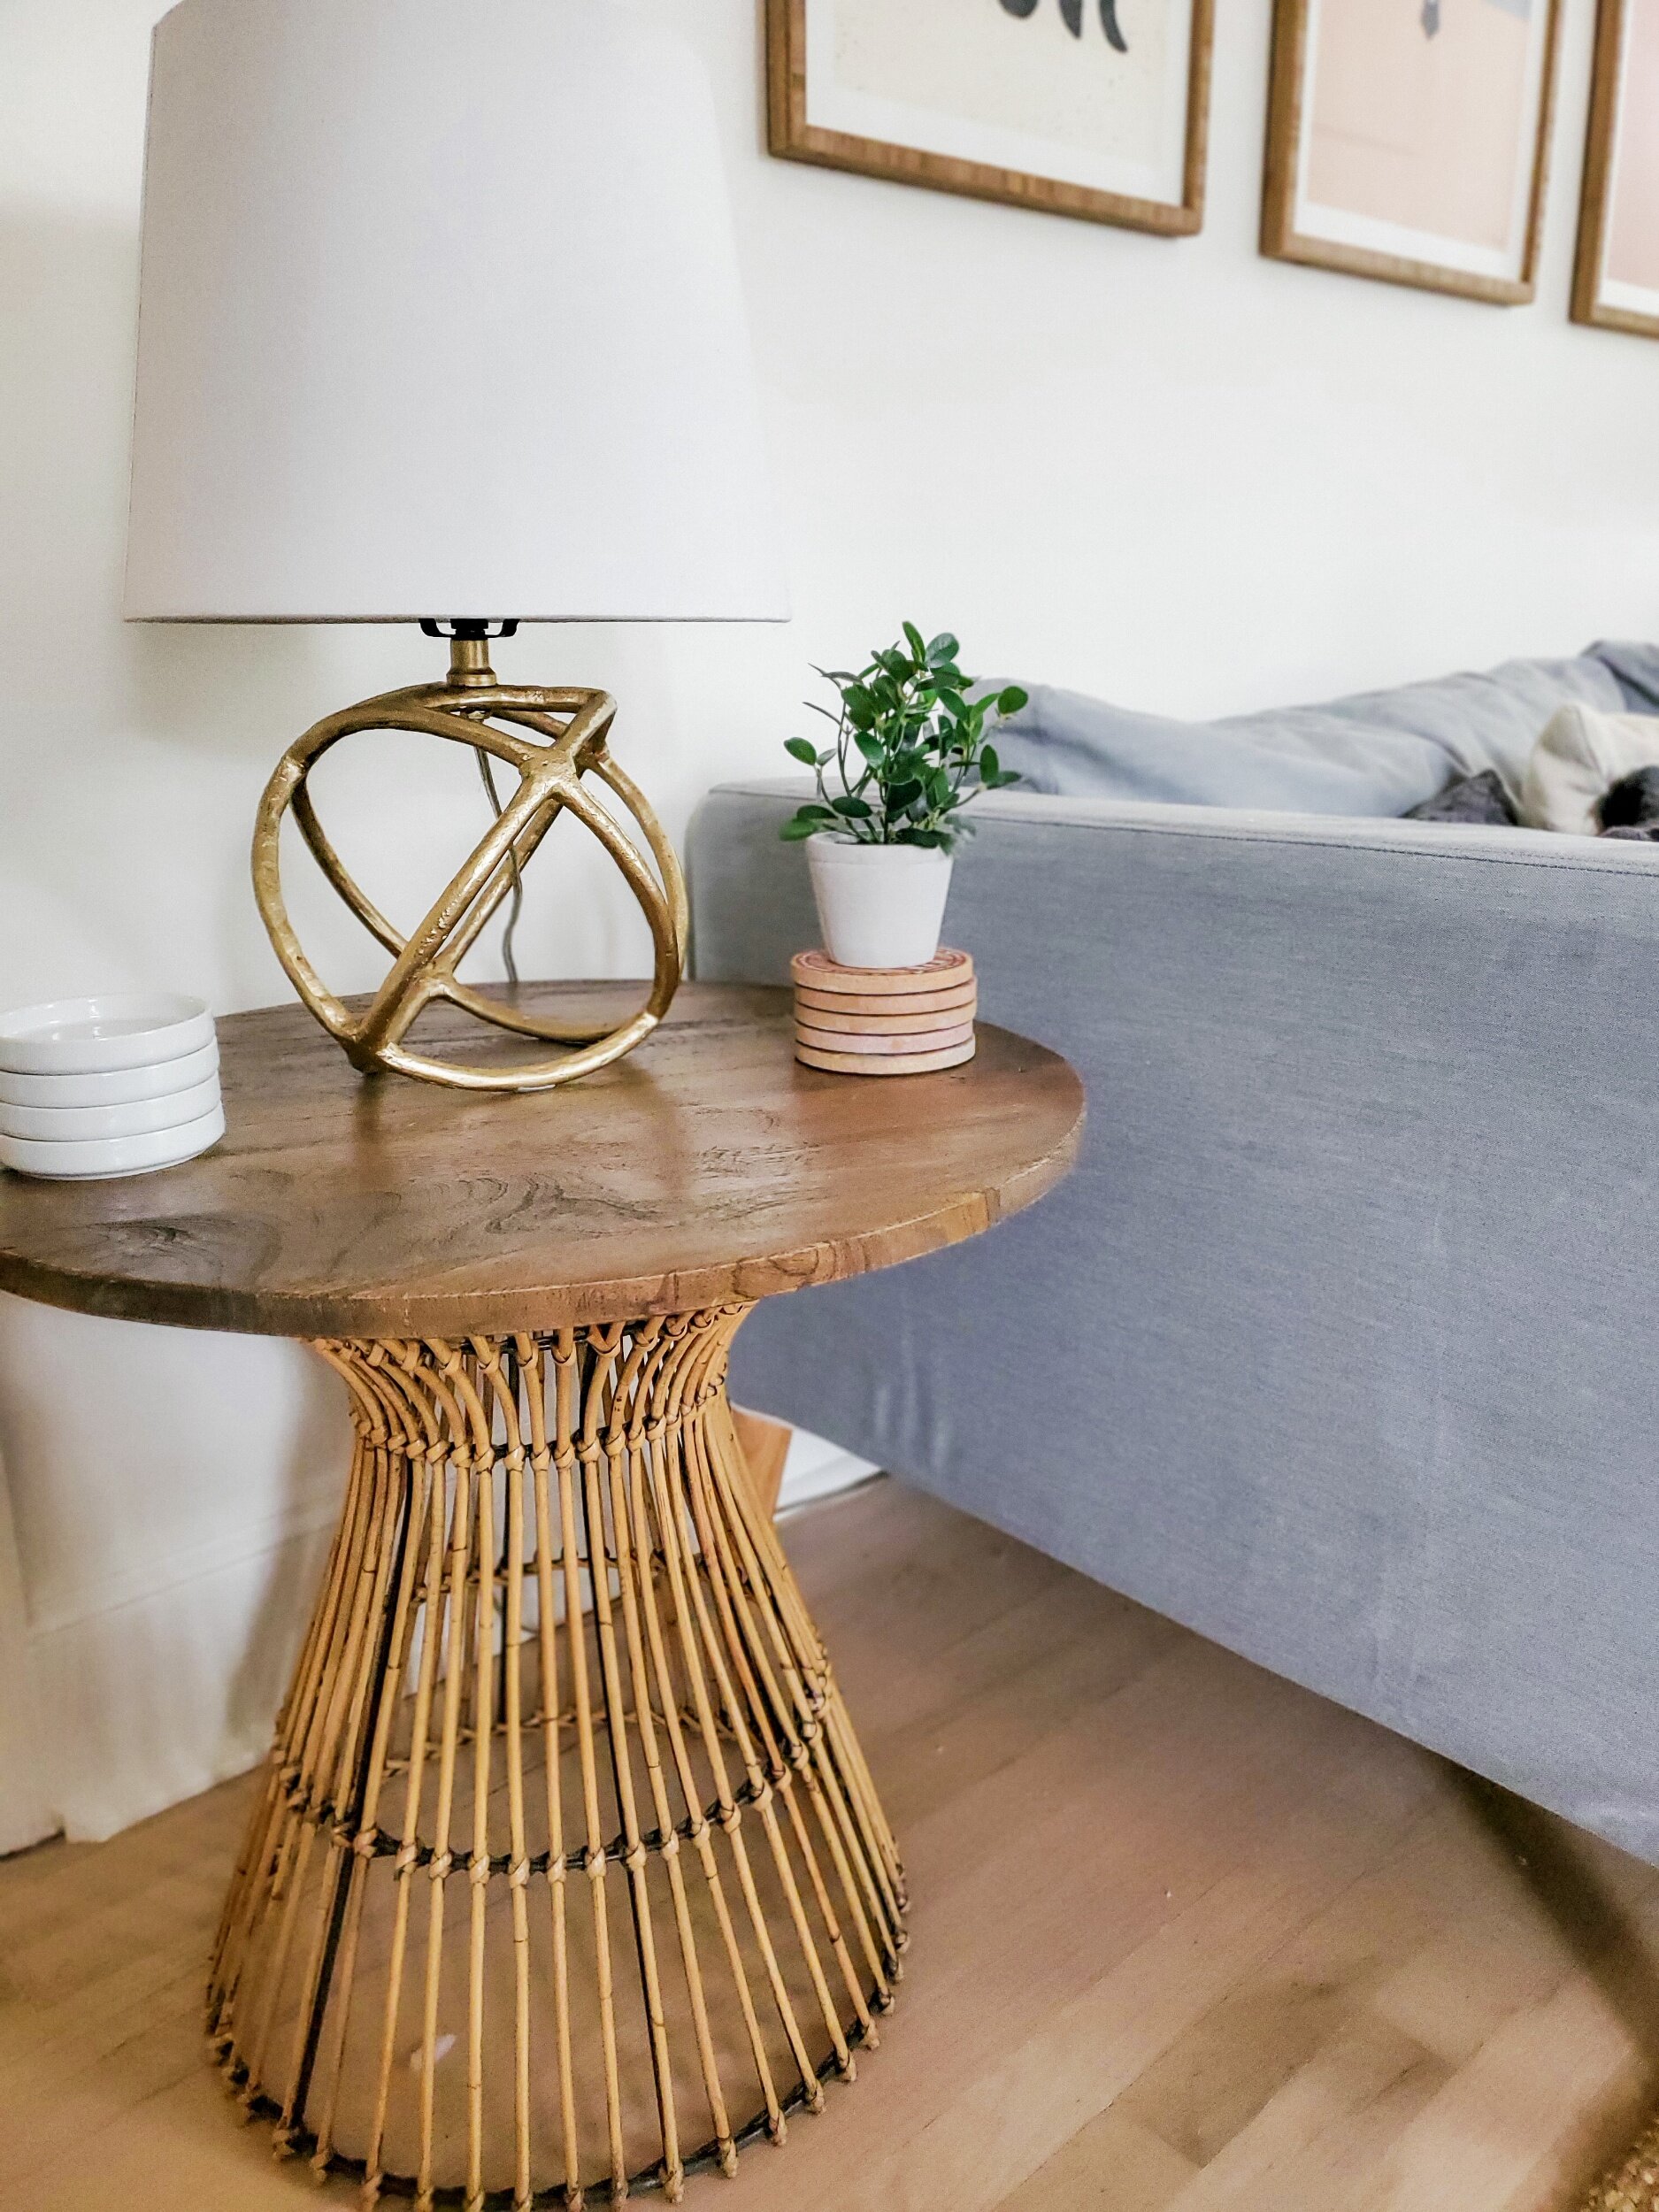
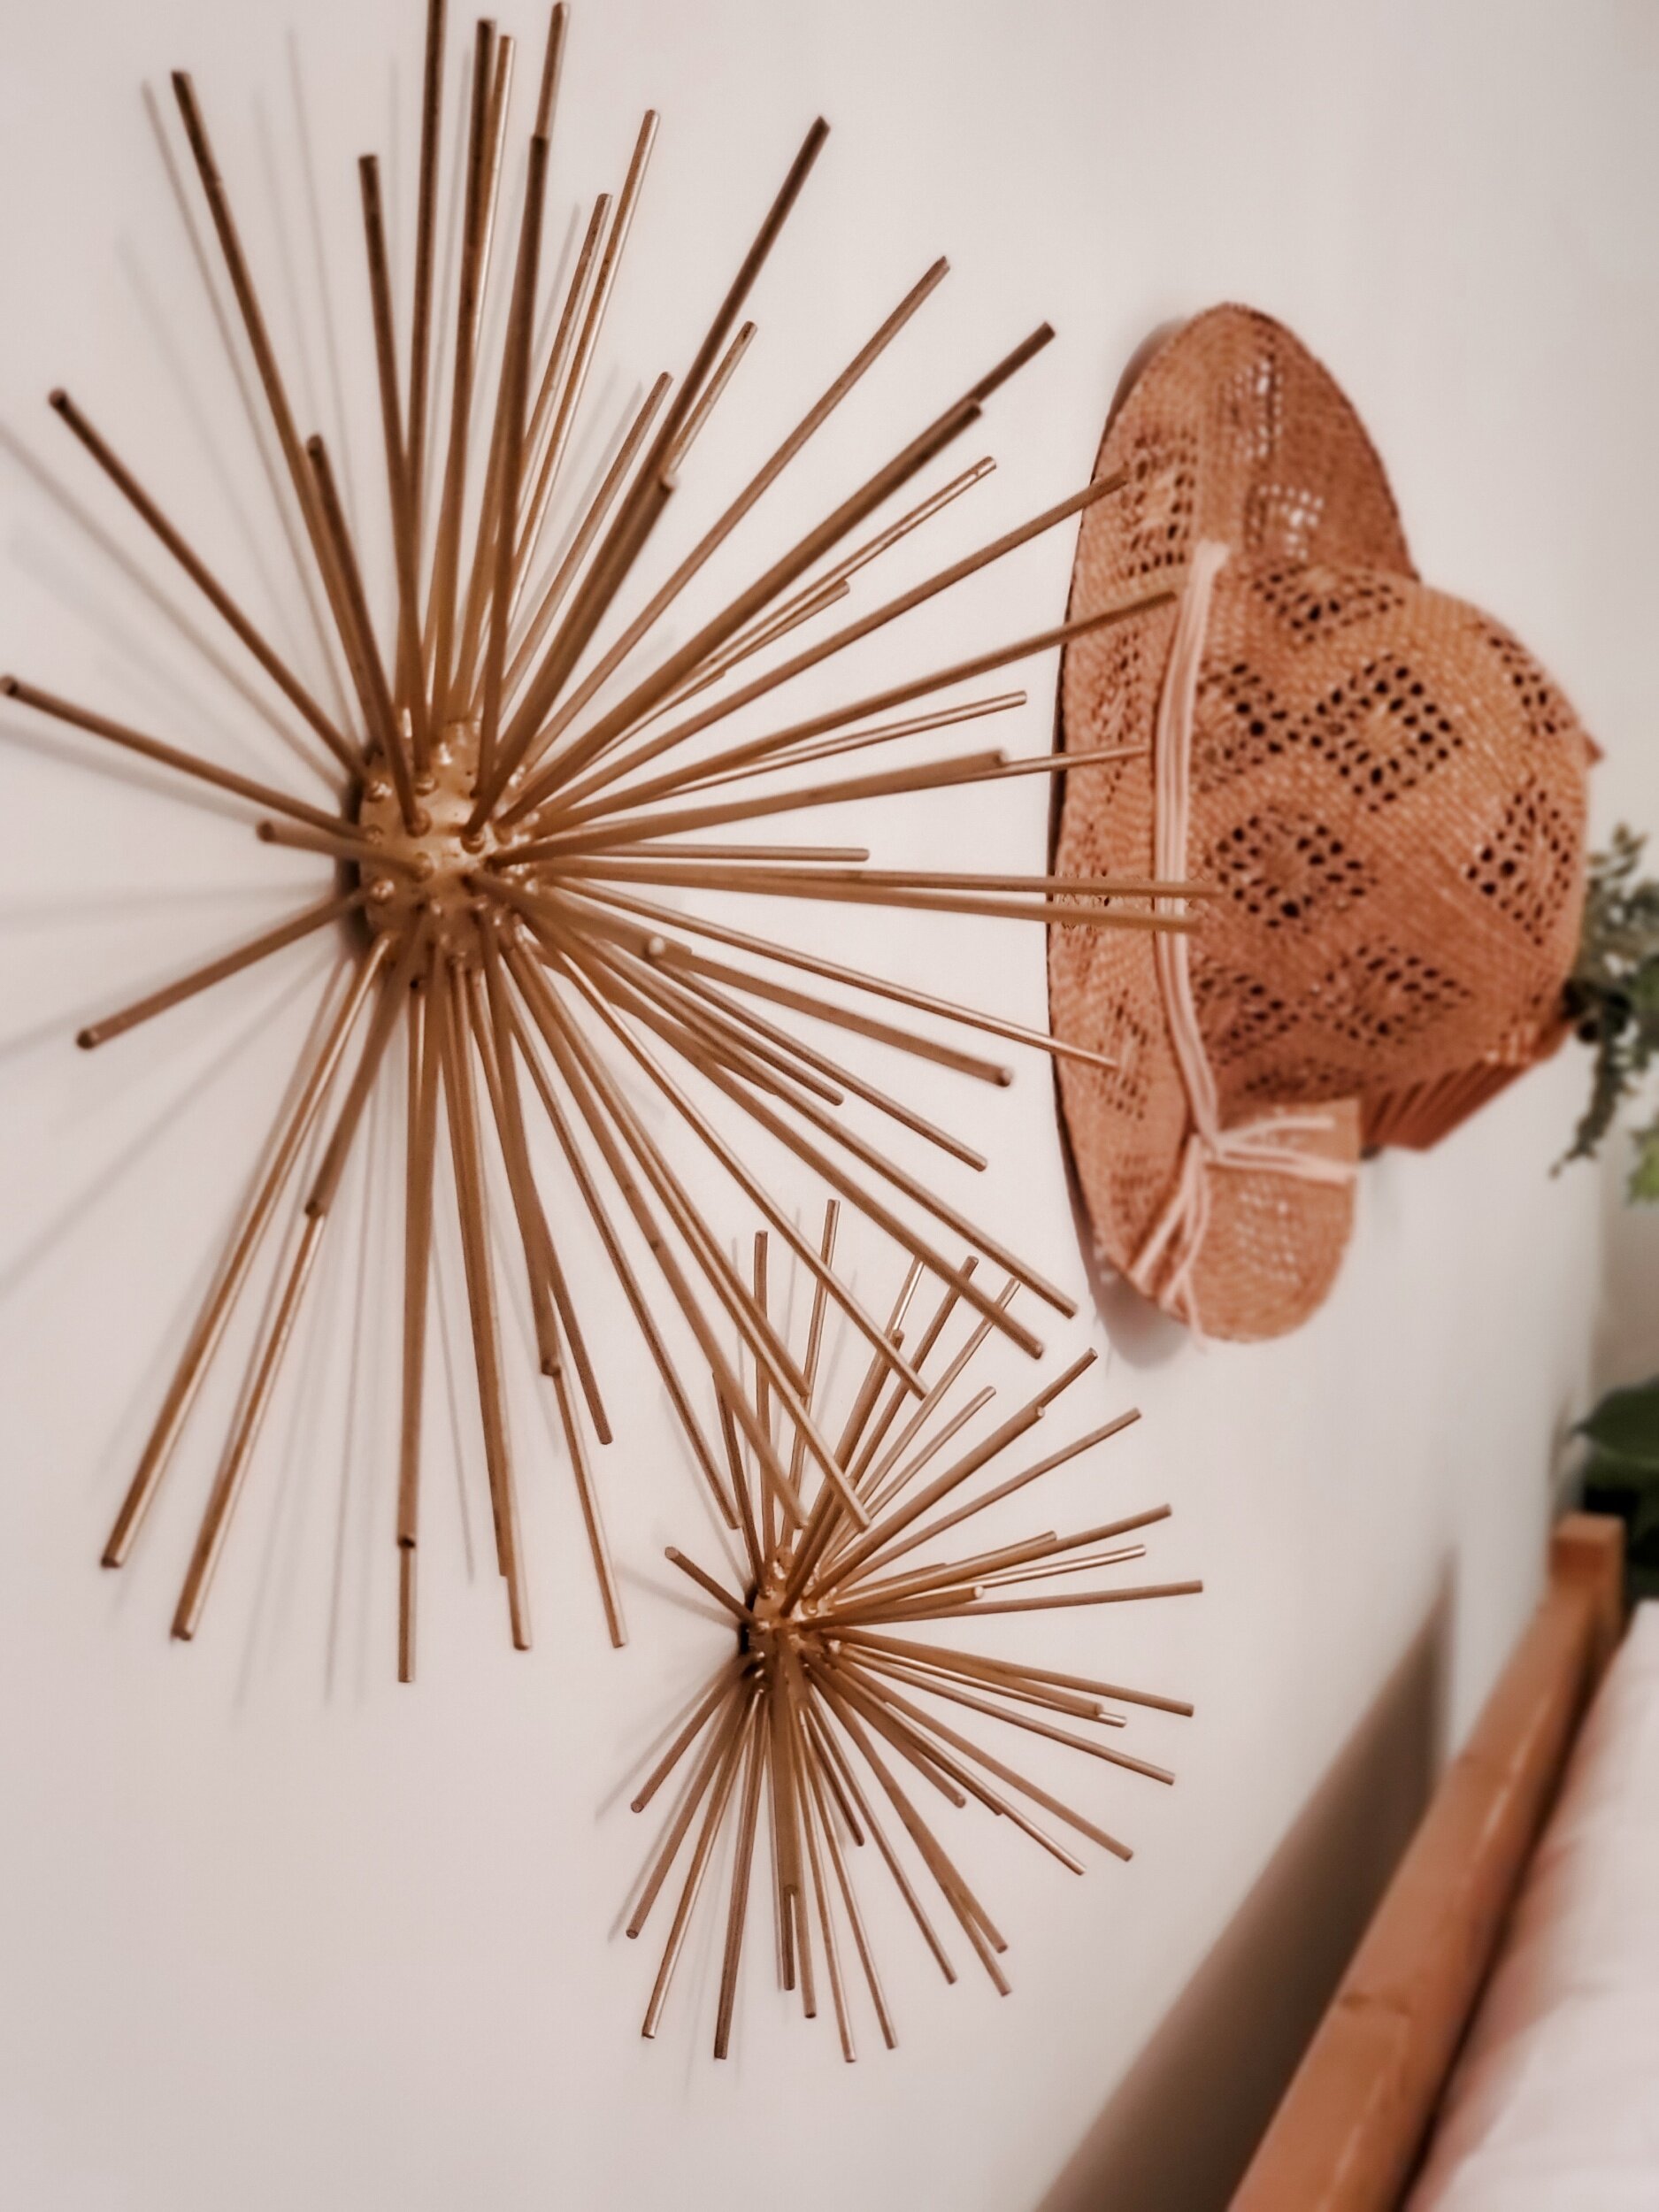
Think outside the canvas. Art doesn’t always involve paint on a canvas. In place of a painting, woven baskets on the wall can add texture above a sofa that features a bright, patterned set of pillows. Mirrors, which provide intriguing reflective surfaces, can also be used in place of art. -Dezign Zoo
Using artworks made from different mediums throughout the home creates an elevated, gallery-like experience. For example, a canvas in one space, a print in another, combined with a sculpture and wall pieces in another room will make the pieces feel less “matchy-matchy” and more like an art collection that a prospective buyer would have. You can also highlight the home's best features and help potential buyers see the home's potential with size and scale. In a room with double-height ceilings, a massive oversized canvas will draw the eye upward and emphasize the height of the walls. -IMG
Be creative and think beyond a typical canvas or framed print. Don’t be afraid to play with textures, shapes, and forms which can add additional interest to the visual appeal a home buyer will relate to. For example, a home with a young family could benefit from brighter colors and whimsical artwork, while a home for a younger couple or single person might be best presented with a more boho vibe, such as a guitar on the wall, a vintage map, or a textural crocheted wall hanging. Mirrors can also be an effective artwork option if the reflection is highlighting an important interior or exterior feature or selling point. -Bloom that Room
Choose complementary artwork pieces
Art is like a topping on the cake, it should go with the design palette to complete the space. Keep your artwork choices neutral, calm, and something that speaks to the room and to the potential buyer. -Jennifer Michele Interiors
Keep it simple. We find that it's best to keep artwork simple - it should be subtle yet attractive to the eye. To present the home in the most appealing light possible, use artwork that doesn’t feature images of people. Instead, consider using pieces that portray interesting but neutral visuals. The best art for home staging will compliment the space it's placed in while not distracting from the home itself. -Beycome
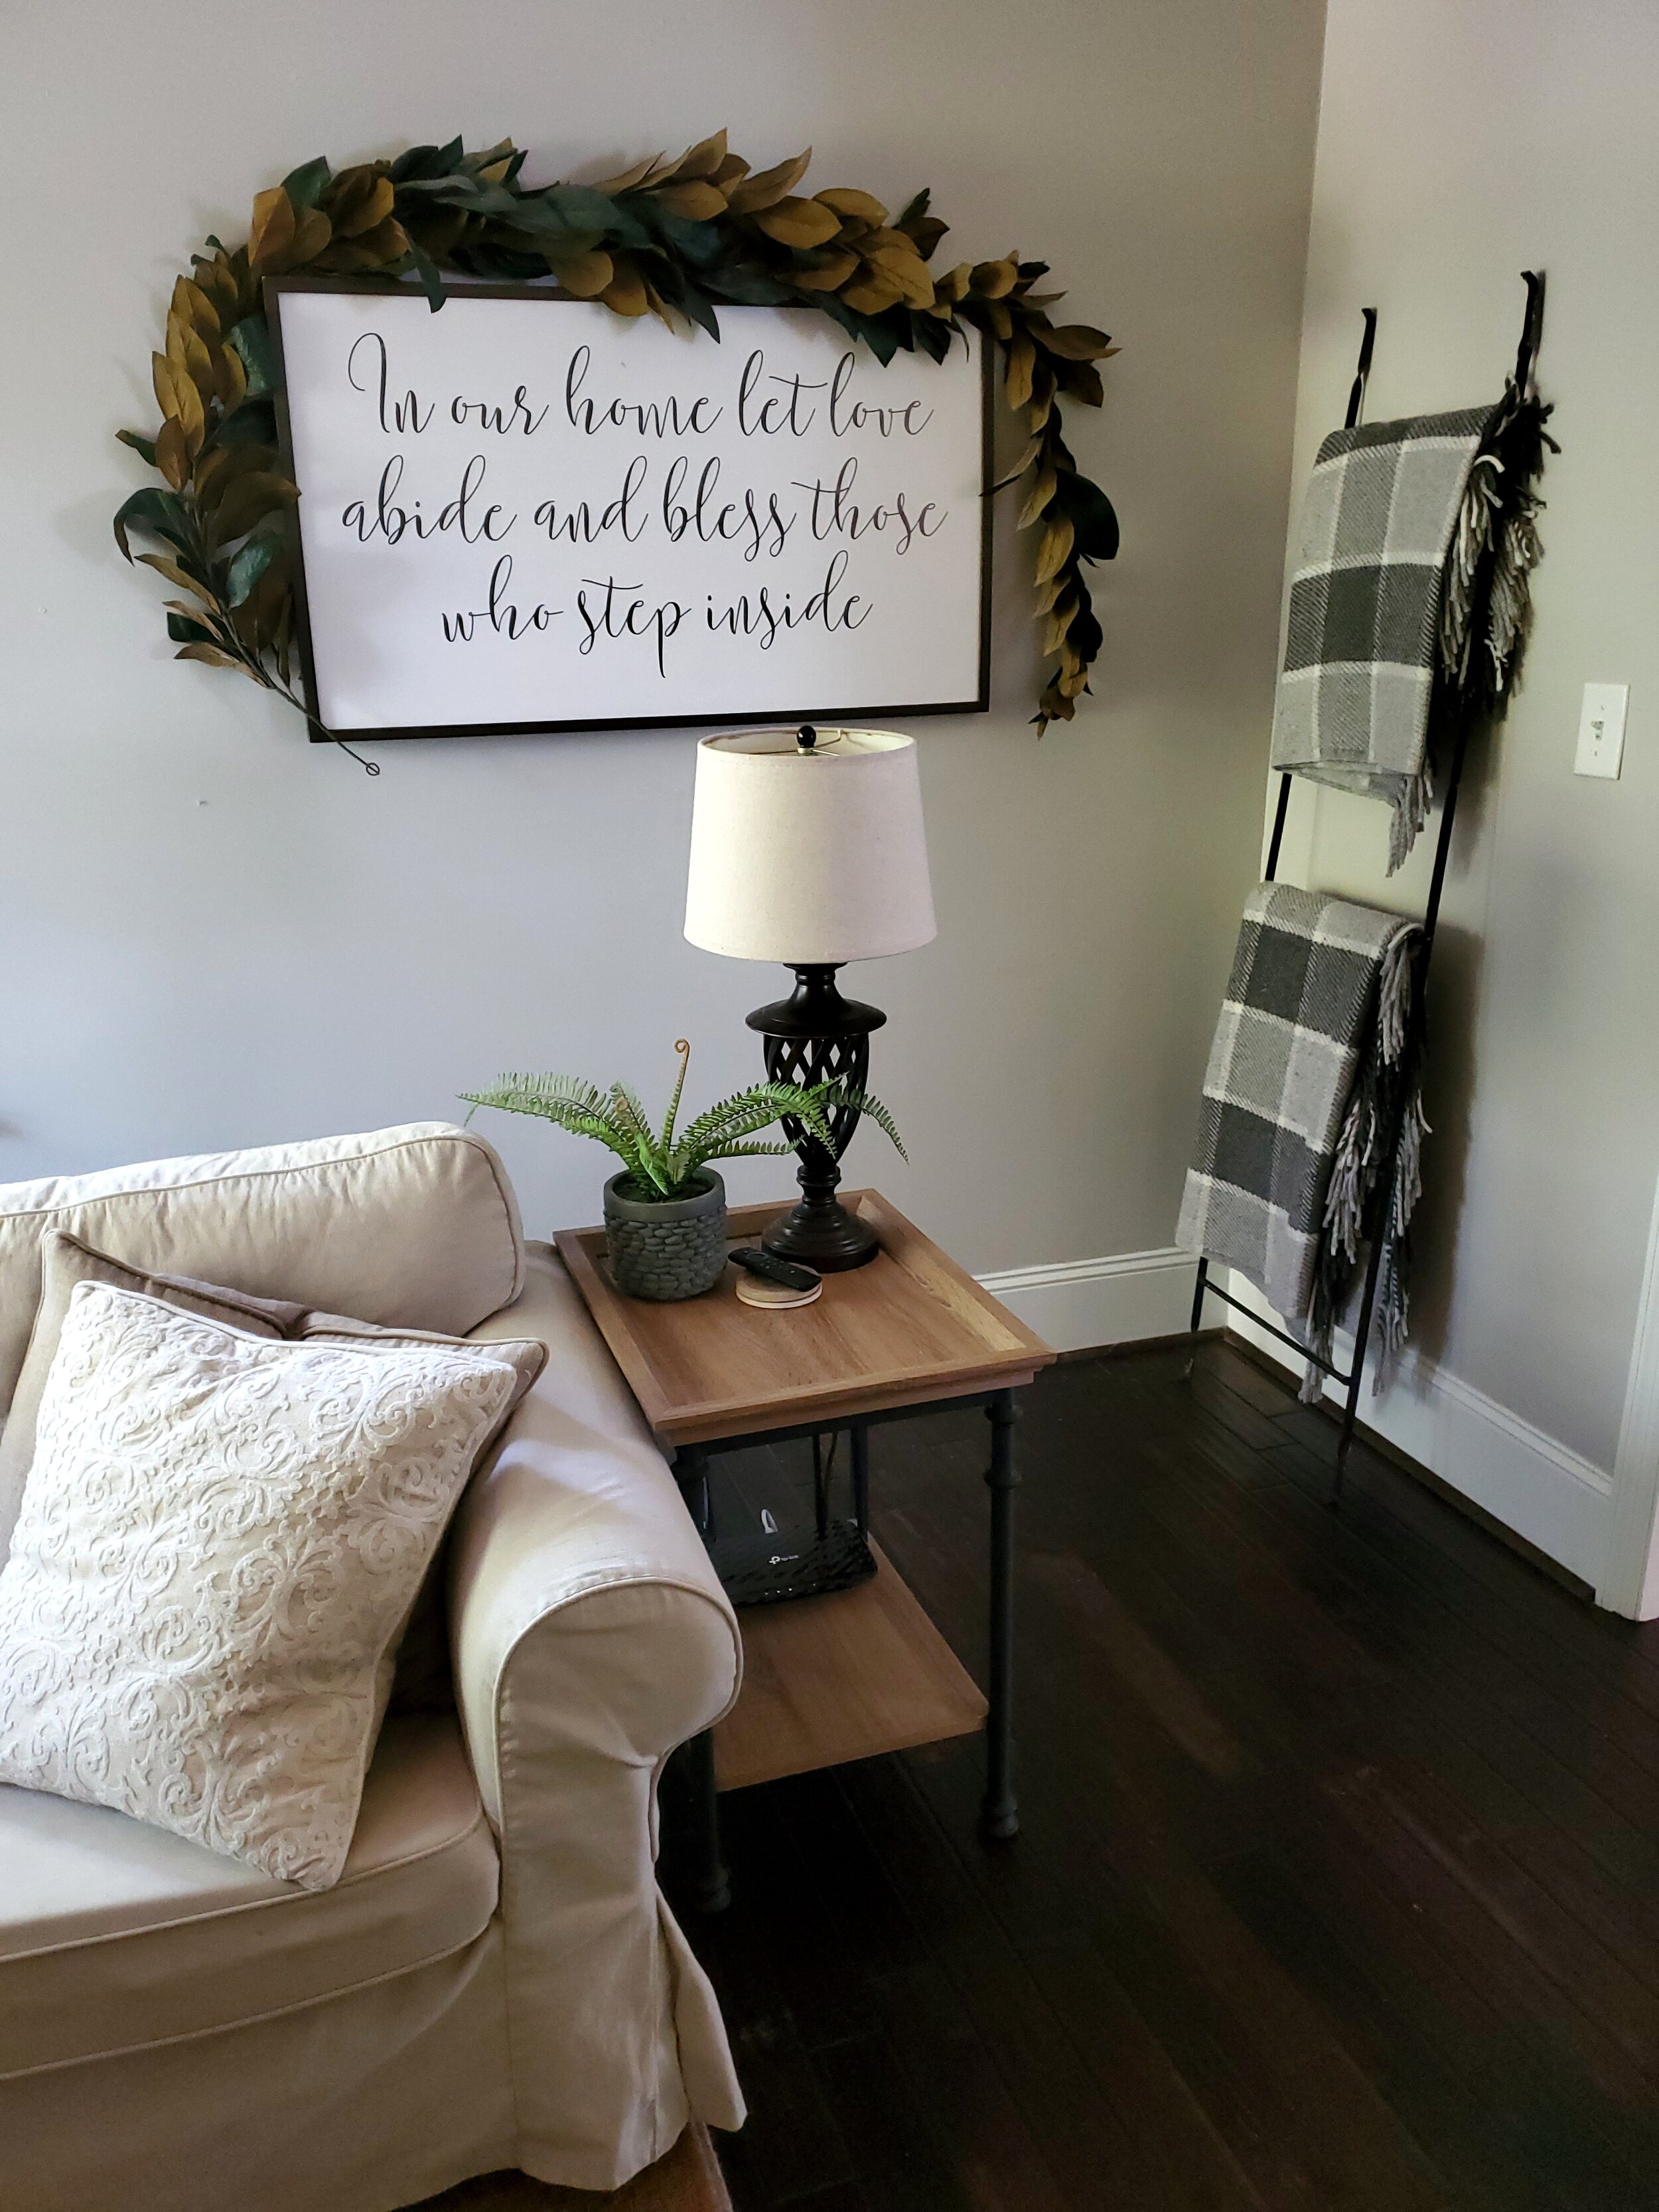
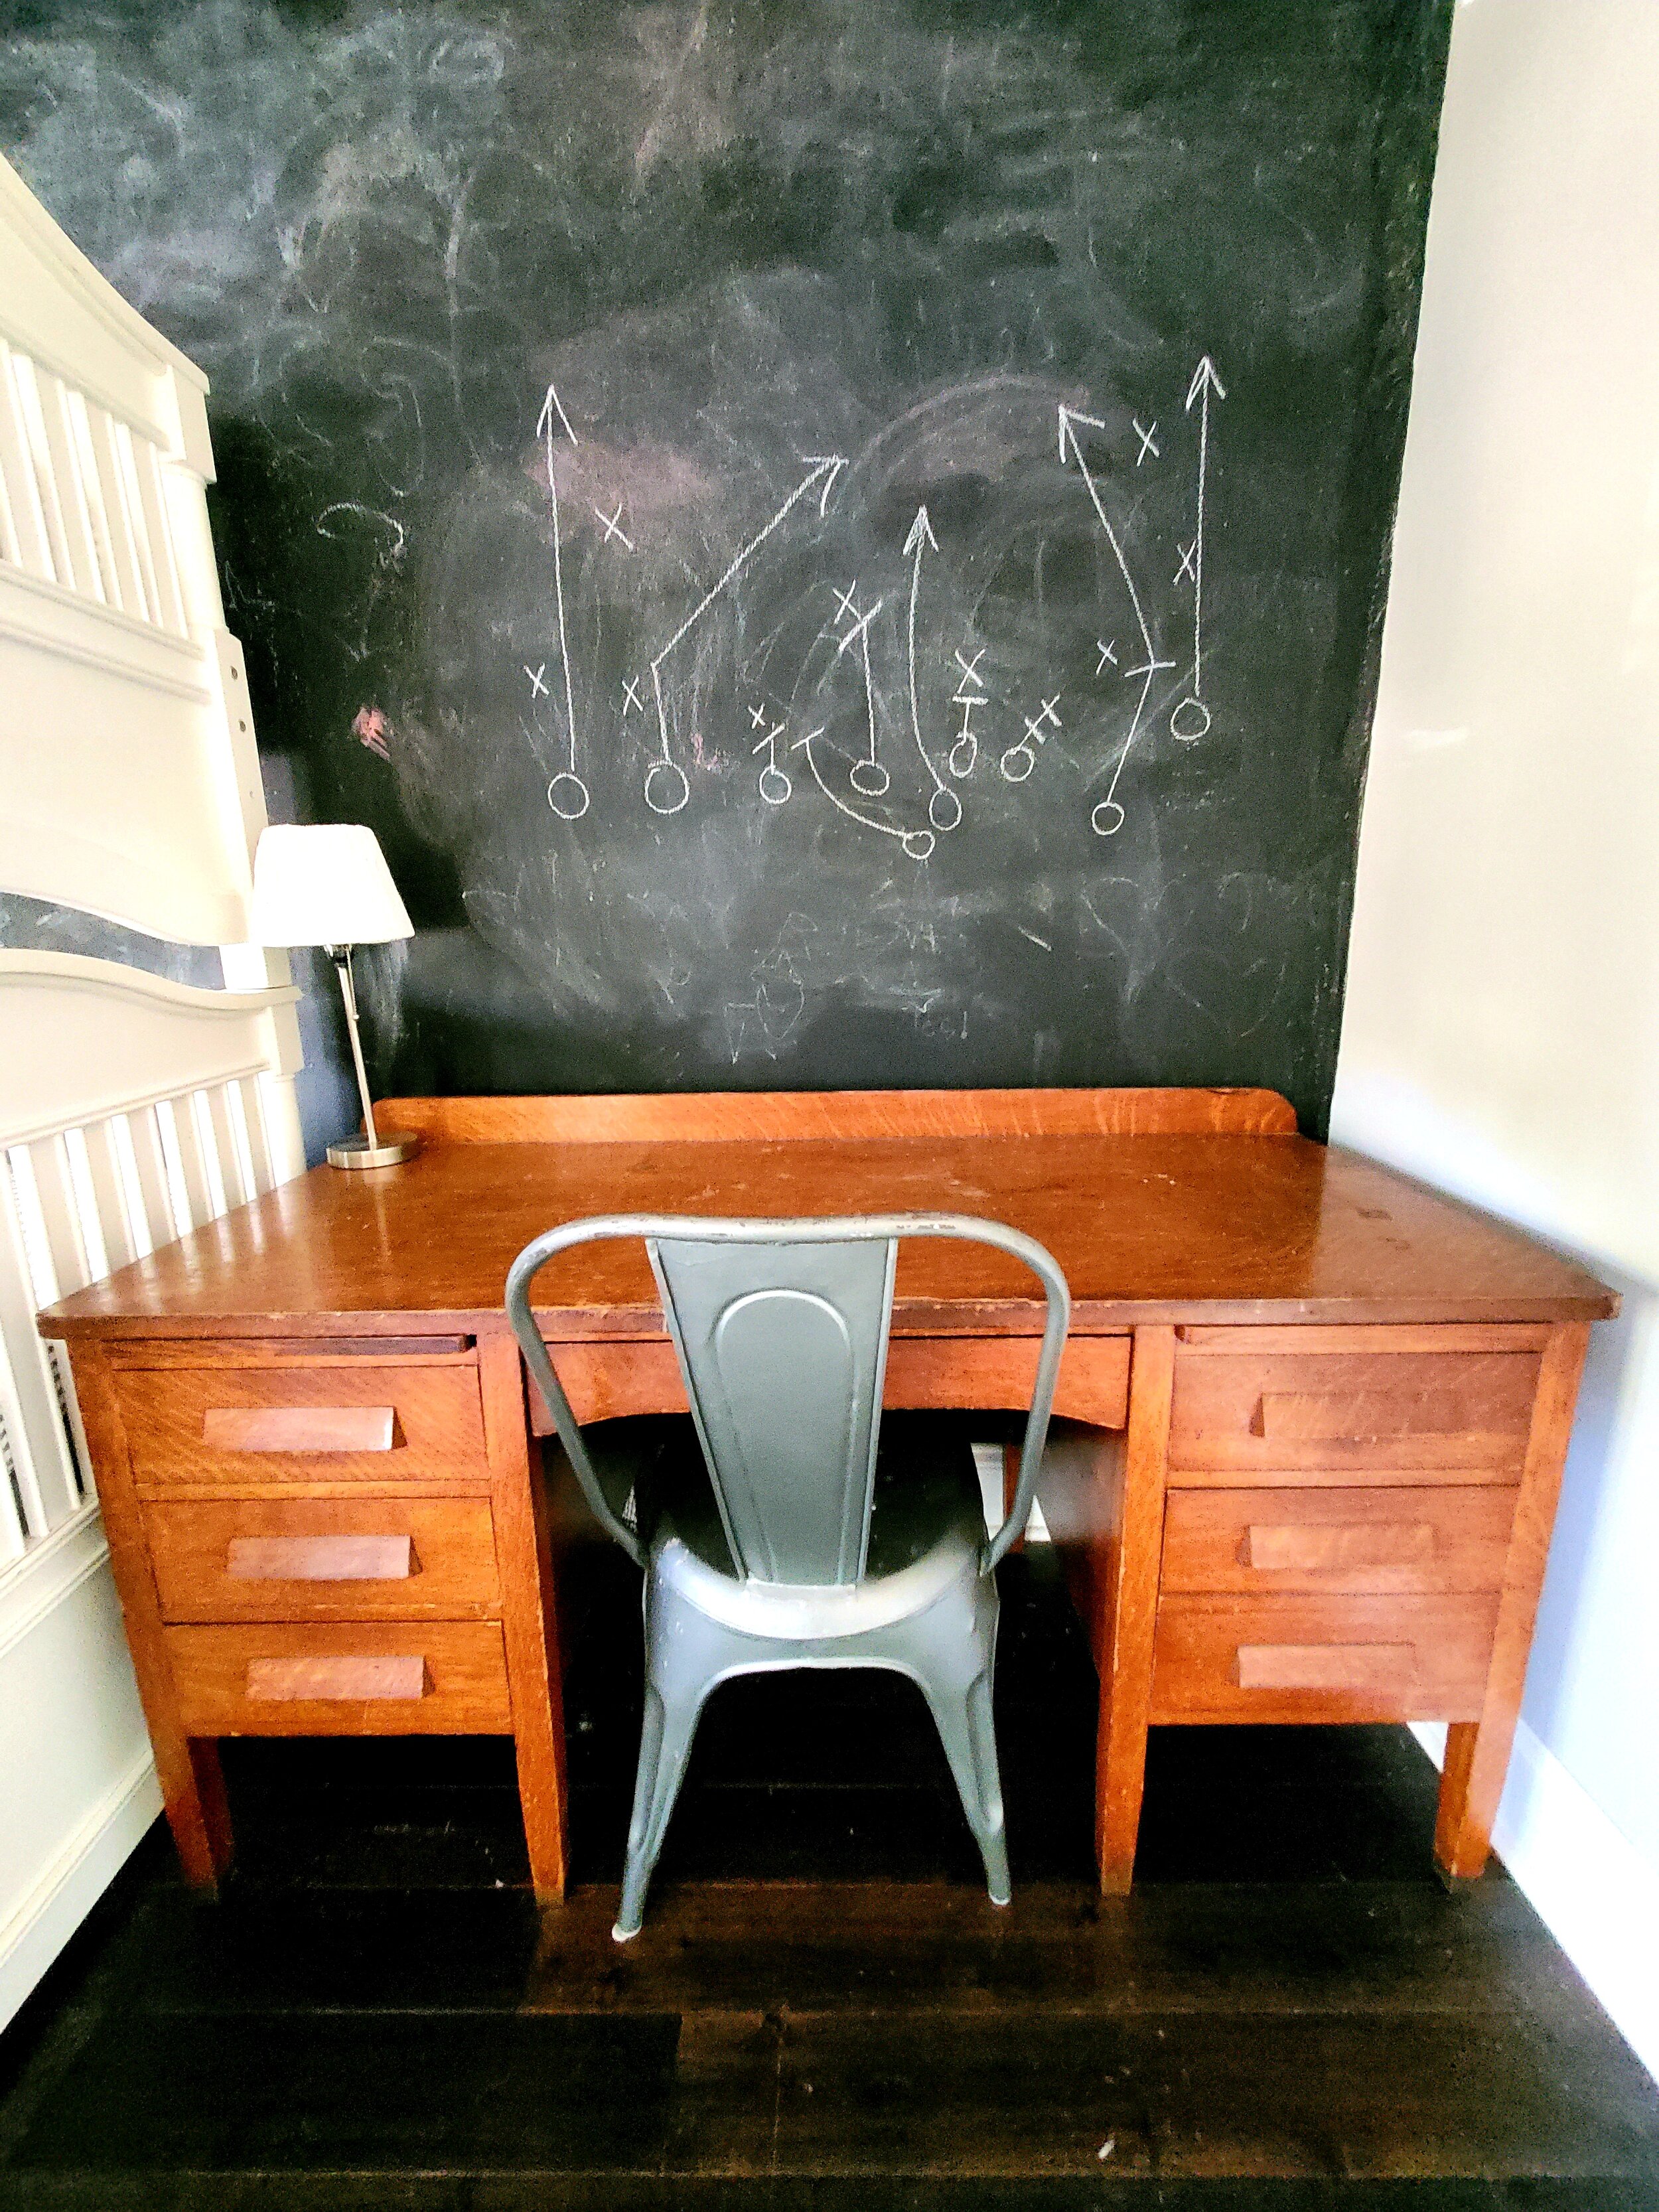
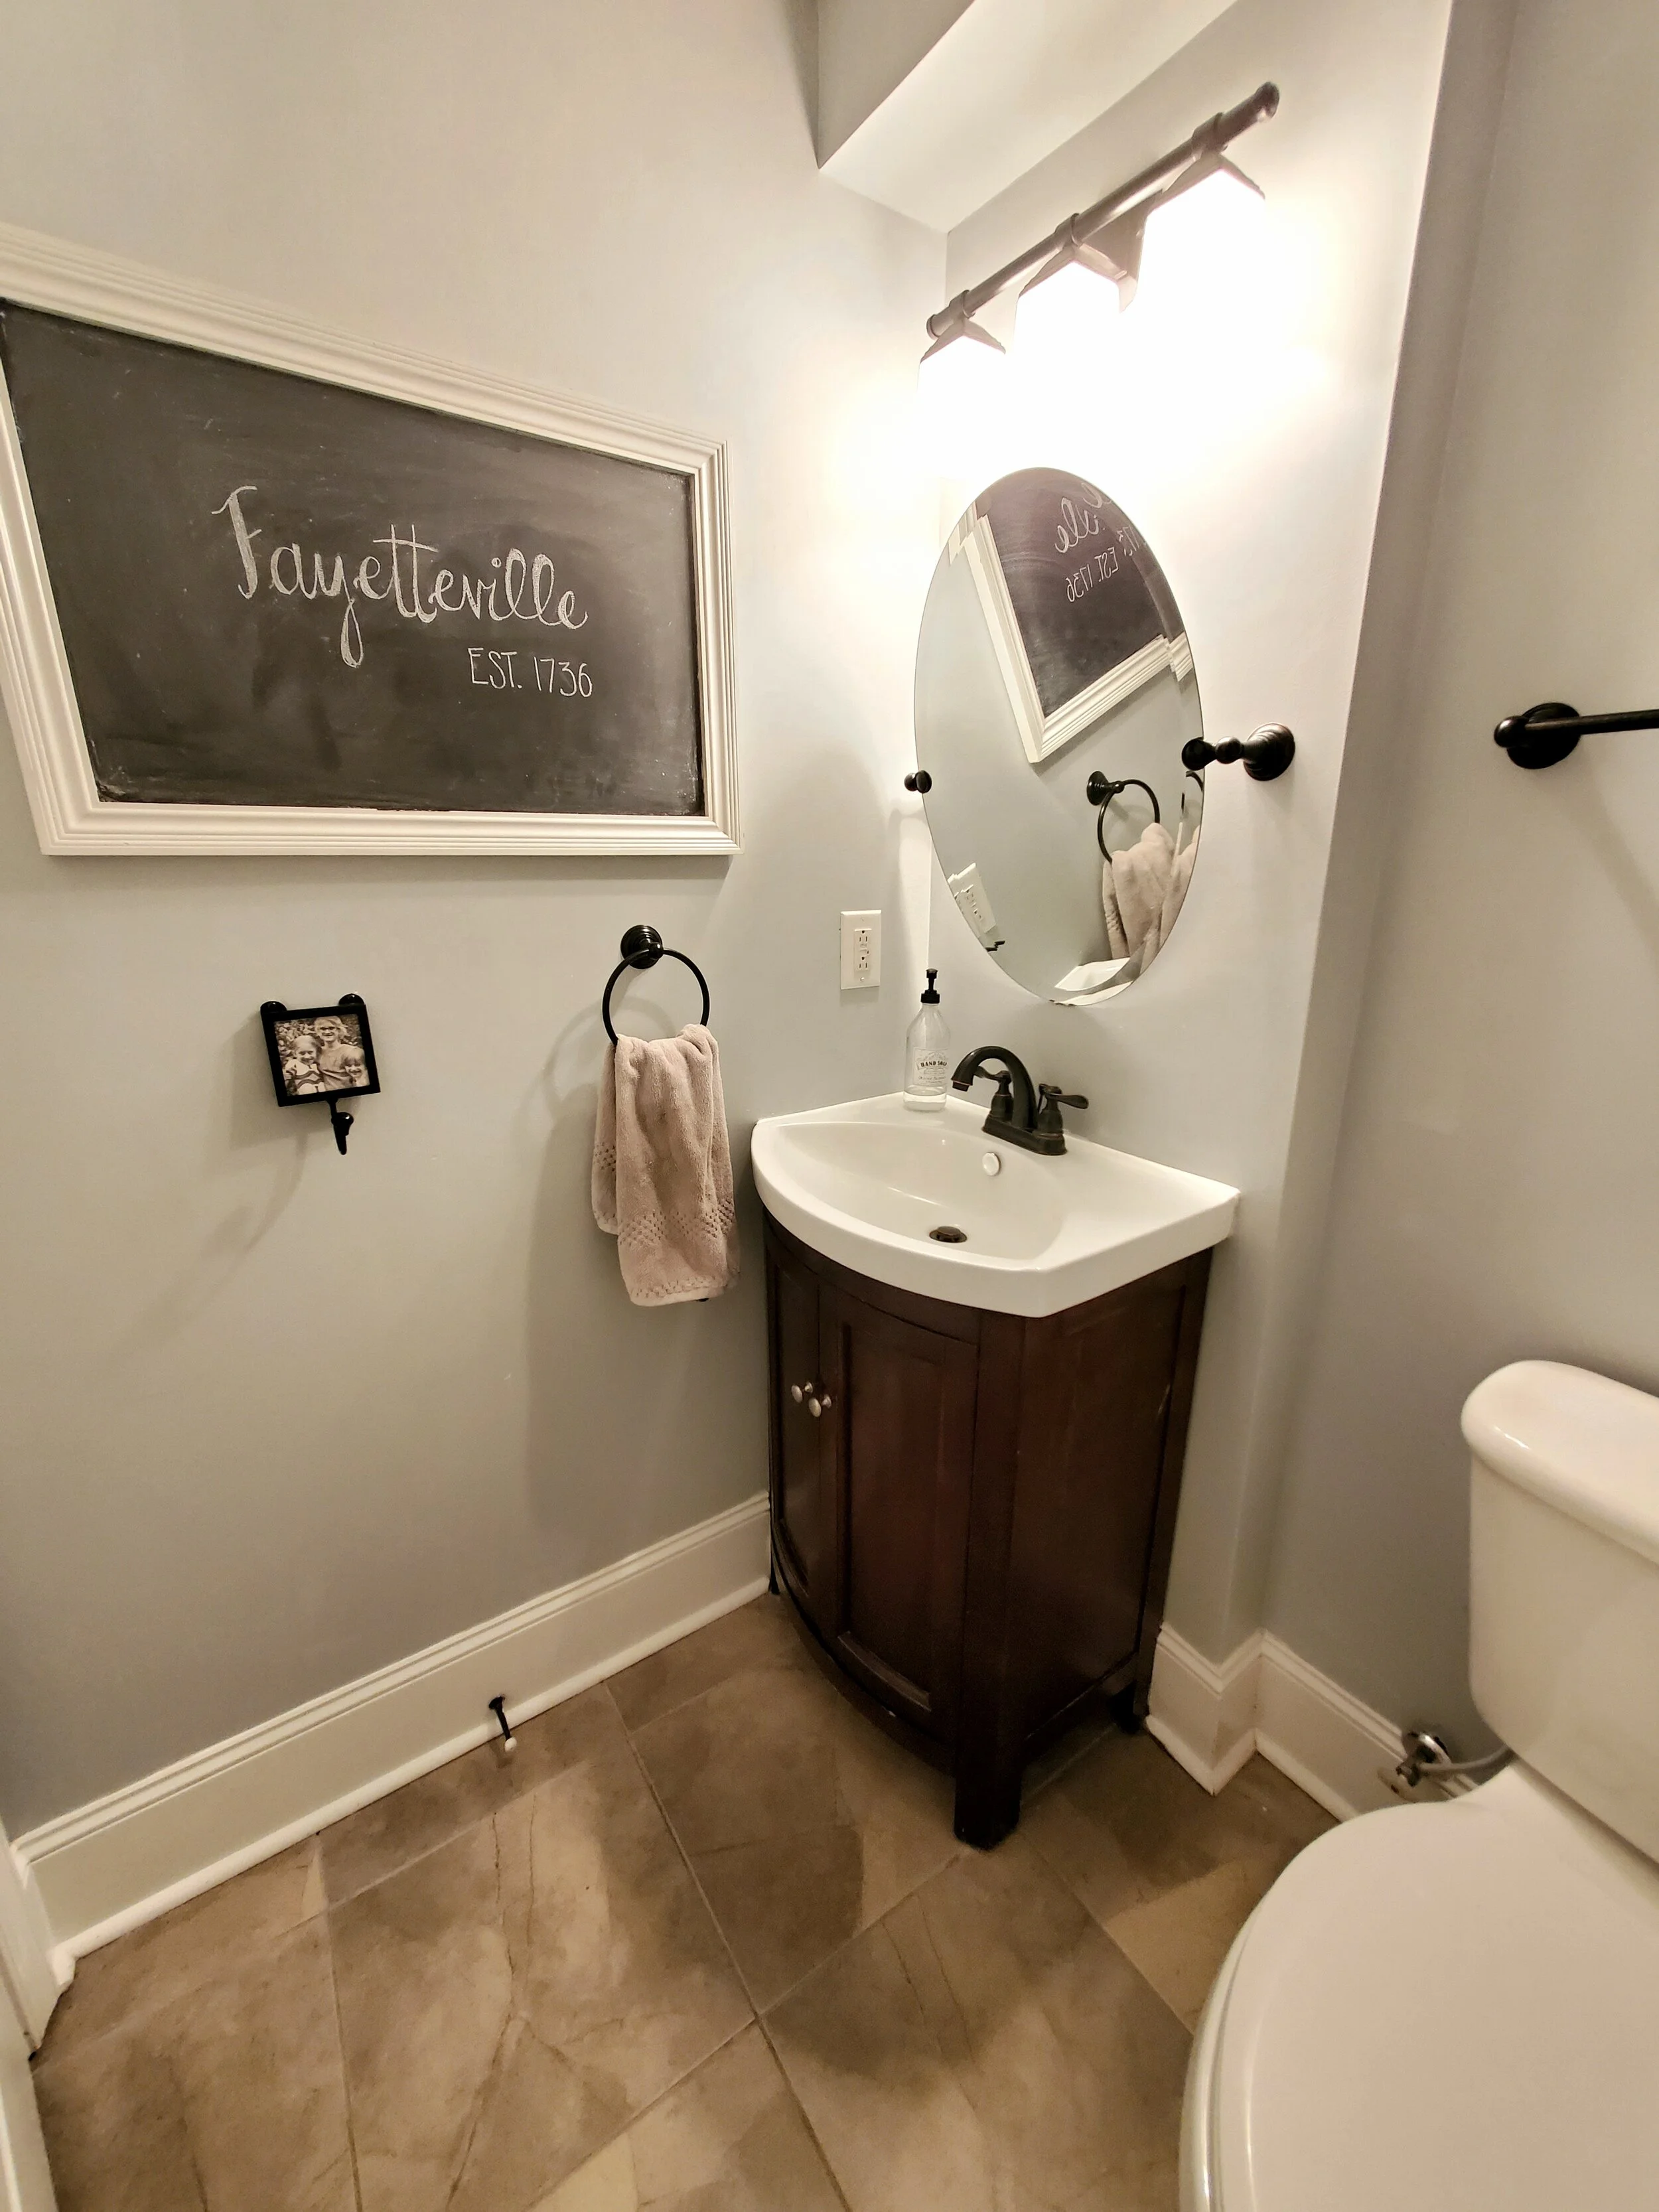
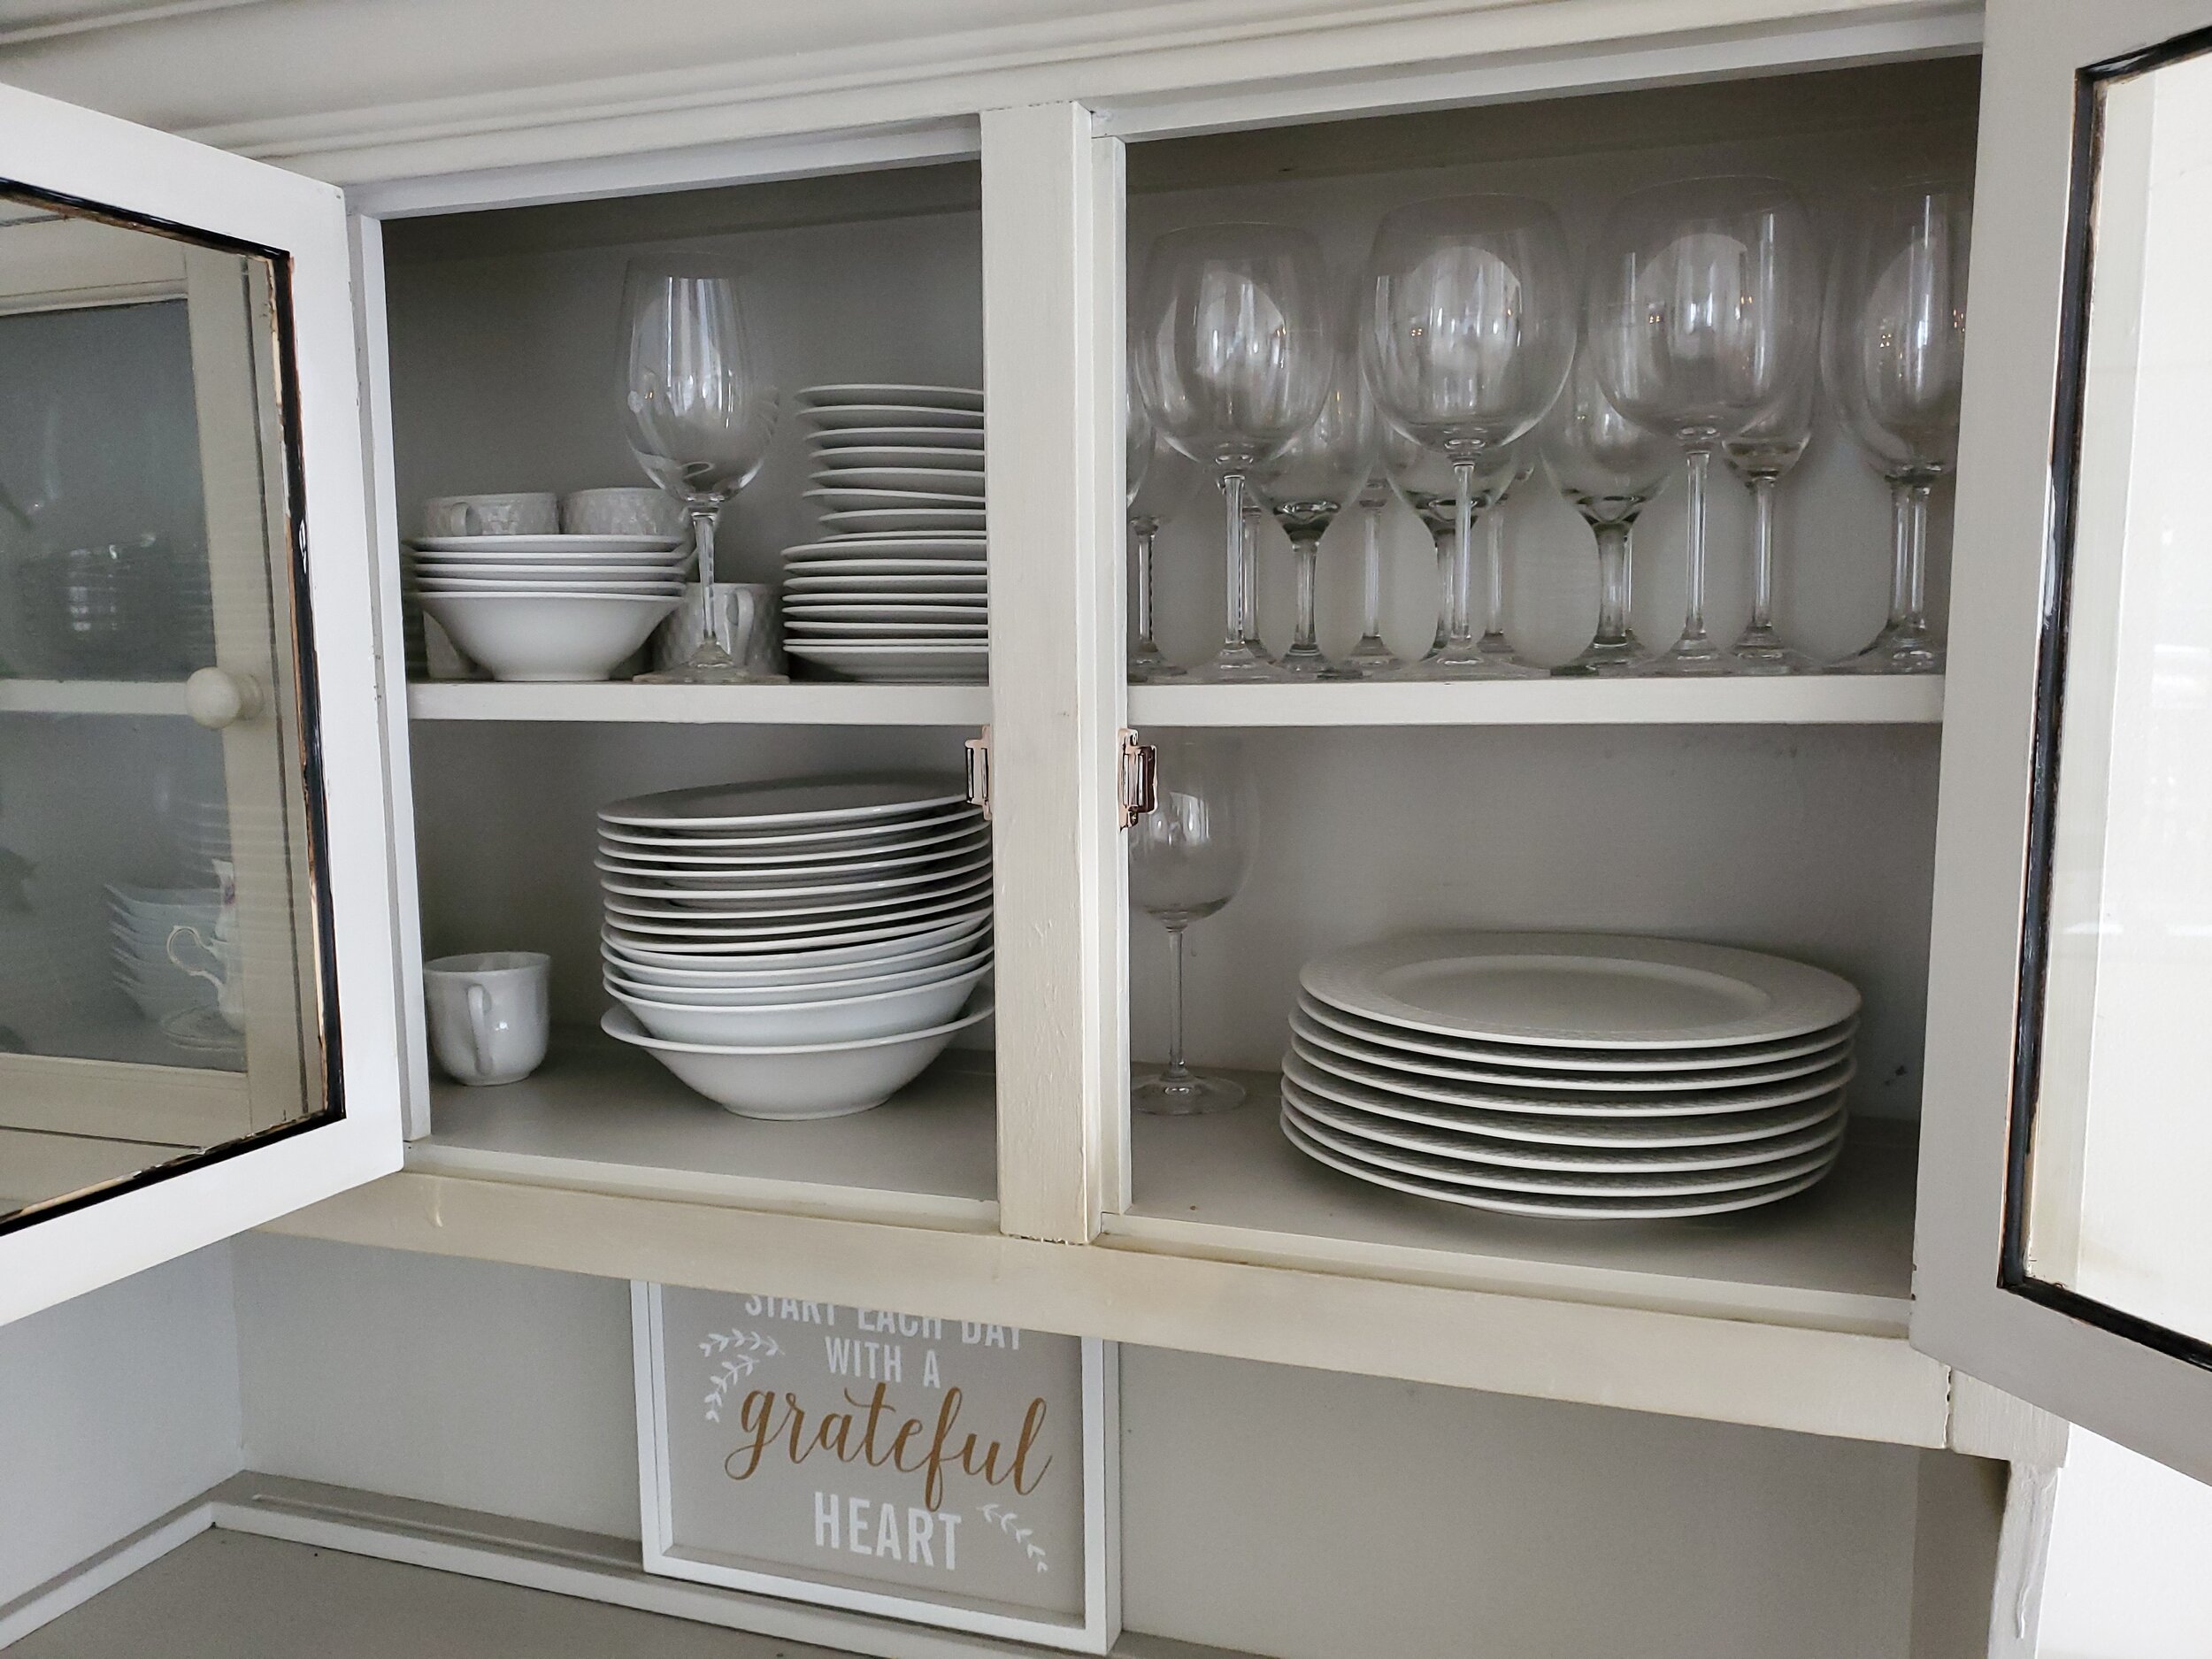
Choose pieces that match your home’s architectural style. A current trend is chalkboard art with inspirational sayings such as “love makes a house a home.” Most important, be certain that artwork won’t be offensive to potential buyers. -Harb & Co
Use artwork that fits the space and doesn't overpower the room. When you start to use big, bold, and personal pieces, you are decorating the space. When determining what kind of art and wall décor to use when staging, you want to be sure to keep things simple and neutral. The whole point of staging is to draw buyer's attention to the features, size, and functions of the rooms and for them to envision themselves living in the space. -Designing Impressions
Use artwork to highlight specific features in your home
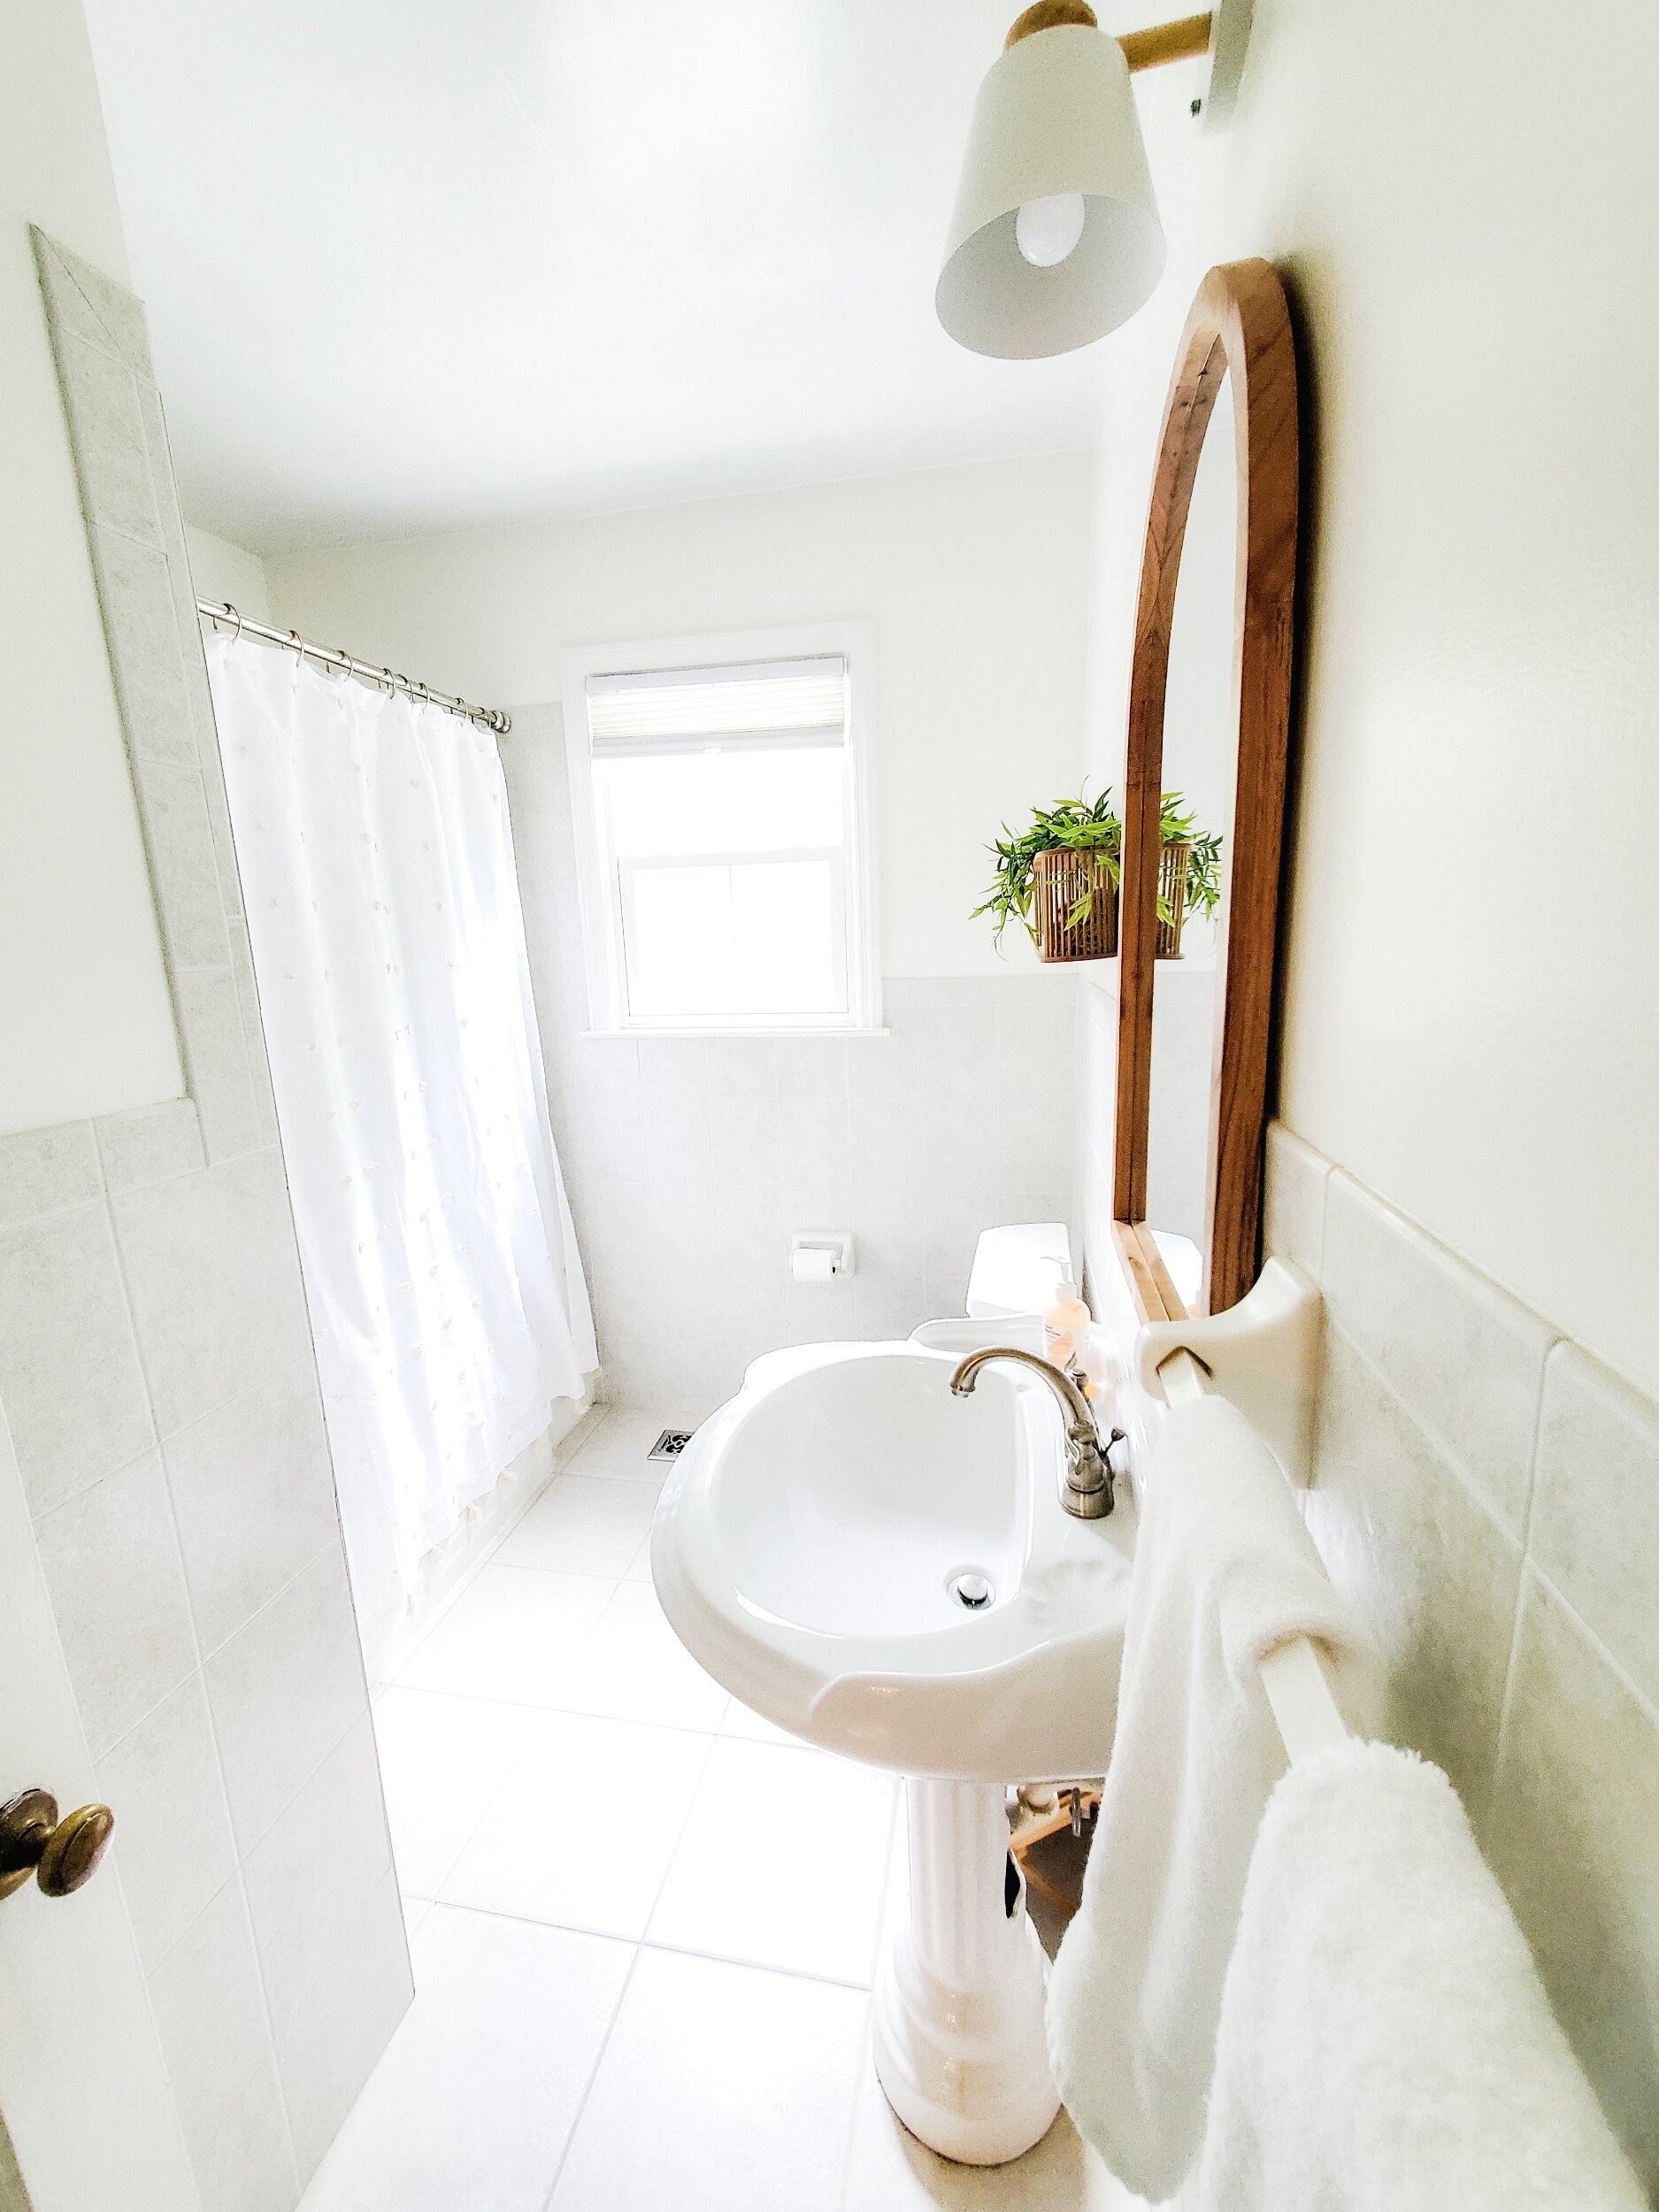
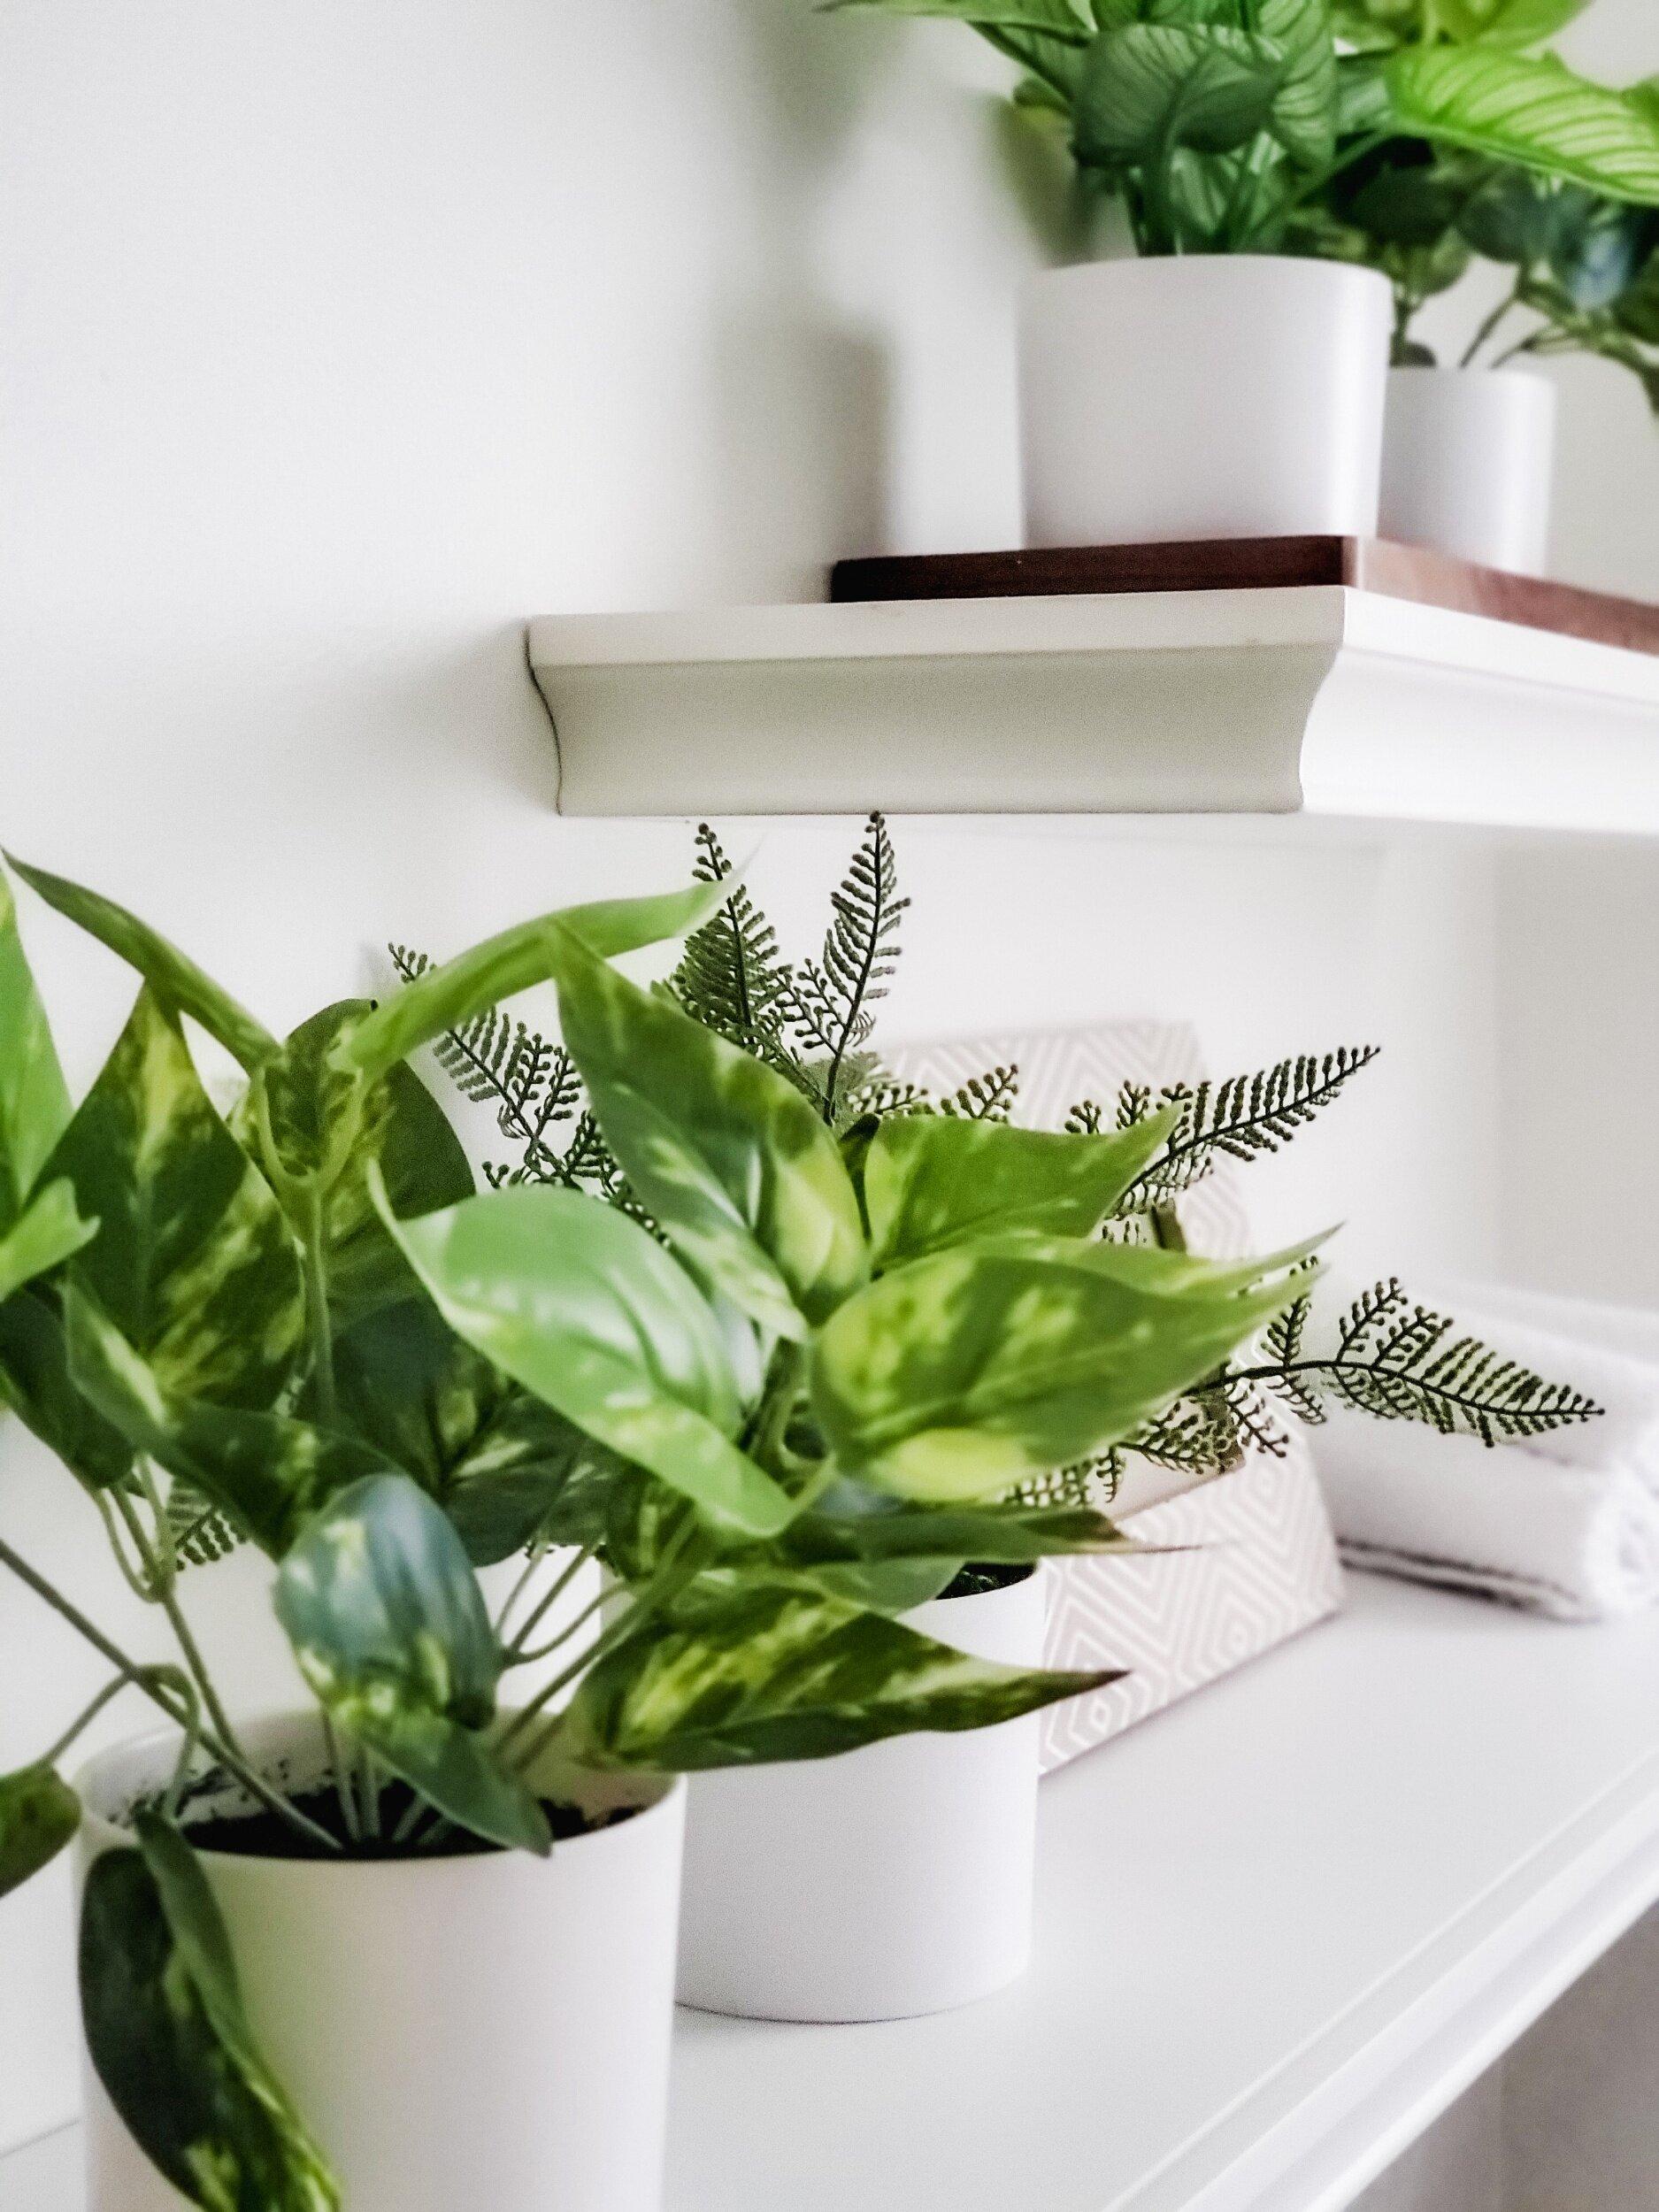
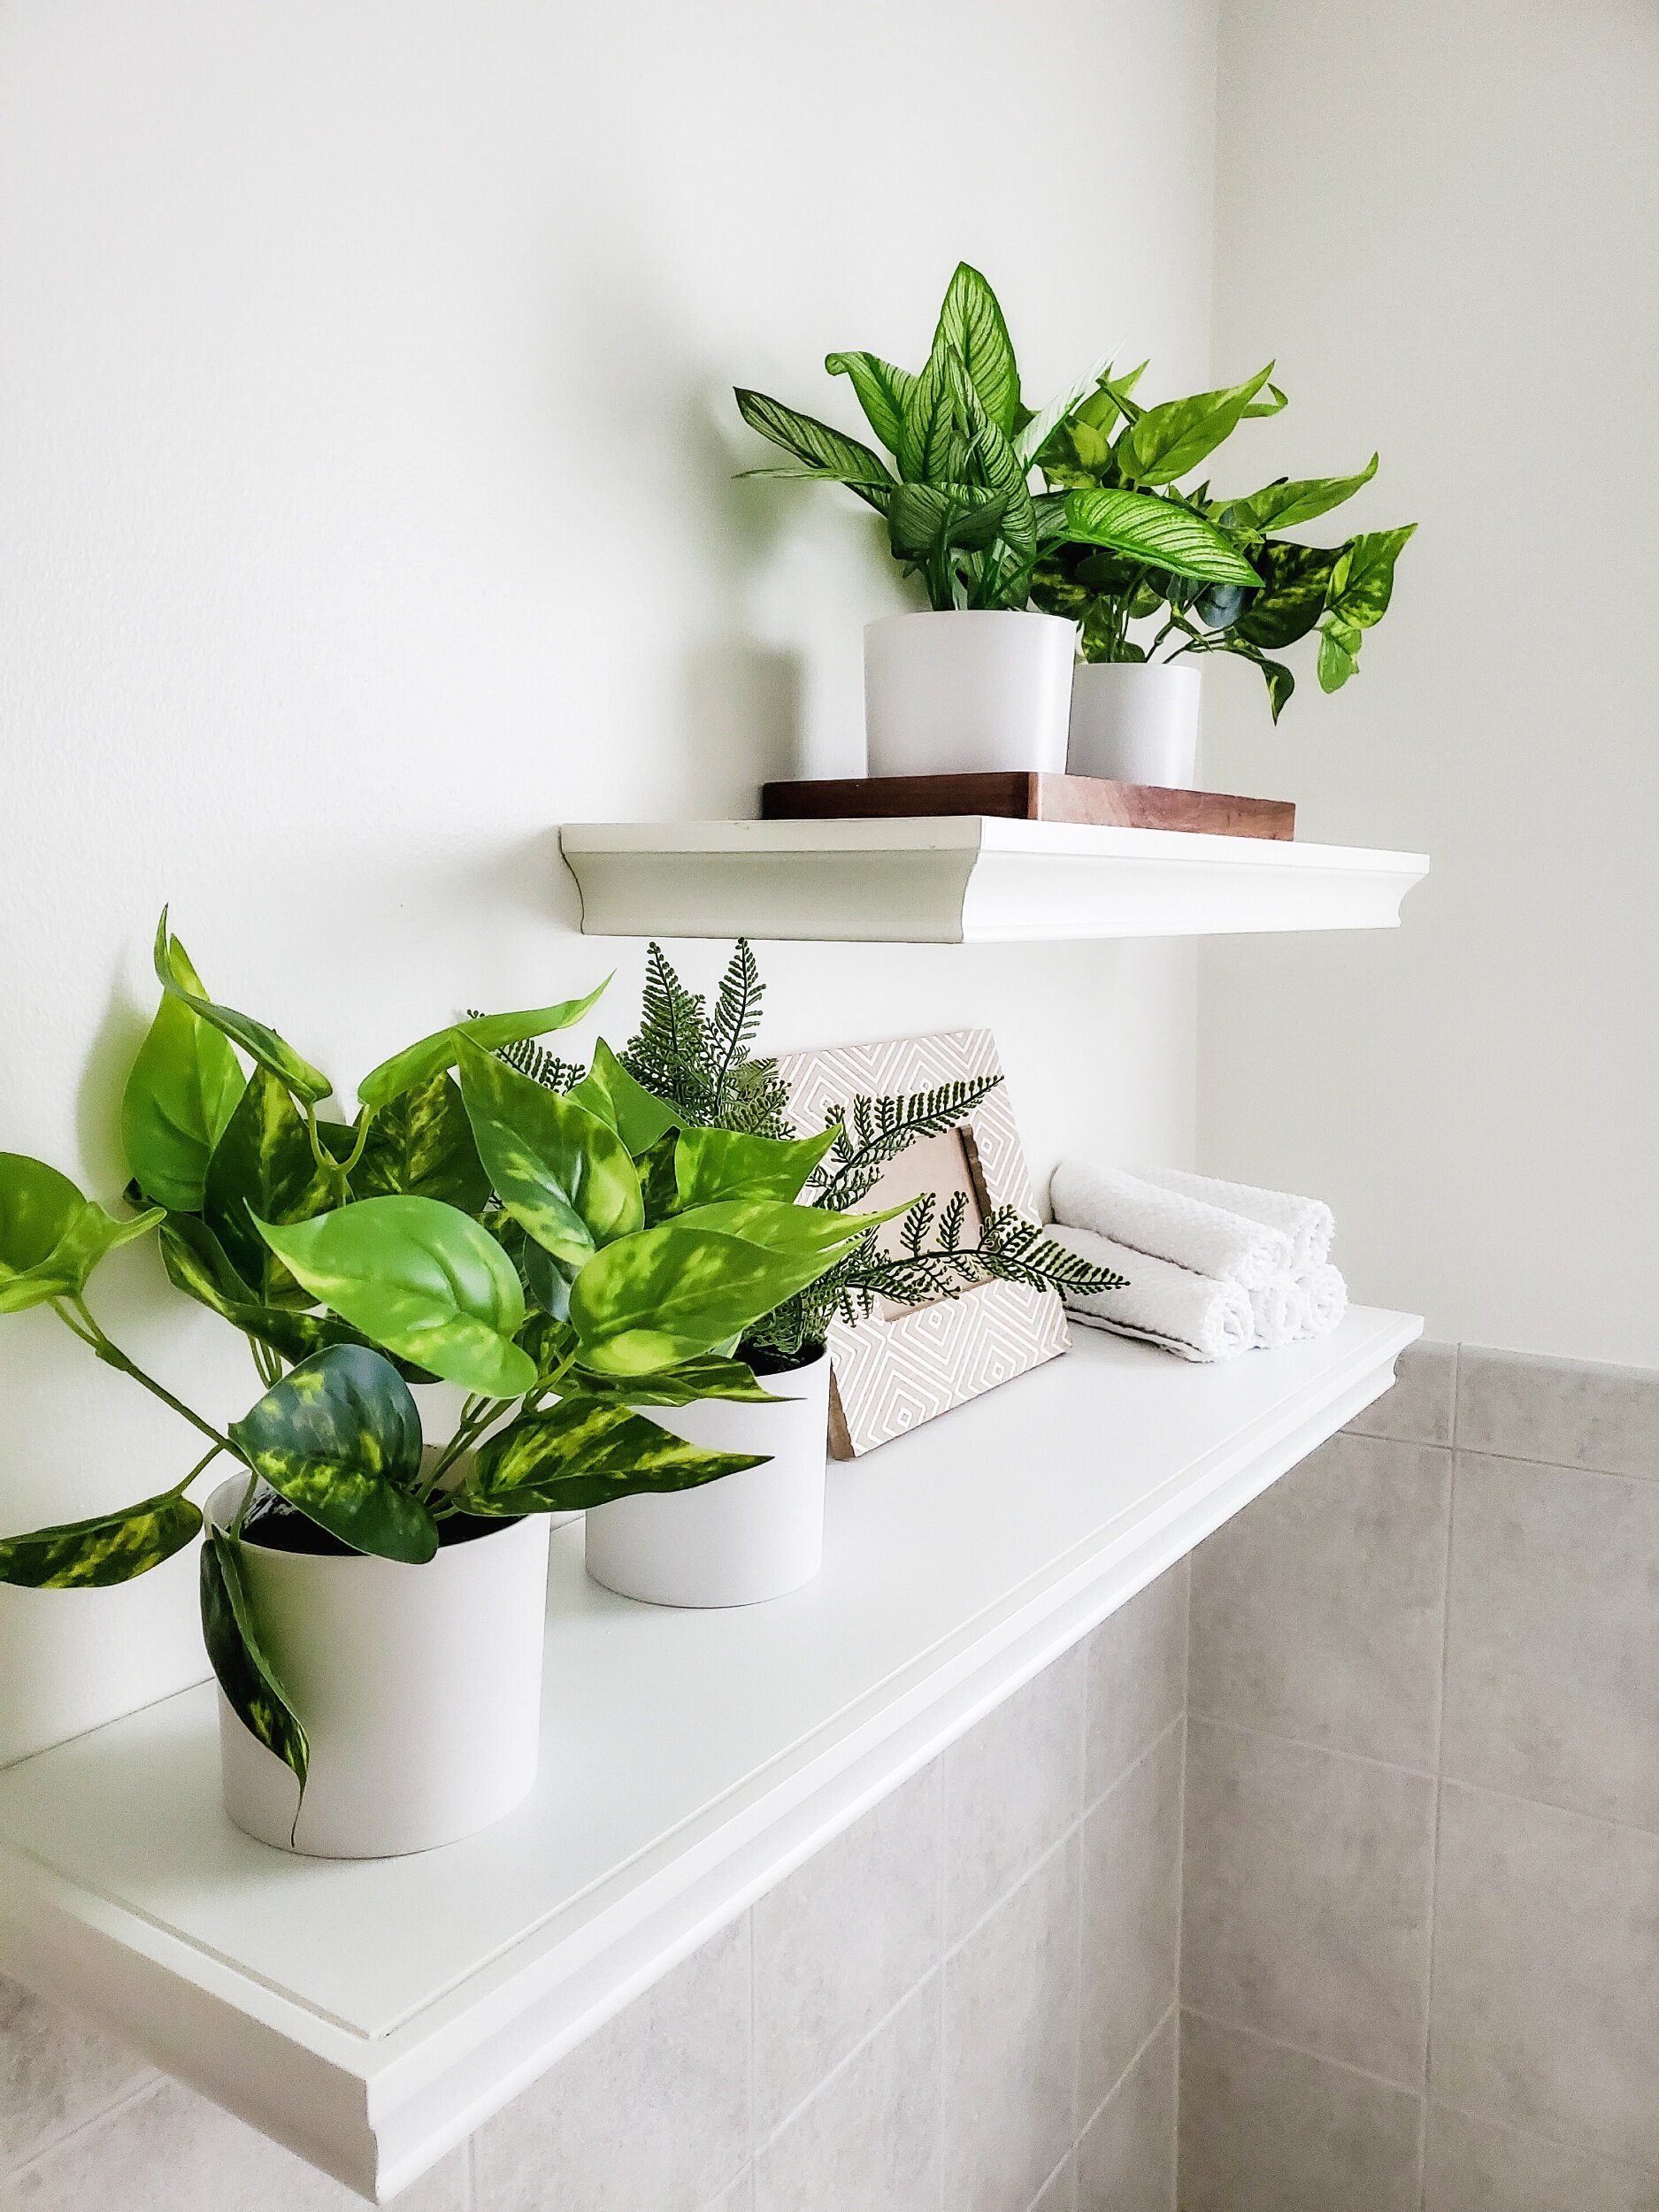
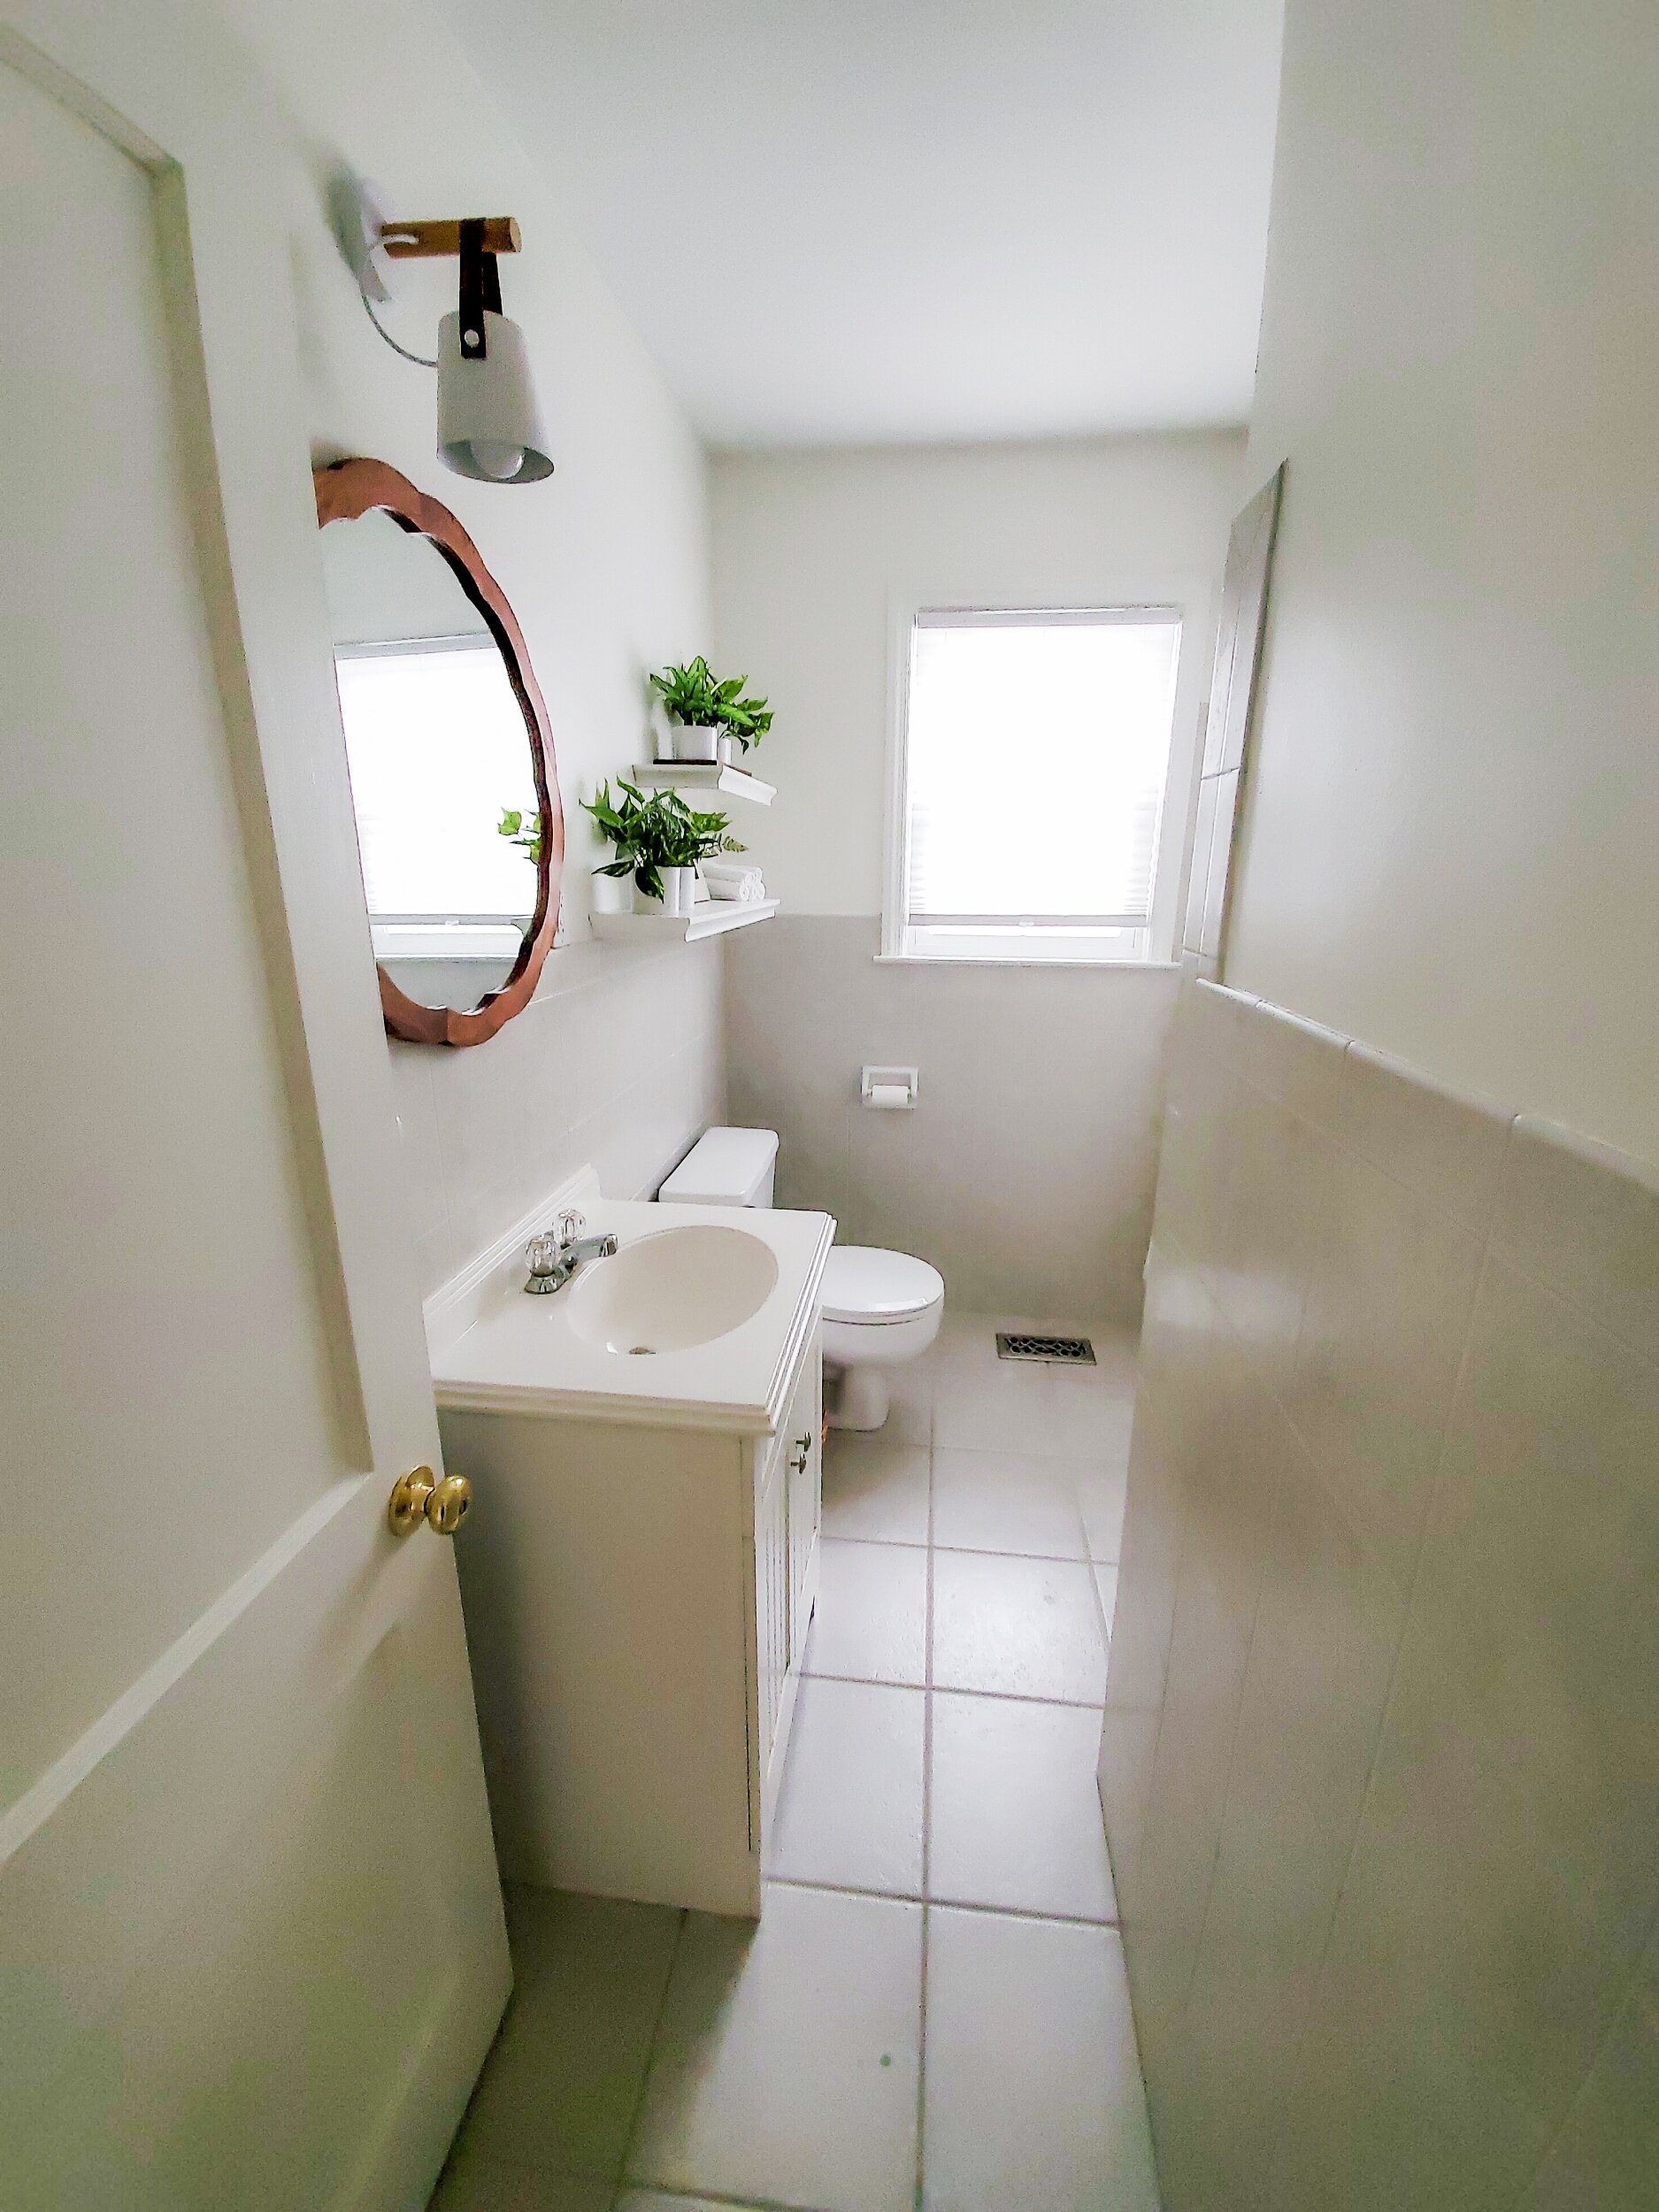
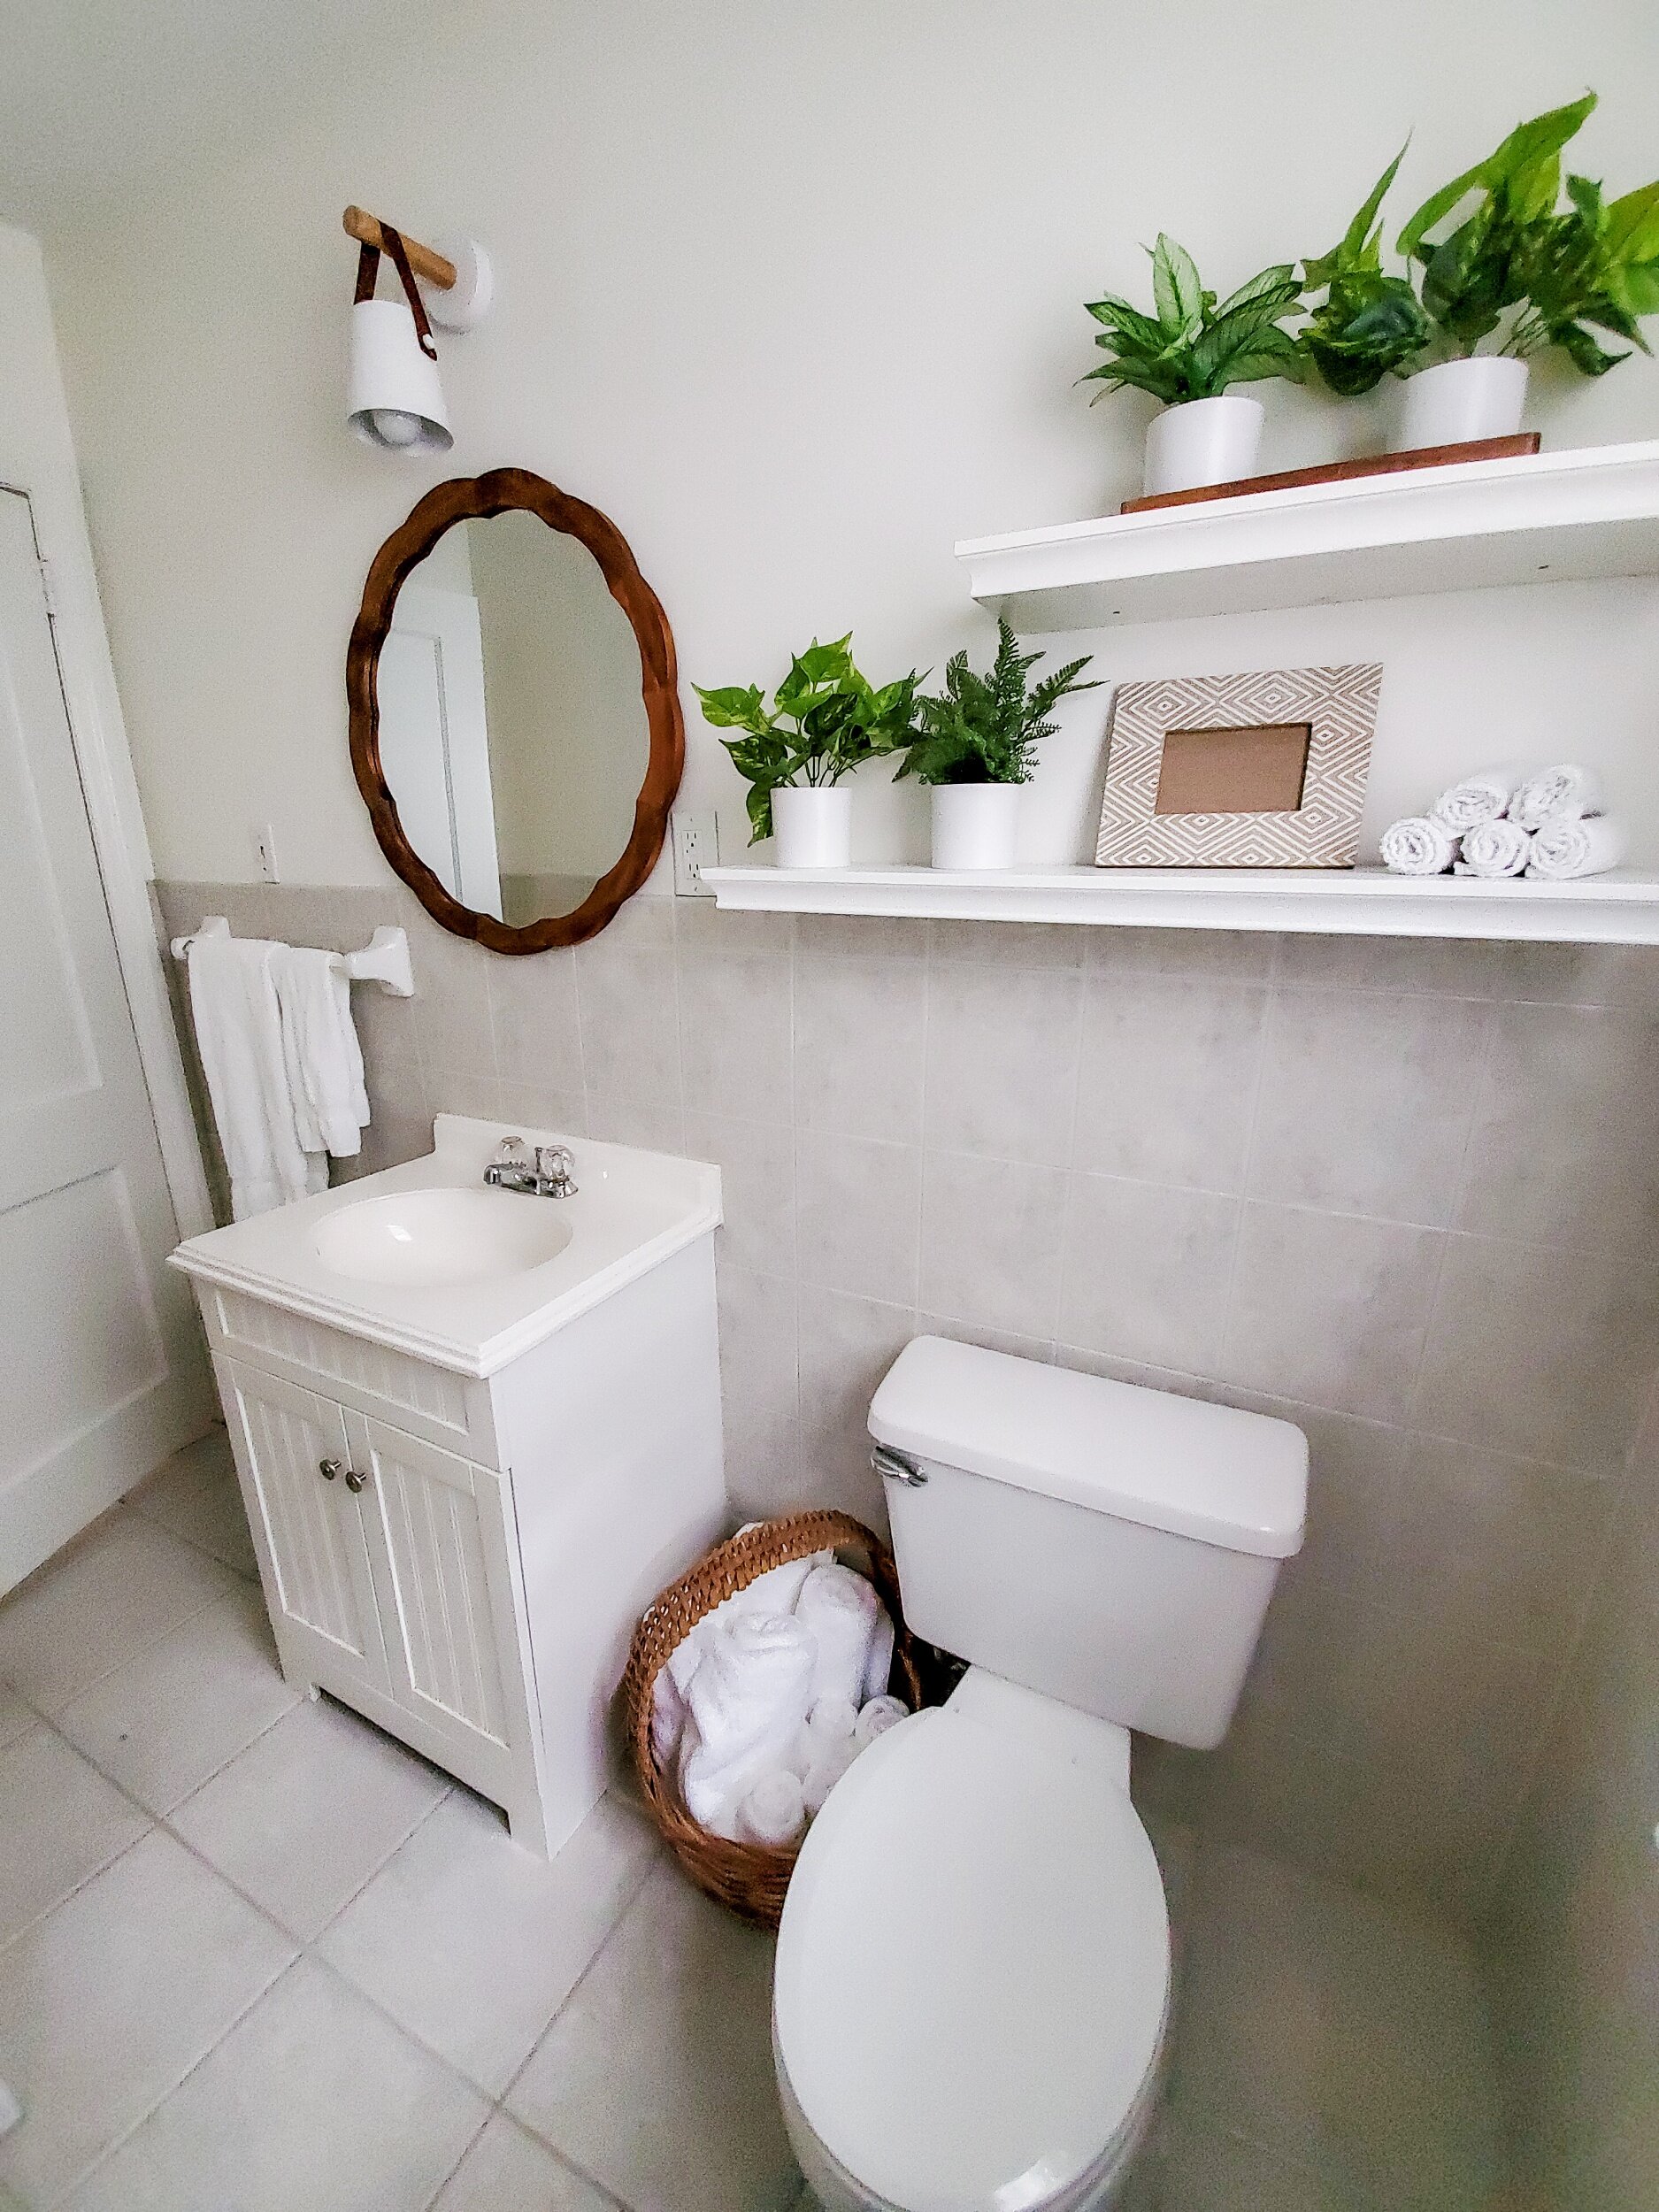
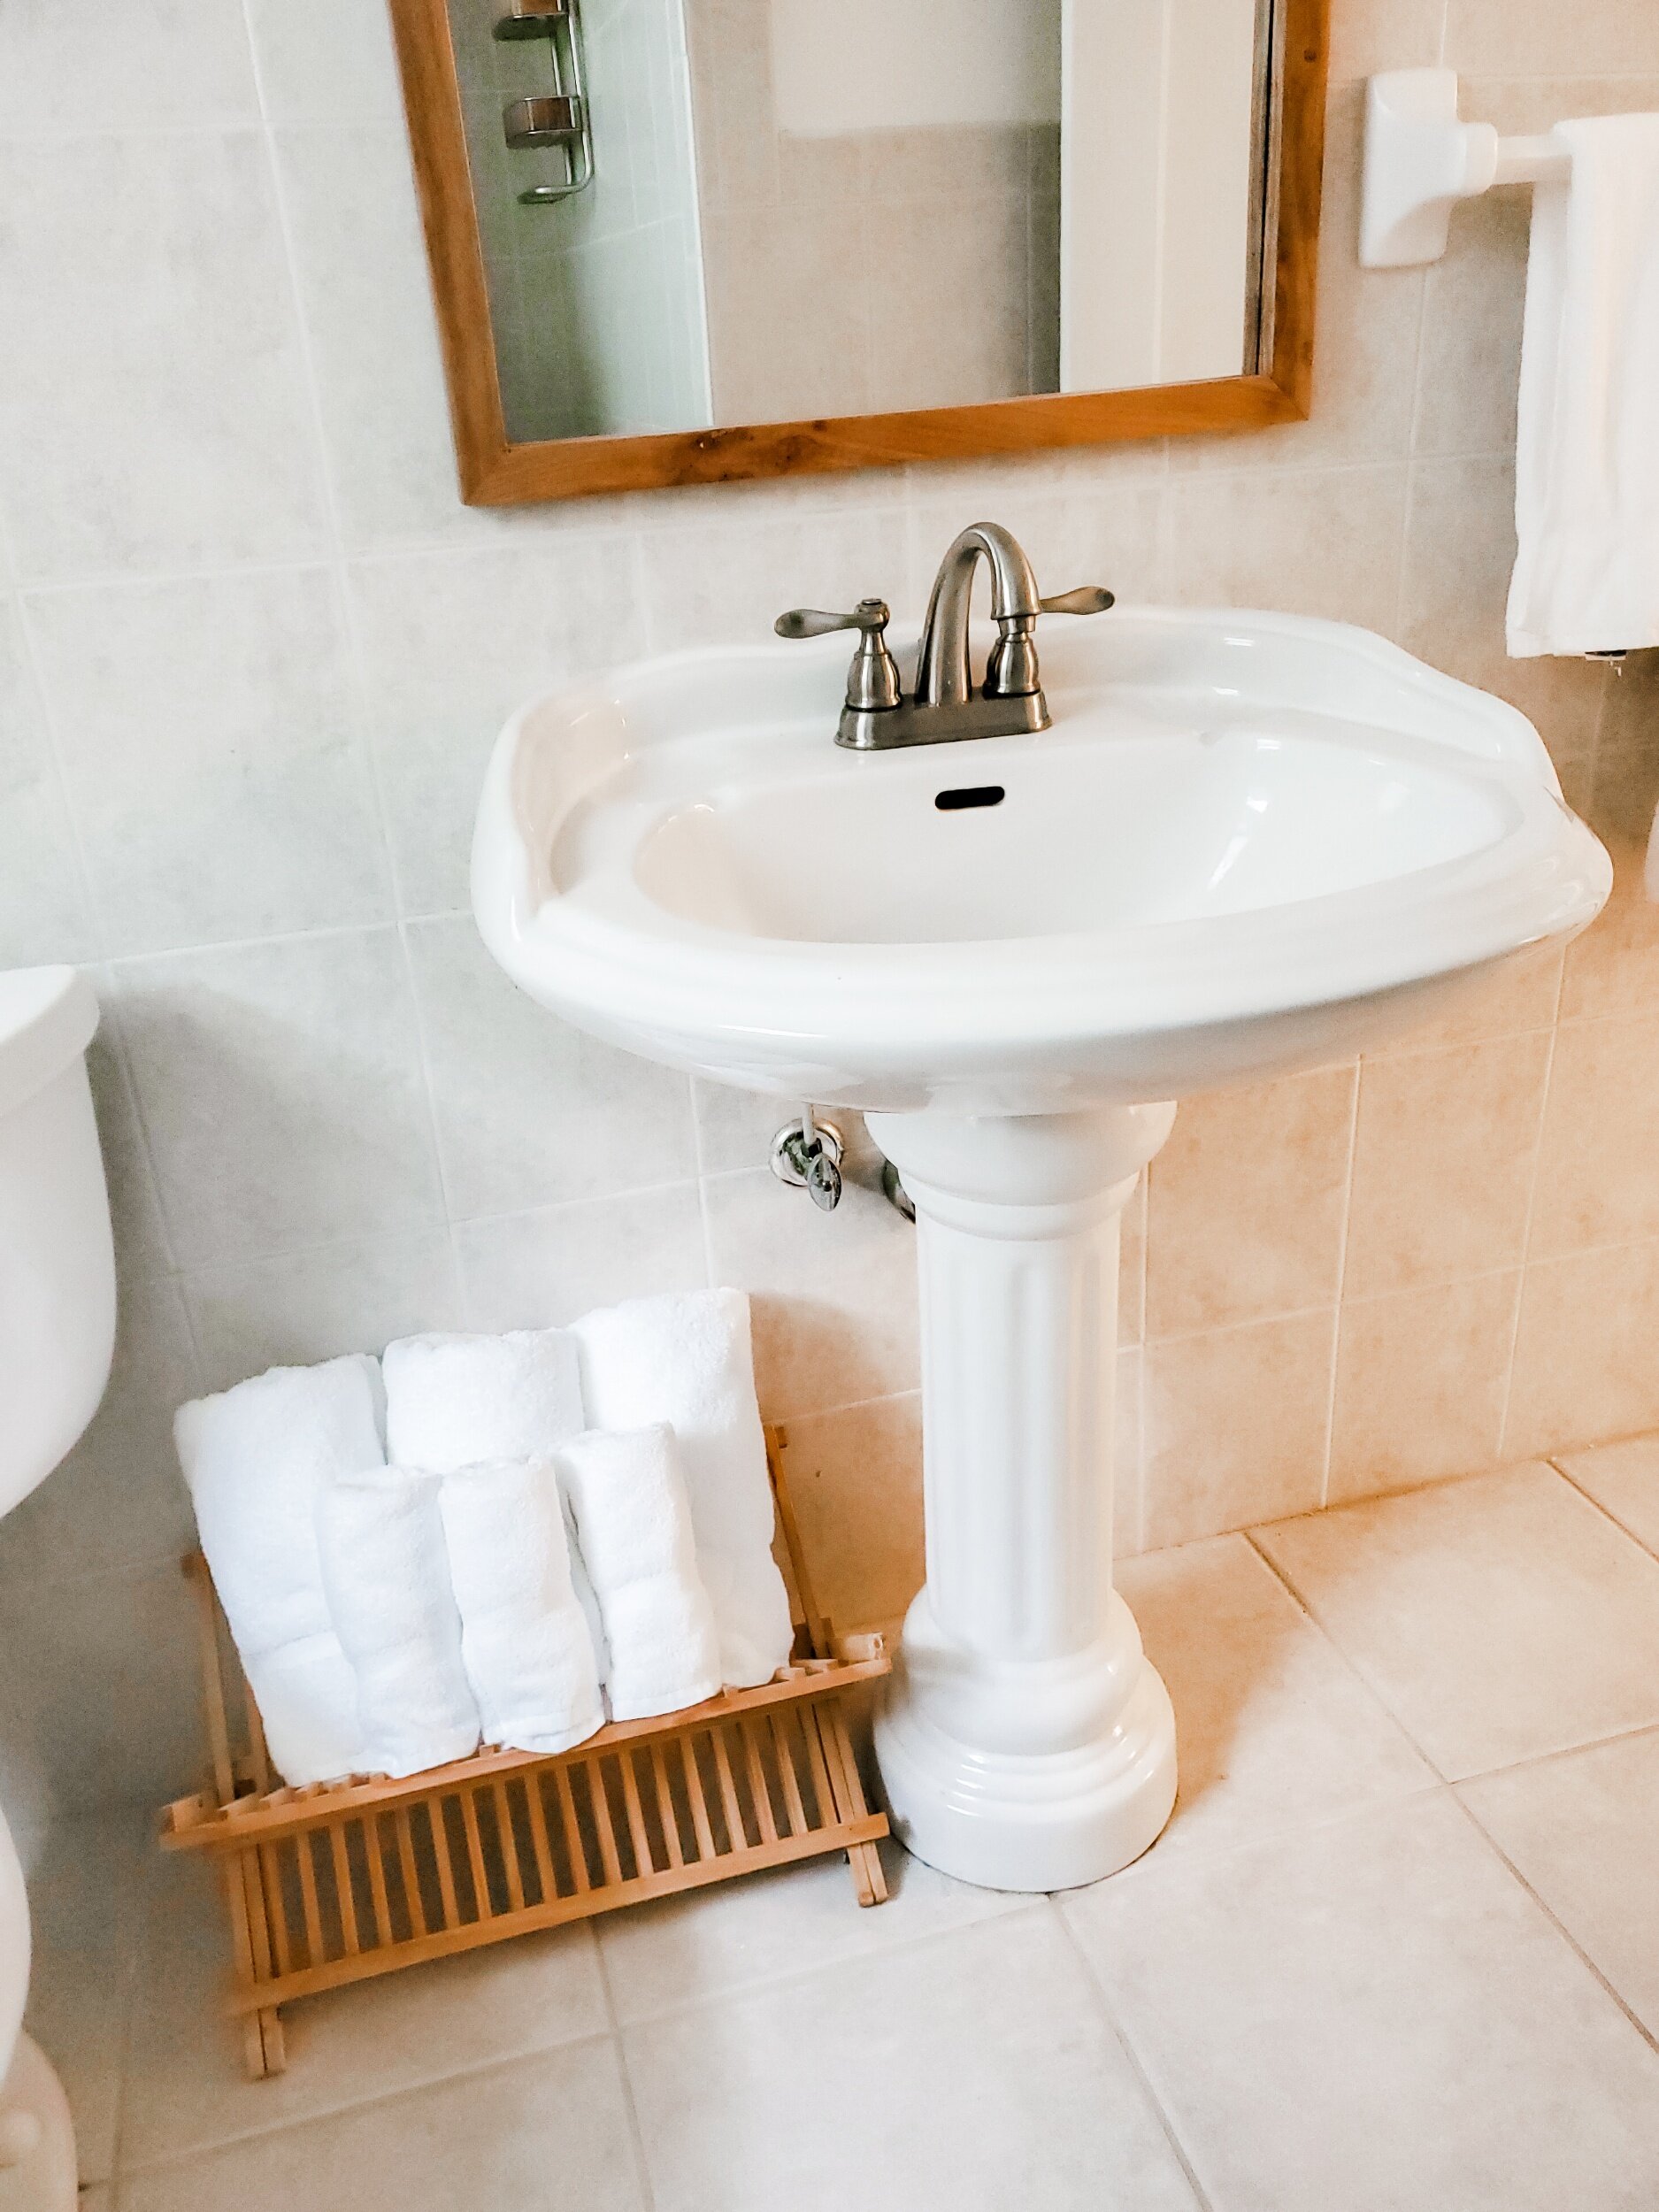
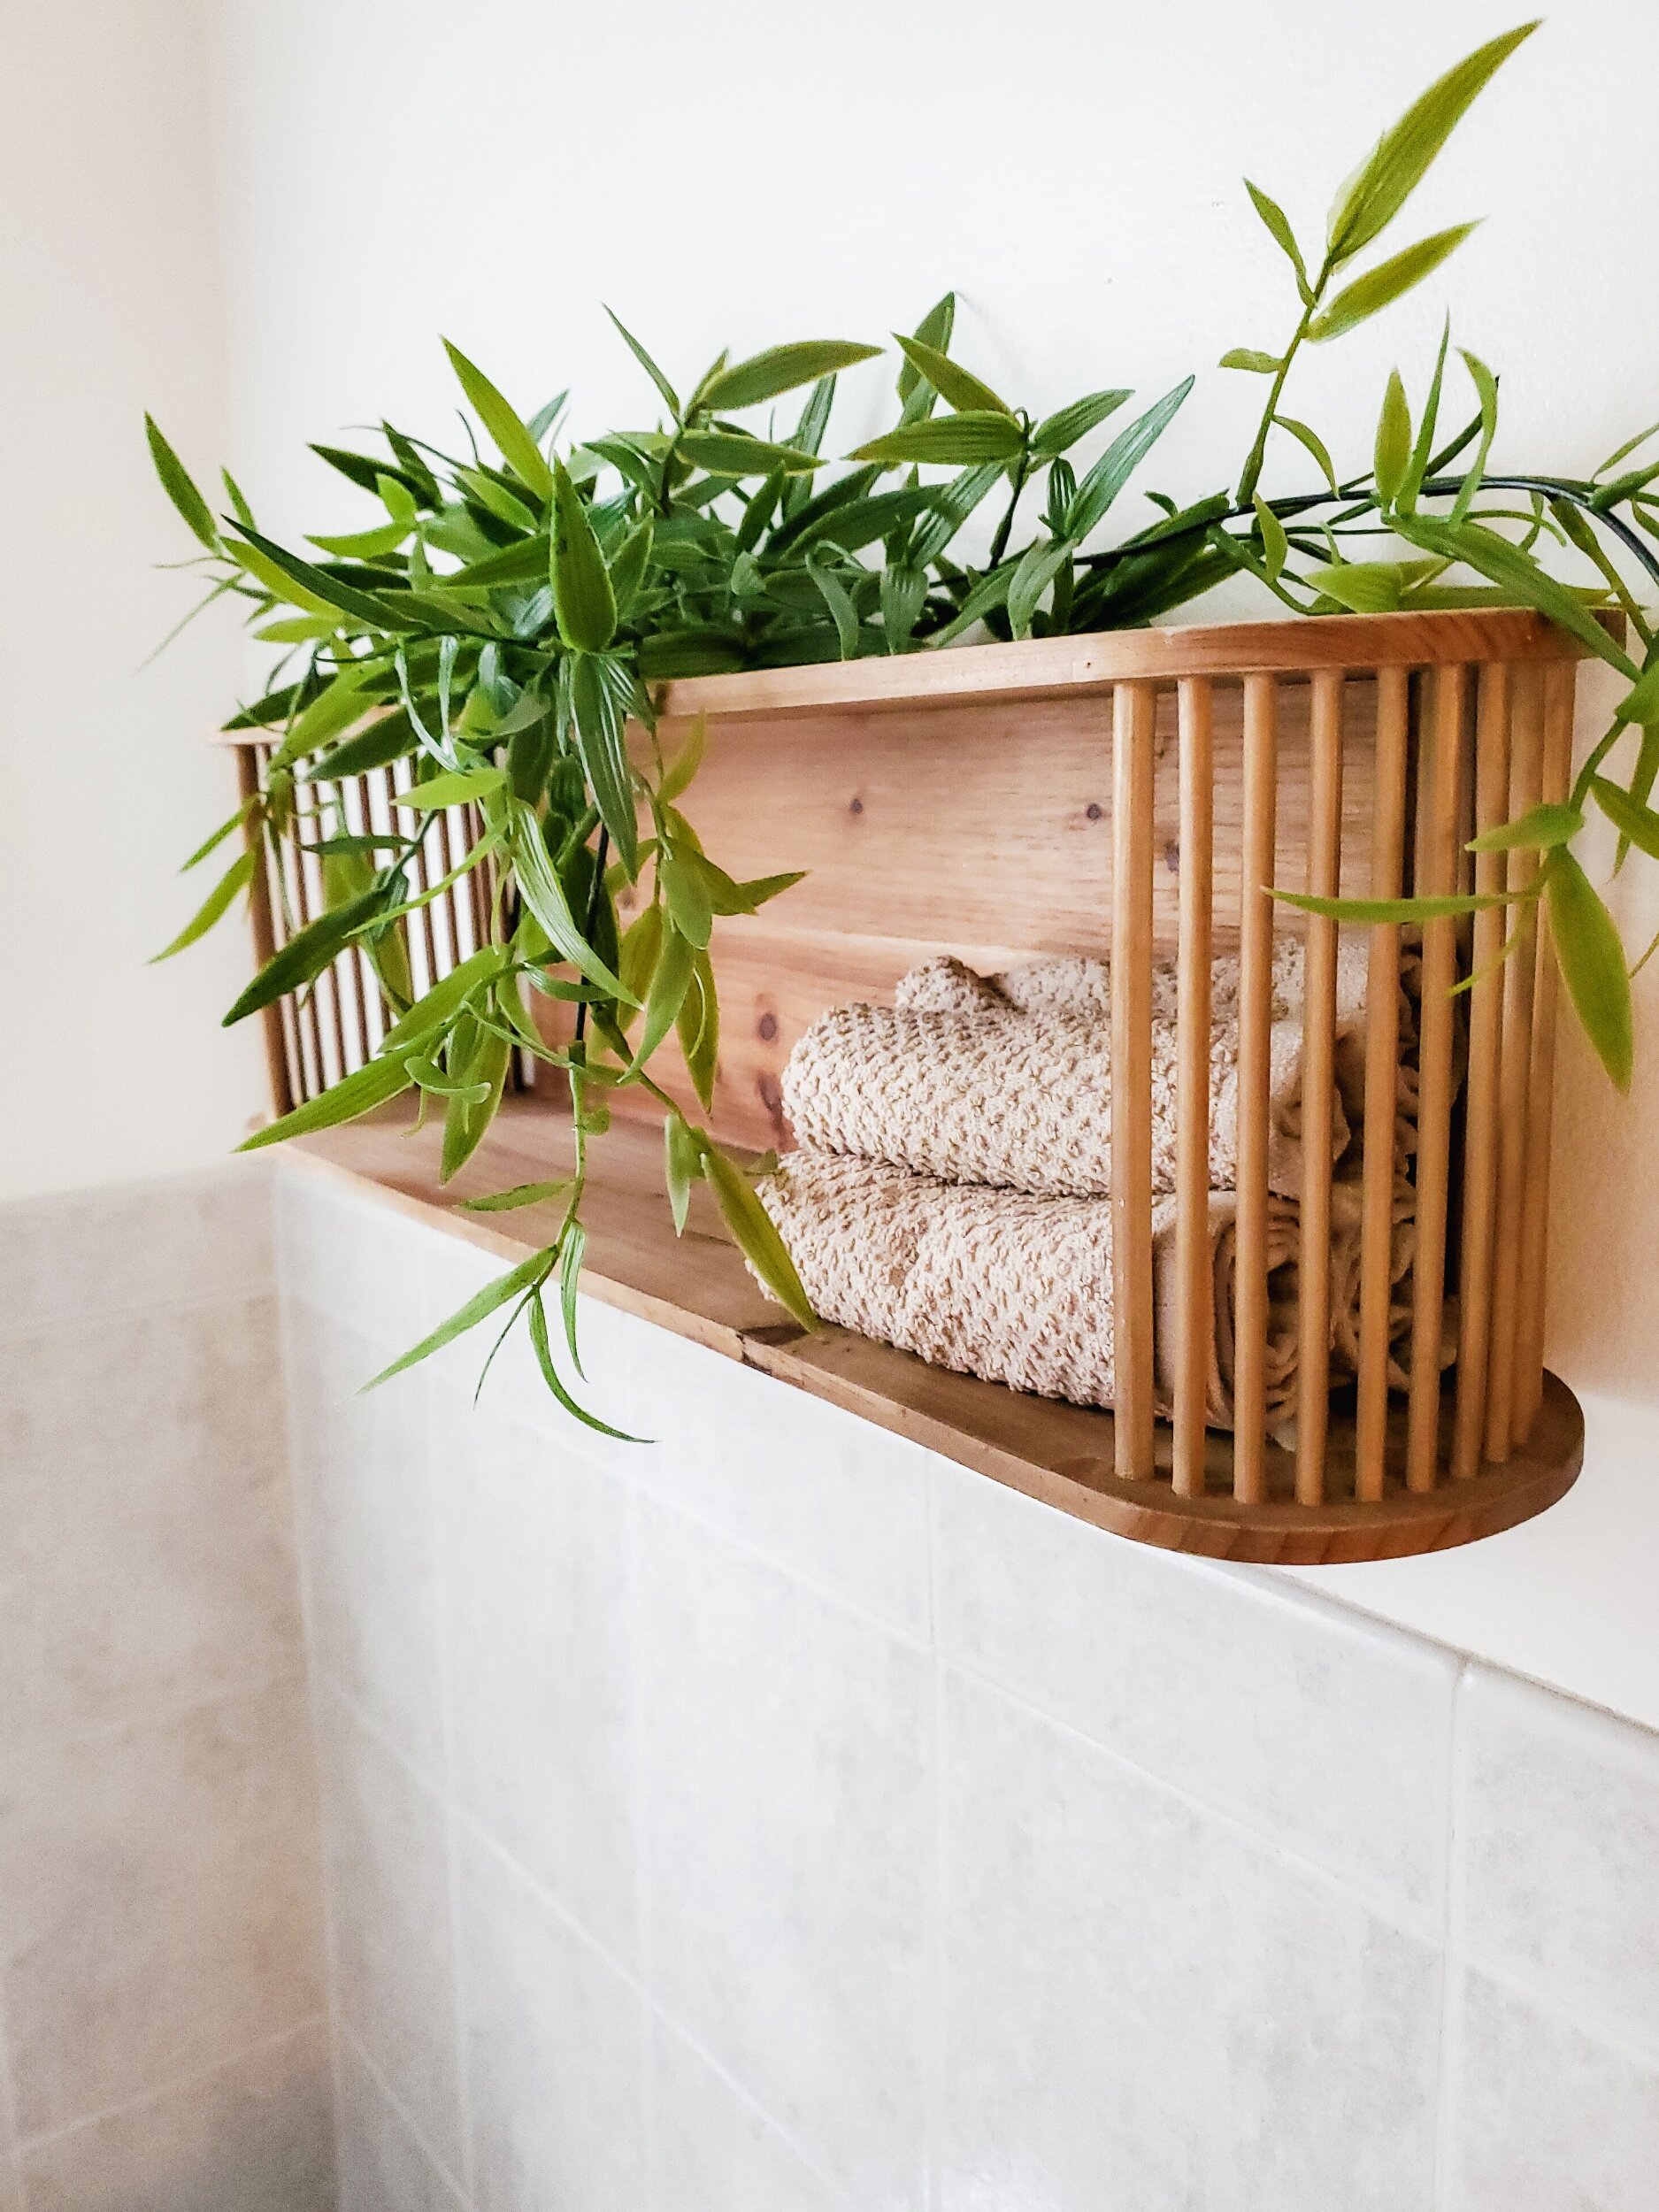
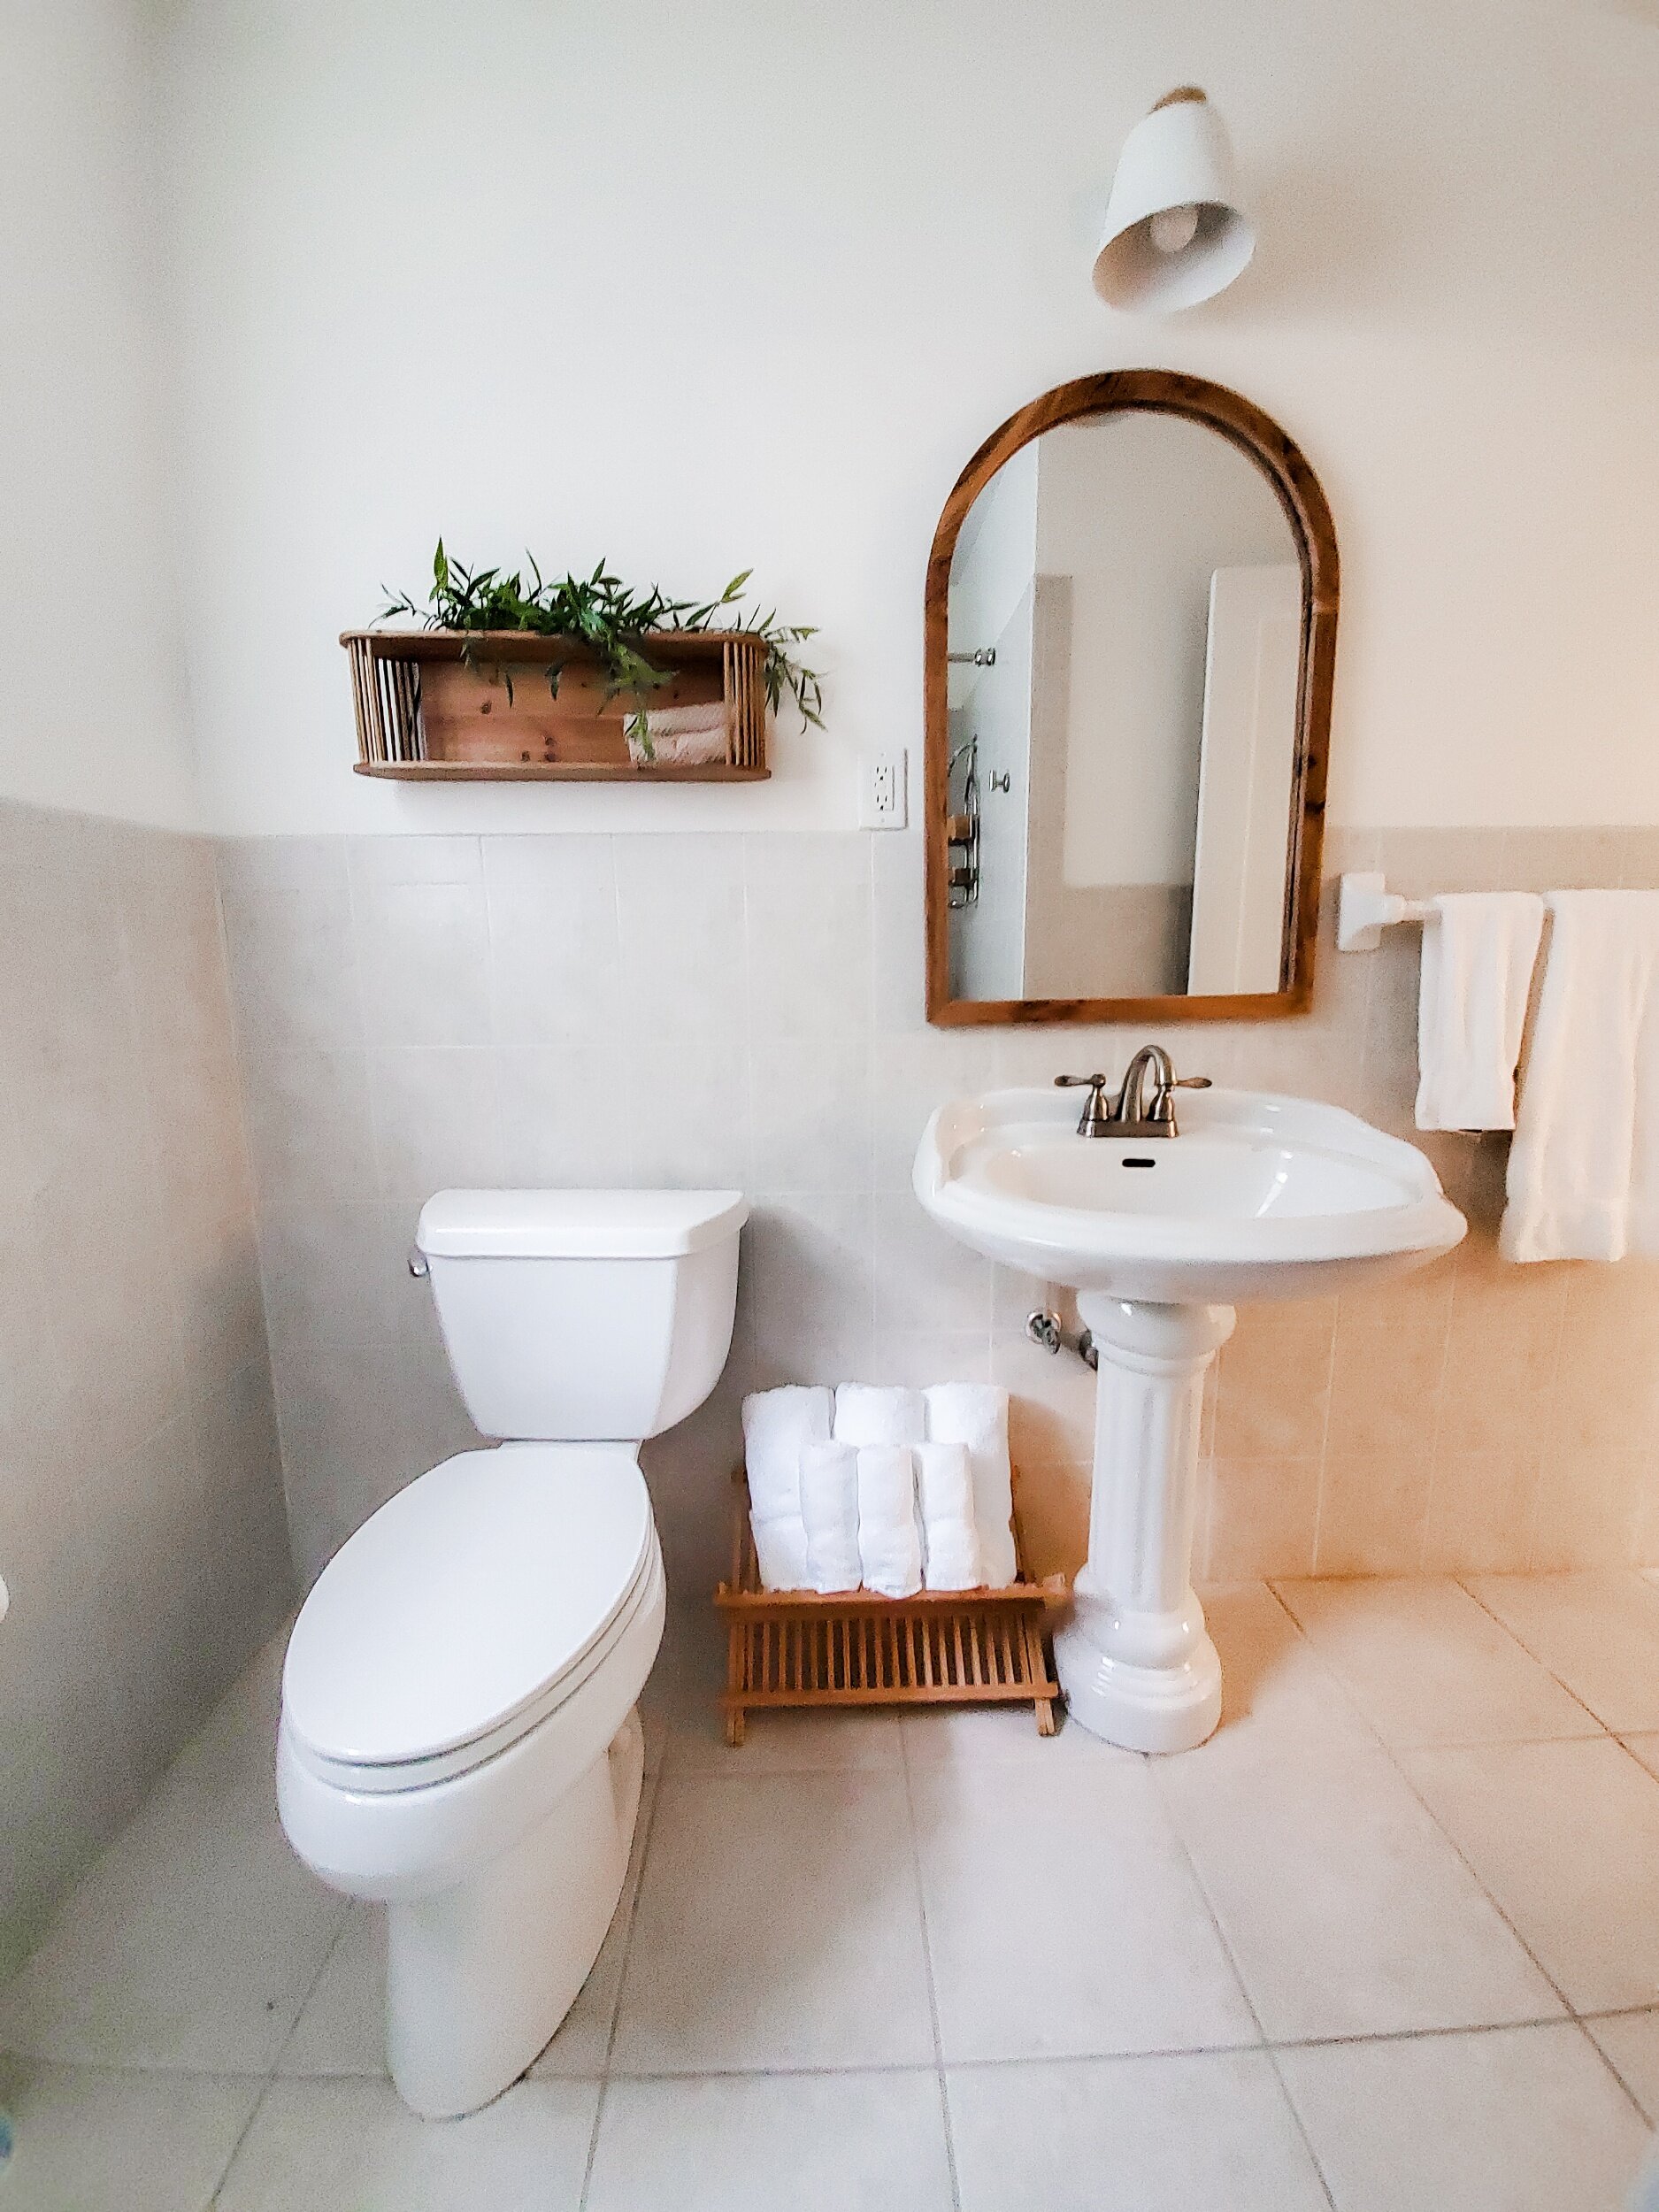
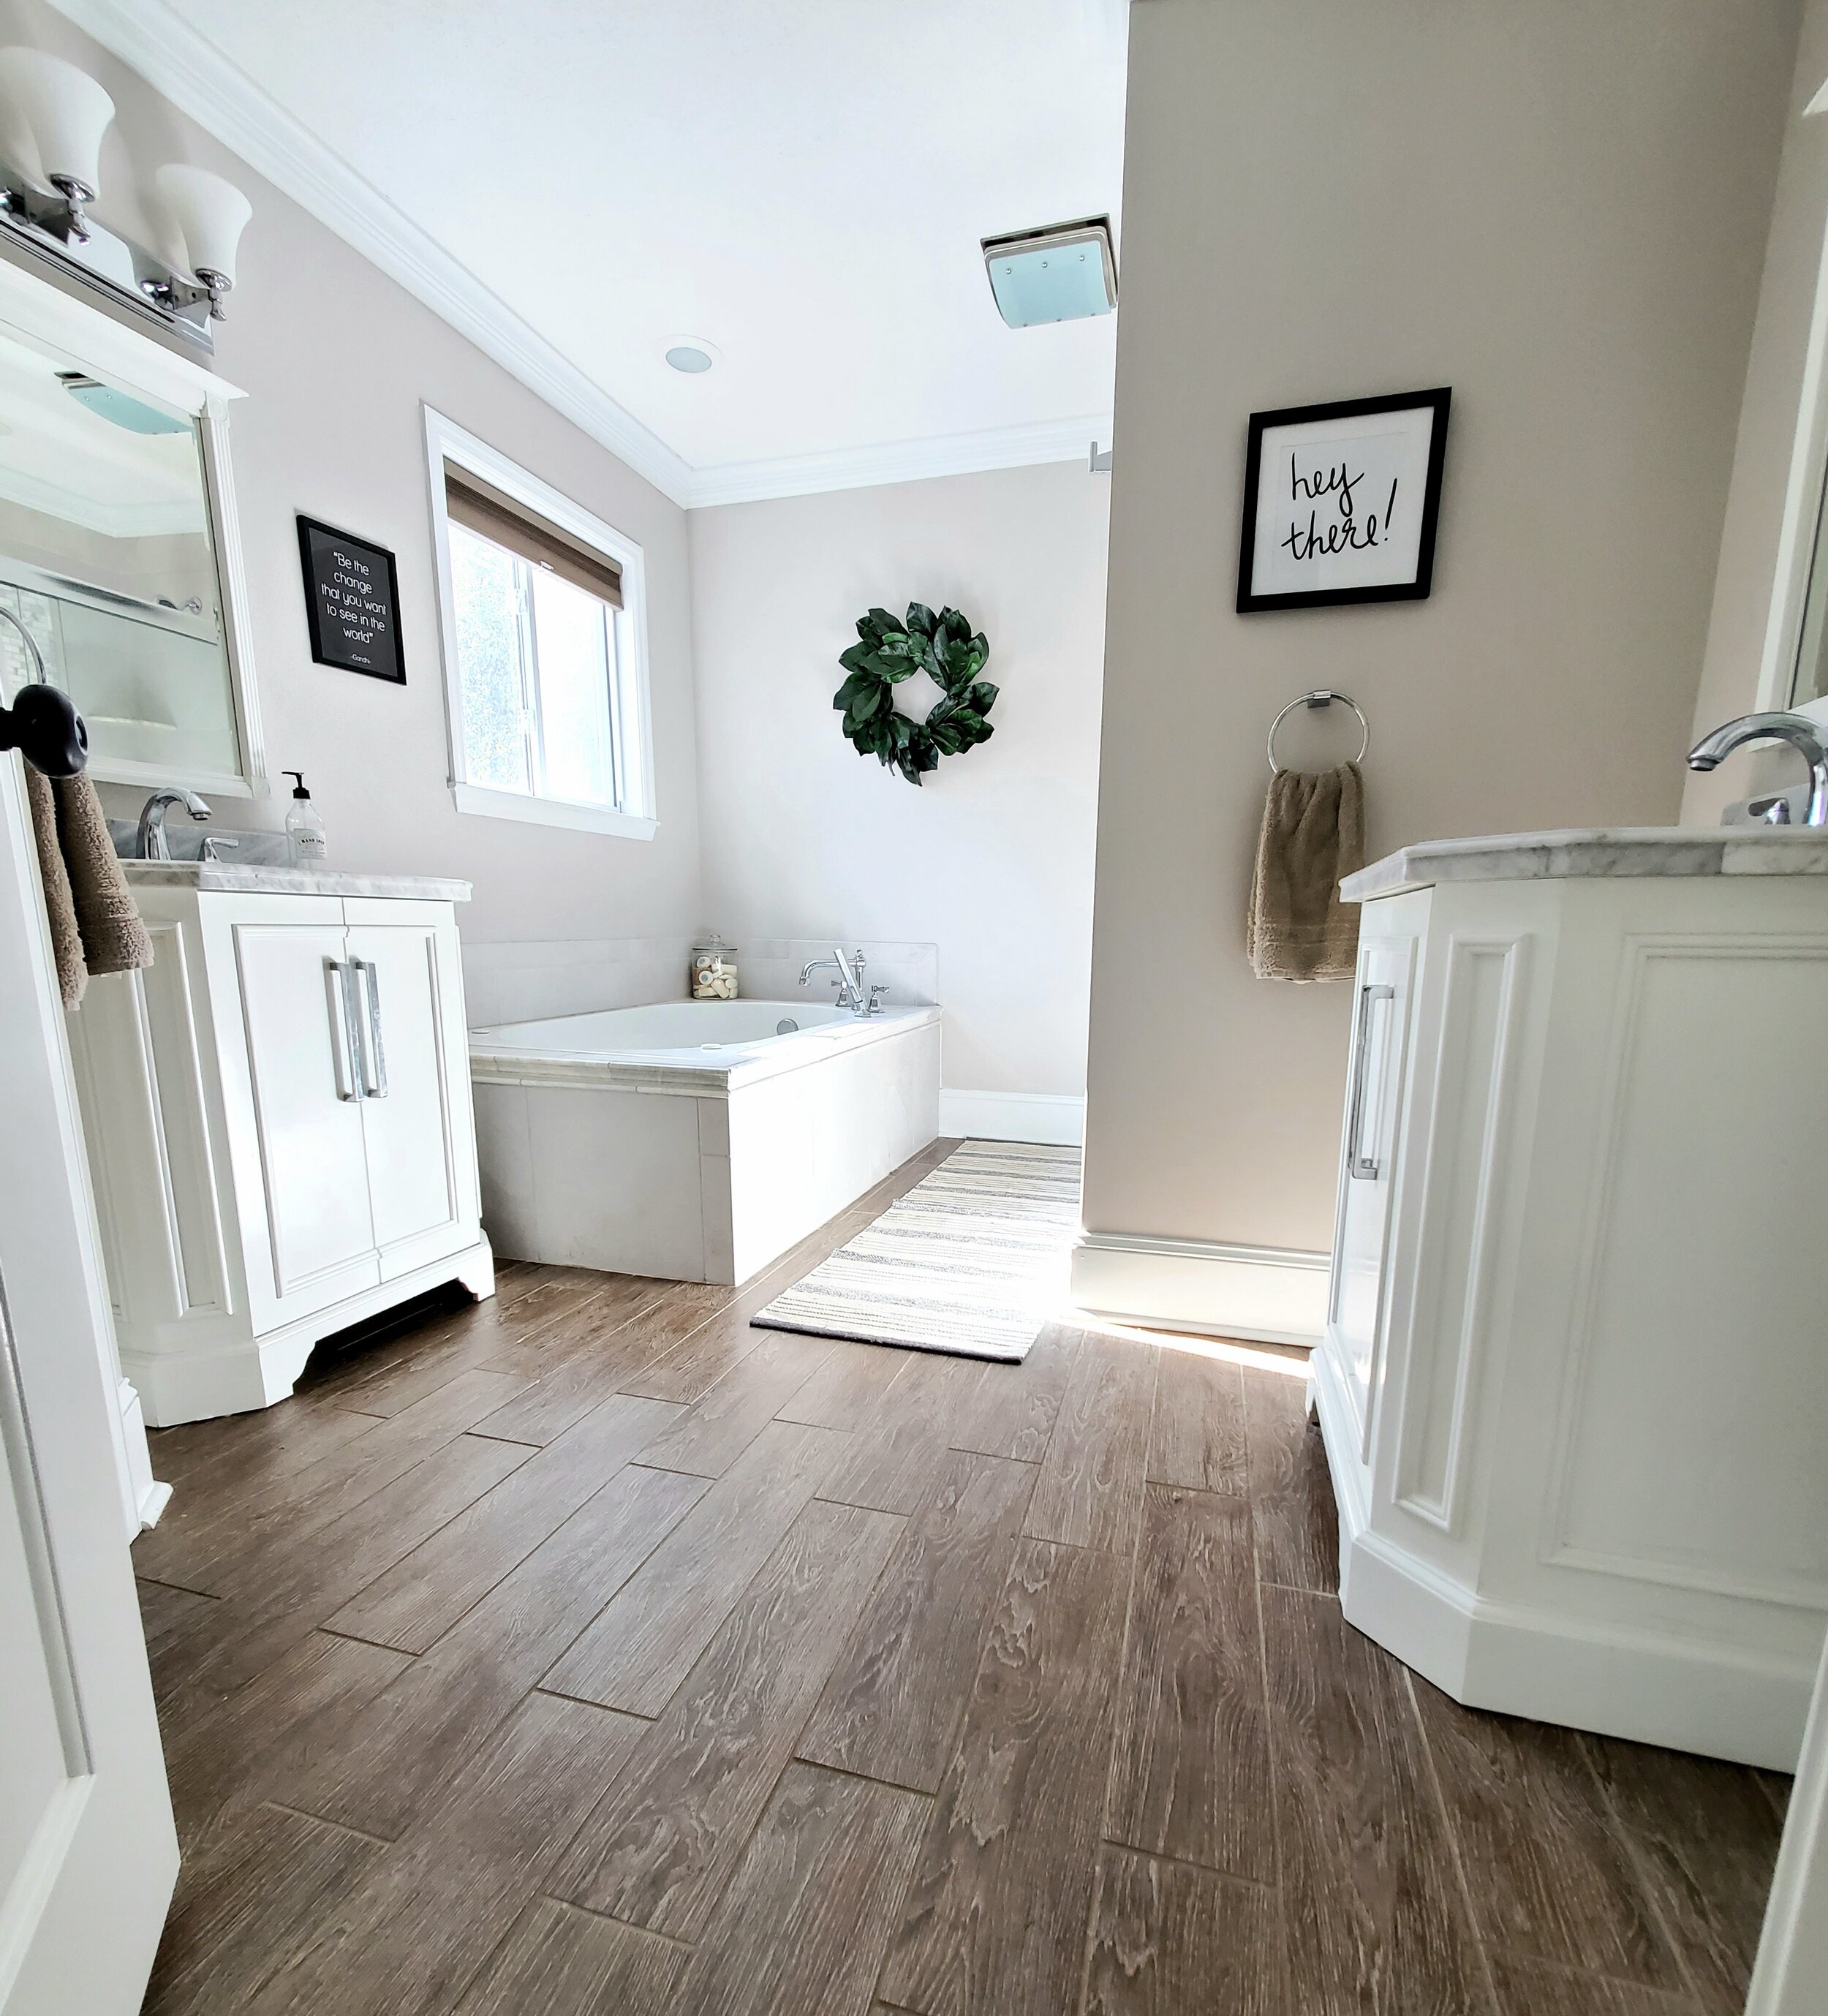
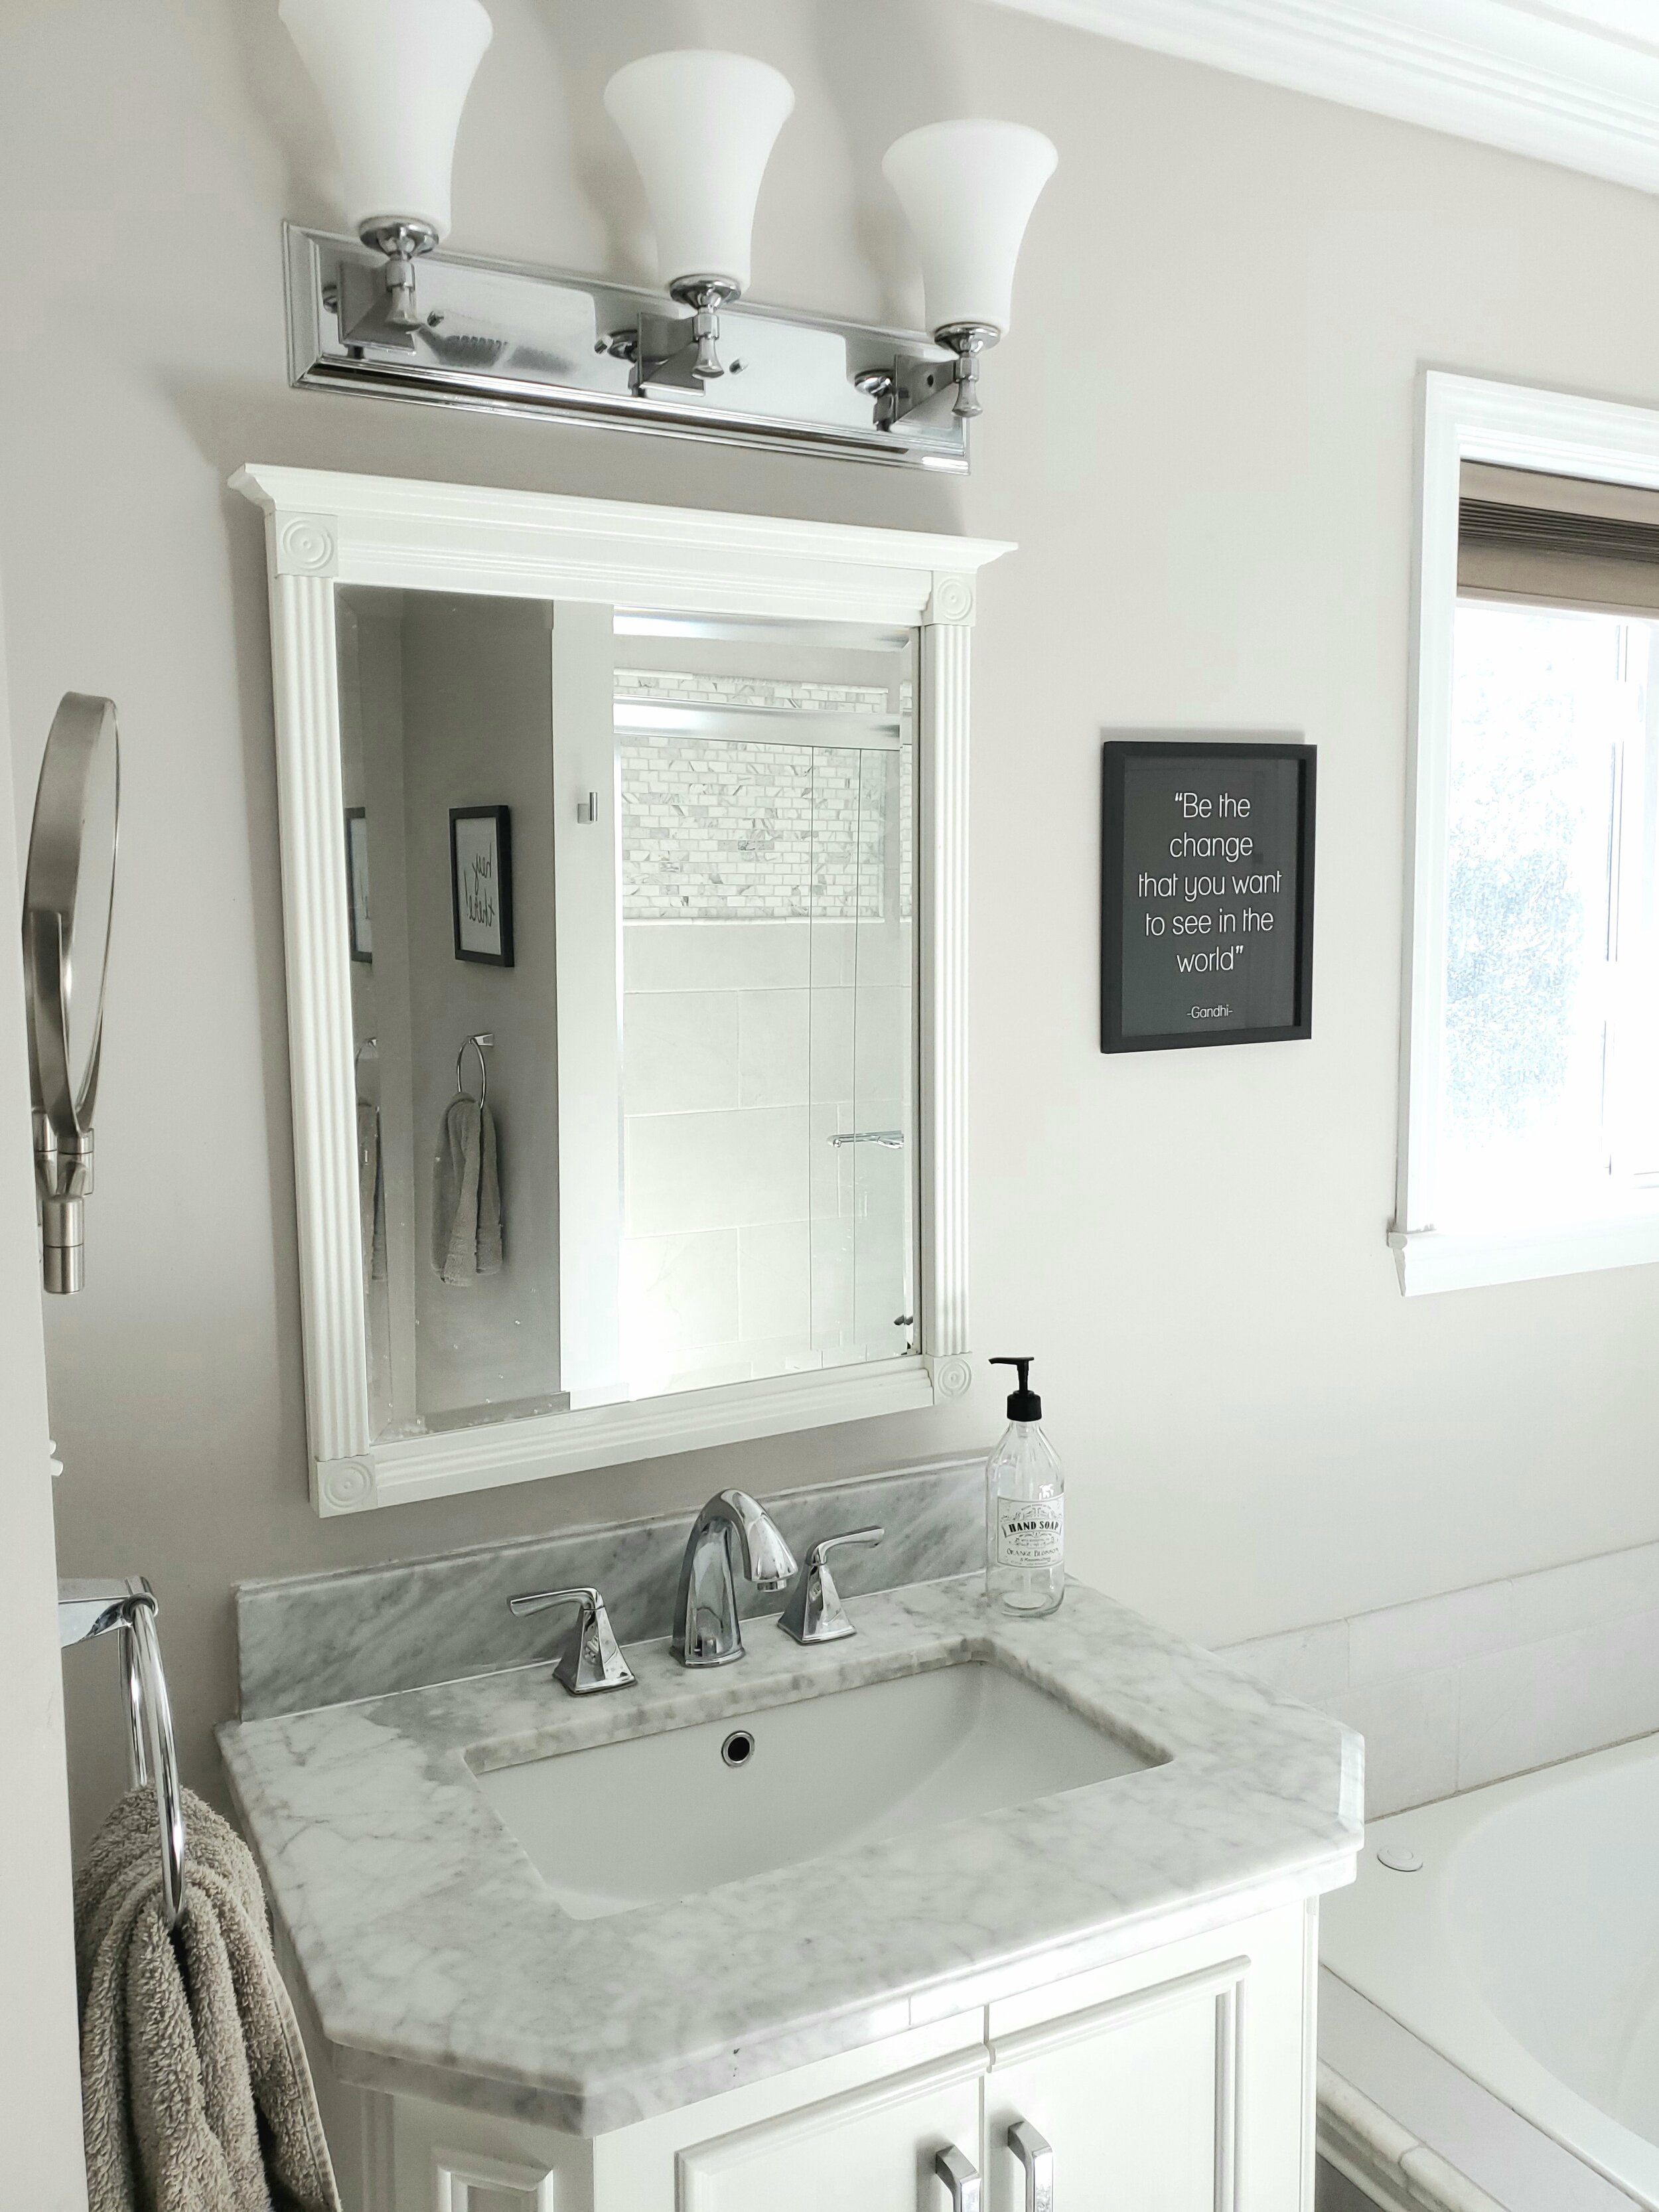
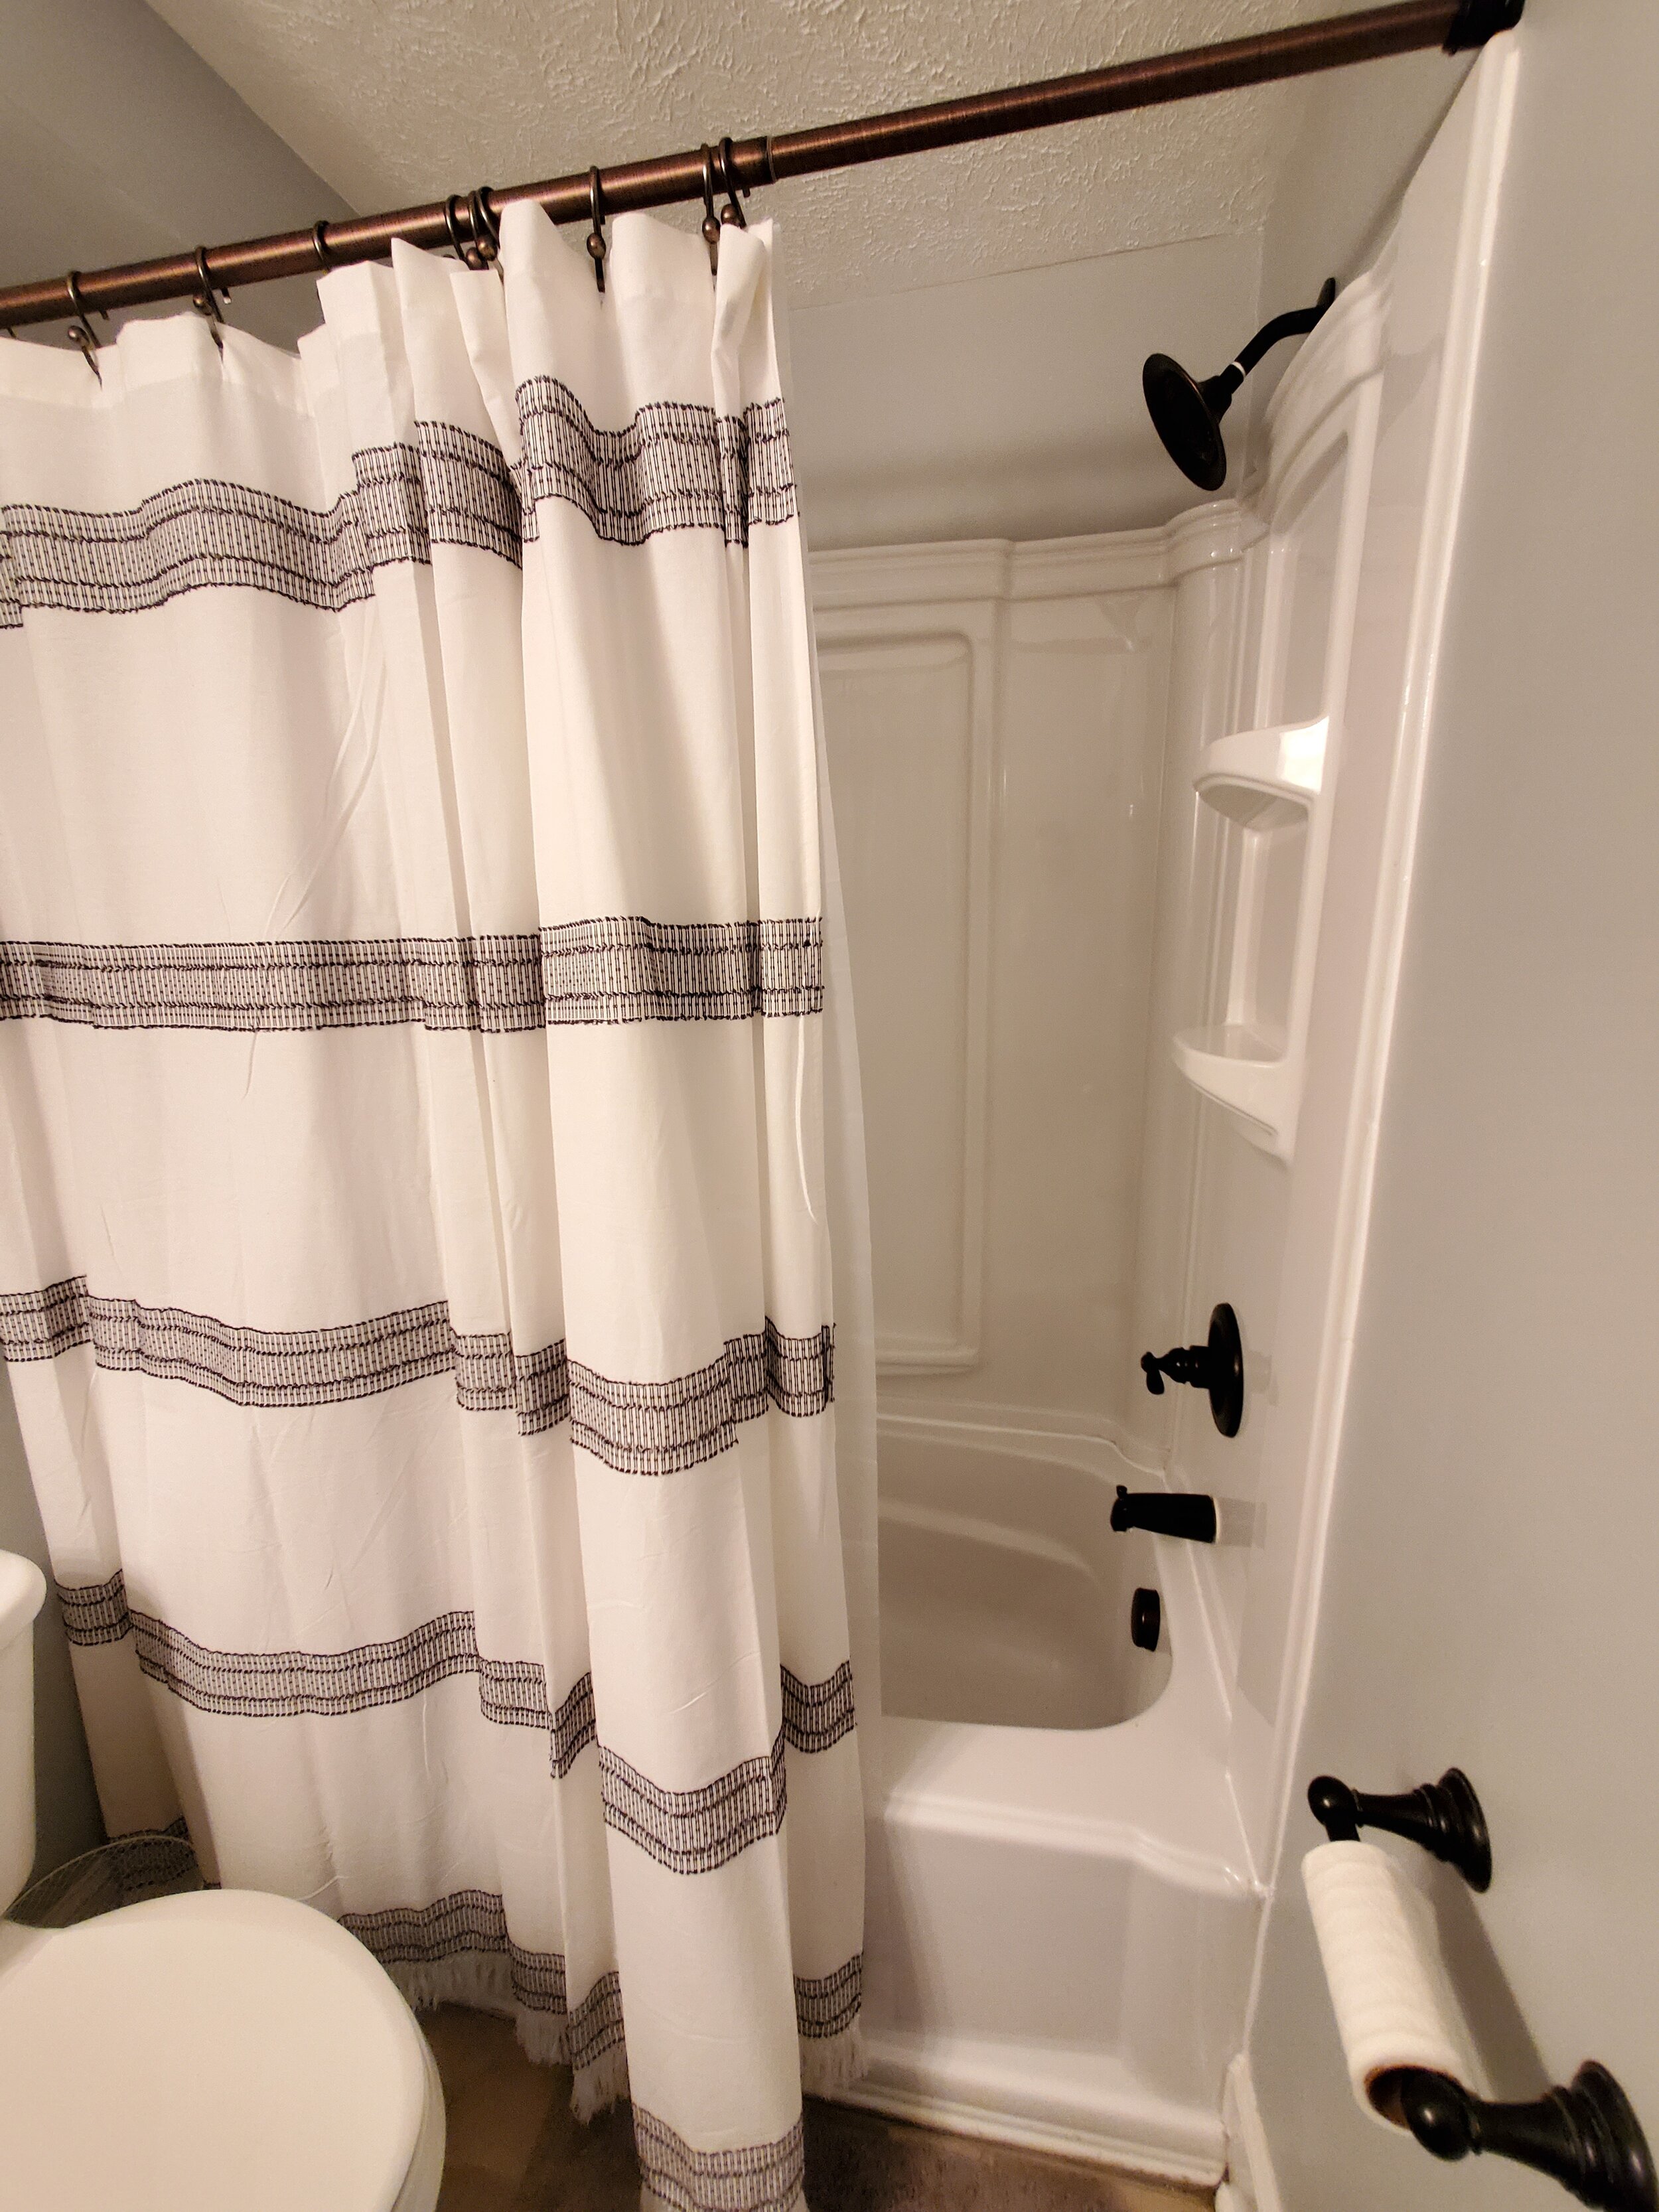
Hang art in bathrooms. The use of framed photos of plants, trees, or flowers in bathrooms gives these spaces a spa-like feel and enhances how each room photographs. When coupled with a few white towels and spa counter accessories, art can transform even the most outdated bathroom spaces. -Knoxville Staging Services
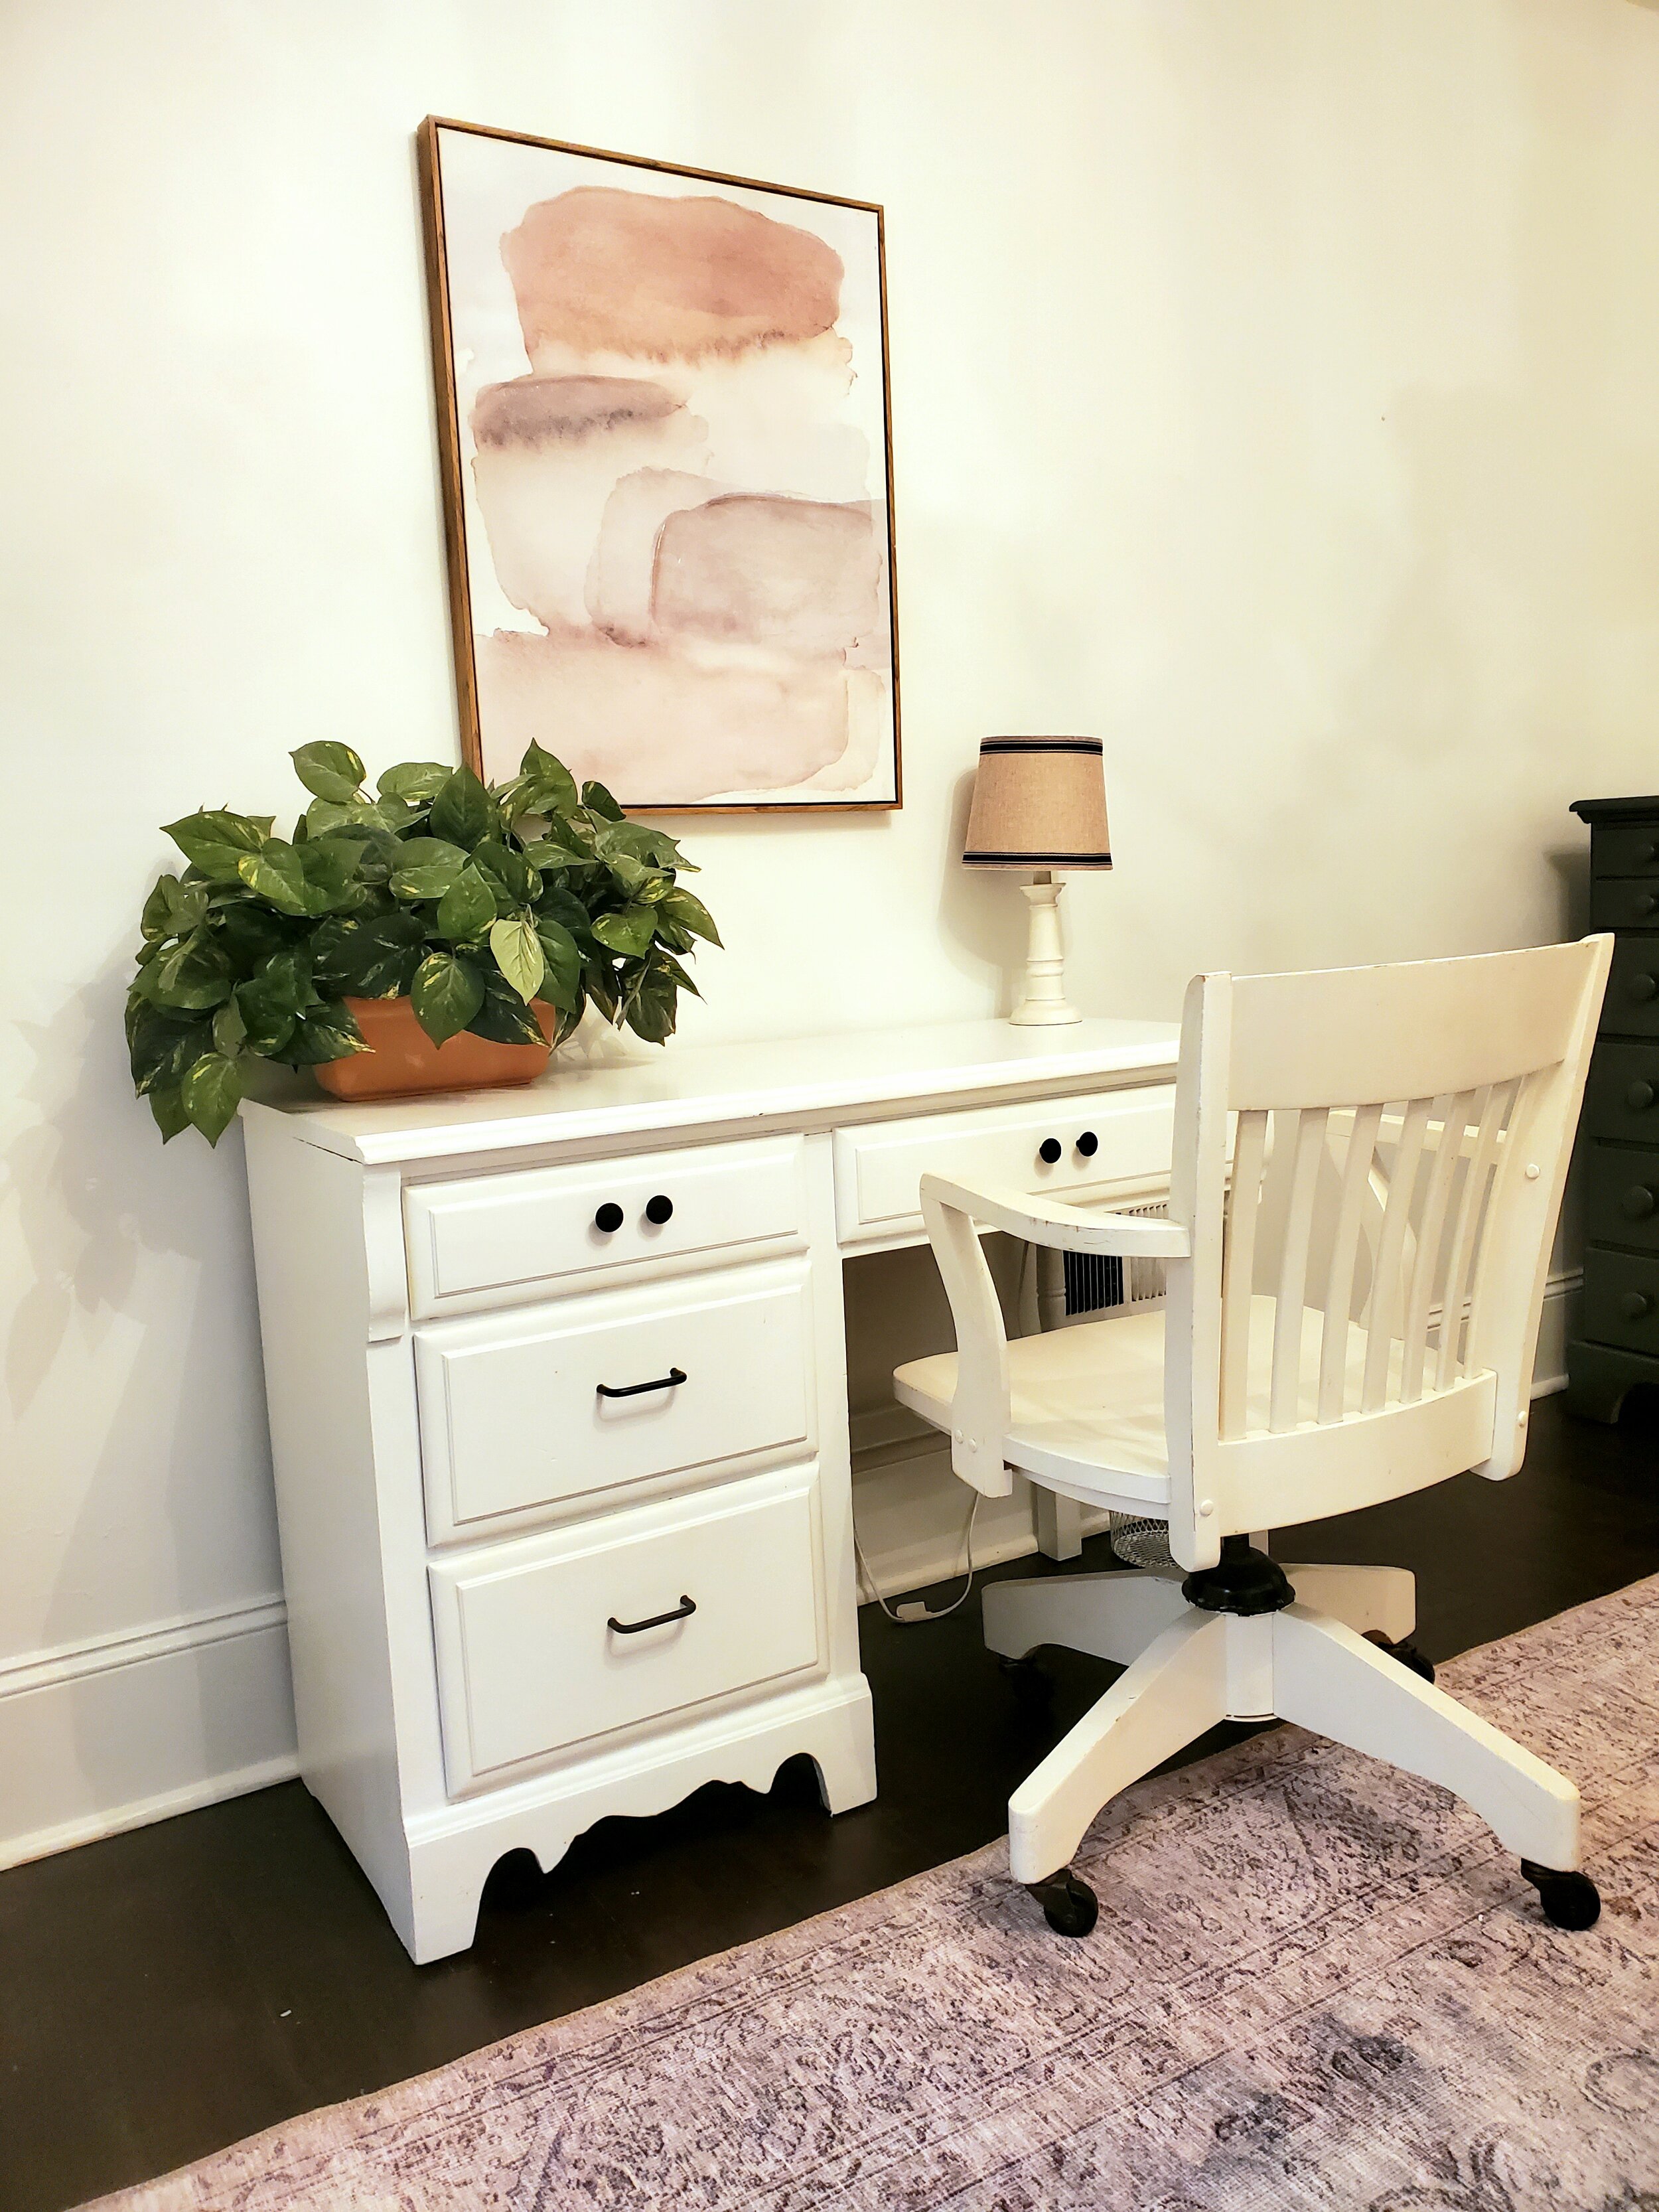
Art is the bow on the 'package' in room décor. It should be the first thing to catch your eye and draw you in to see what's inside. Abstract pieces that feature strokes of color on light canvases are always a good choice, especially if the frame is in a metallic finish that complements the light fixtures in a room. They catch the eye and draw people in, but they don't outshine the room itself, which is, after all, what good staging is all about. -Staging That Sells
Keep scale in mind when choosing artwork for staging
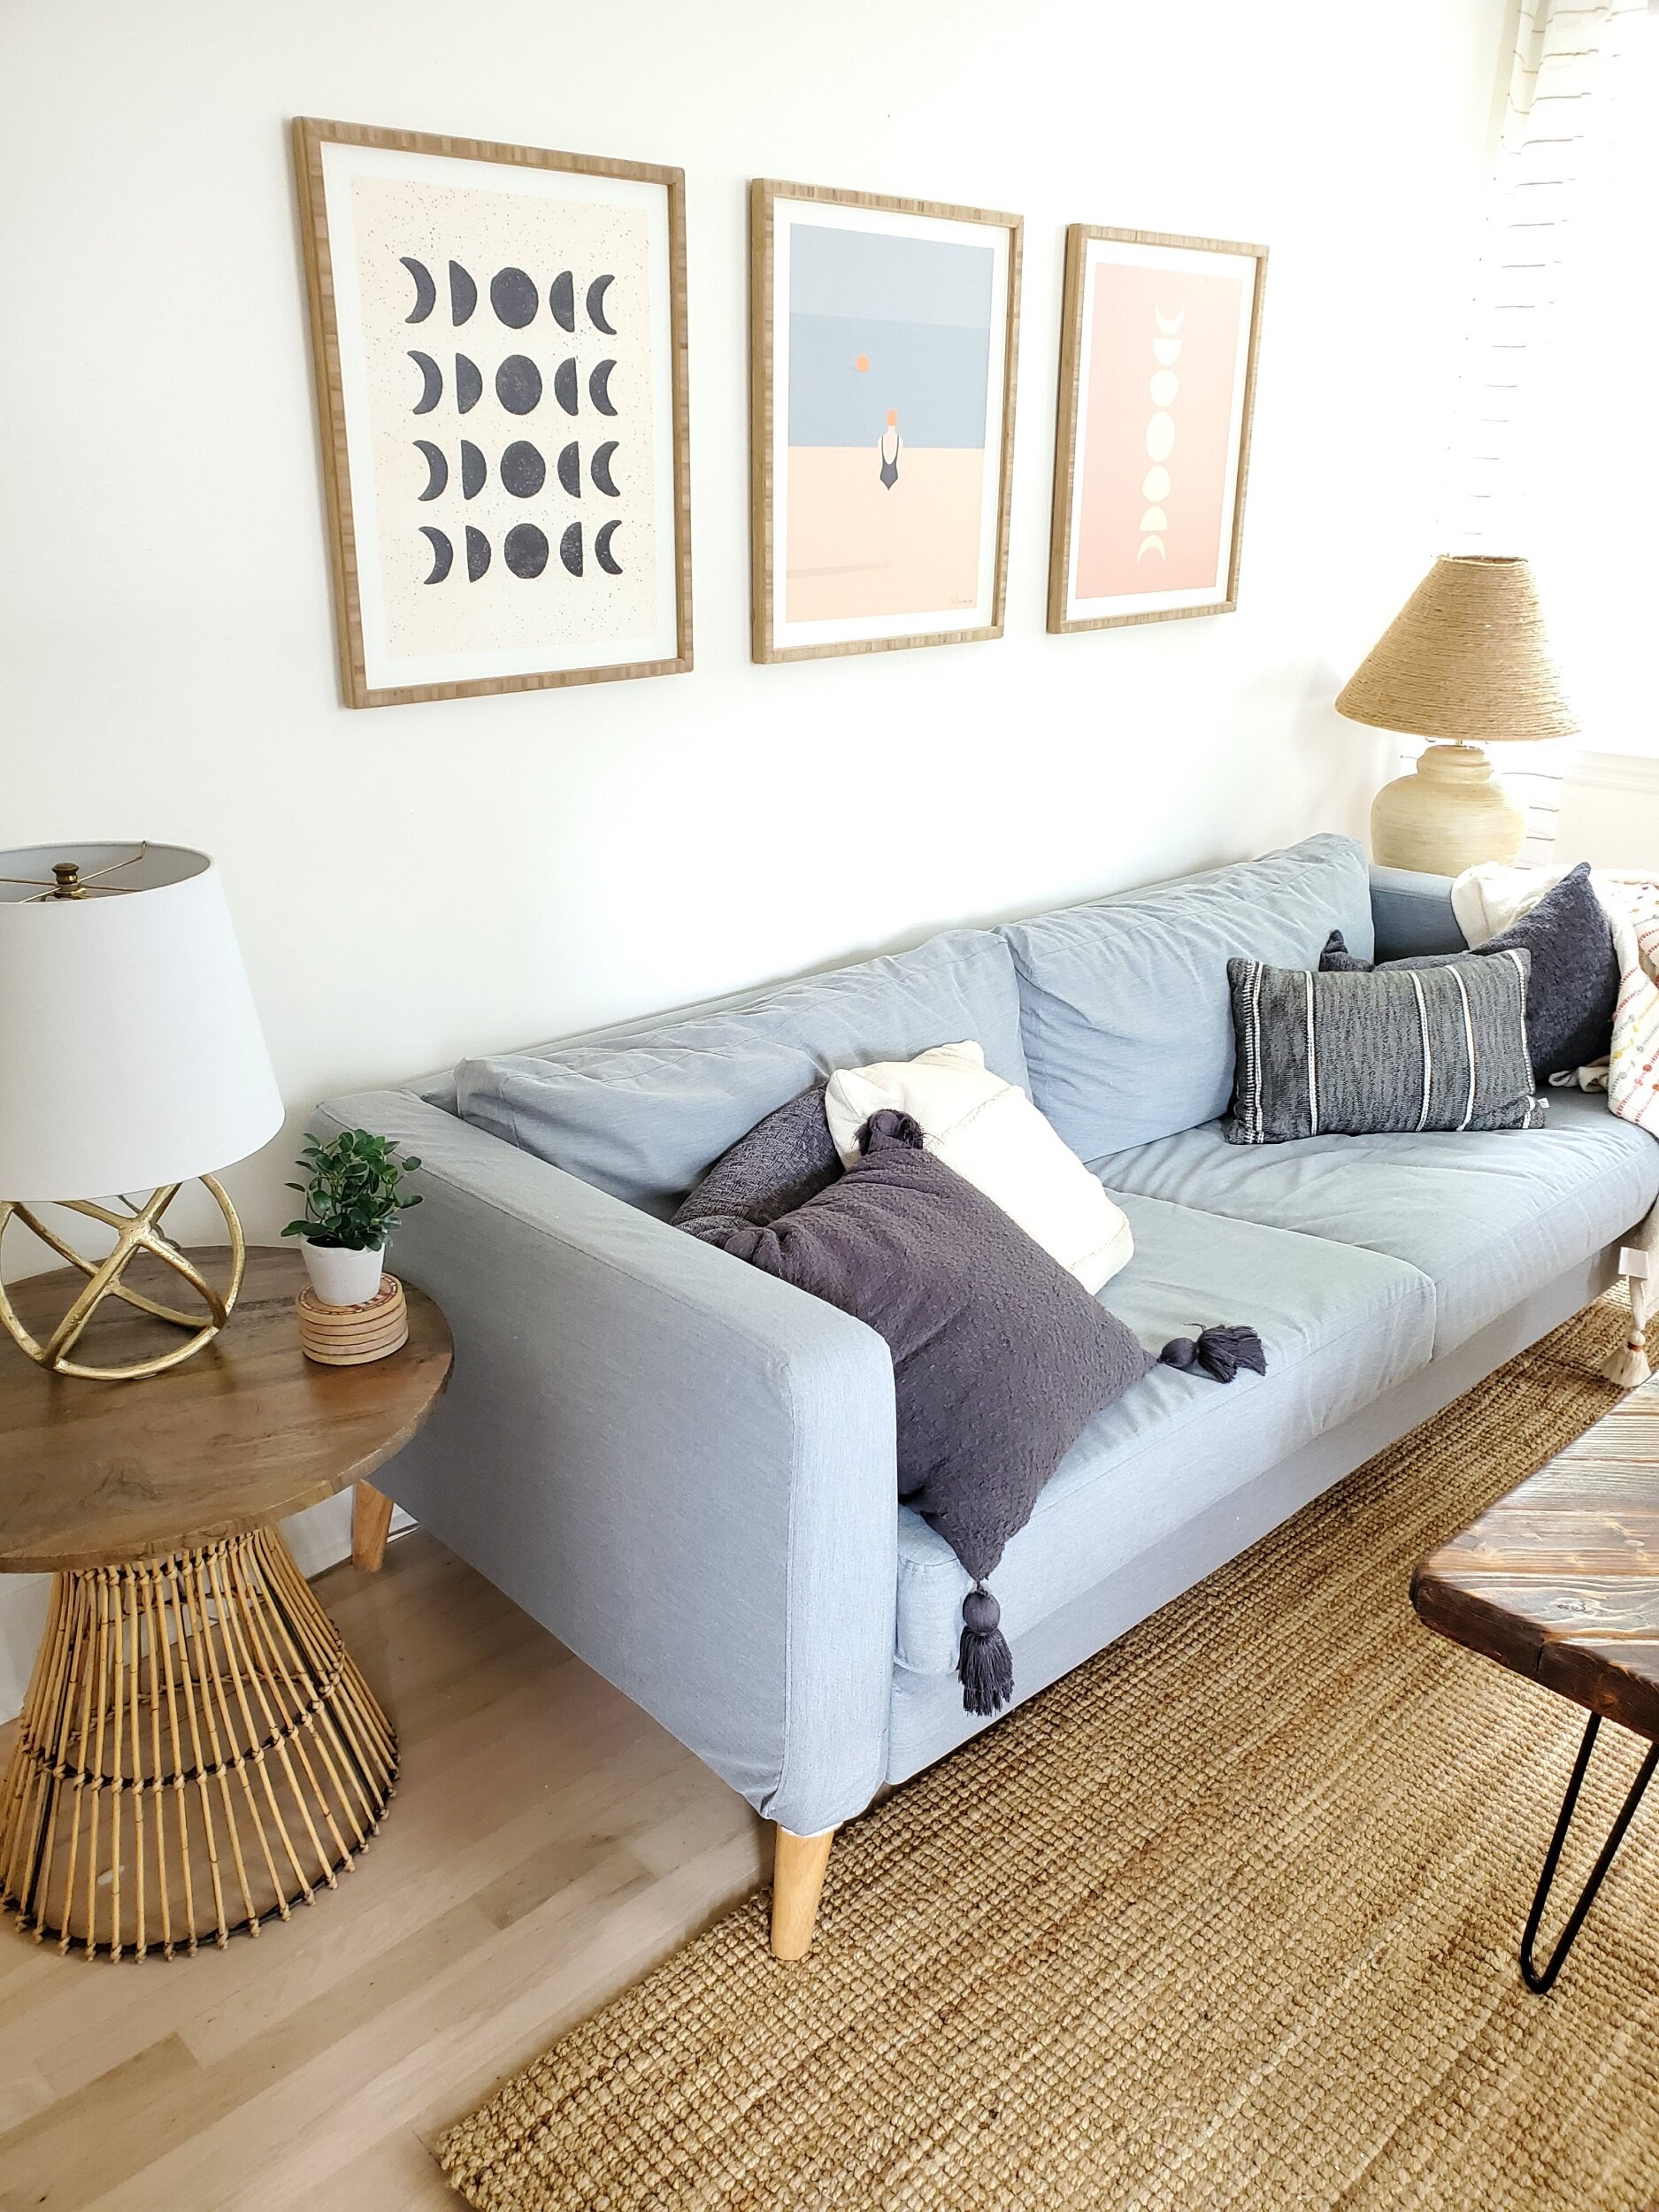
Choose large canvas wall art in the colors and style of the house. Wall art on each wall can make your home appear cluttered. Instead, large canvas pieces are easy to hang and will draw the eye to the home's focal points. If you have a large gorgeous fireplace, a large bright piece of canvas art will highlight this feature. Only hang wall art in spaces that are focal points for the listing photos to direct a buyer's eye. If you have one or two smaller plaques or pieces of wall art in a large area, it will look out of proportion, so make sure it's all in scale to the size of the room, the ceiling height, and the size of the furniture. -Dramatix Decor
Choose artwork that is “show-worthy” and offers the drama necessary to create a cohesive space. Keep in mind that the larger the scale, the fewer pieces are needed (and fewer holes in your walls when staging). Your artwork choices are also the foundation for selecting the accent colors to use in a home. Colors should flow gracefully from one space to the next. -Impact Home Staging
If you have a large empty wall, search for large artwork to anchor the space. You can then tie in the colors of the décor in the room to the artwork's colors, exhibiting a very uniform look. -2 West Photography
Along with selecting neutral art, be sure it's scaled and hung appropriately. We often come across artwork placed on walls in the wrong orientation, size, and or dimension. The center of the artwork should be 57 inches from the floor, 6-8 inches above a piece of furniture, and 3-6 inches apart when in a grouping. -Simplicity
Make sure your artwork choices are balanced
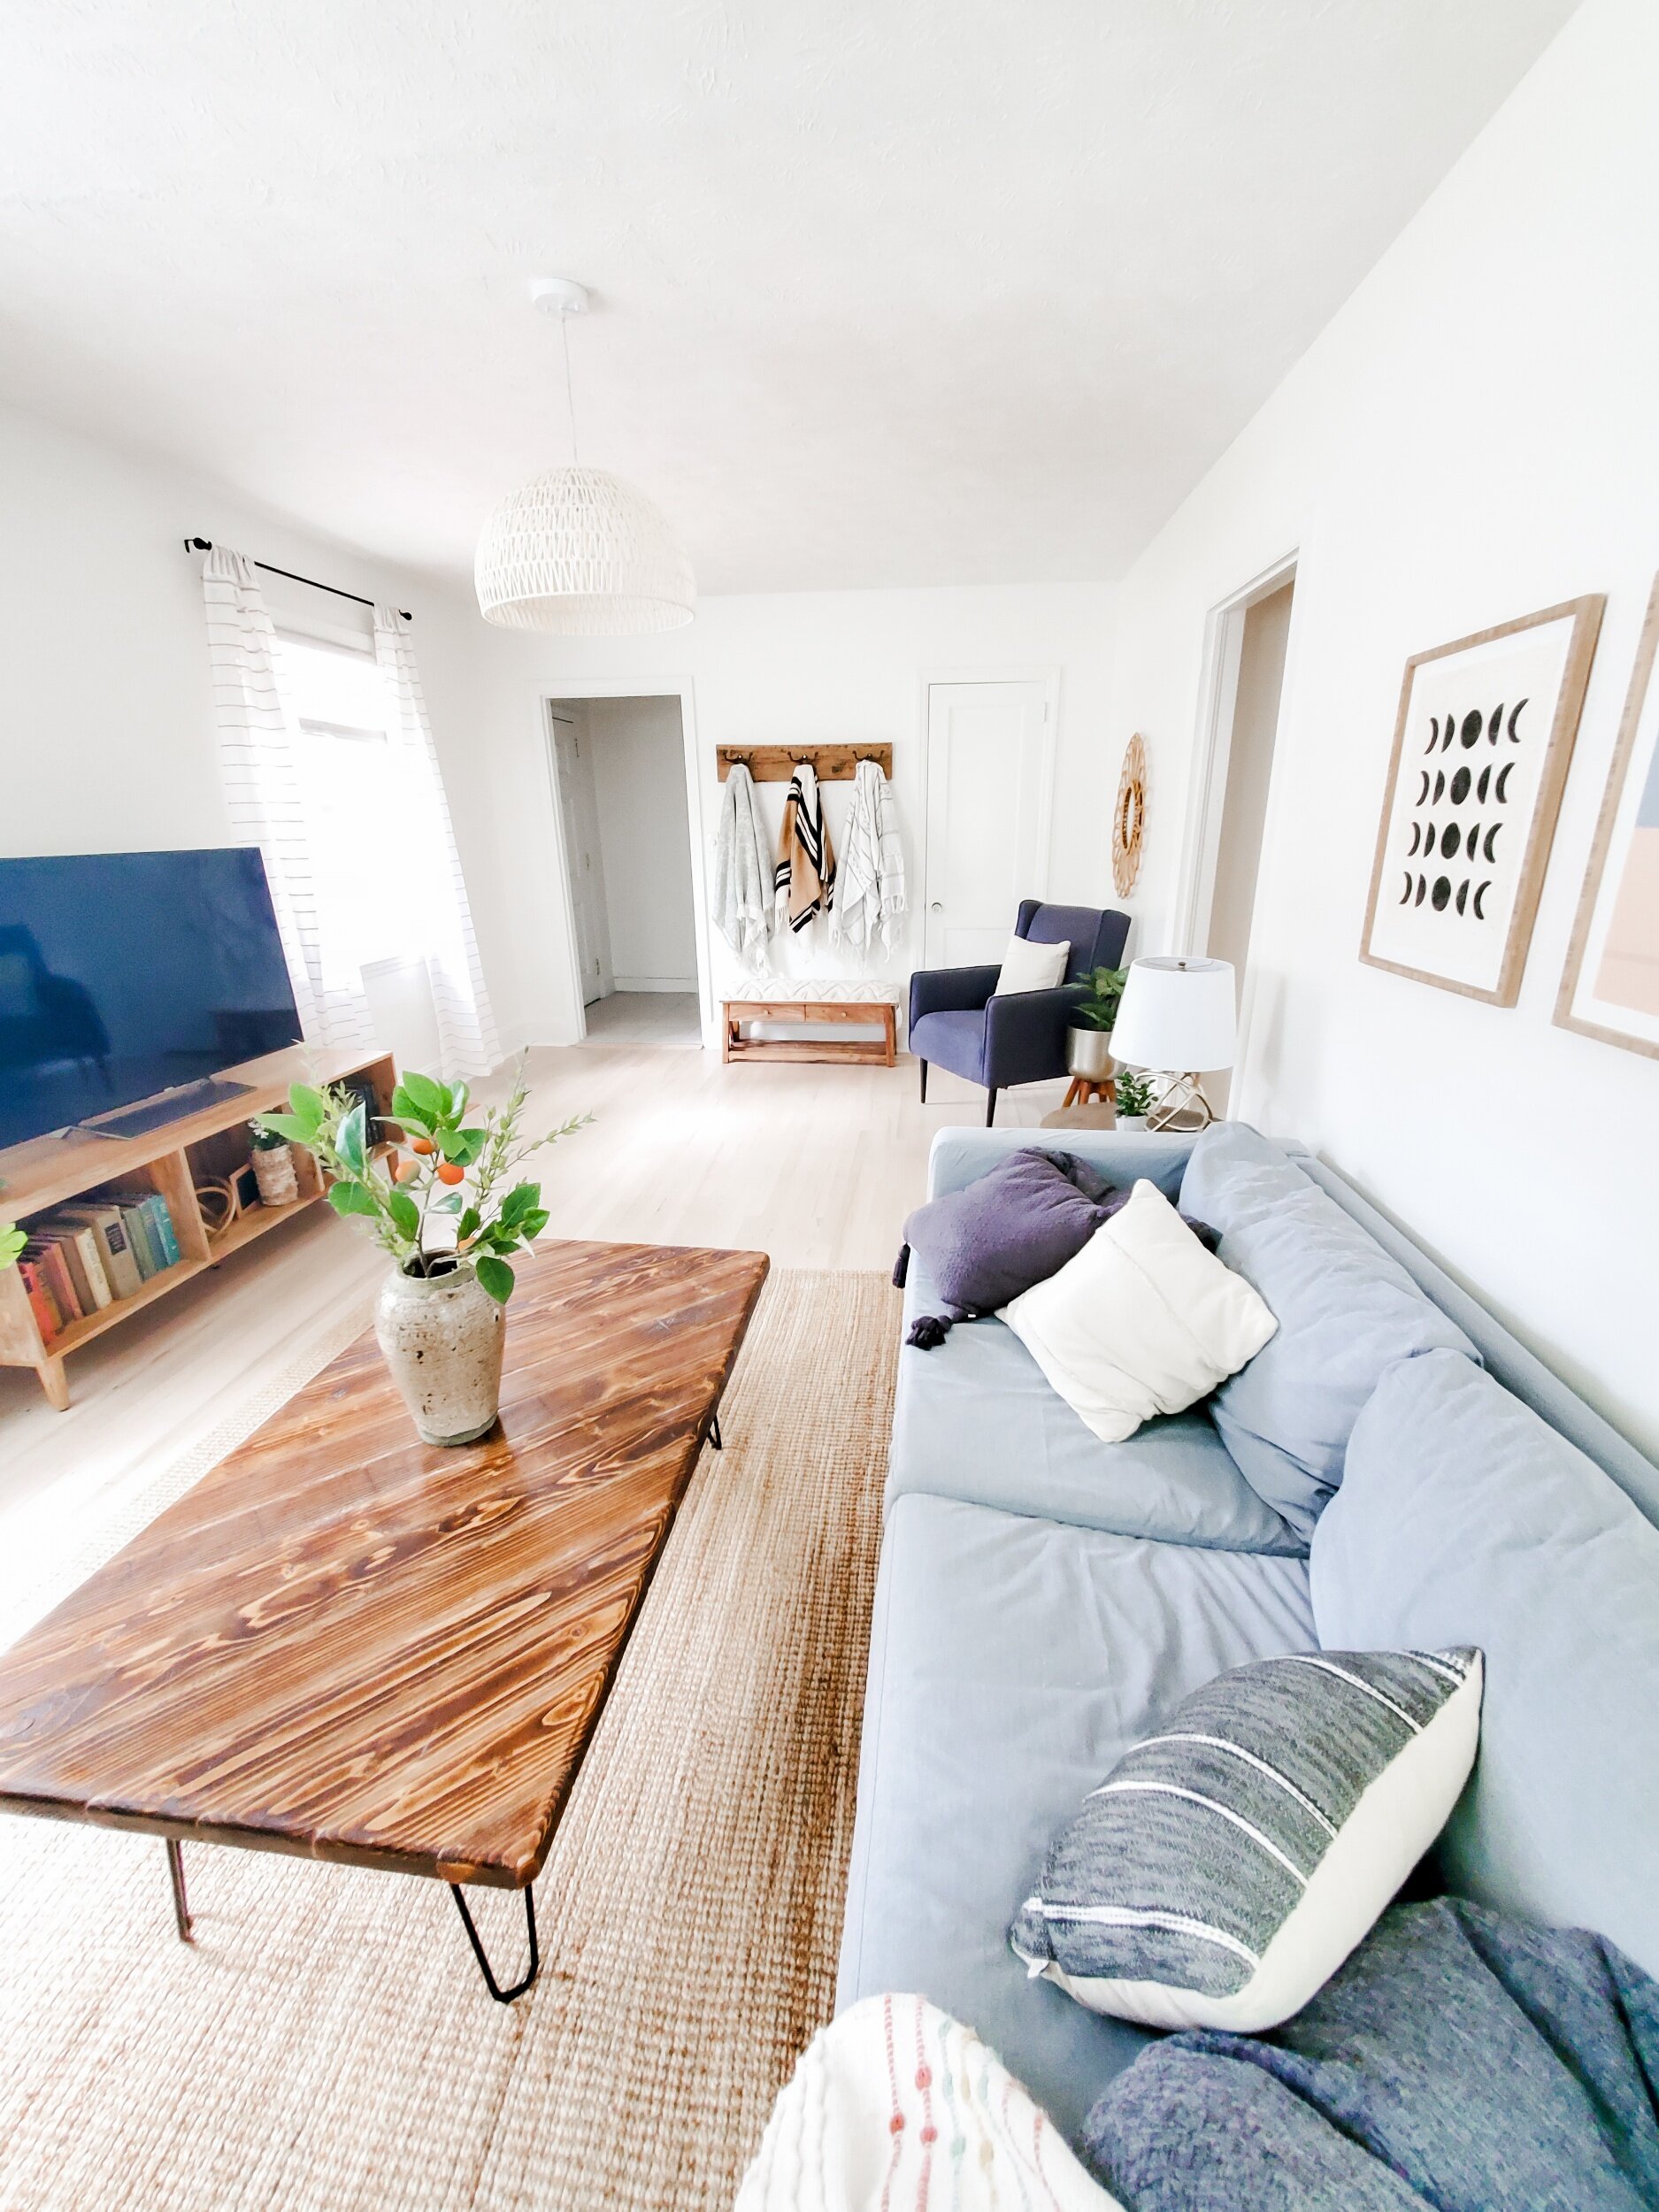
Think about how multiple art pieces are going to look when showing various rooms in a single photo. For example, consider how strategically placing a painting on the wall of one room, like a bedroom down a hall, might give depth to the living room in the foreground. Instead of showing a blank wall, that extra splash of color on the far wall could help to extend the perceived size of a space and make it more attractive to potential buyers. -The Best Local Real Estate Photographers
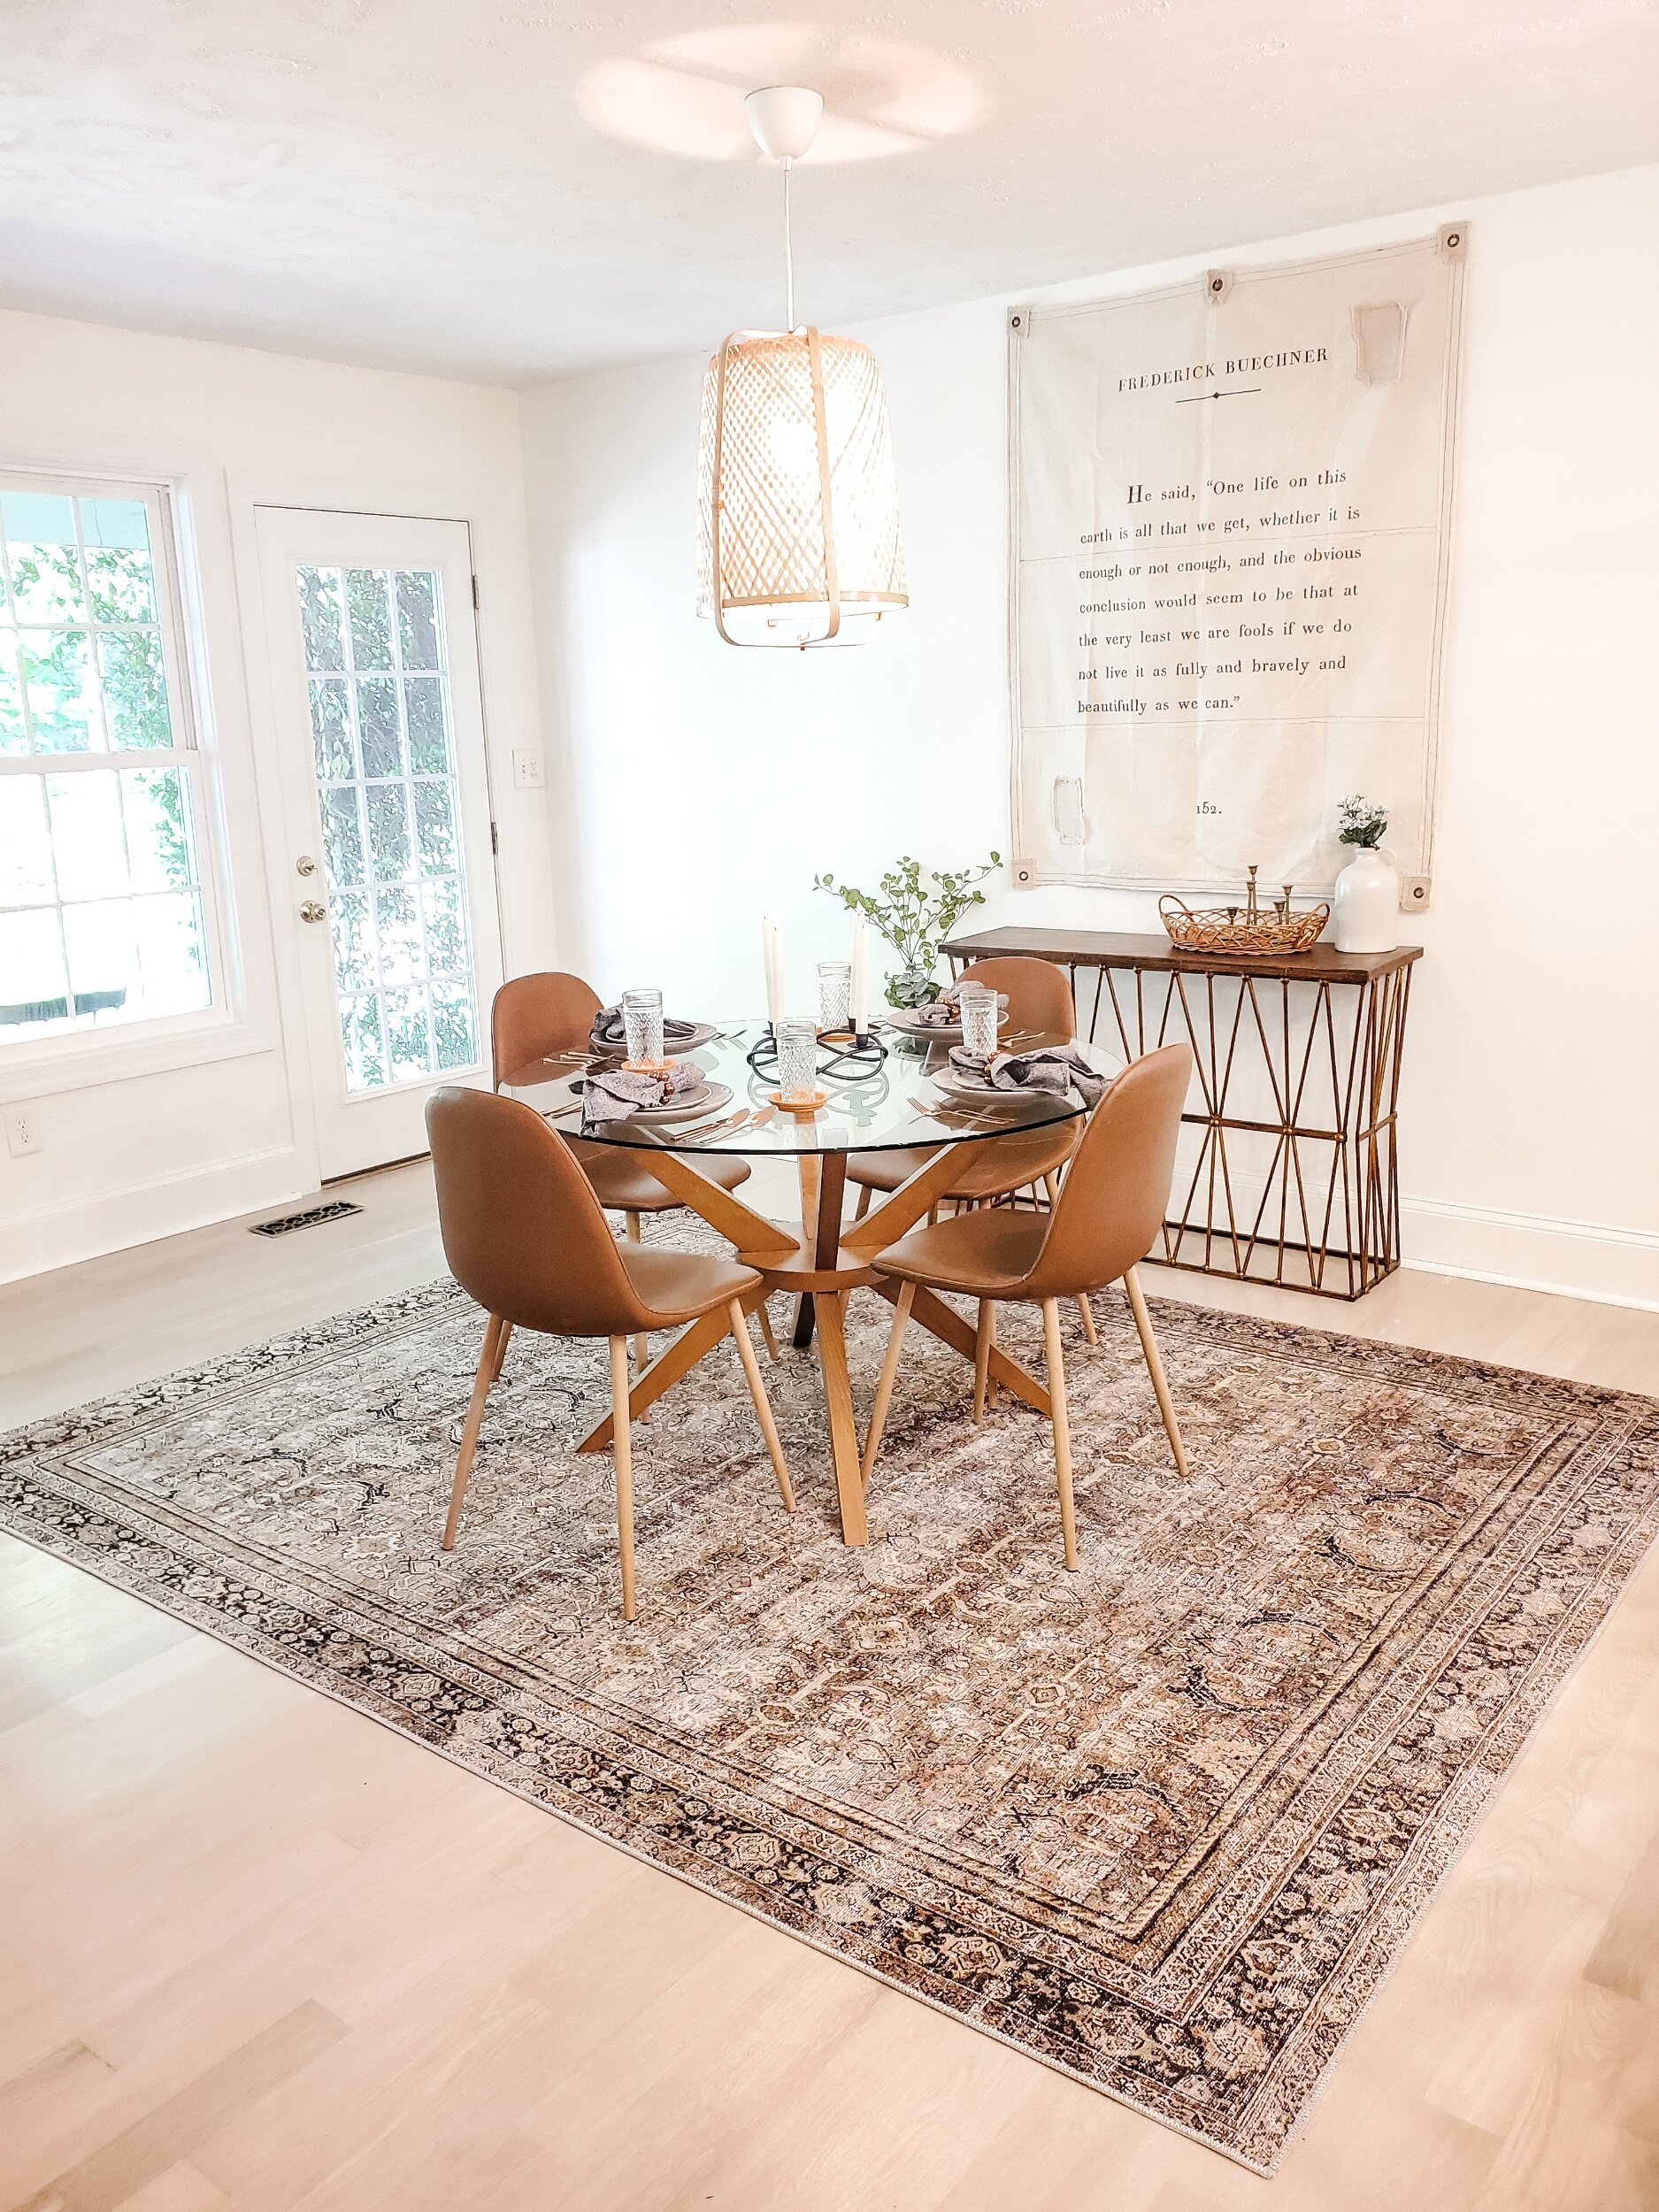
Choose art that is large and balancing for your space so that it’s eye-catching and attention-grabbing in photos. More often than not, a large statement piece of art will look more dramatic and enticing than multiple smaller pieces. Buyers love interesting photos with clean lines, and large statement art will help draw them in. -Haymount Homes
Artwork should be appropriately sized for the location. Wall art should take up 65% of the available wall space and be about 2/3 to 3/4 the width of the furniture. Your artwork choices should also have an impersonal, but coordinated, theme throughout the space. For example, sticking with abstracts in contemporary spaces, nature scenes in traditional spaces, and water or beach scenes in bathrooms. -Her Home Design
Originally published by Redfin


Now available!!
Our latest design project hits the market today!

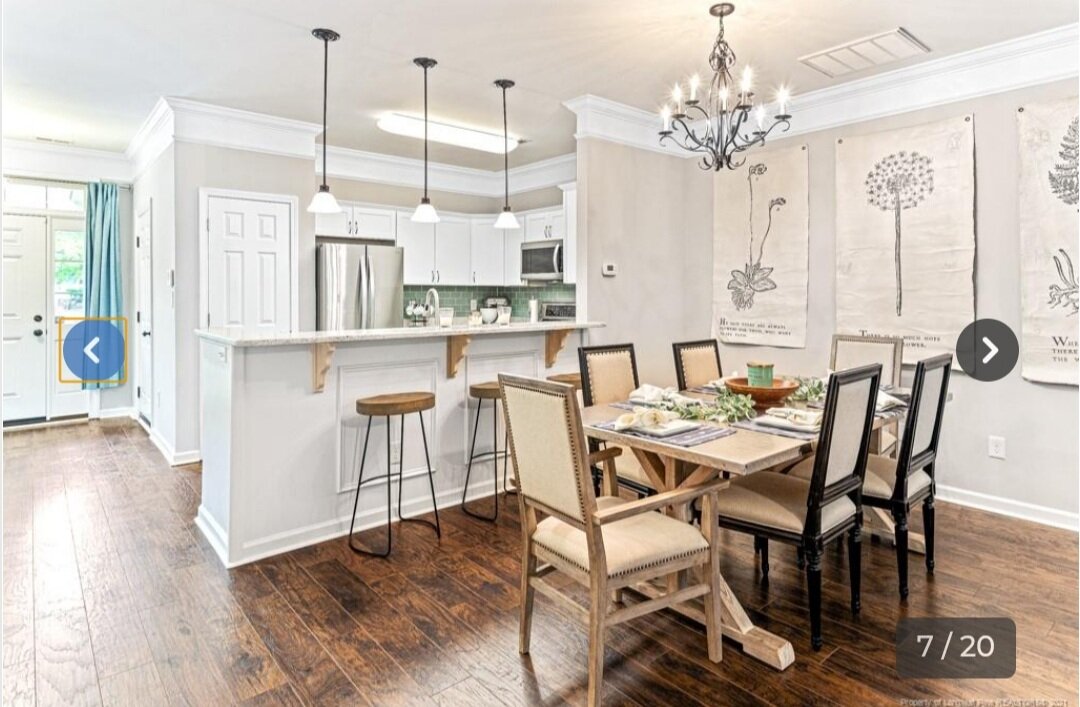
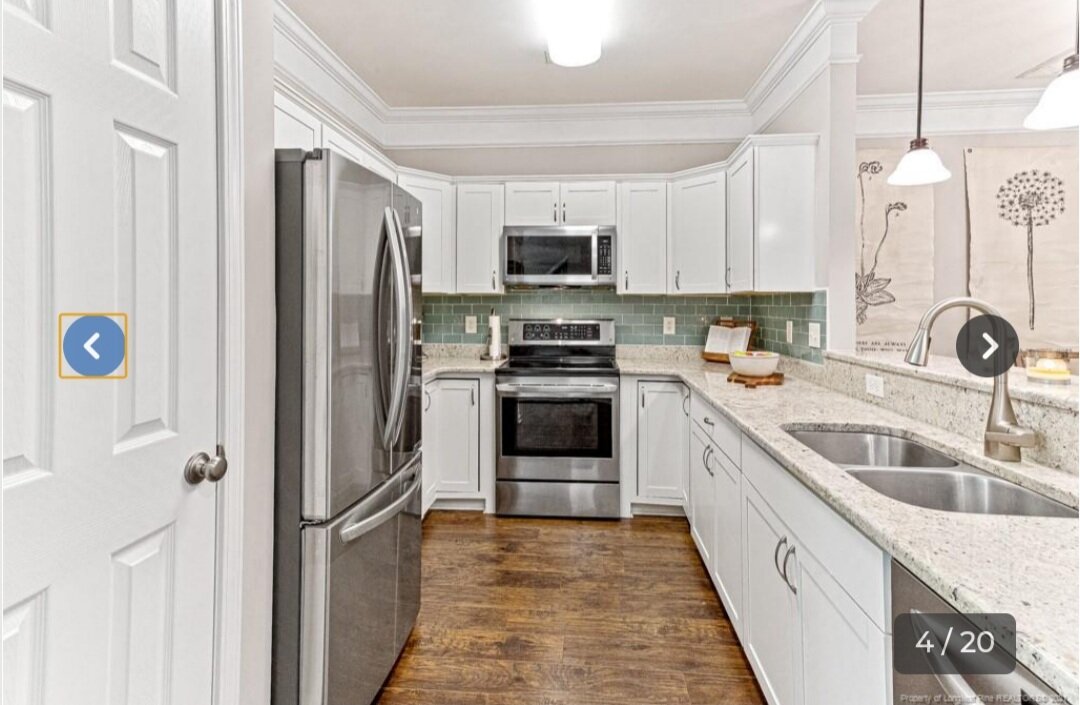
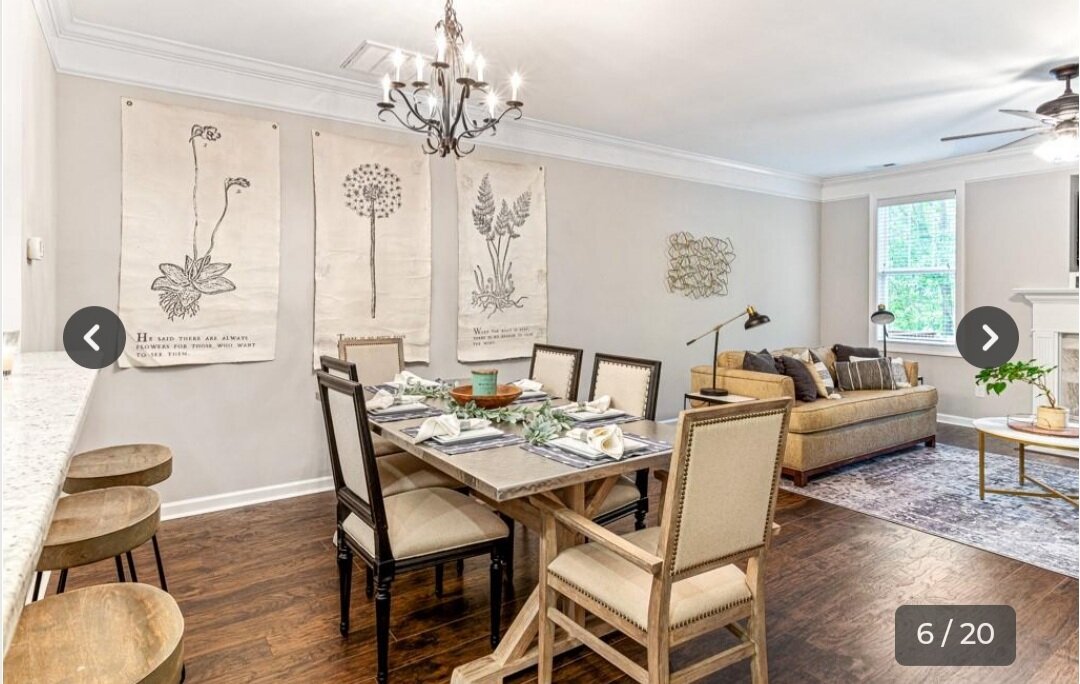
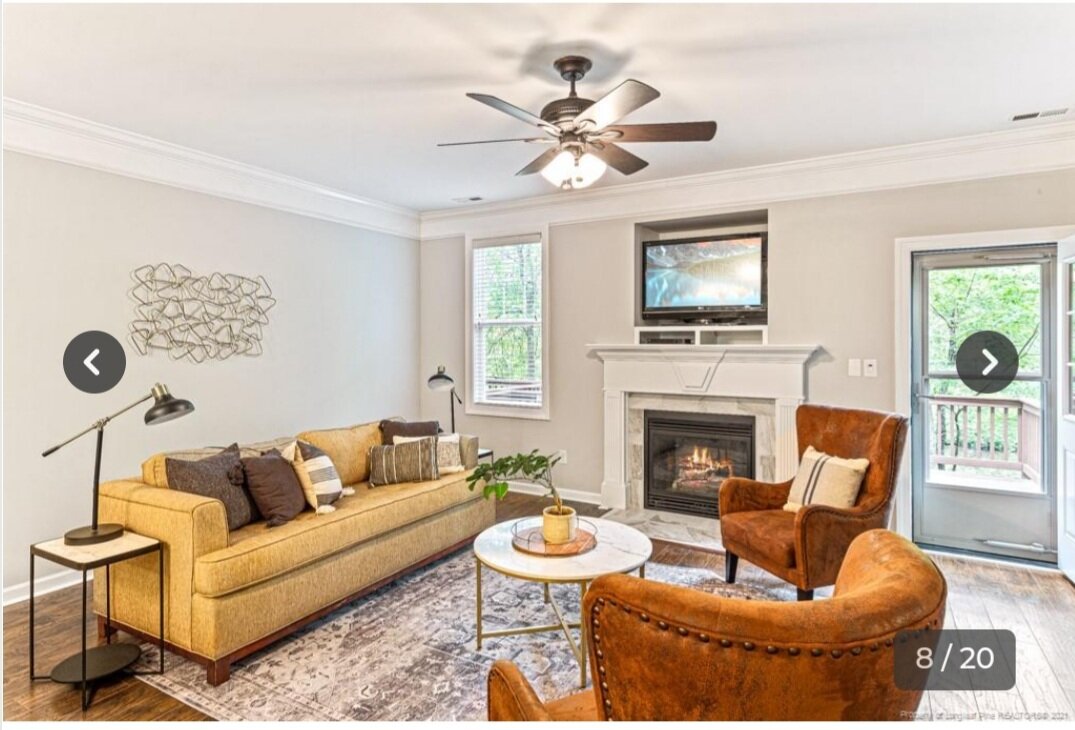
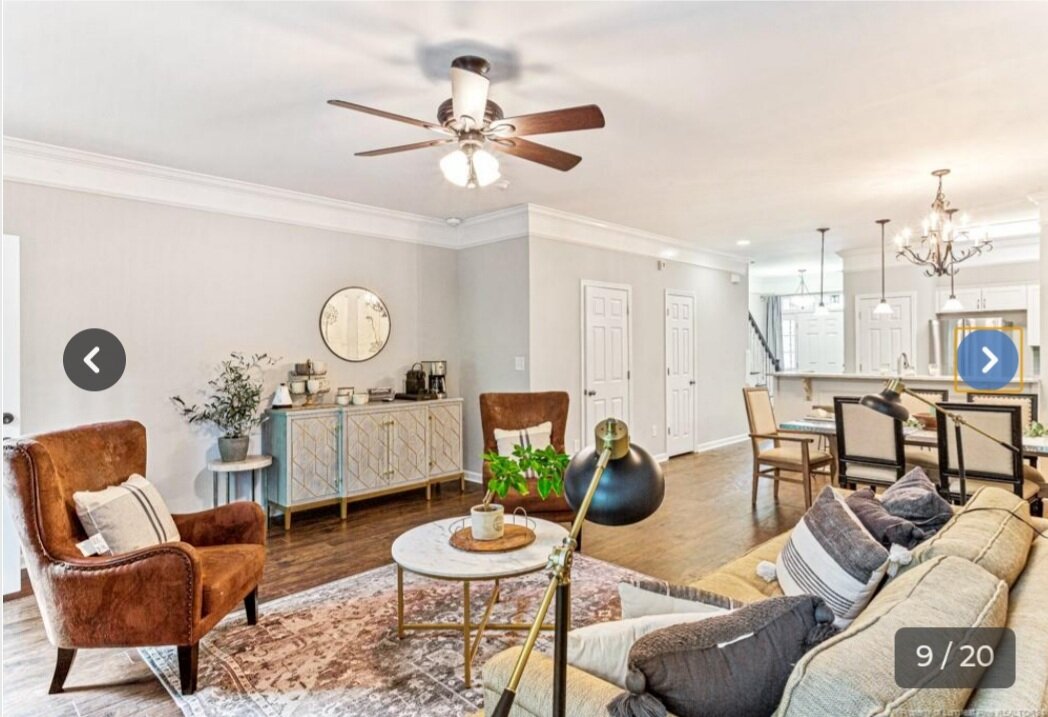
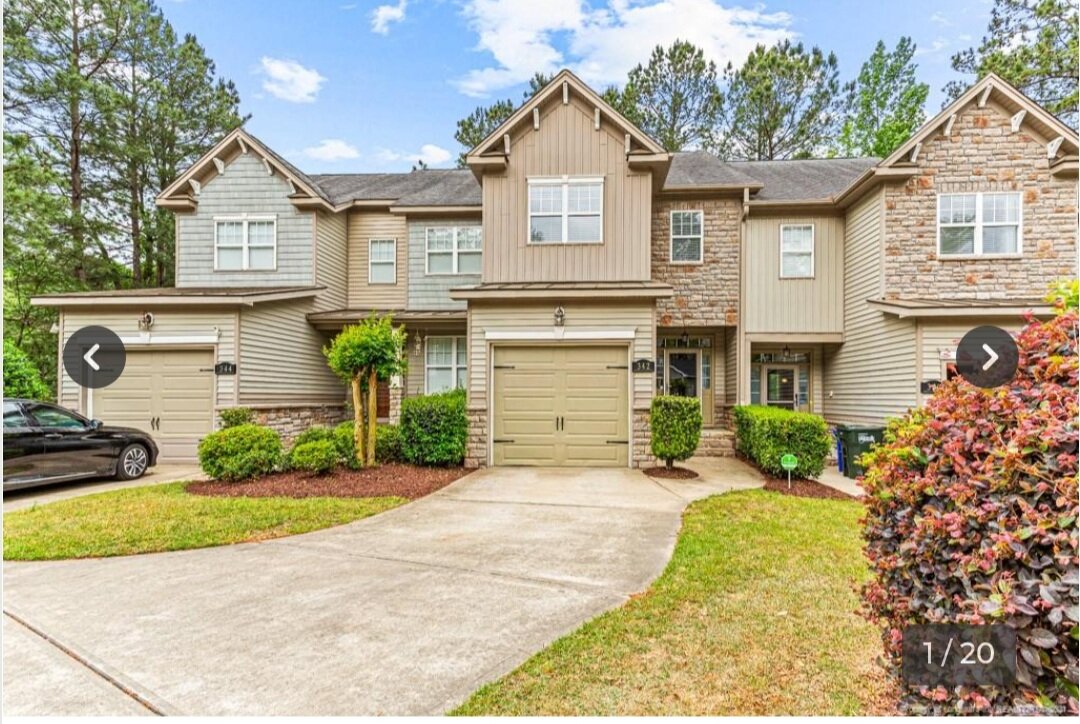
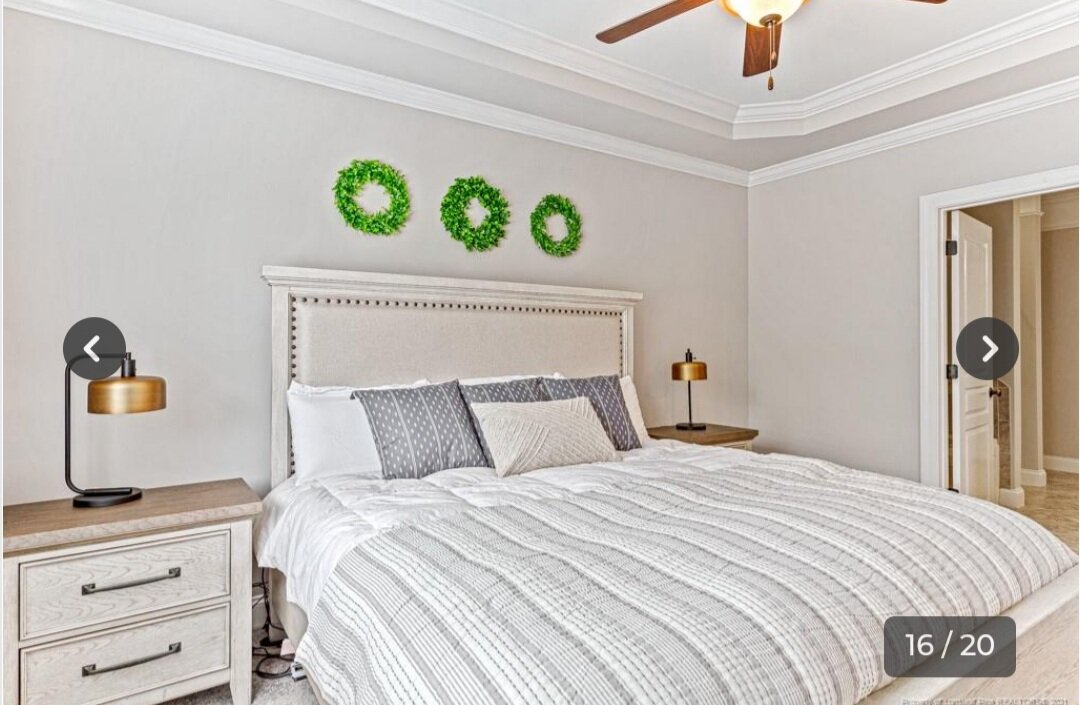
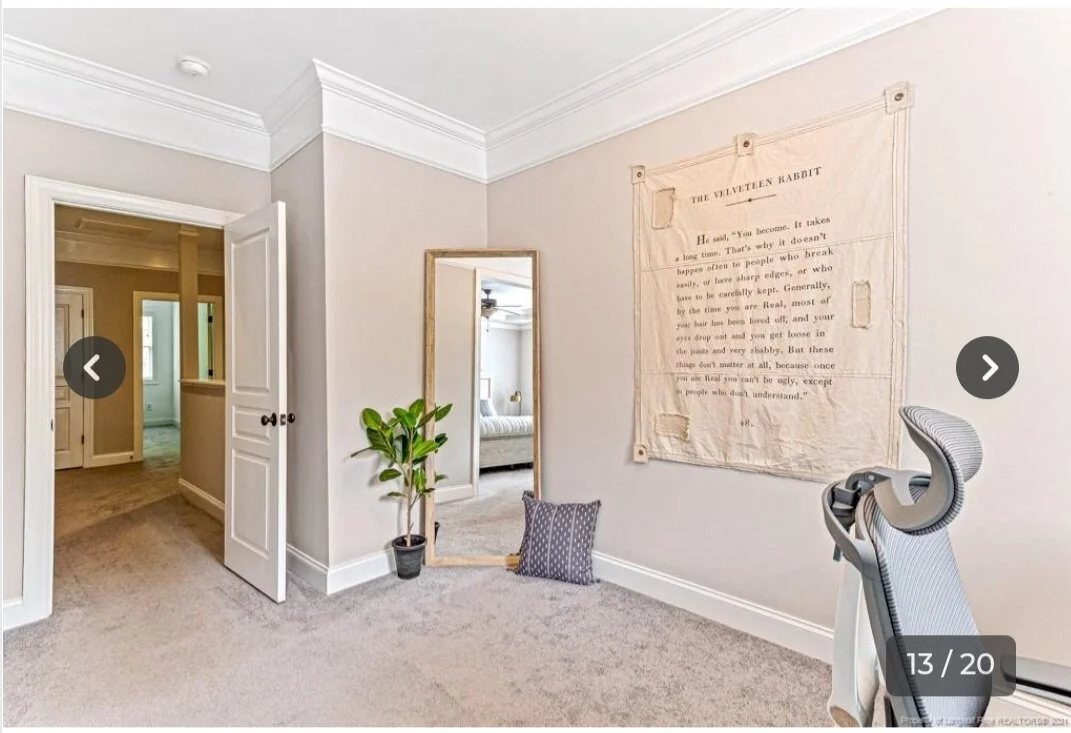
Happy weekend y'all! Are you in the market for a home? Don't blink because this one's going to move. We just finished a project for a client in a centrally located townhome in the gorgeous Waters edge community…. 5 minutes from Target? Yes please.
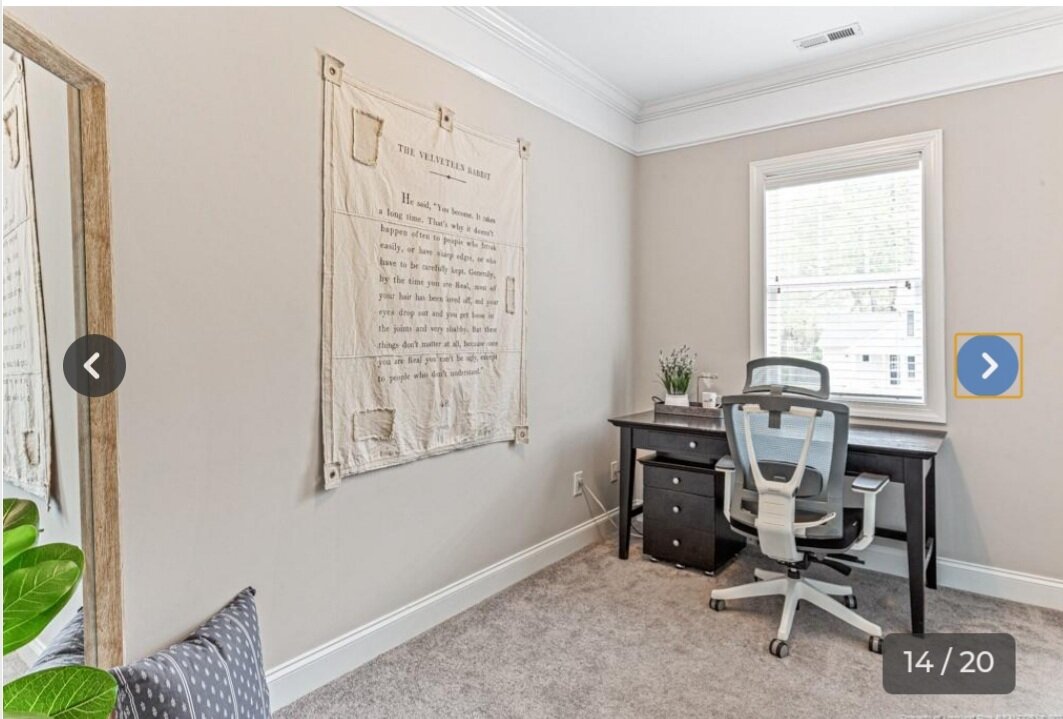
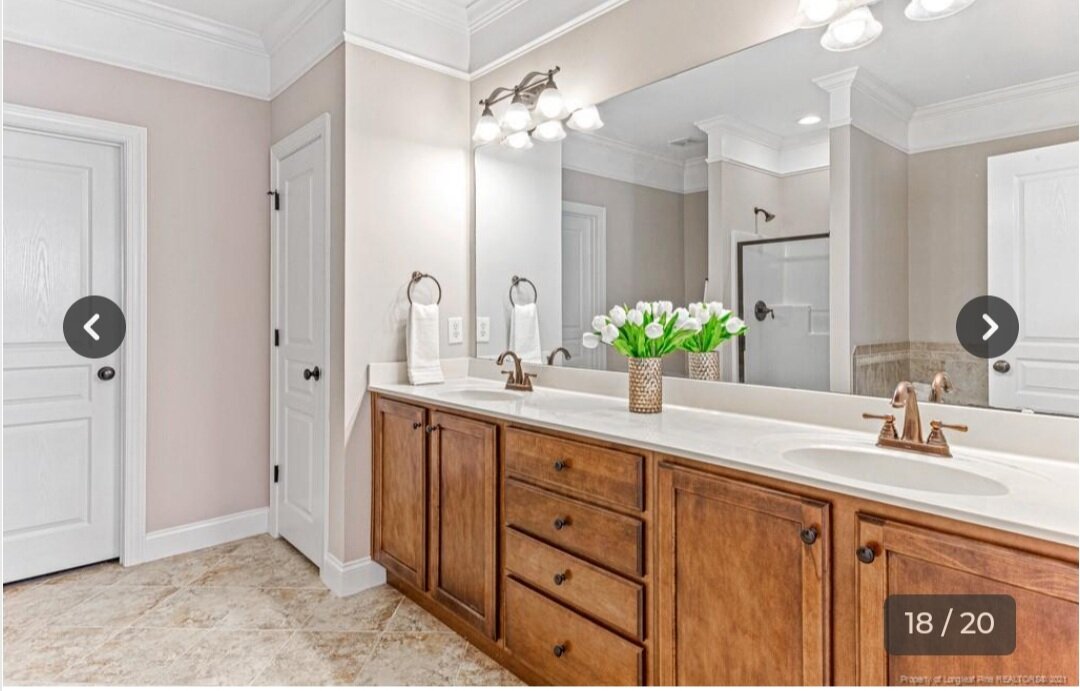
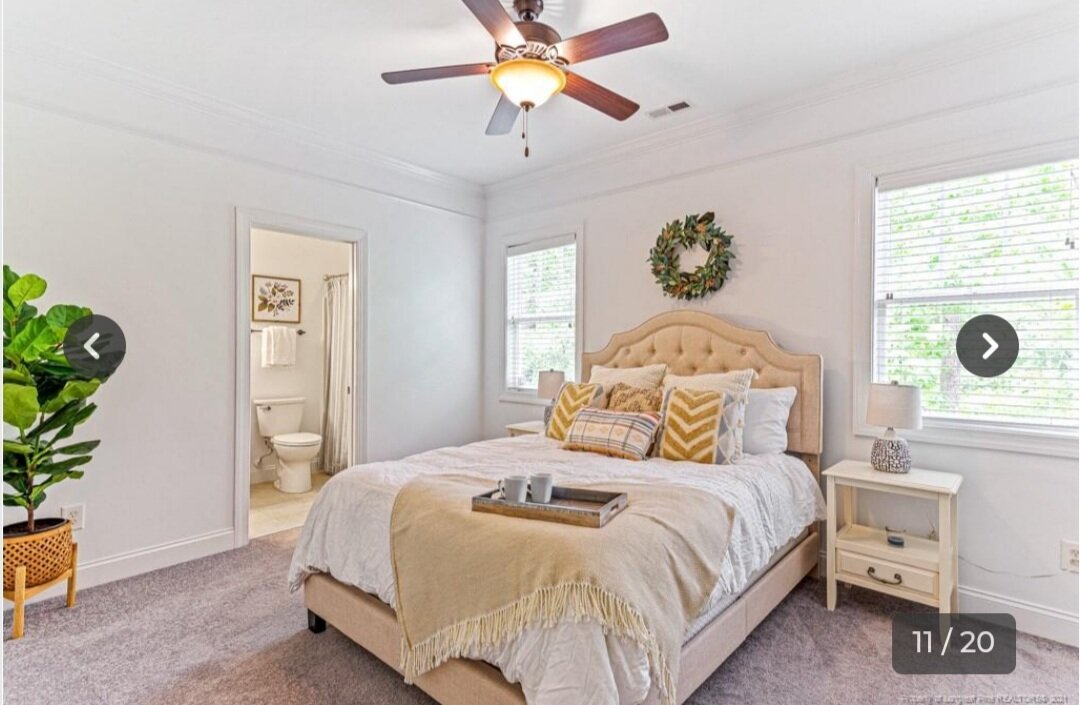
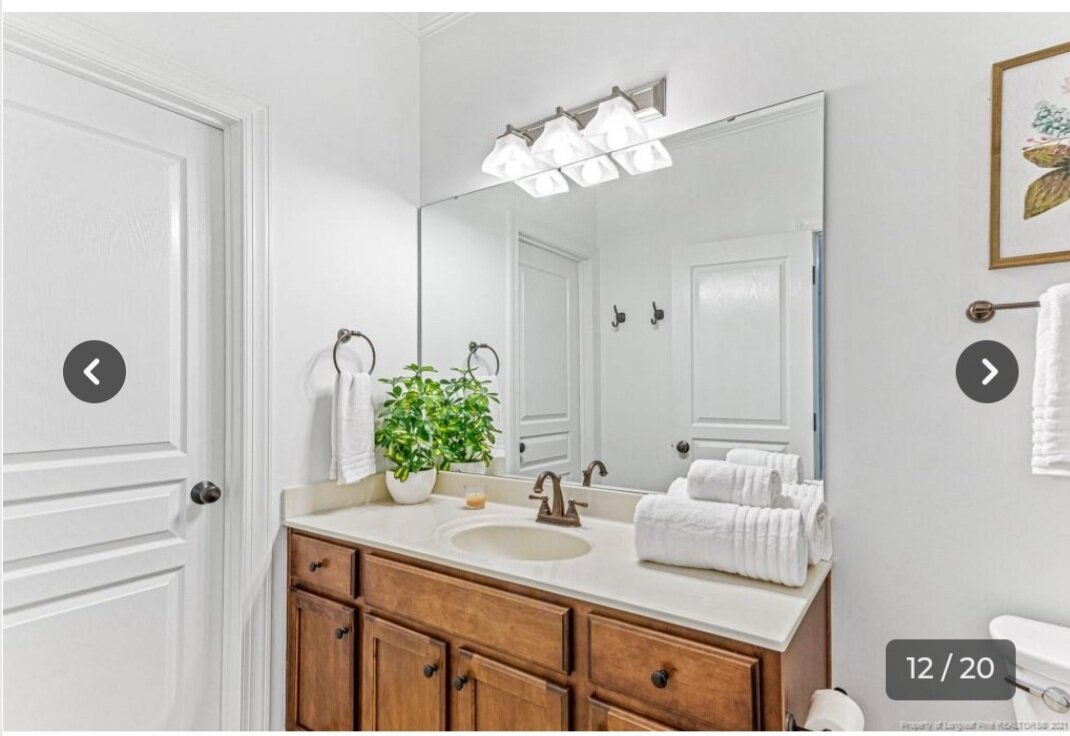
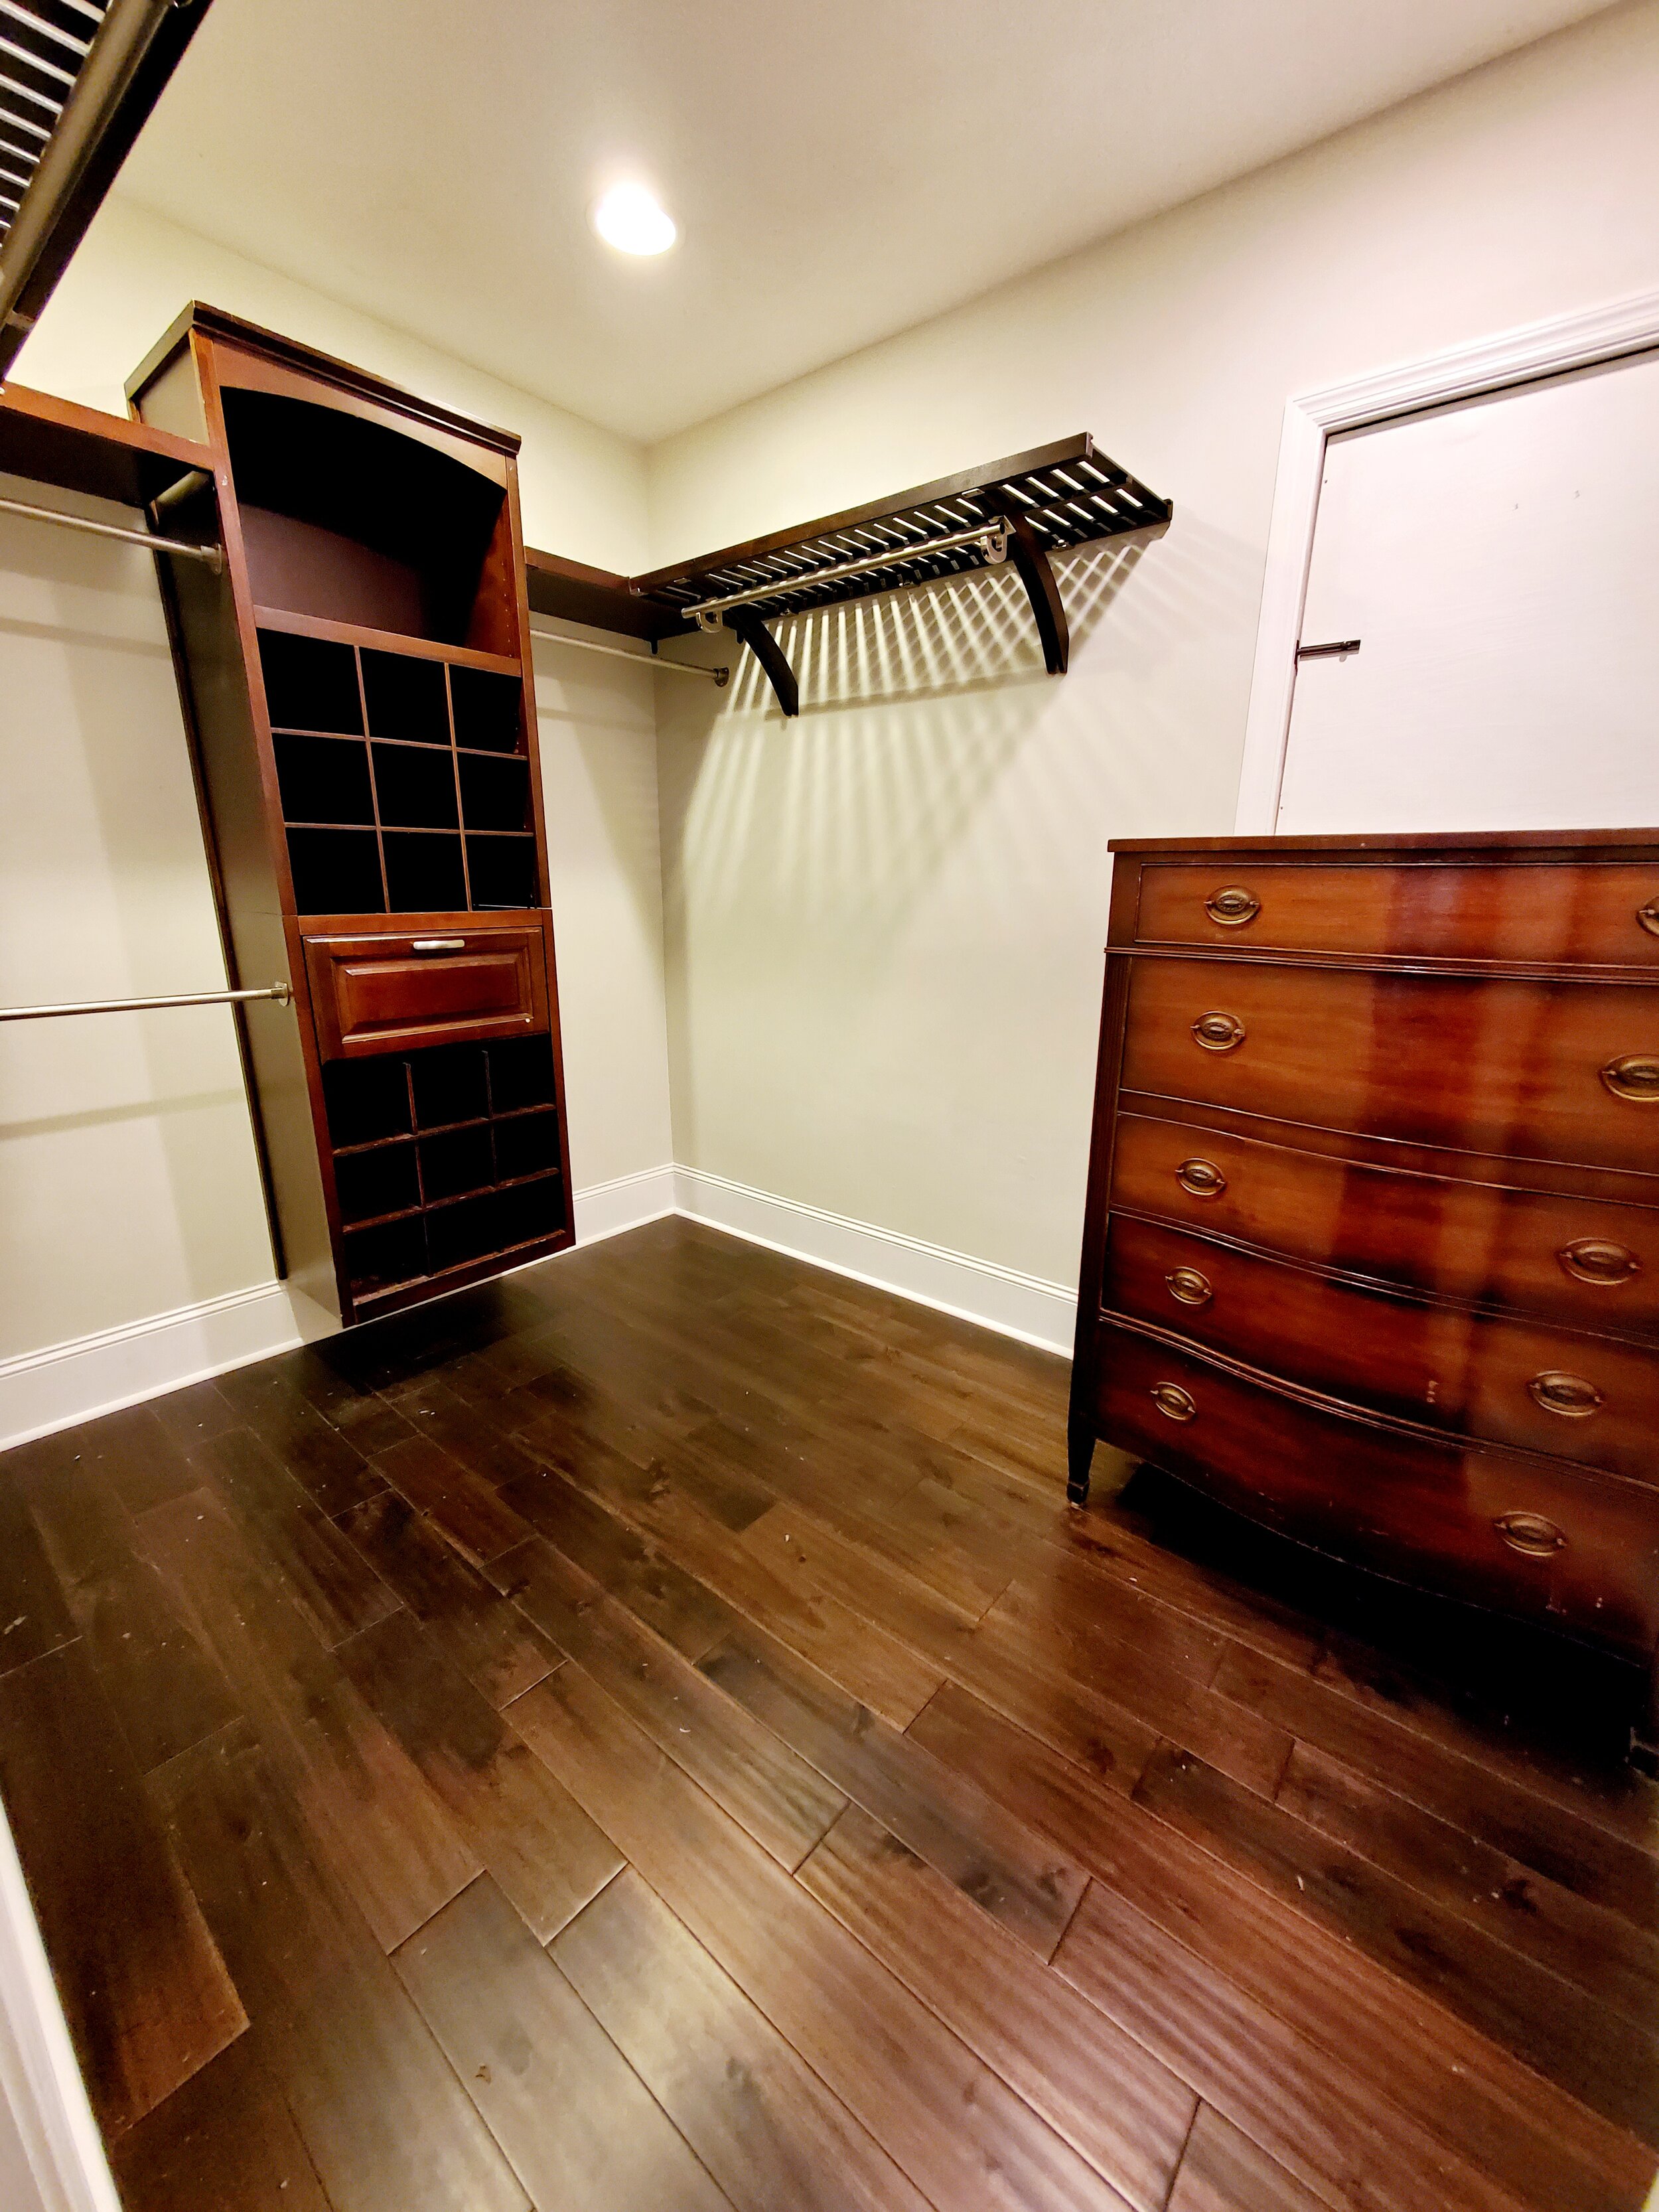
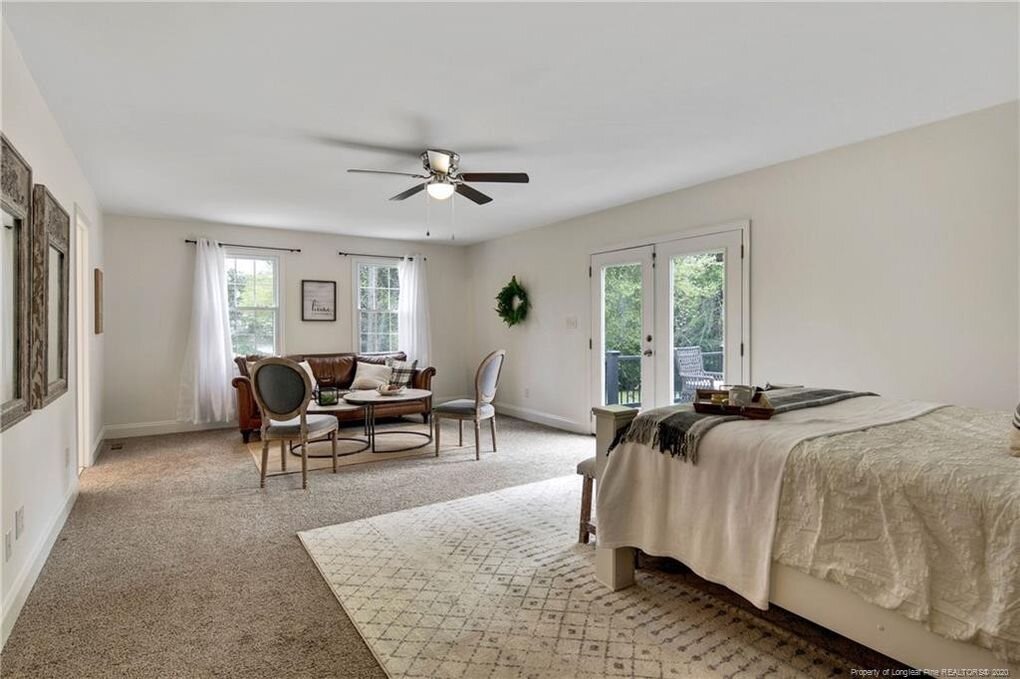
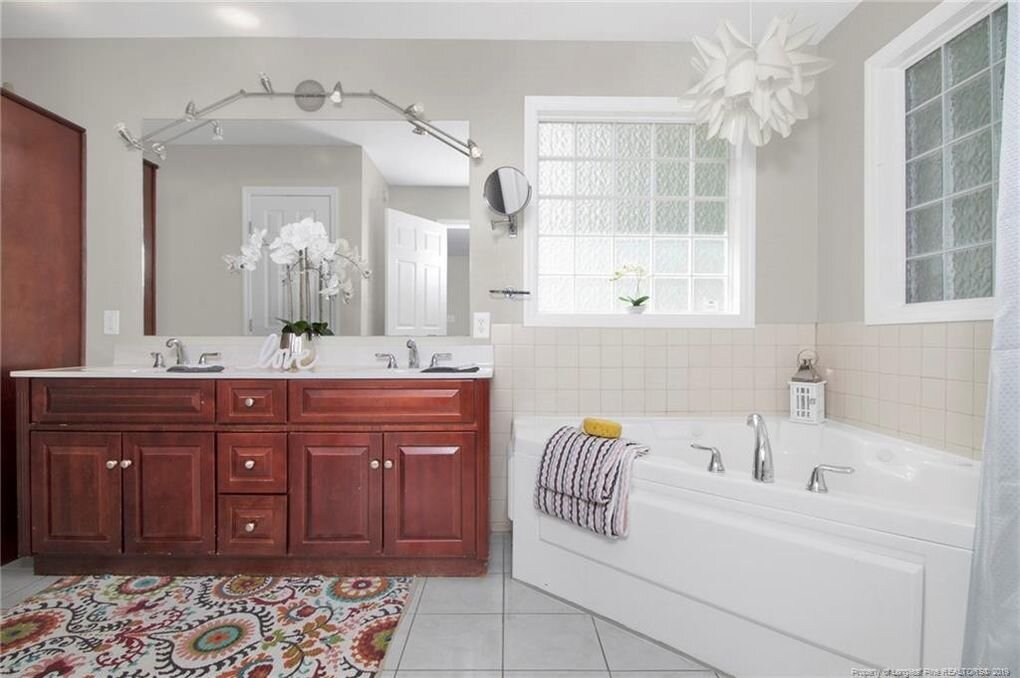
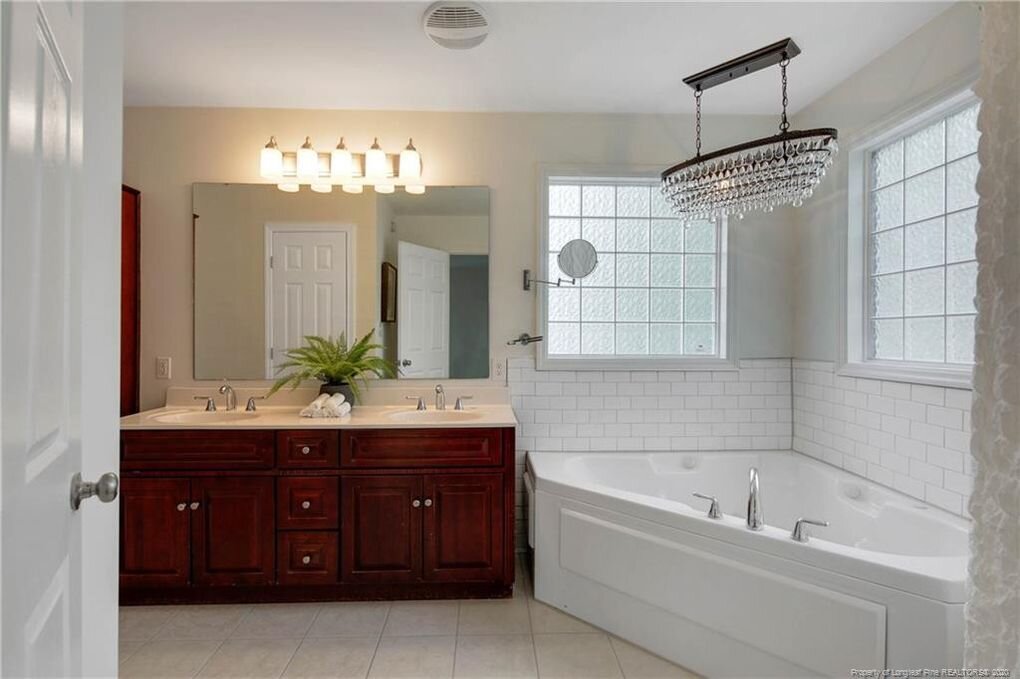
This home is absolutely beautiful. Everything has been completely renovated and is TurnKey ready for its new owner. The home includes two large bedrooms with adjoining bathrooms (and extra half bath!) including Master ensuite with office area. Granite counters in the kitchen and glass tile subway backsplash, bar seating with custom molding, stainless appliances, and walk out back deck. Enjoy your beautiful newly tiled gas fireplace and then escape to your whirlpool tub. Closets include custom built-ins for storage and more. This home literally has everything ready to go and had great attention to detail in the design process. All this for an asking price of $160,000.
This home is hitting the market today and is already accepting showings. There will be an open house tomorrow on Saturday May 8th, form 11 am until 2pm. 342 Bahama Loop, Fayetteville.
Send me a message if you need more details and I will get them to you! Hope you enjoy the home tour!
Casey and crew


Haymount Homes REDFIN FEATURE!! “Selling Your Home in the Winter? Here’s How to Stage it While Embracing the Holidays” (Copy)

Don’t miss the recent Redfin article we were featured in: “Selling Your Home in the Winter? Here’s How to Stage it While Embracing the Holidays”
While many believe the ideal time to list your home for sale is in the summer, the truth is that selling your
home in the winter can be just as great. But like any other time of the year, it is in your best interest to
present your home in its best light. This is where beautiful staging and professional real estate
photography plays an important role.

To help you highlight your home’s best features this holiday season, Redfin reached out to staging experts and professional real estate photographers for our advice. To make sure your home stands out in the housing market while still embracing the holidays, check out what we had to say in the article:
https://www.redfin.com/blog/selling-your-home-in-the-winter-staging-advice/


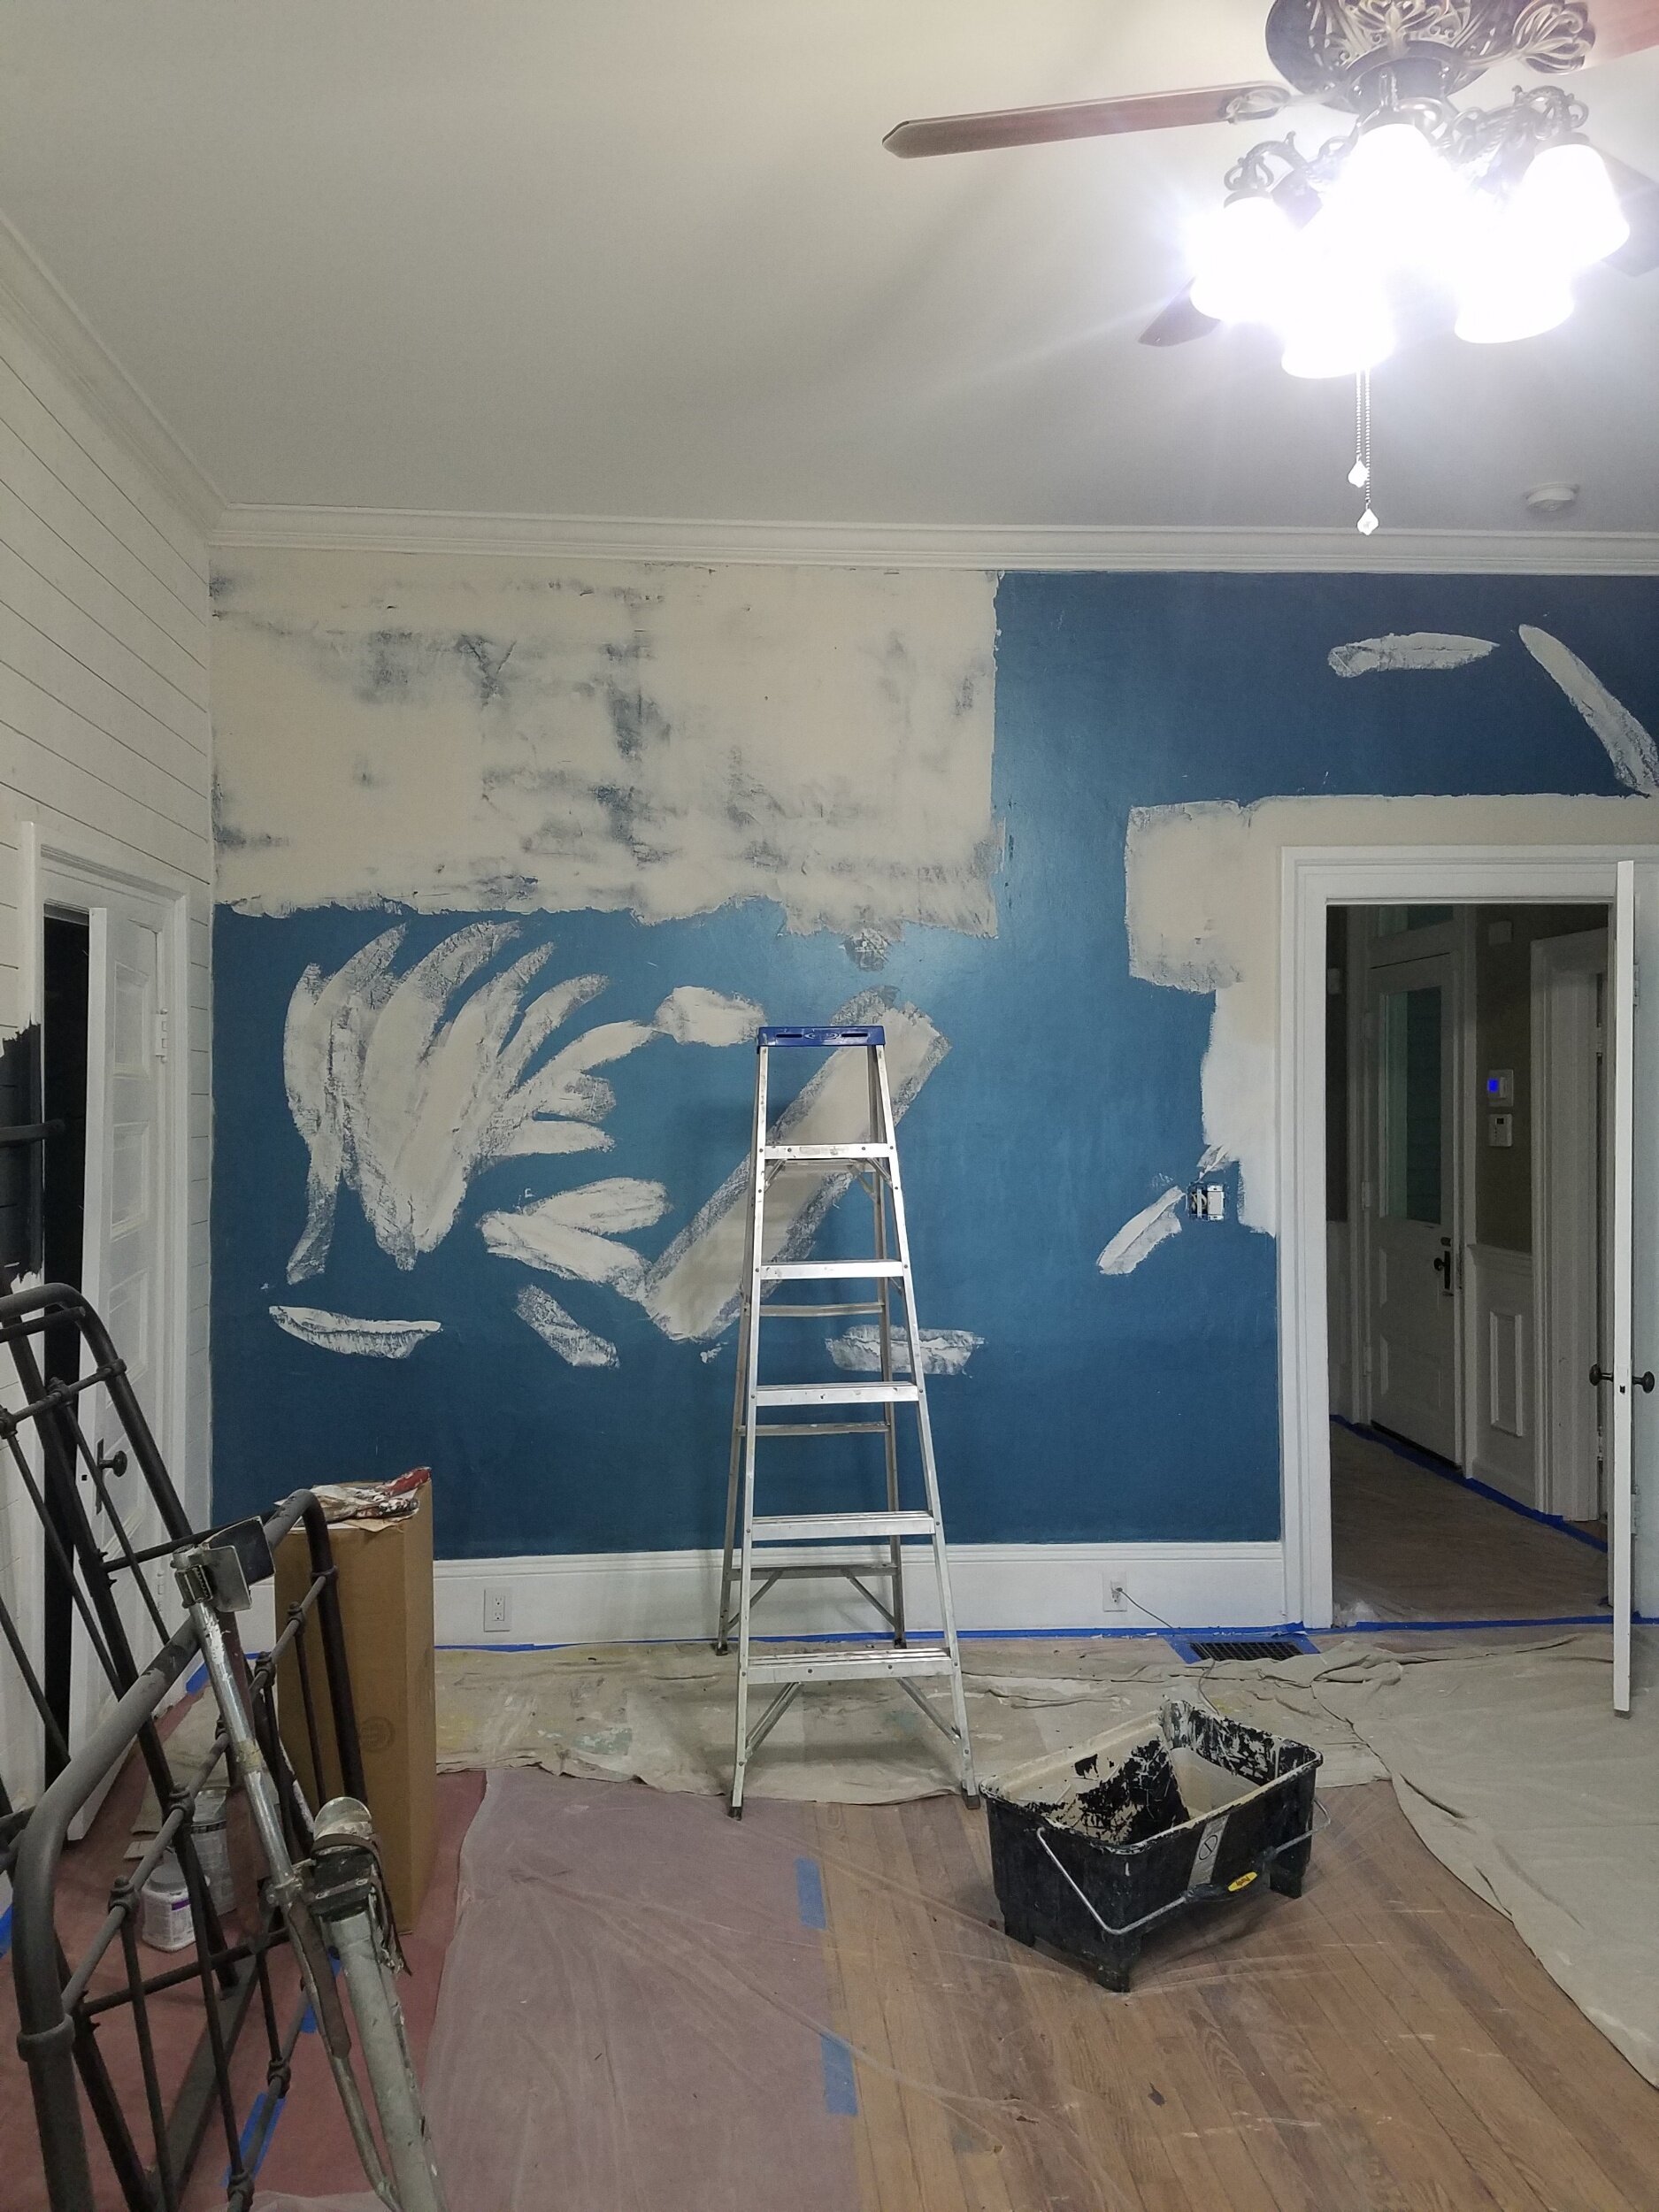
Hillside Avenue Before and After- Part Three

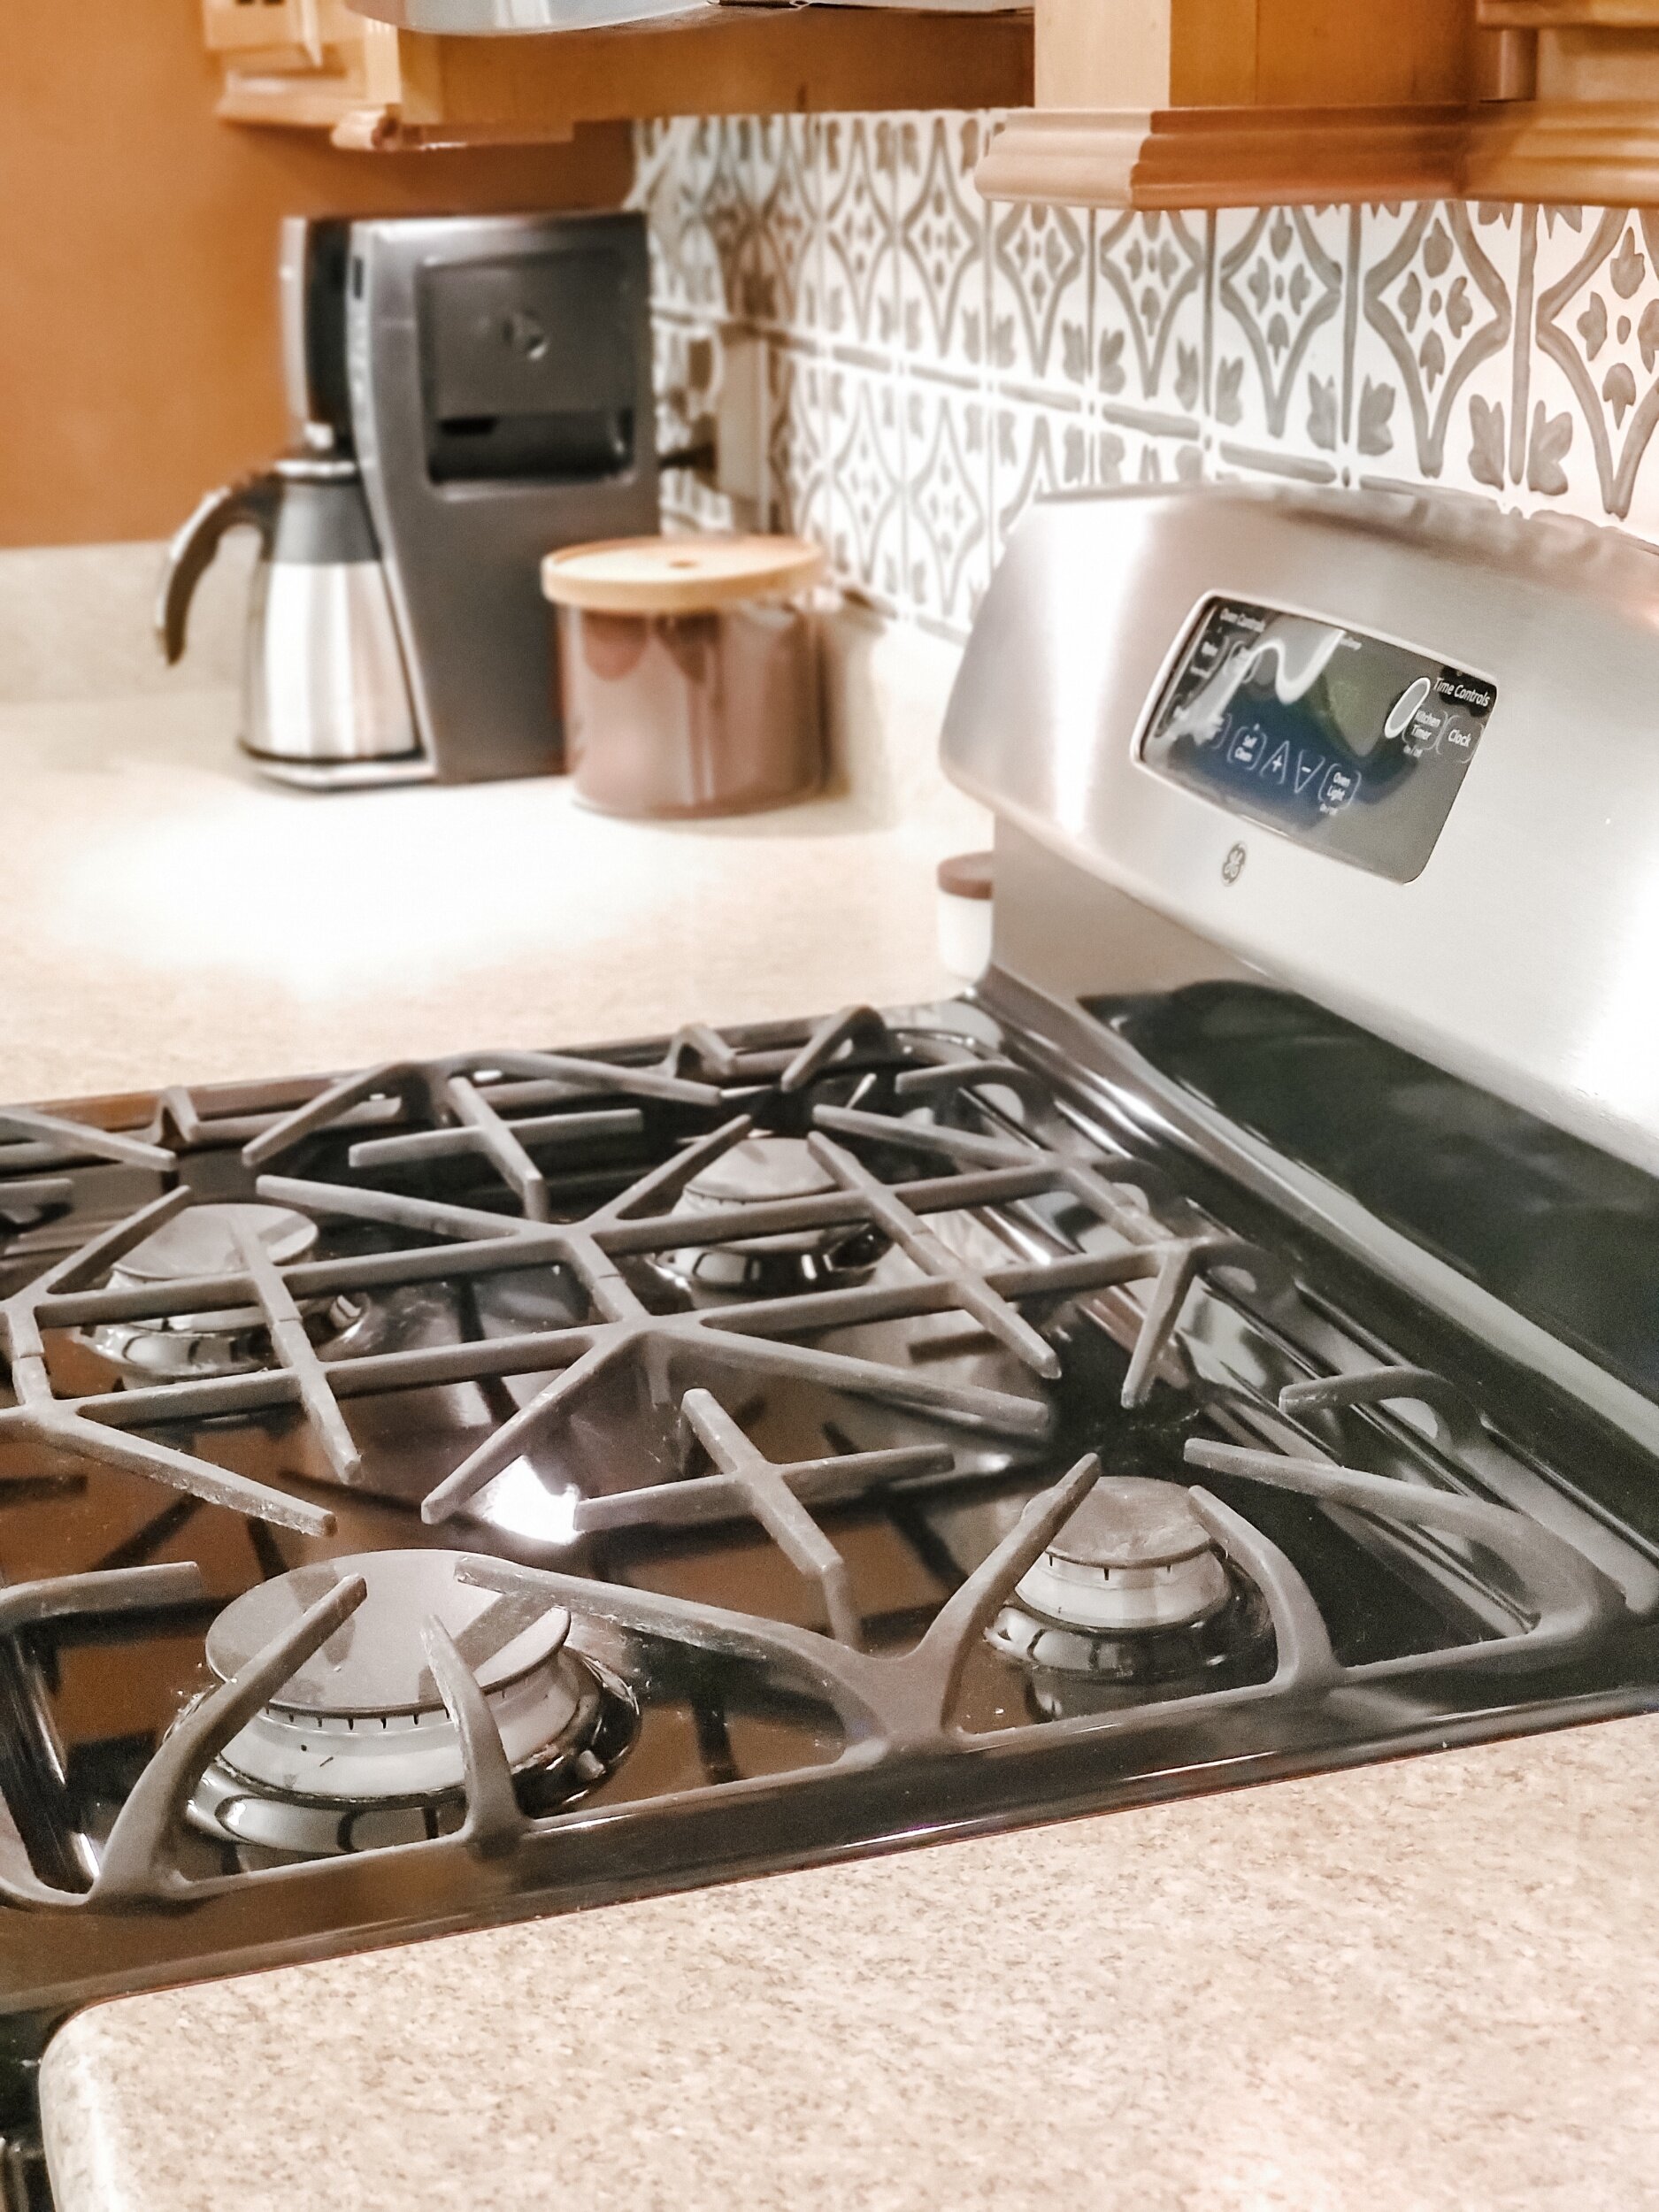
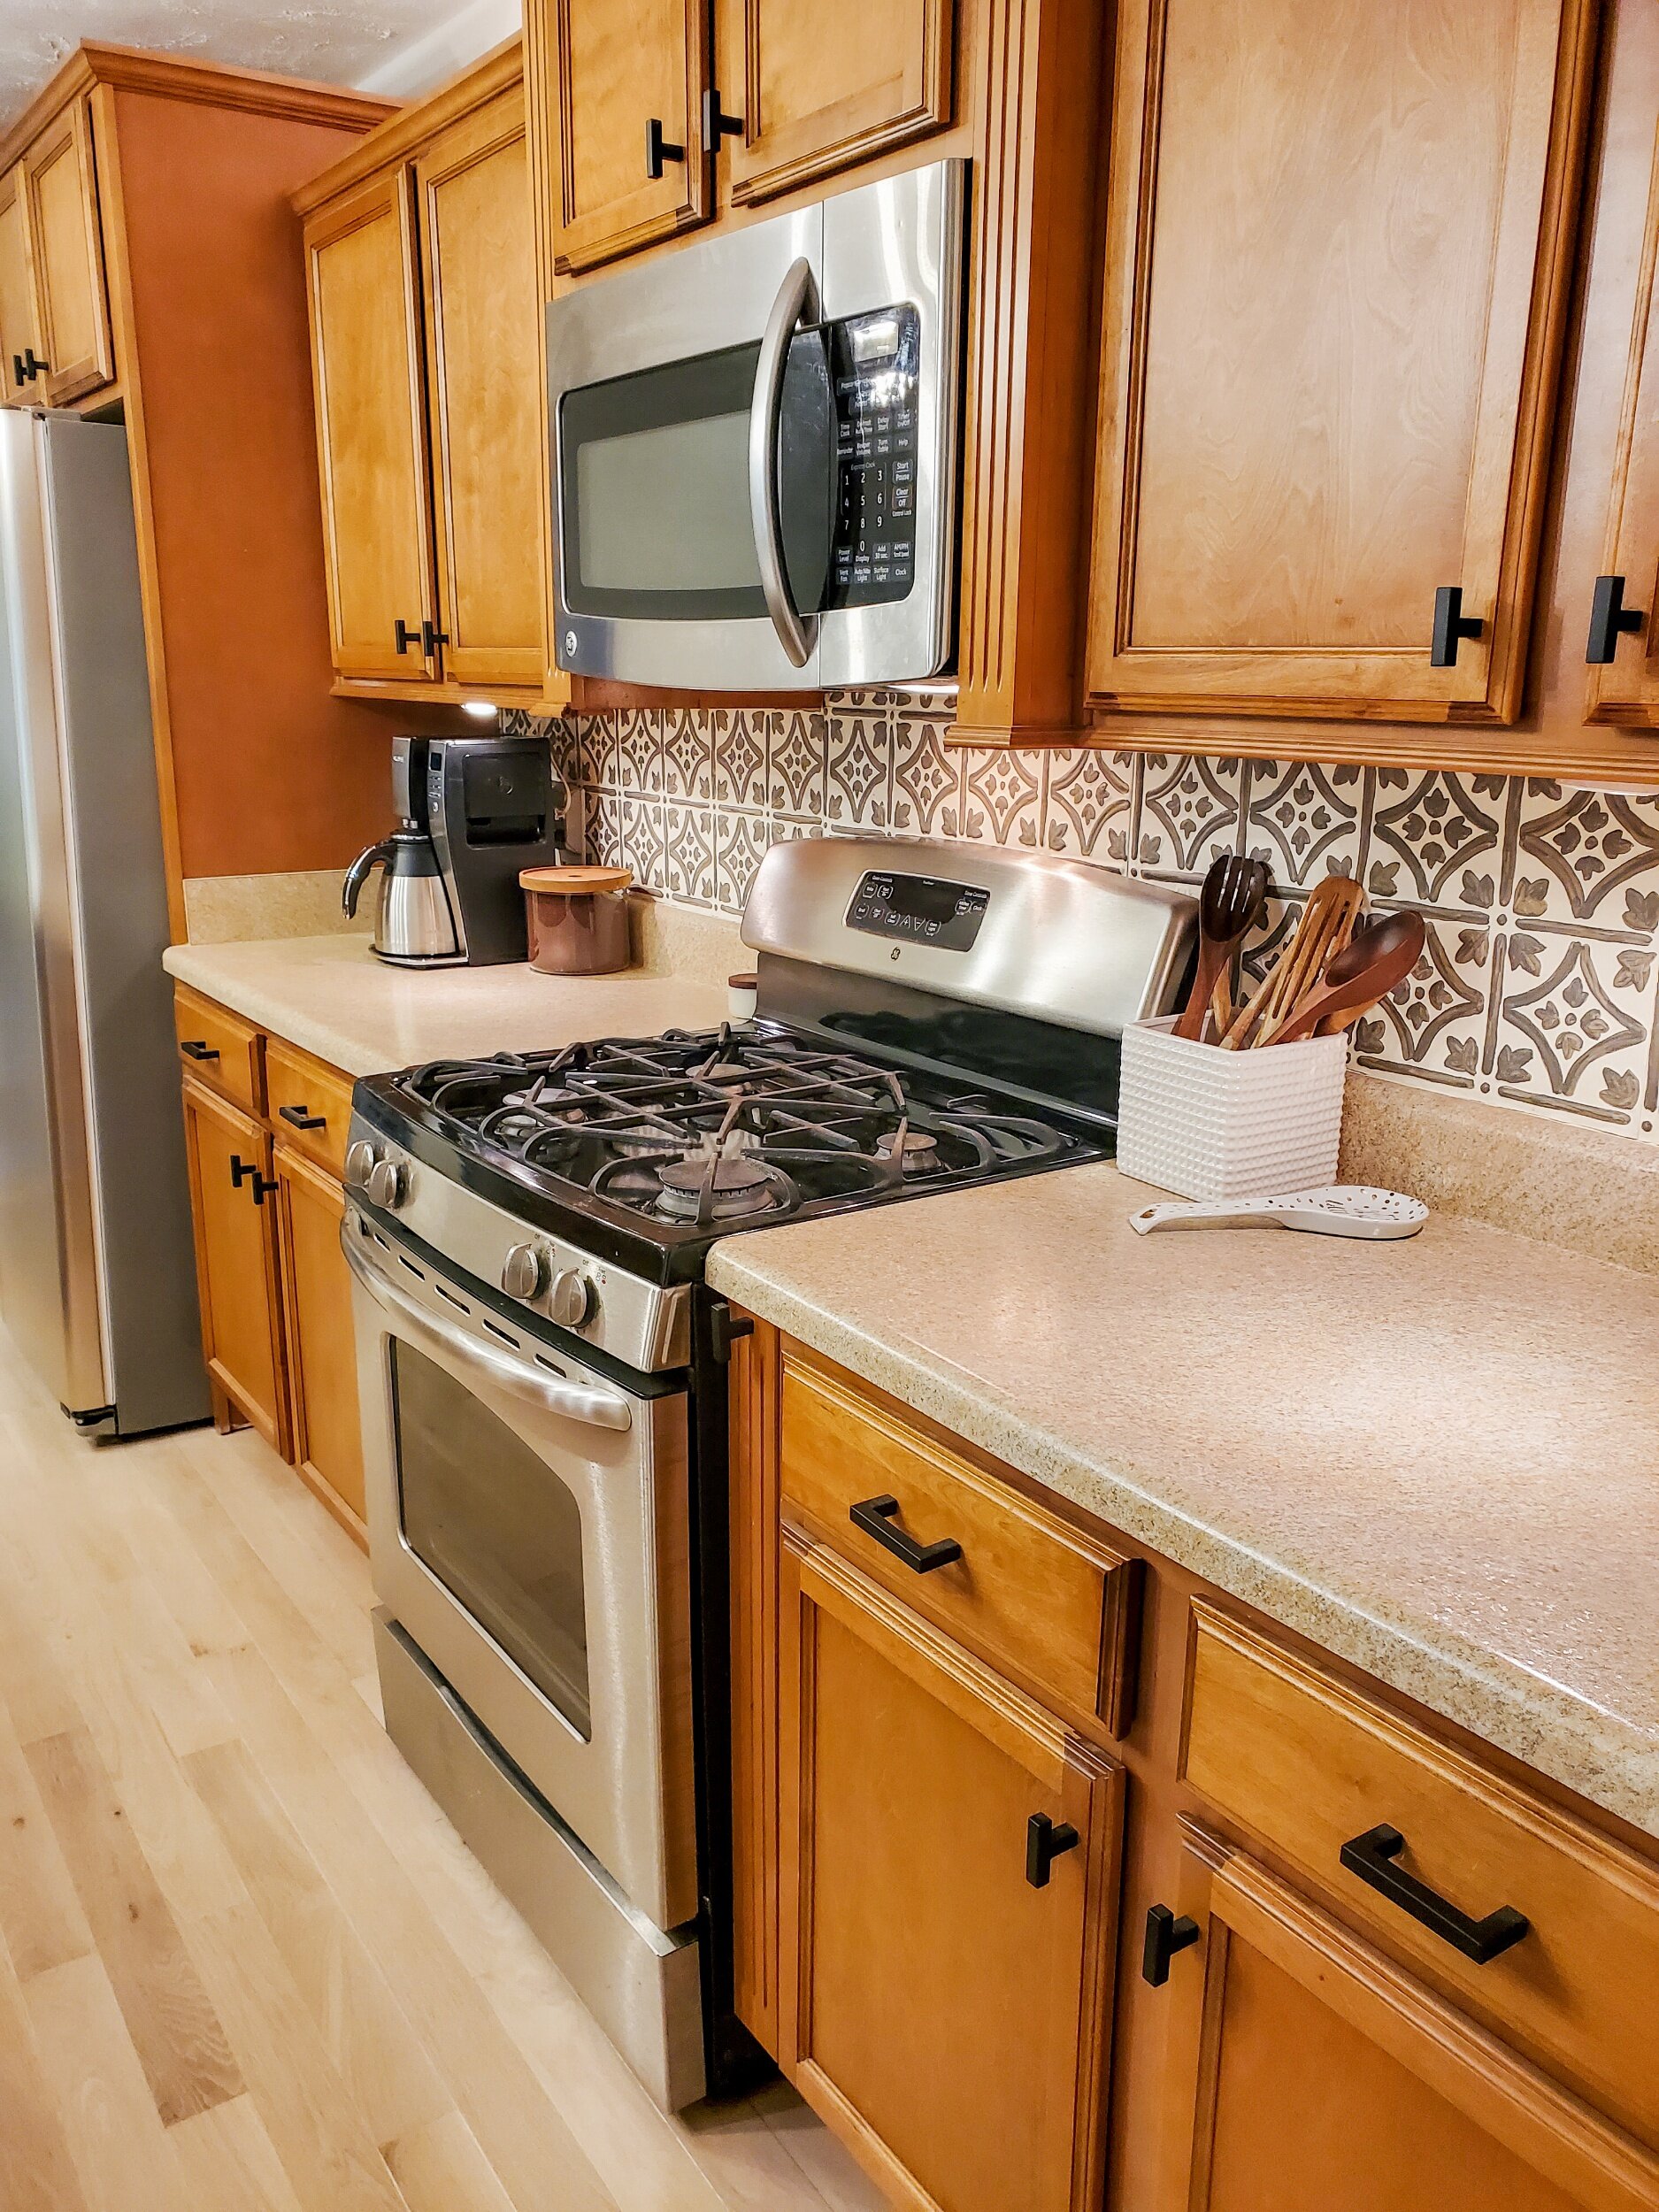
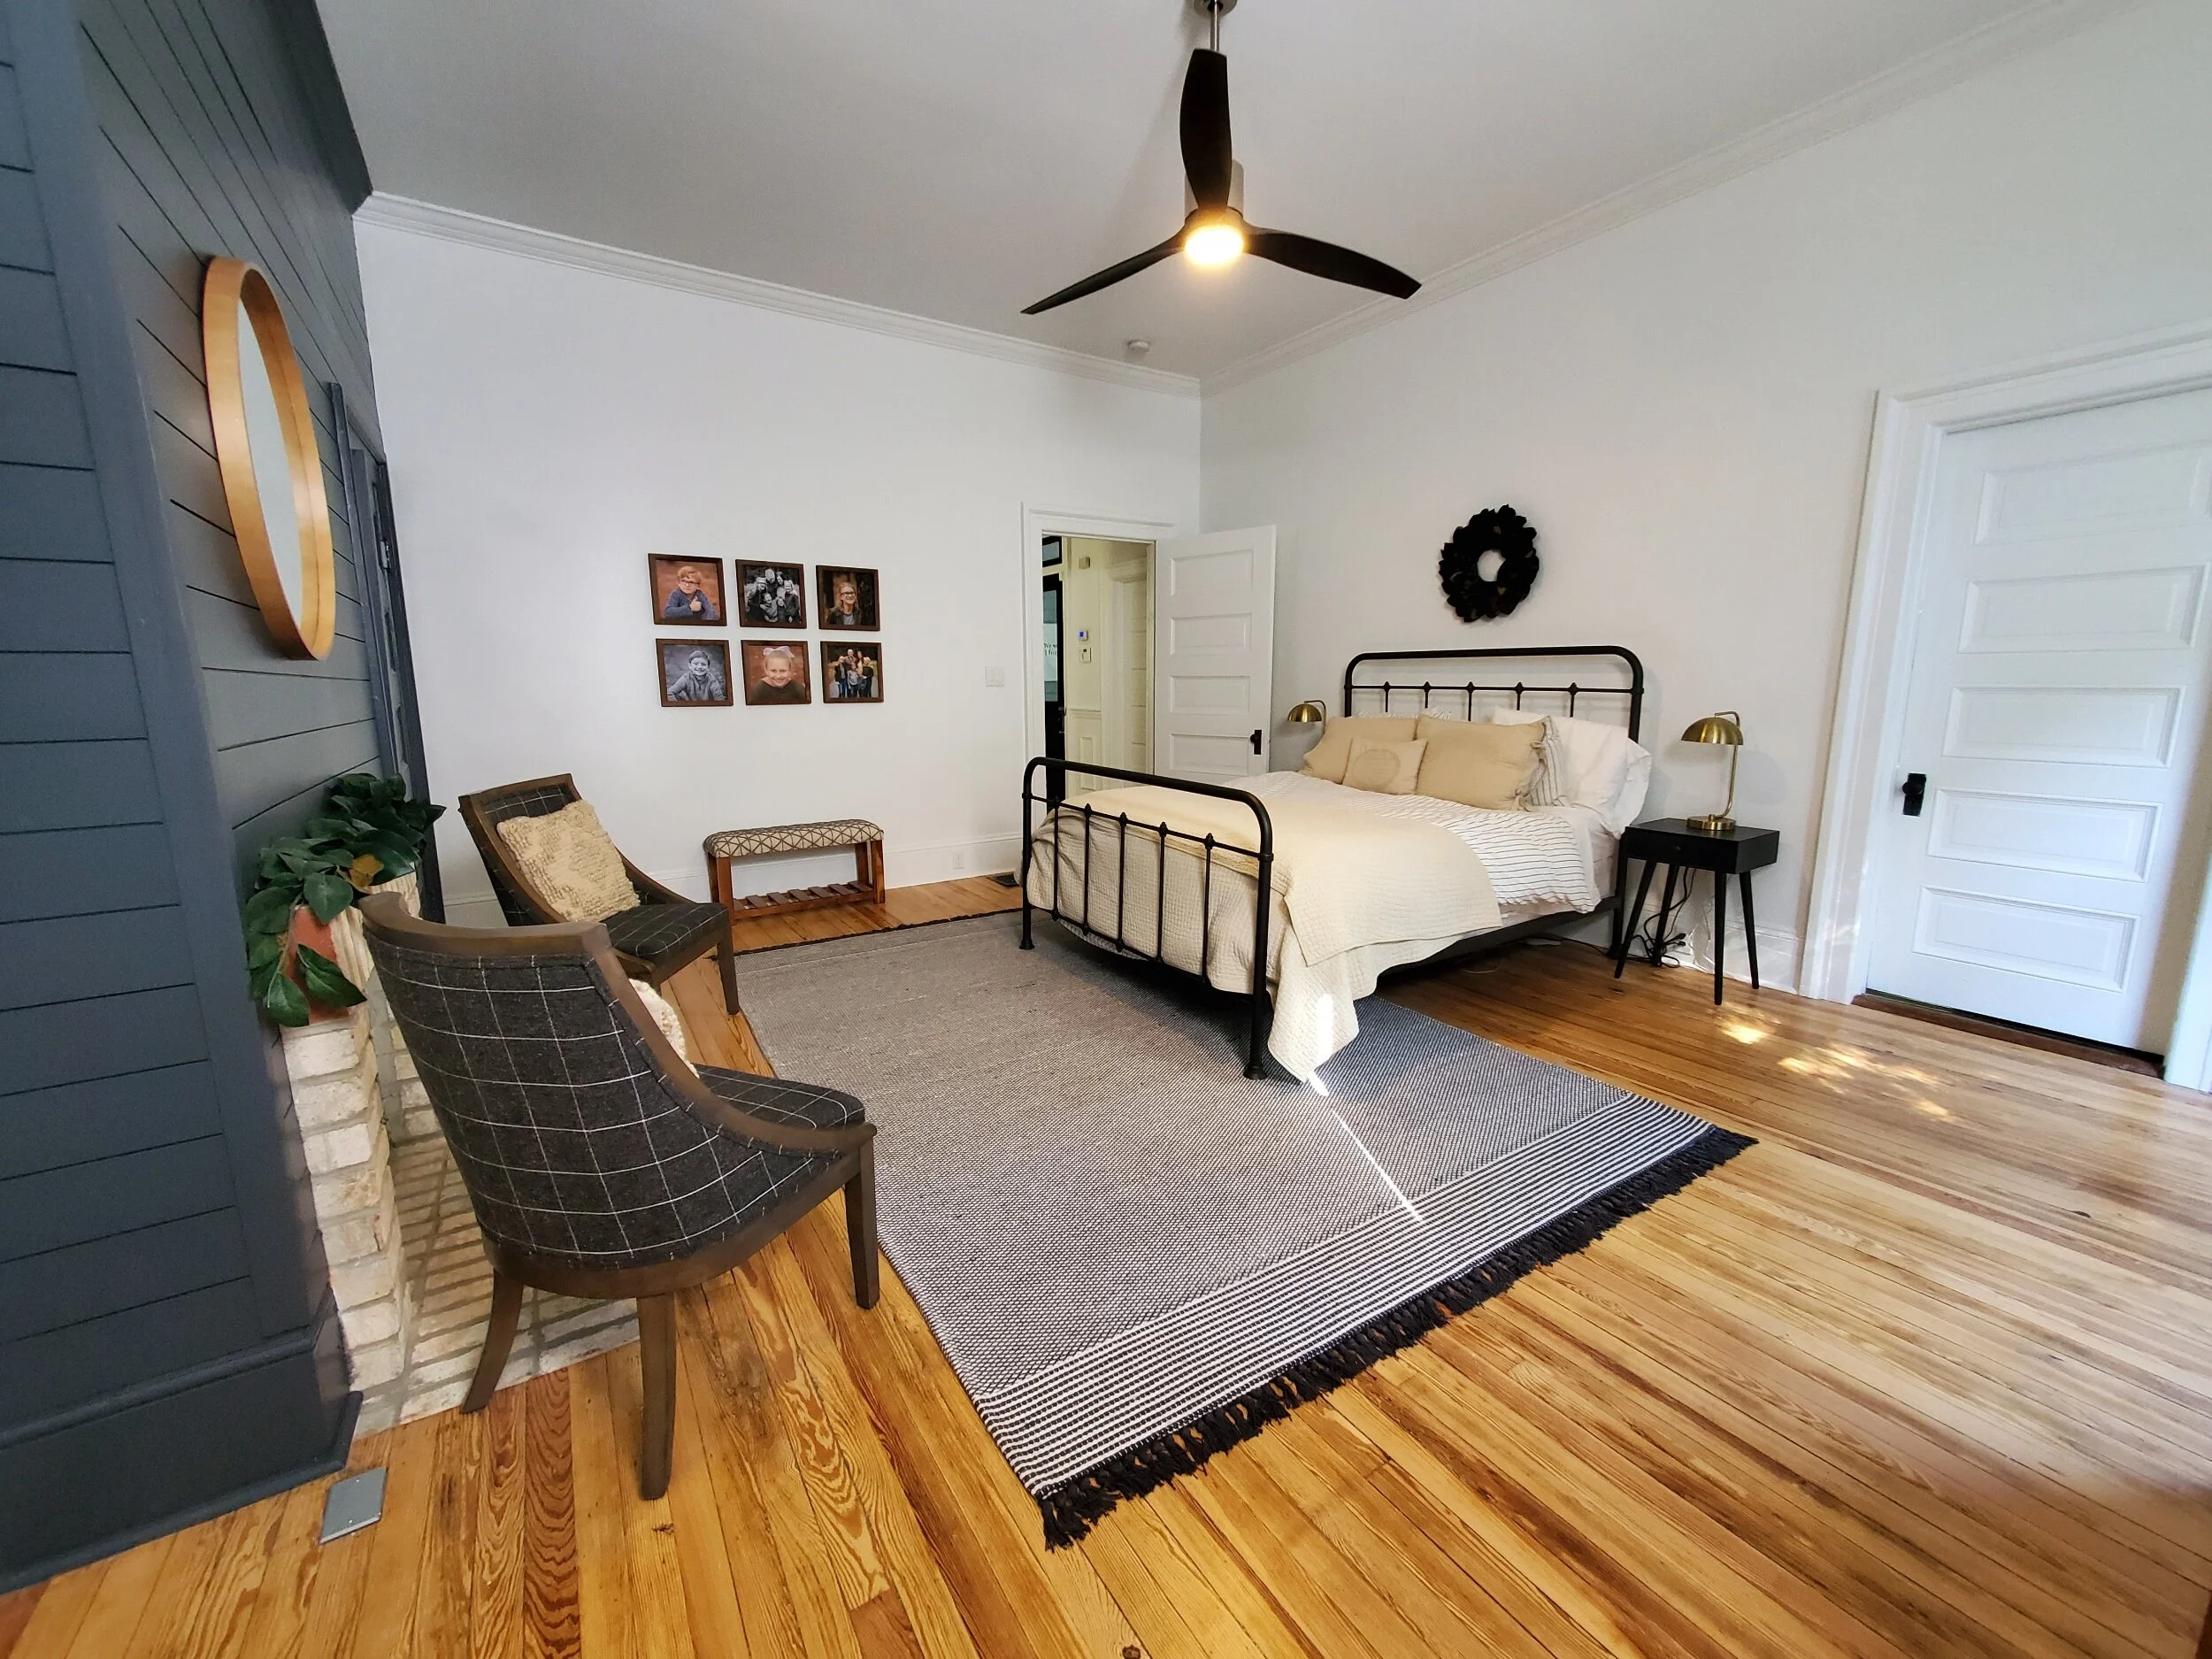
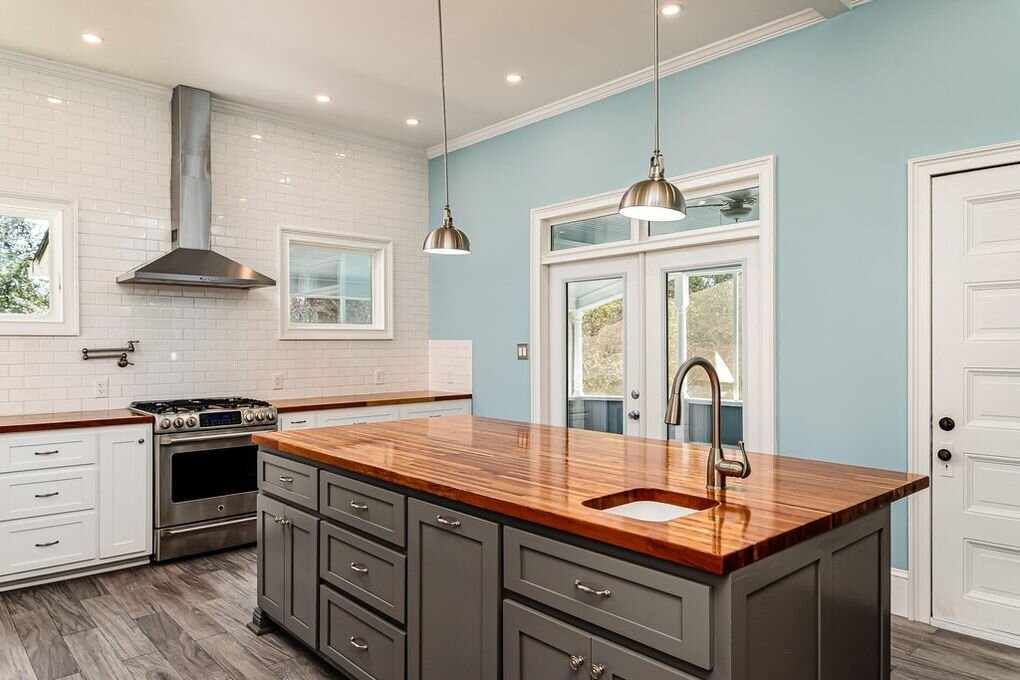
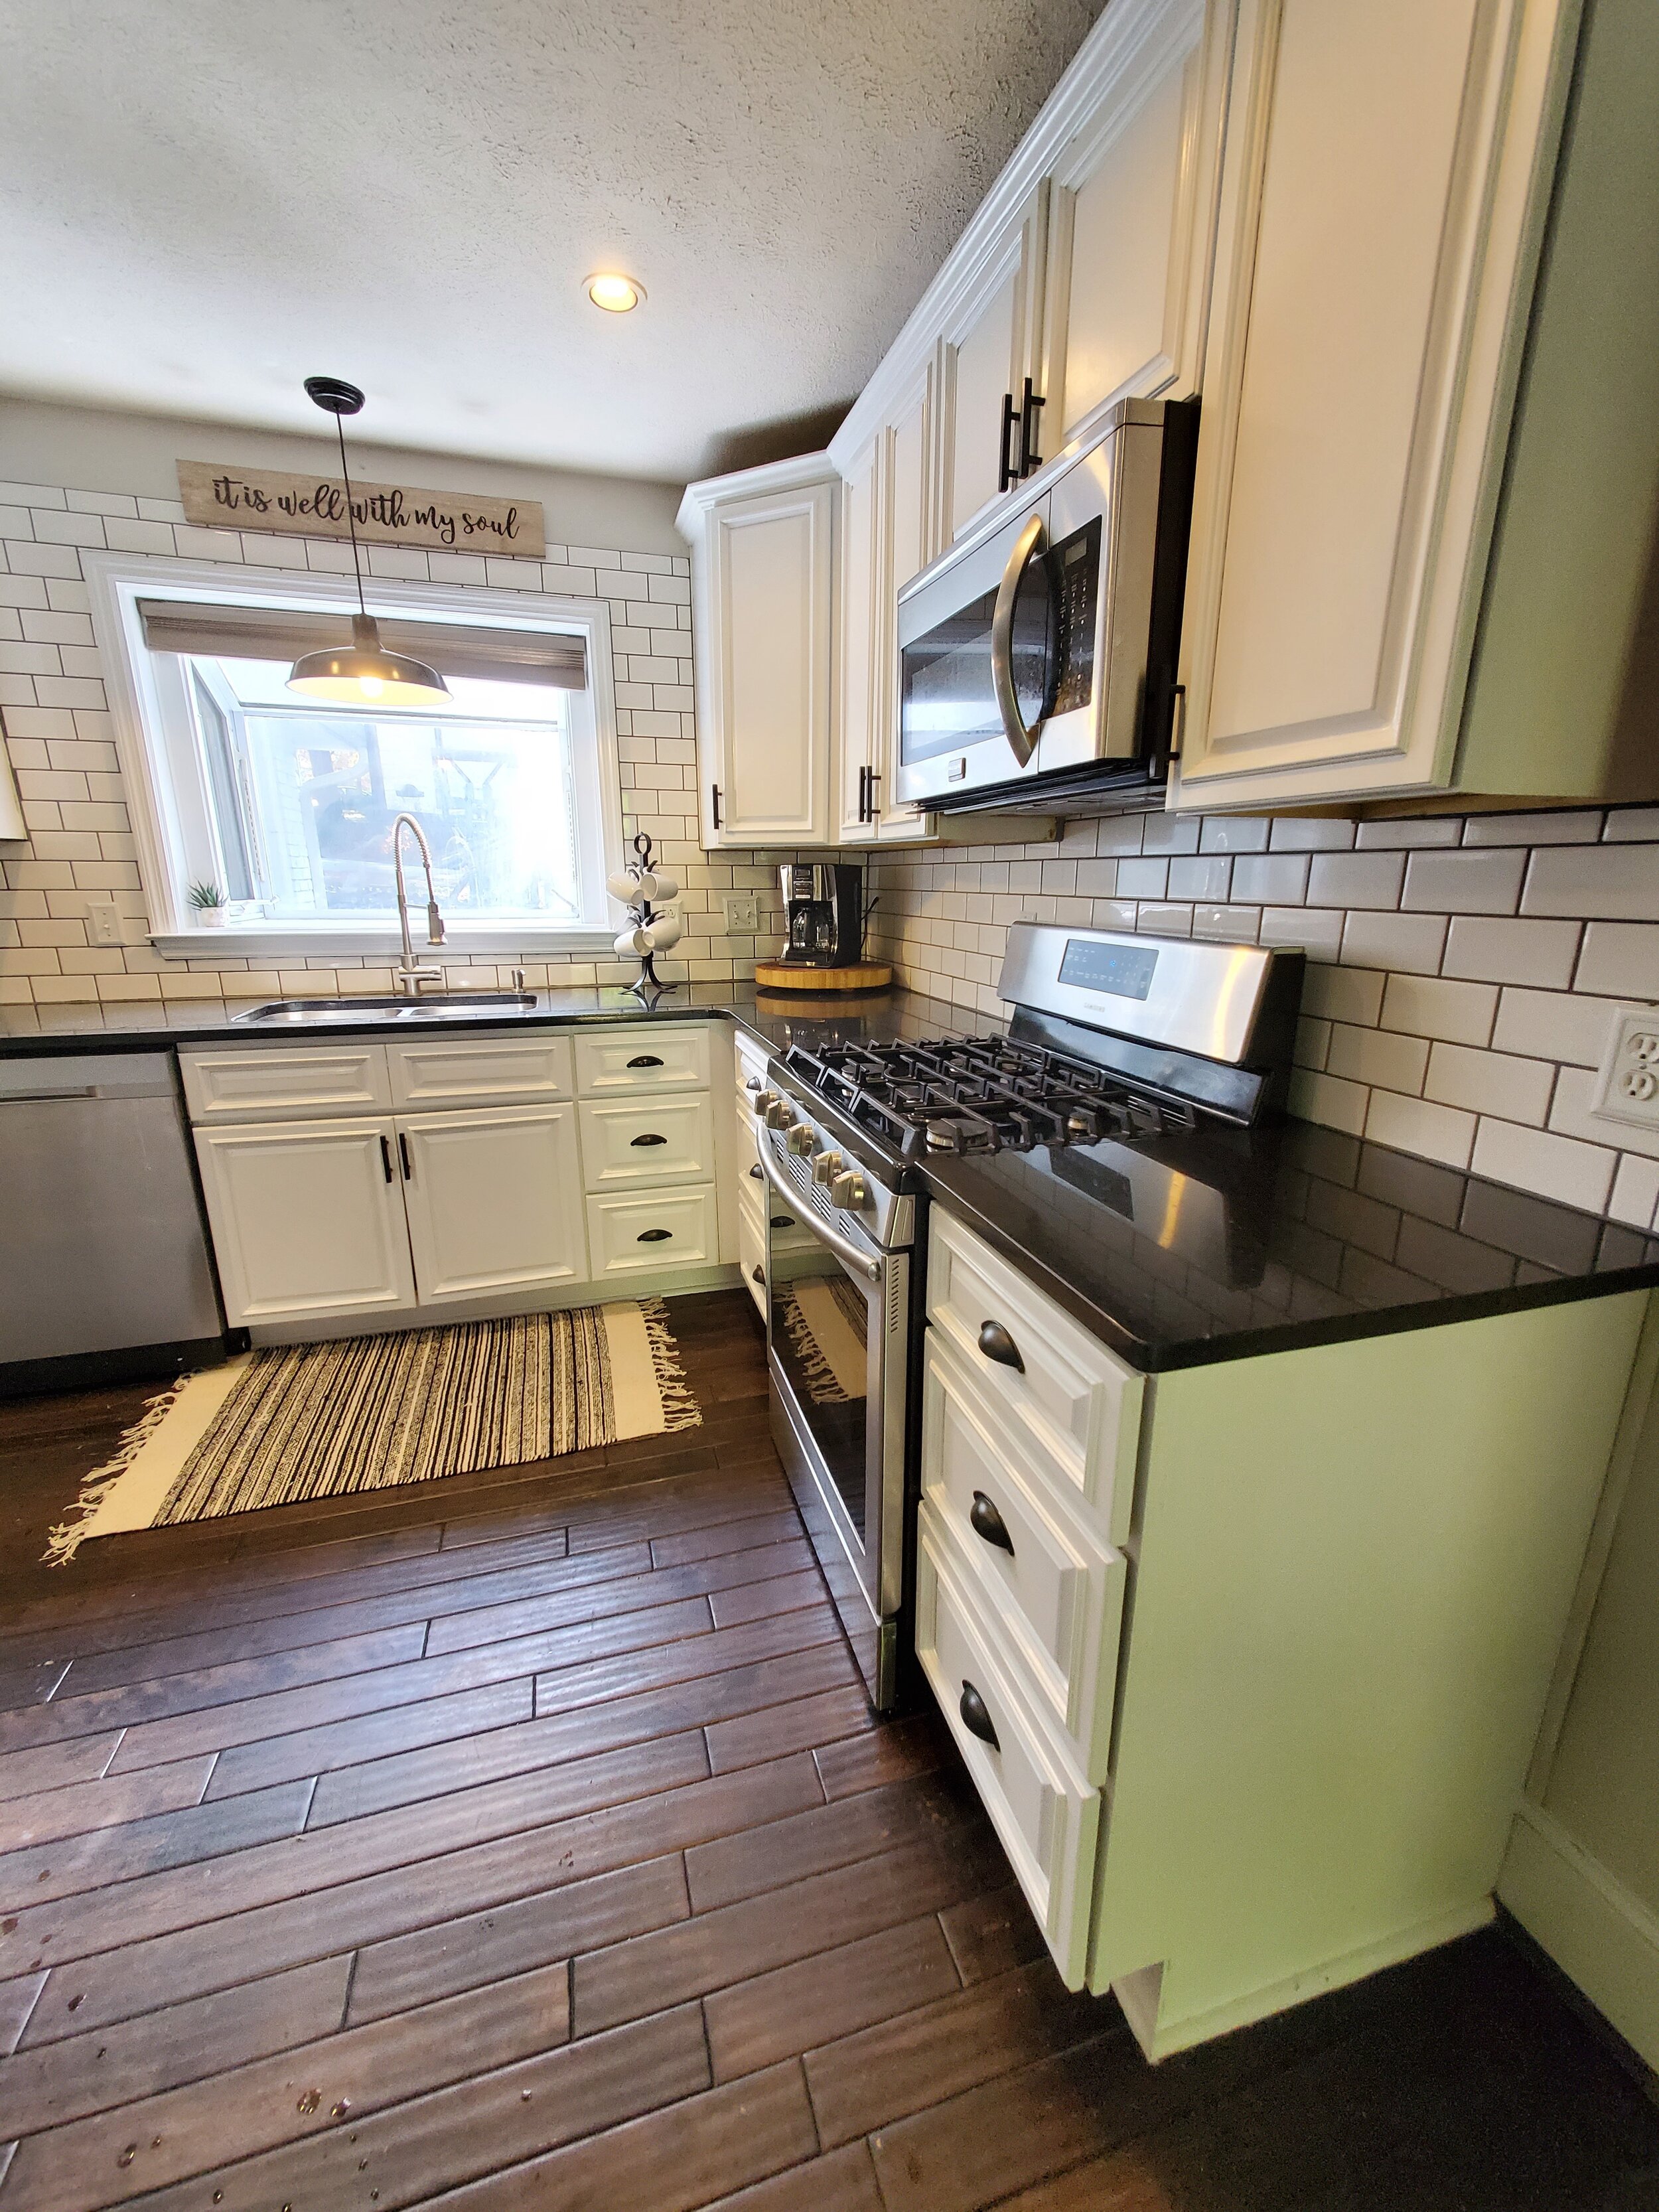
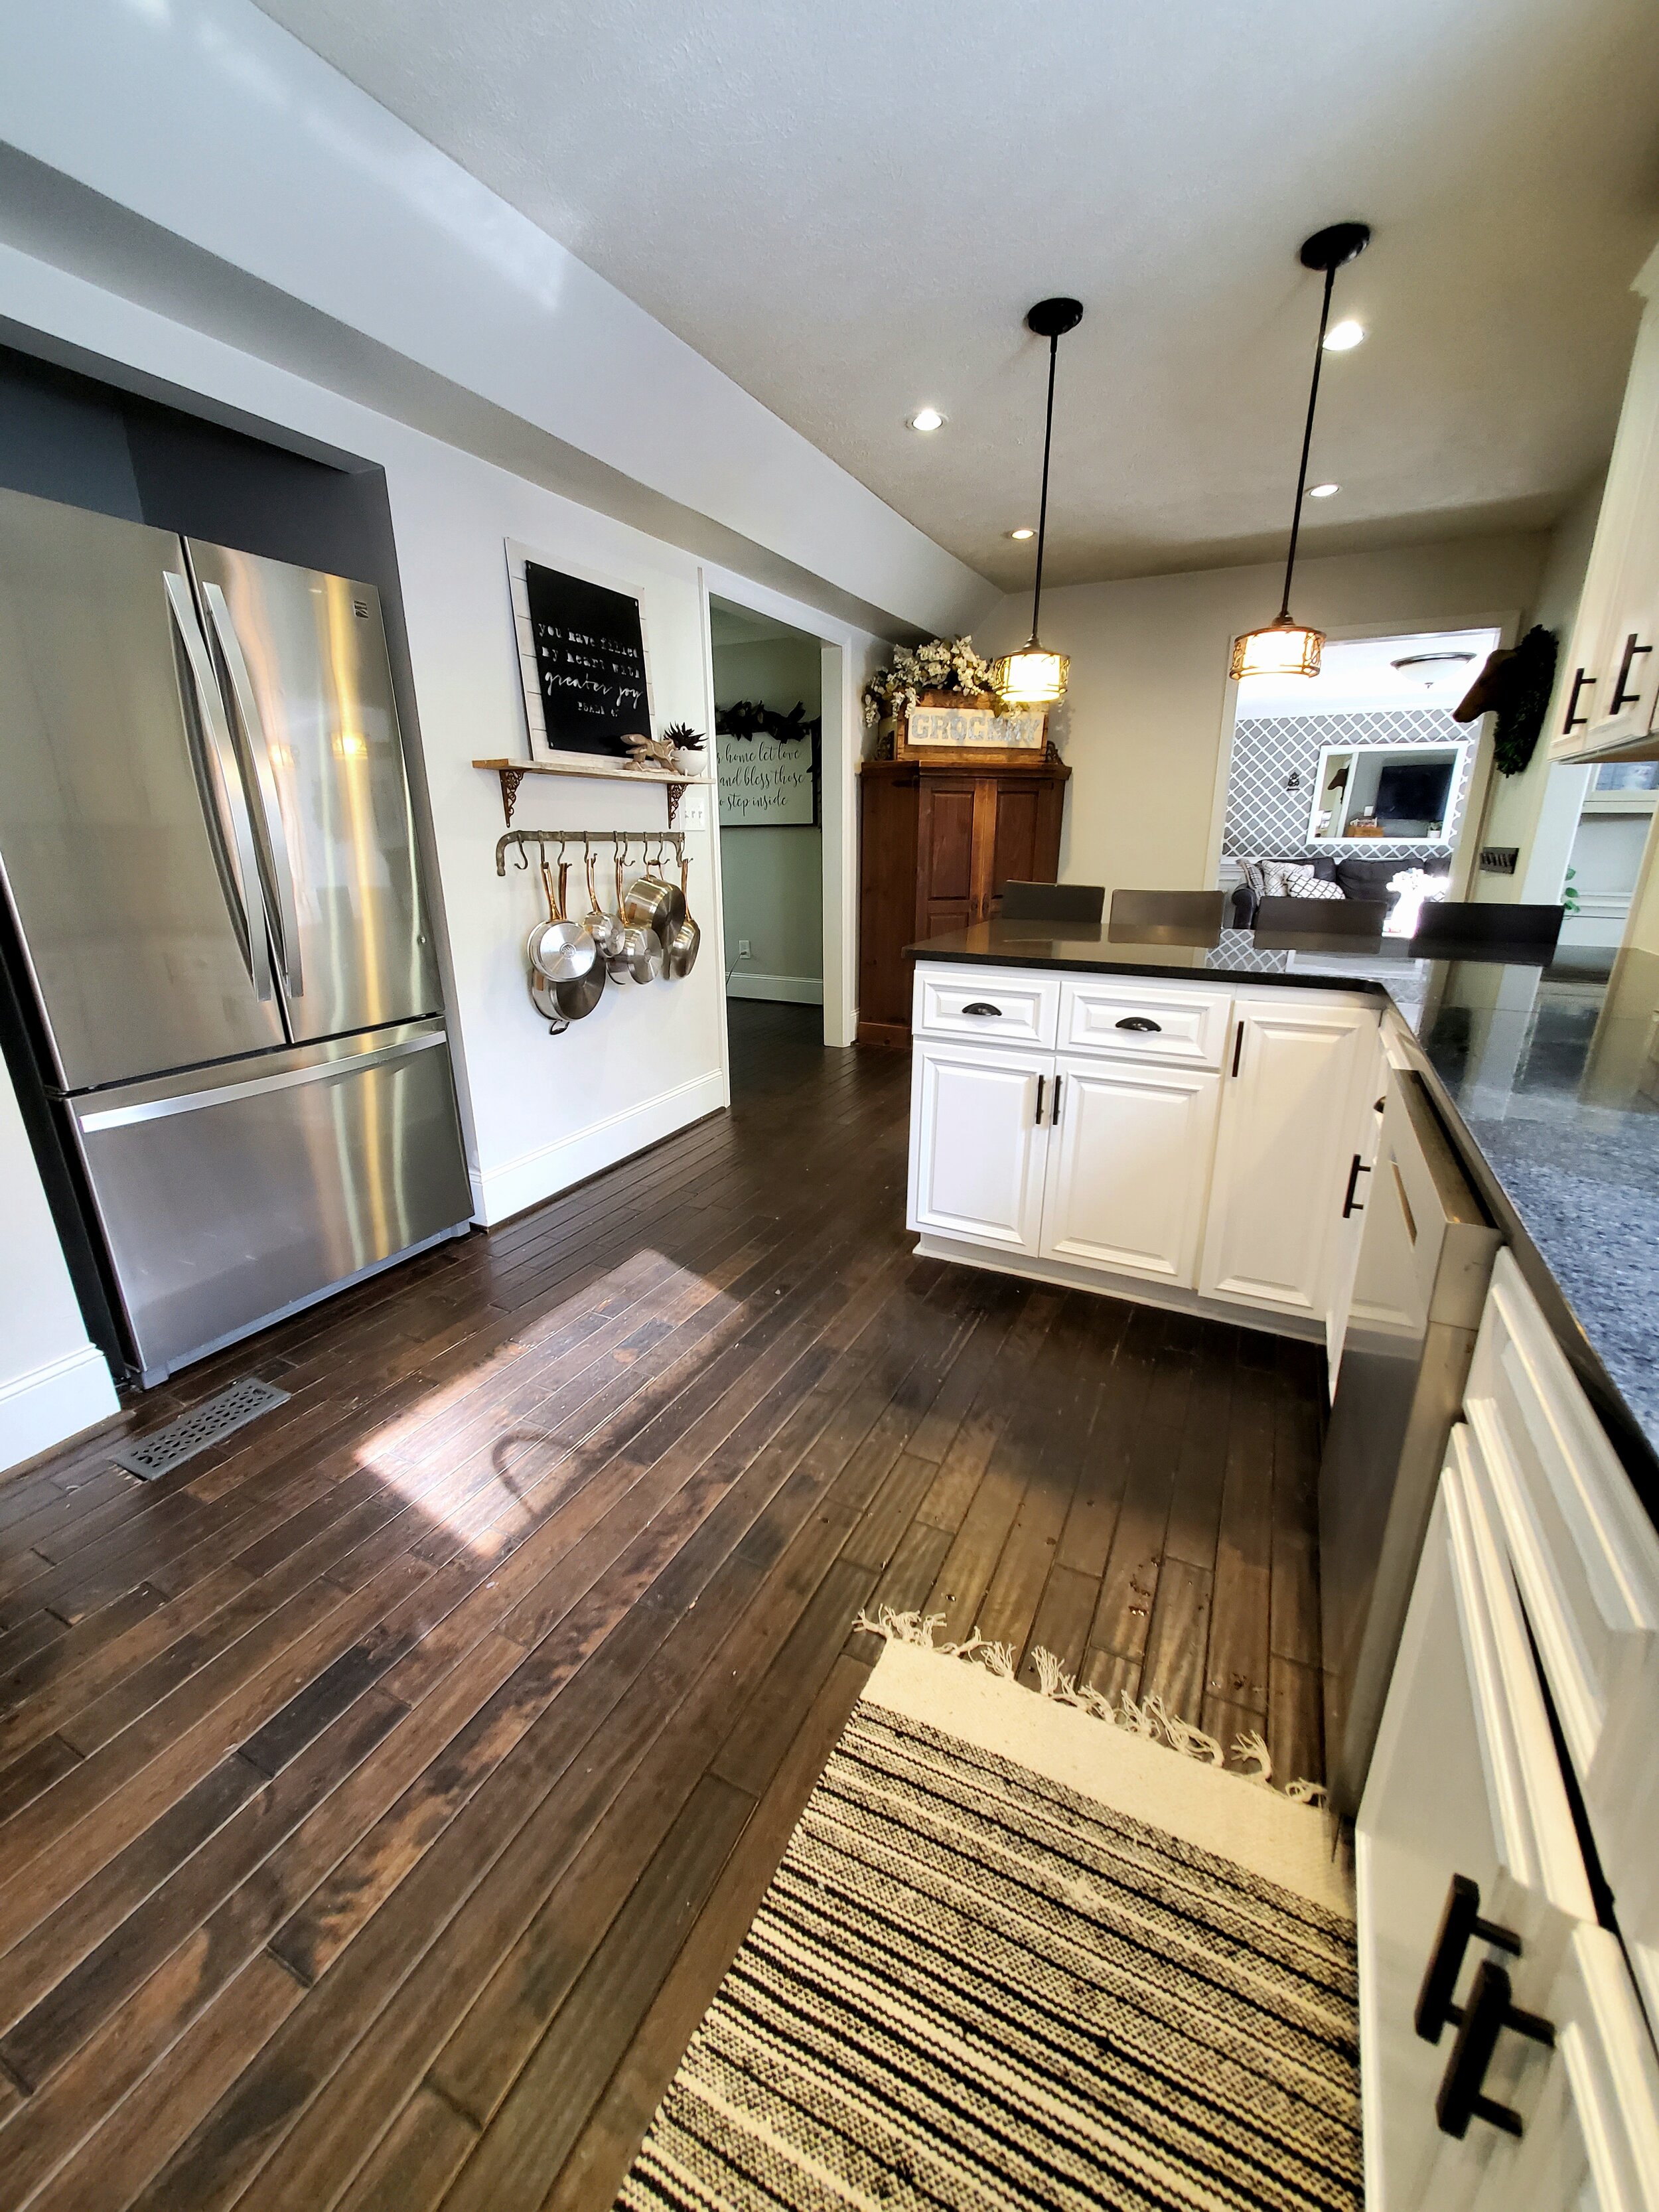
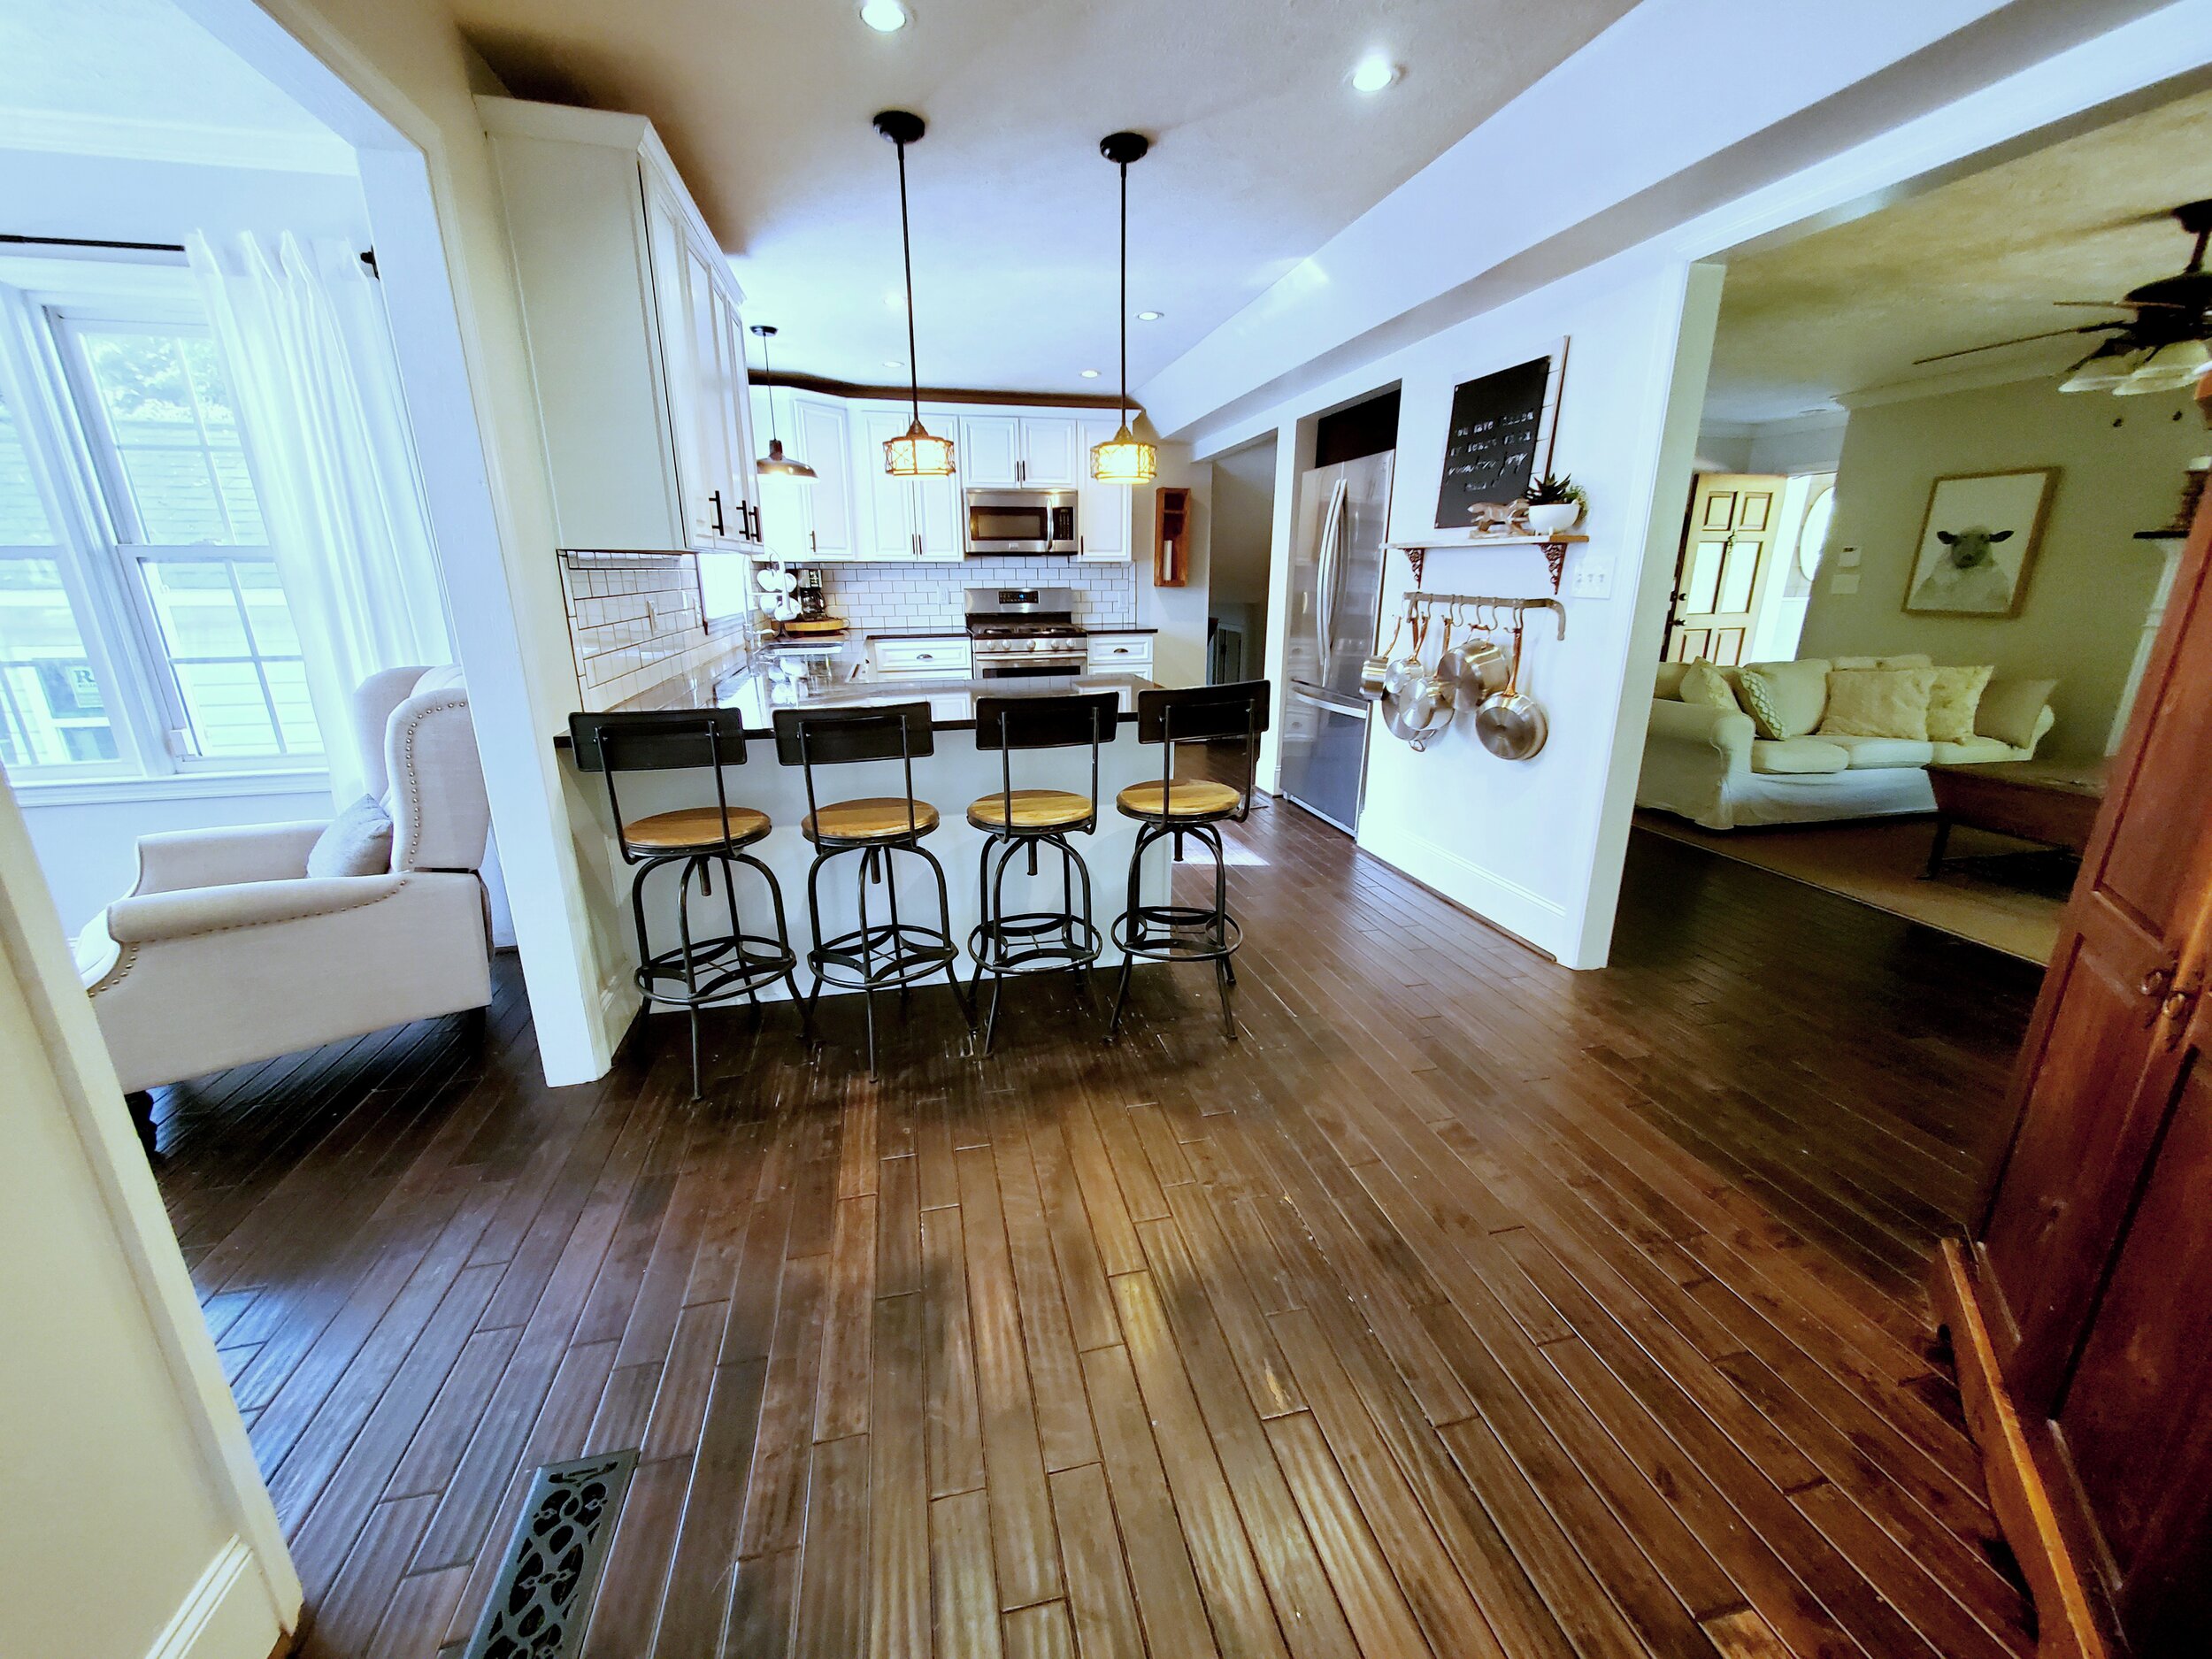
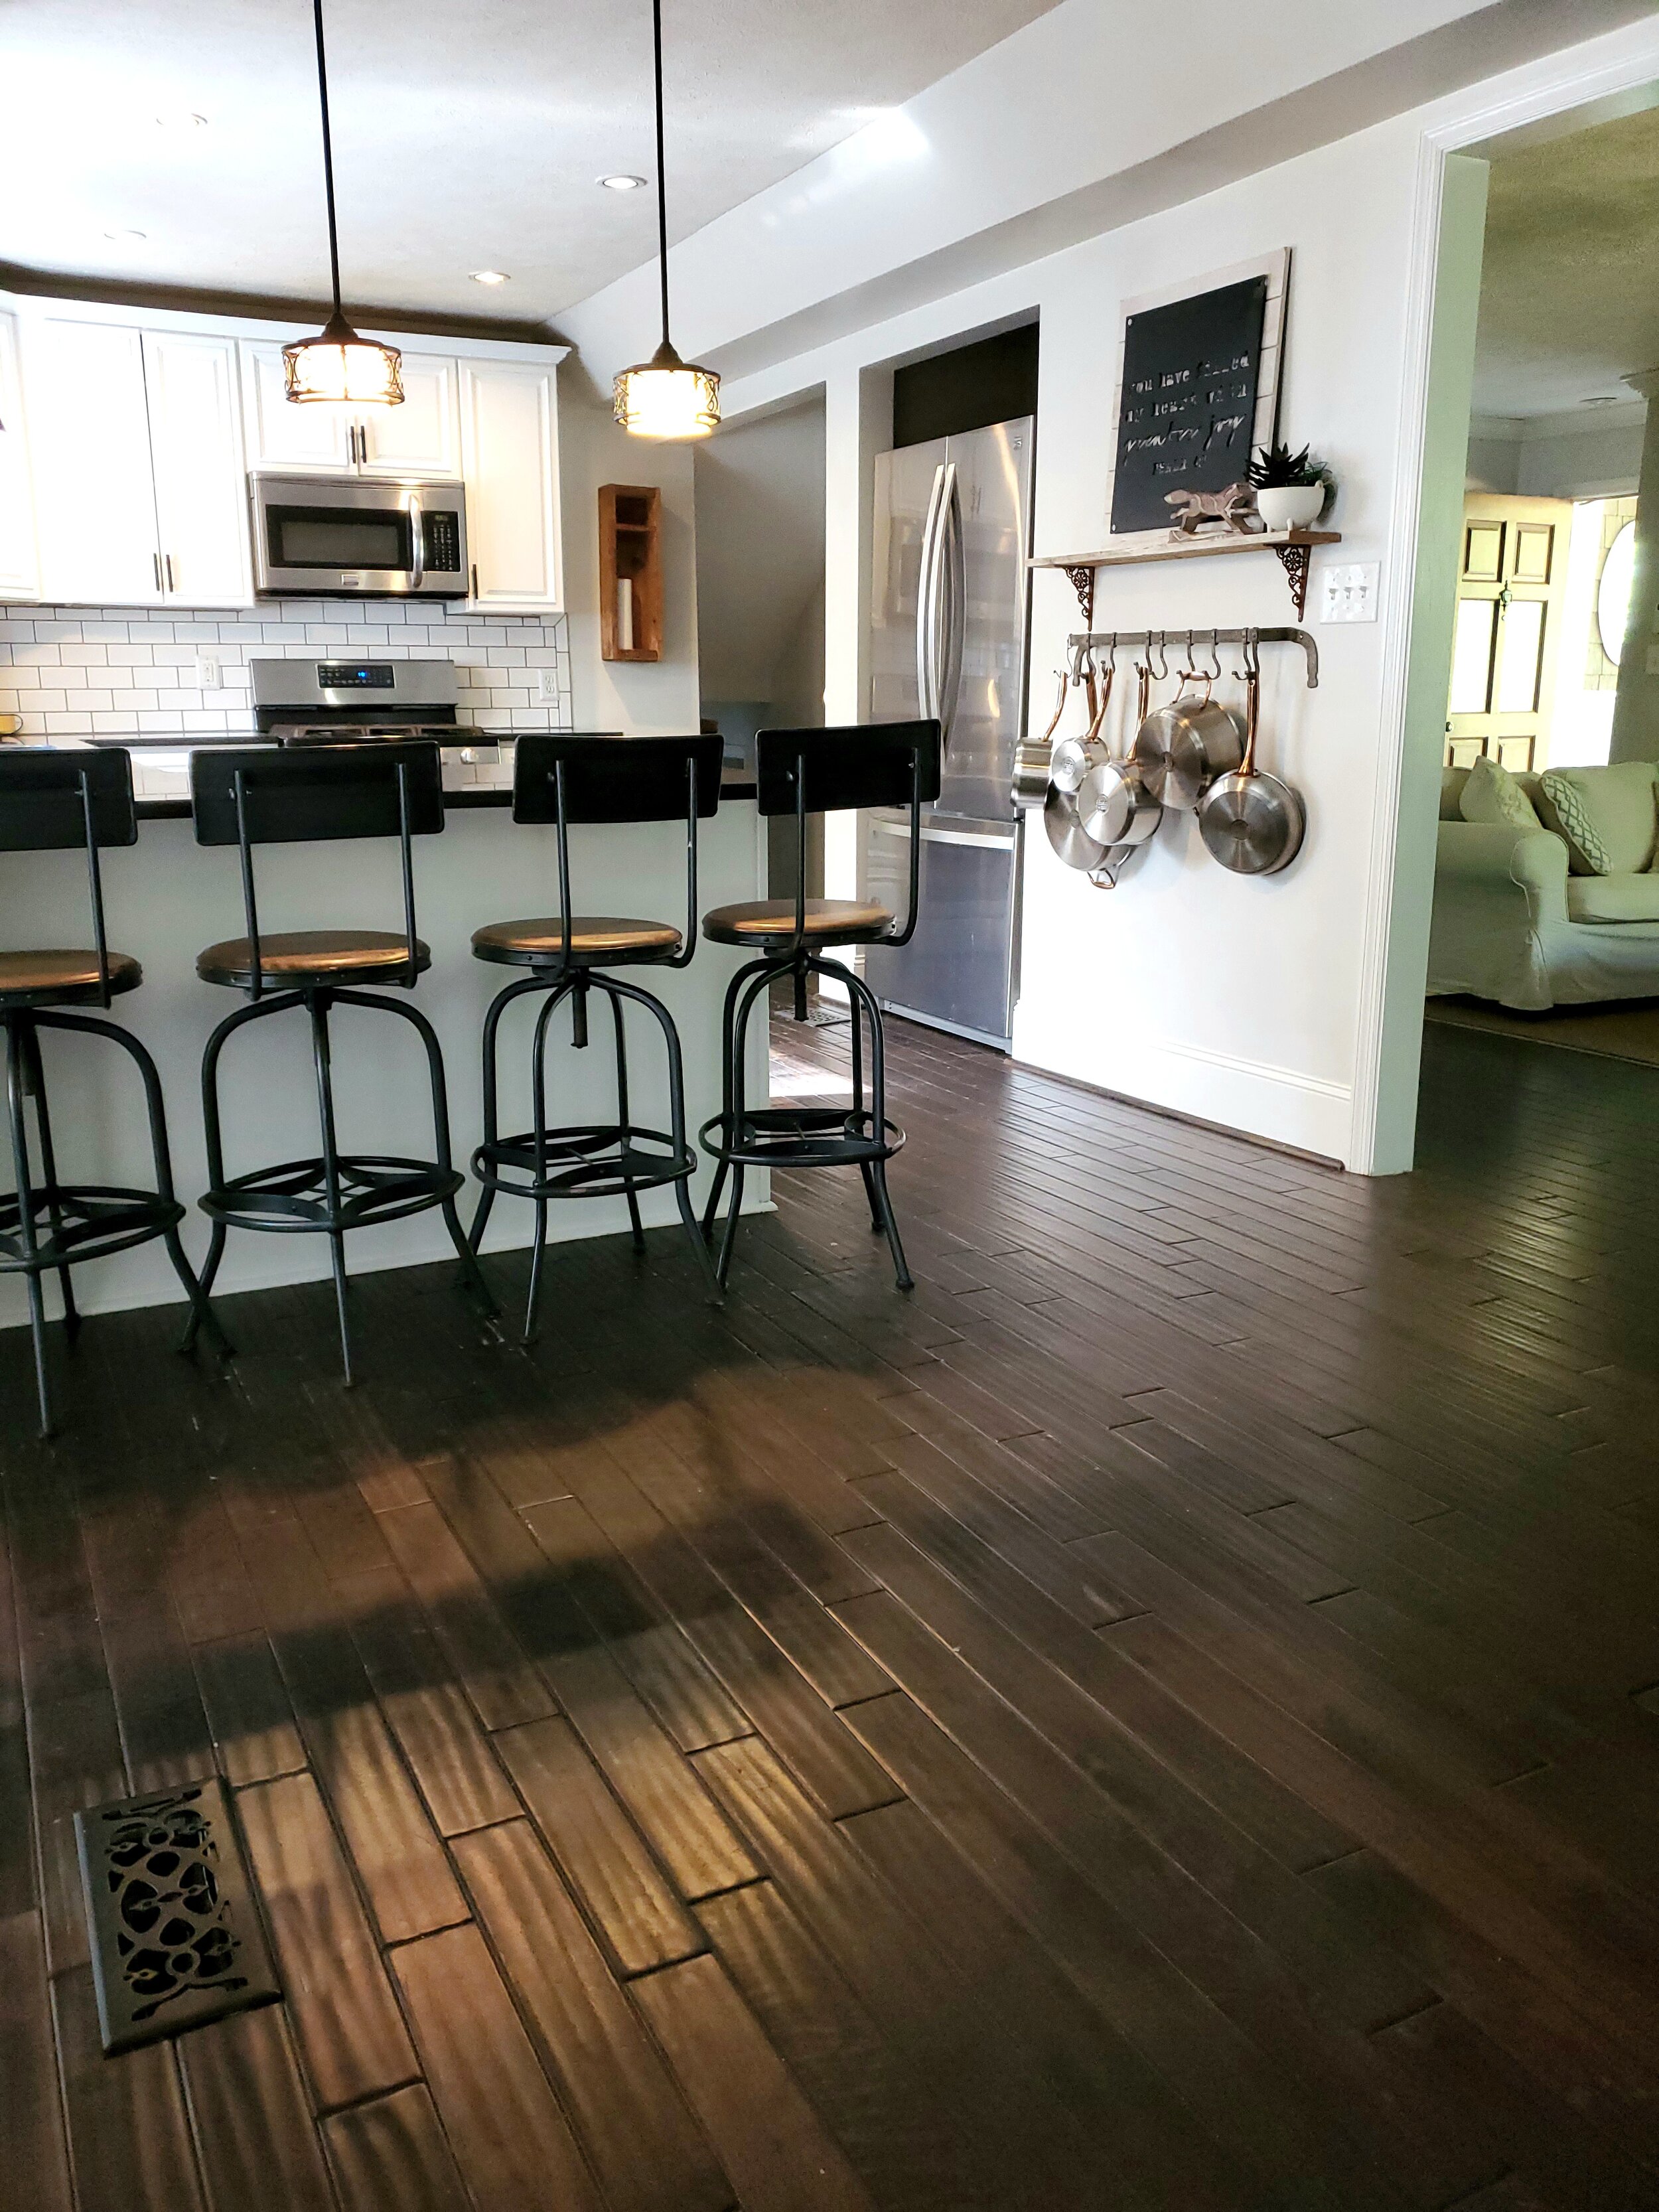
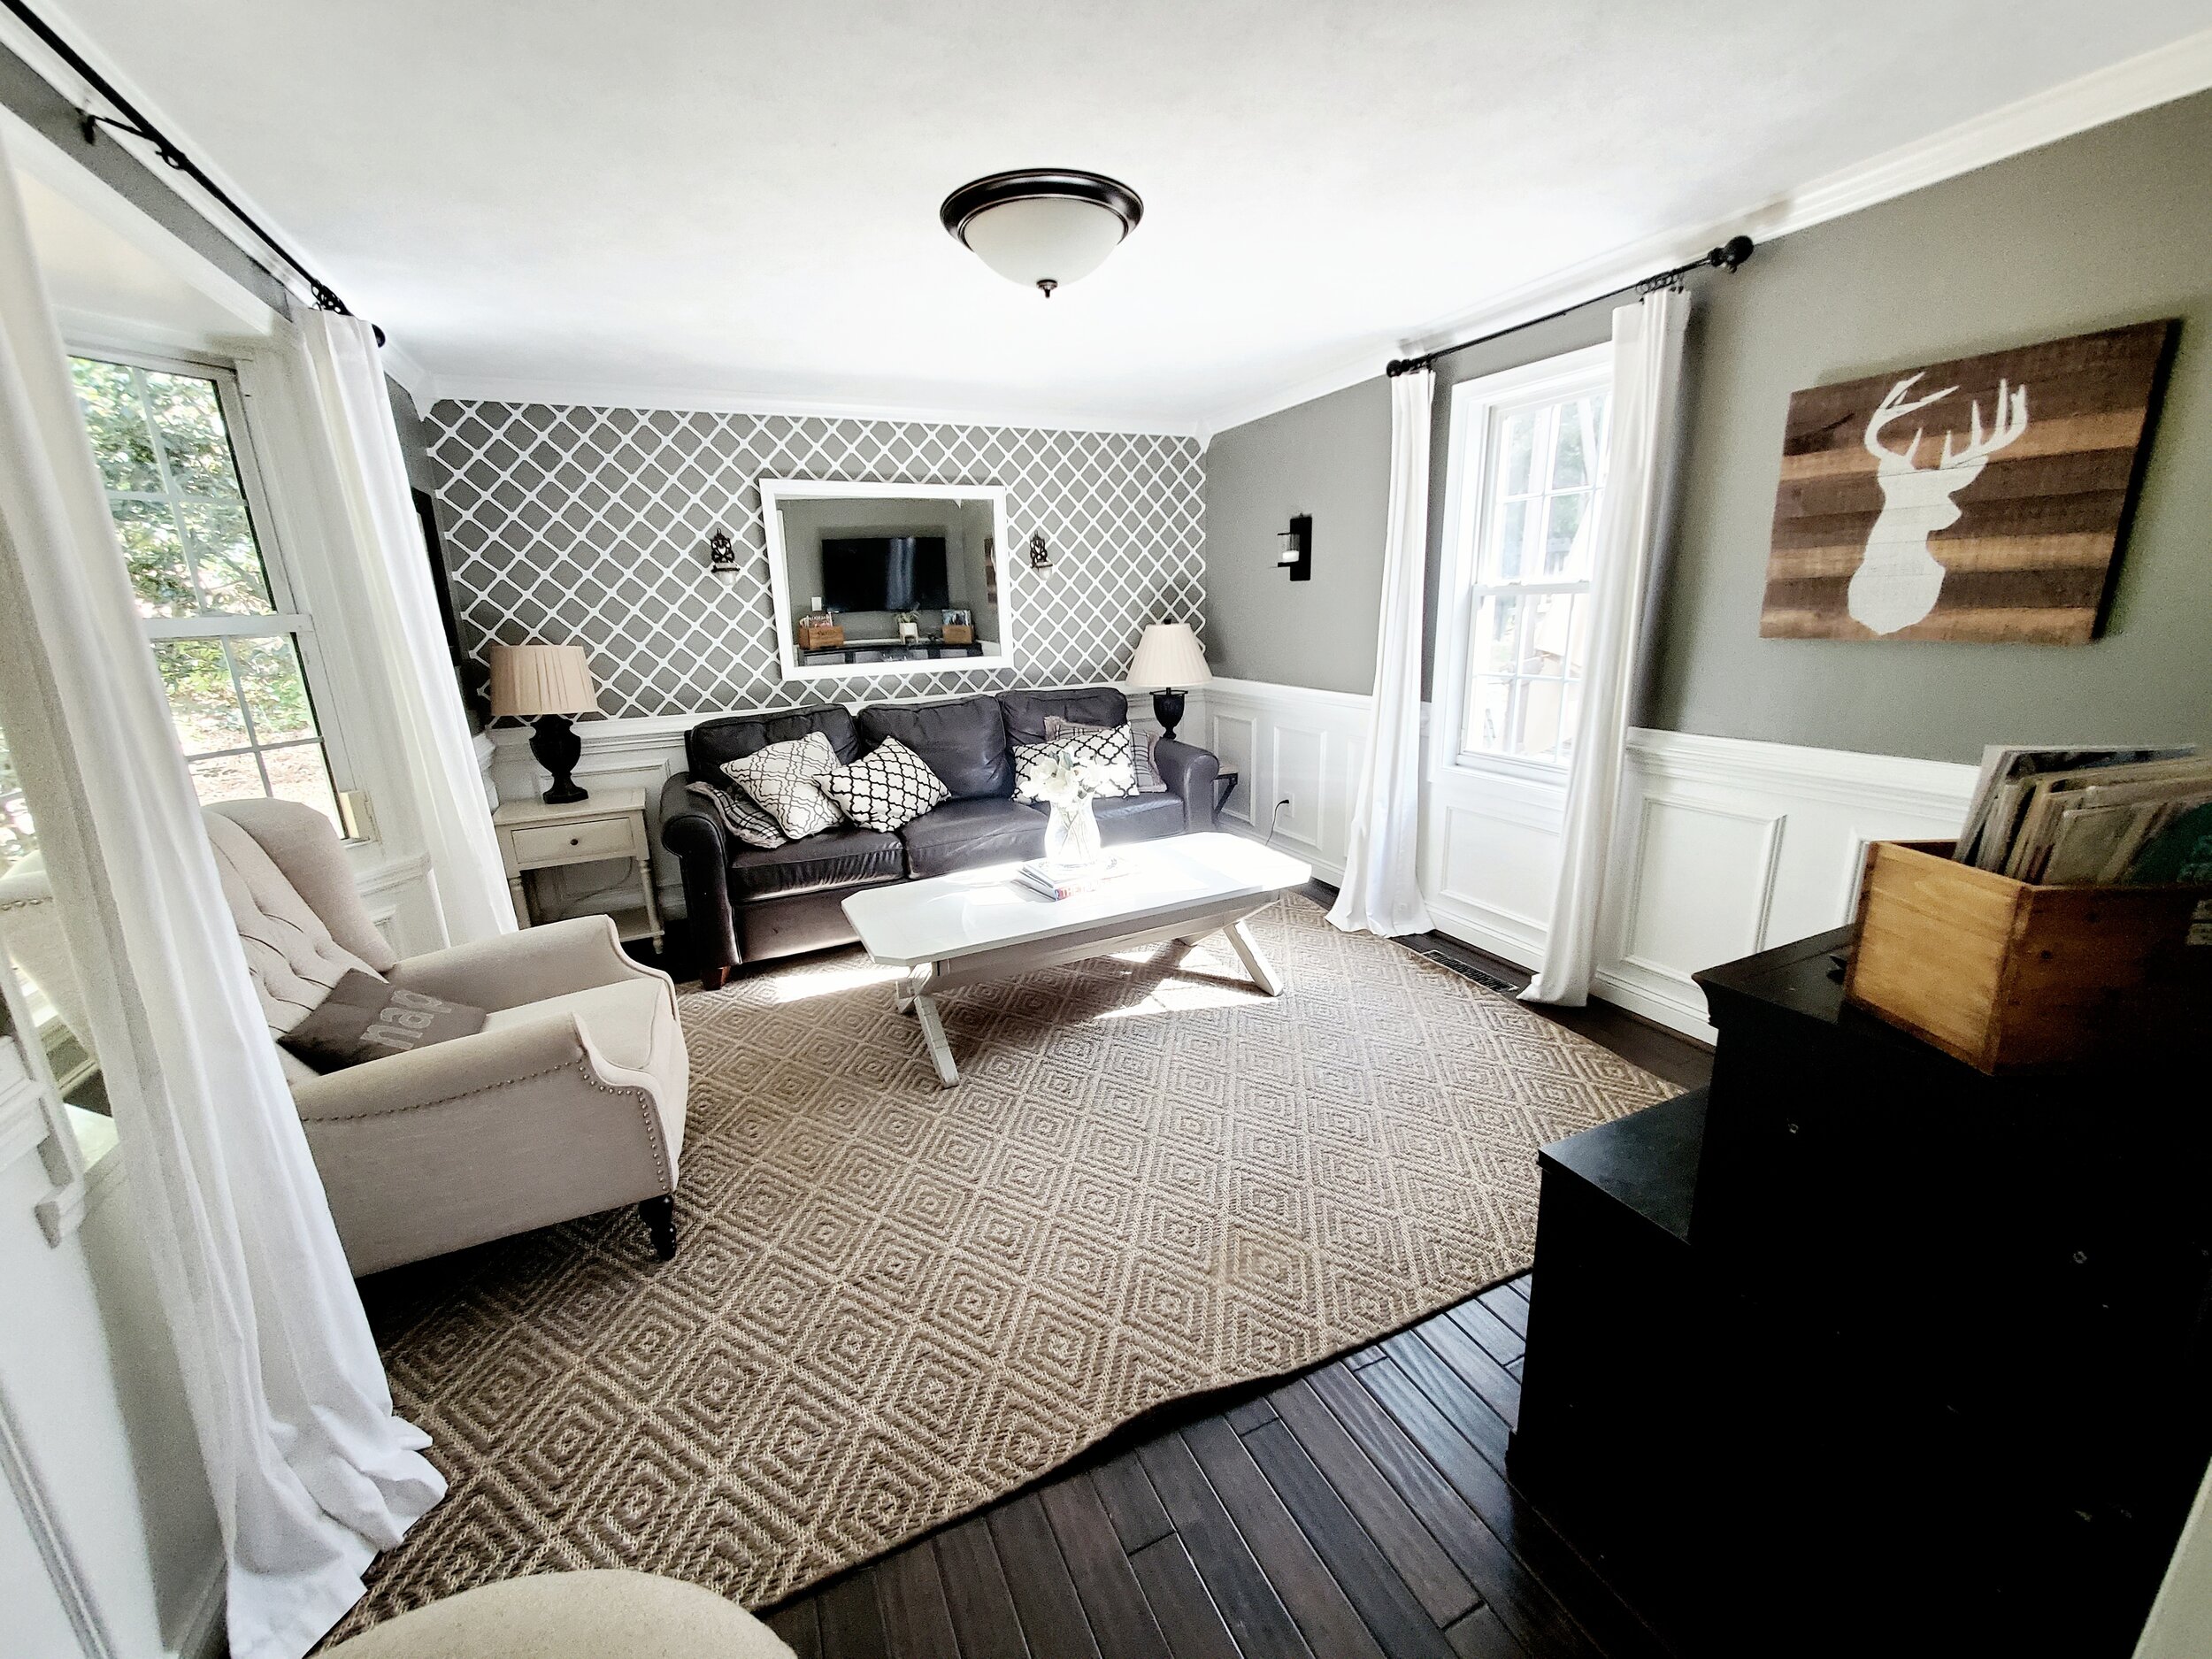
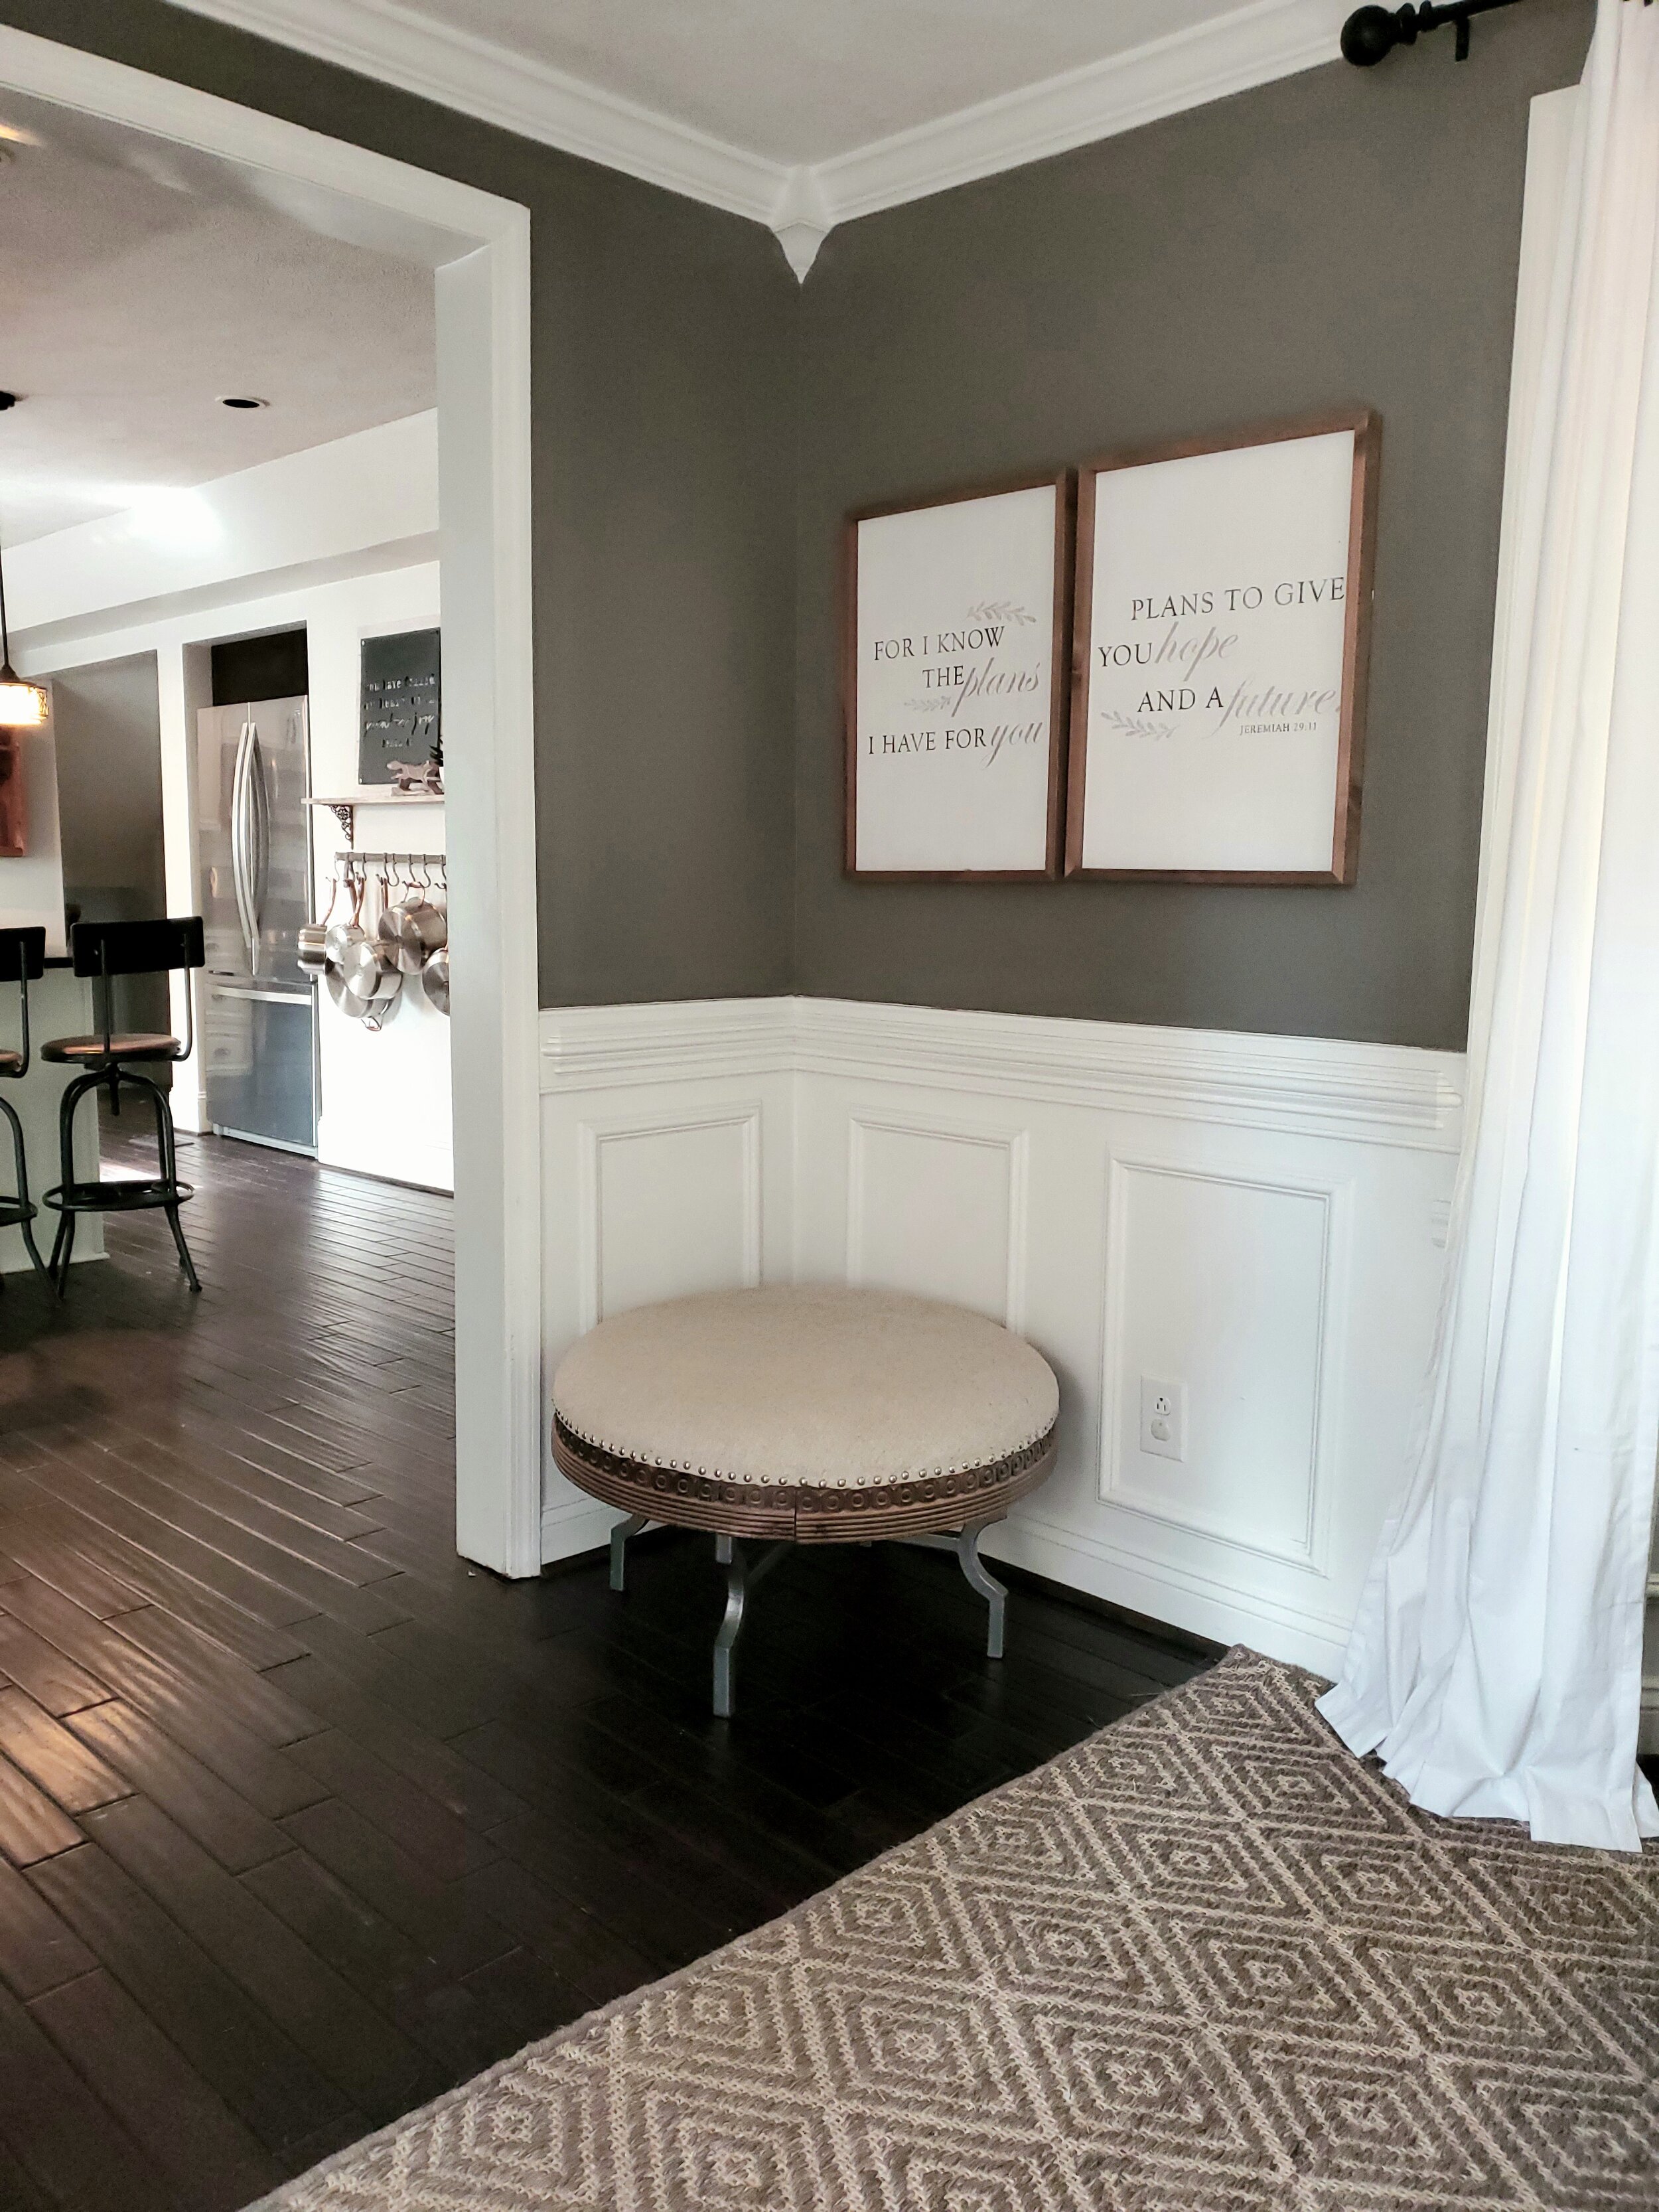
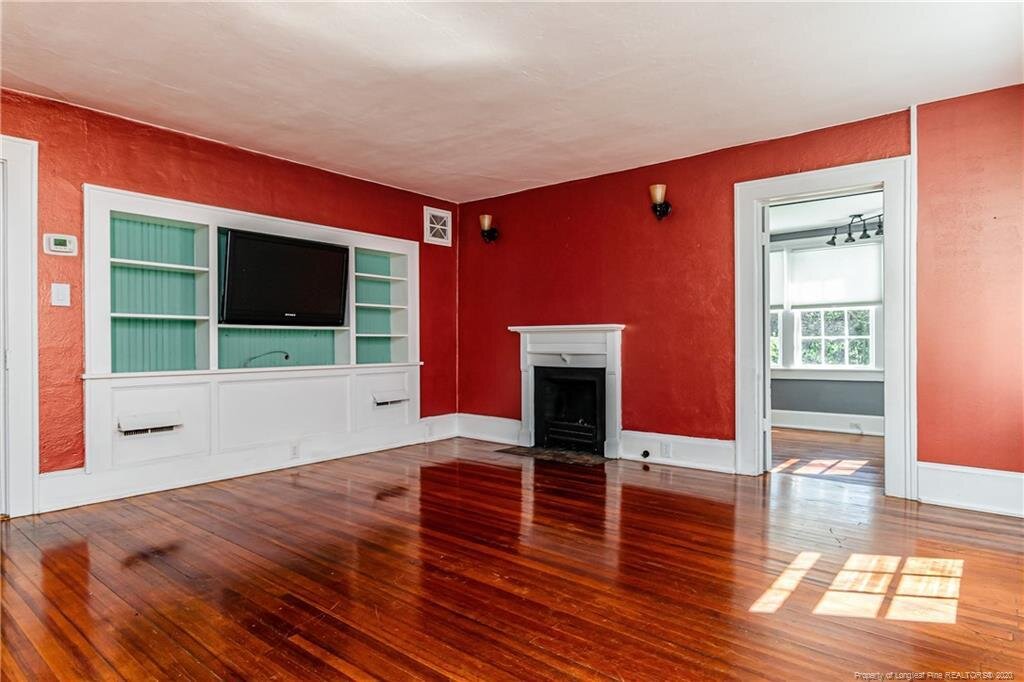
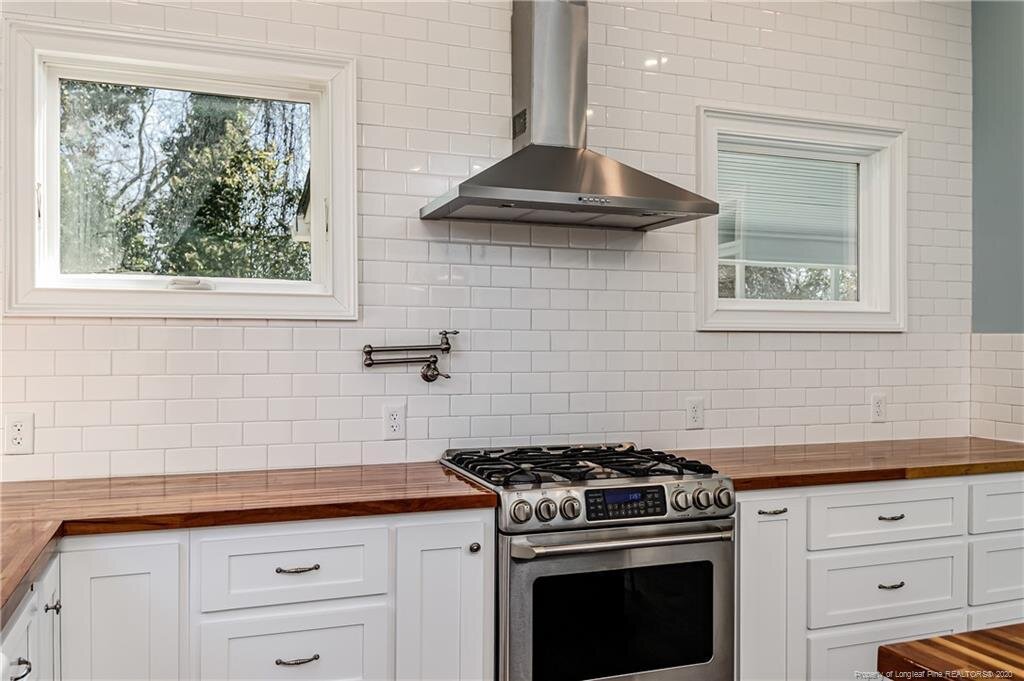
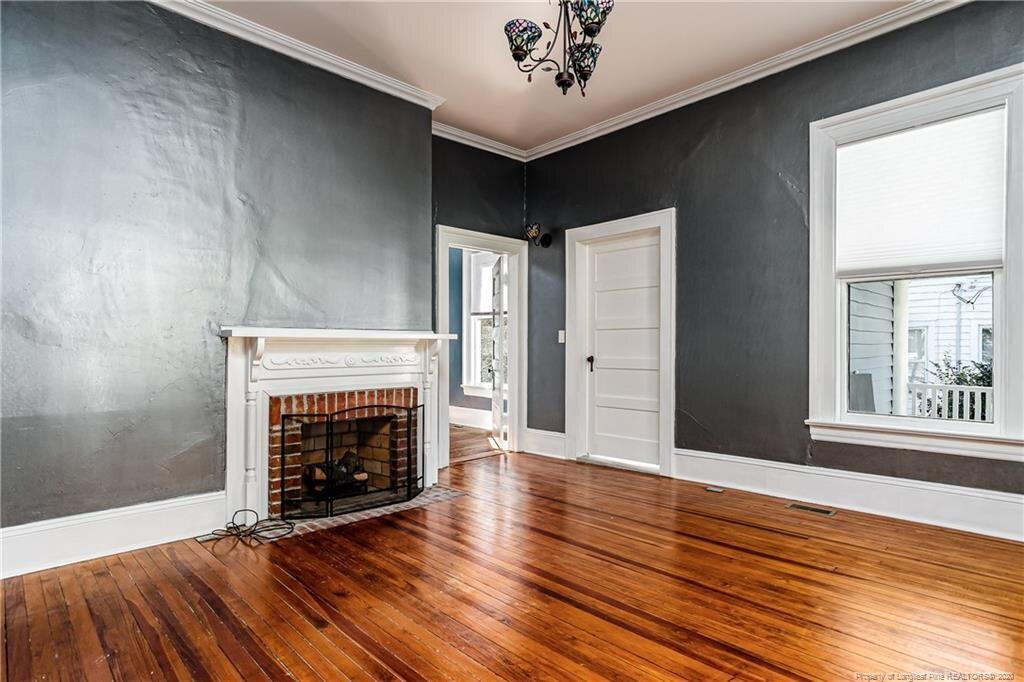
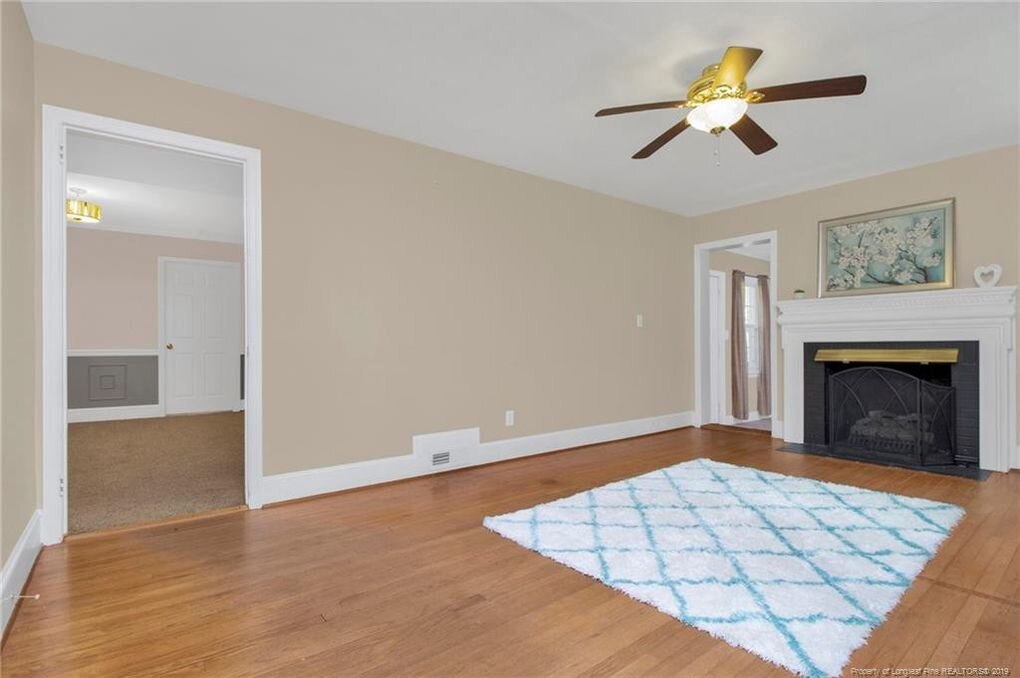
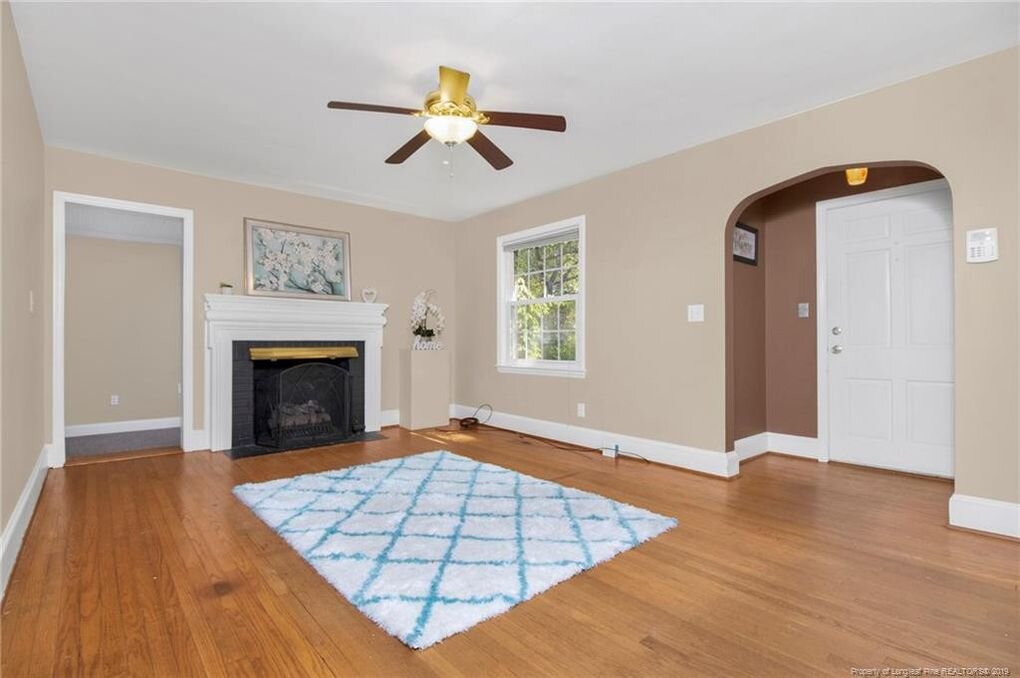
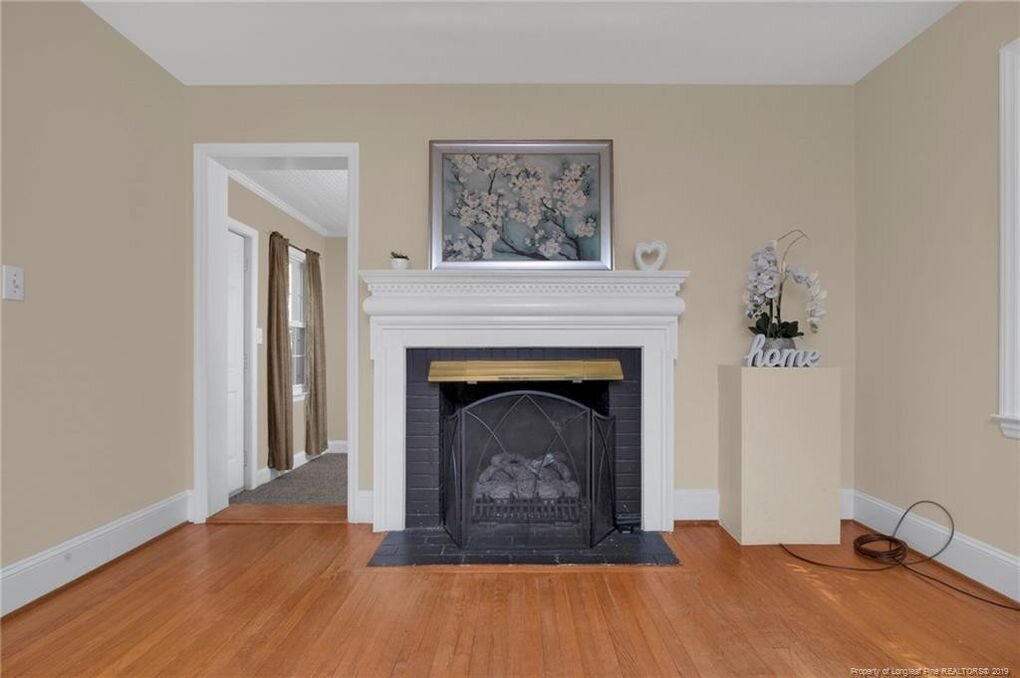
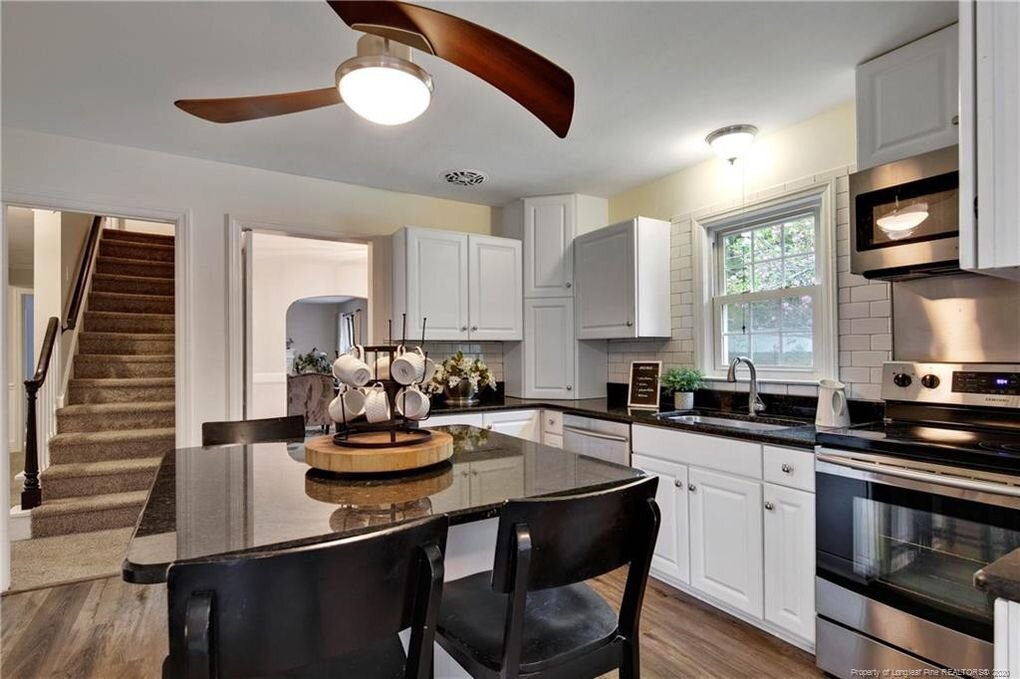
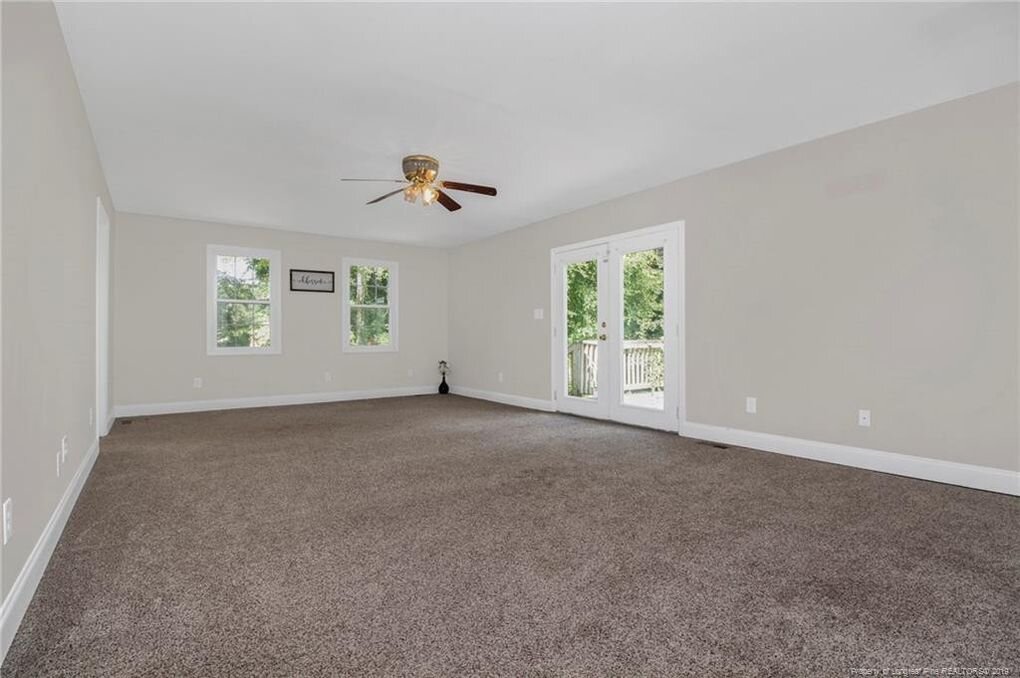
We continue to shape up our new home! Still at work in progress but really coming along. Today we are sharing with you the front living room, our bedroom, and the kitchen!
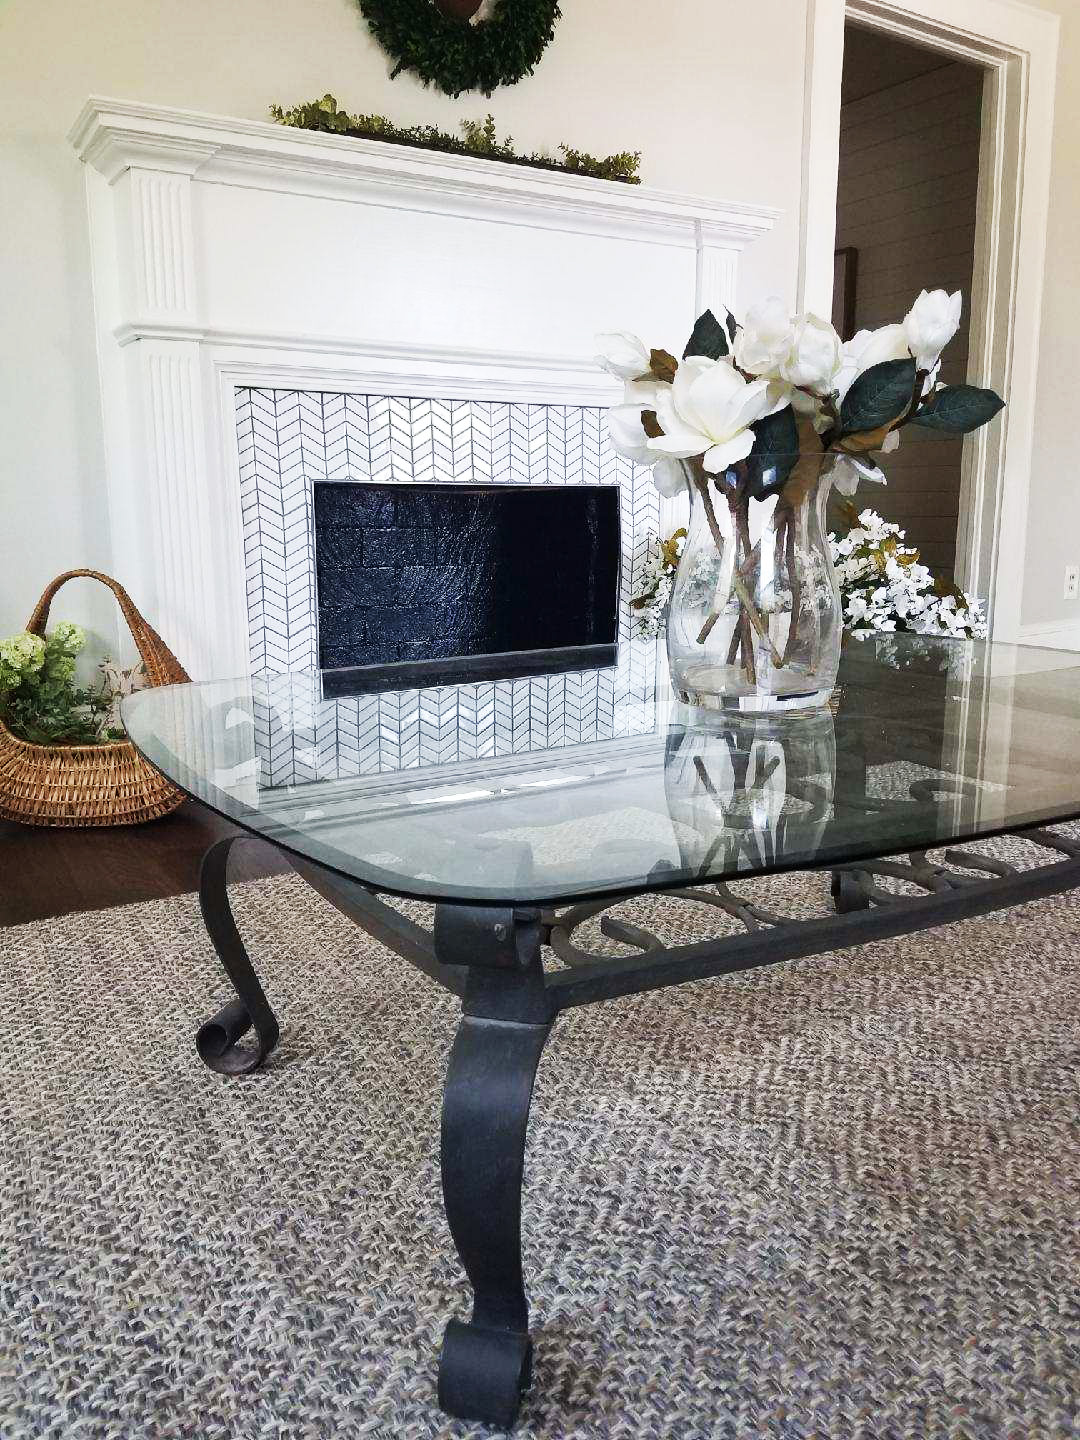
Some of the changes were simple and others were quite large! In the front room, we used Sherwin-Williams Tri-corn Black on the fireplace and built-ins and then Sherwin-Williams Pure White on the walls and trim. I love how the deep rich black brought out the depth in the room.
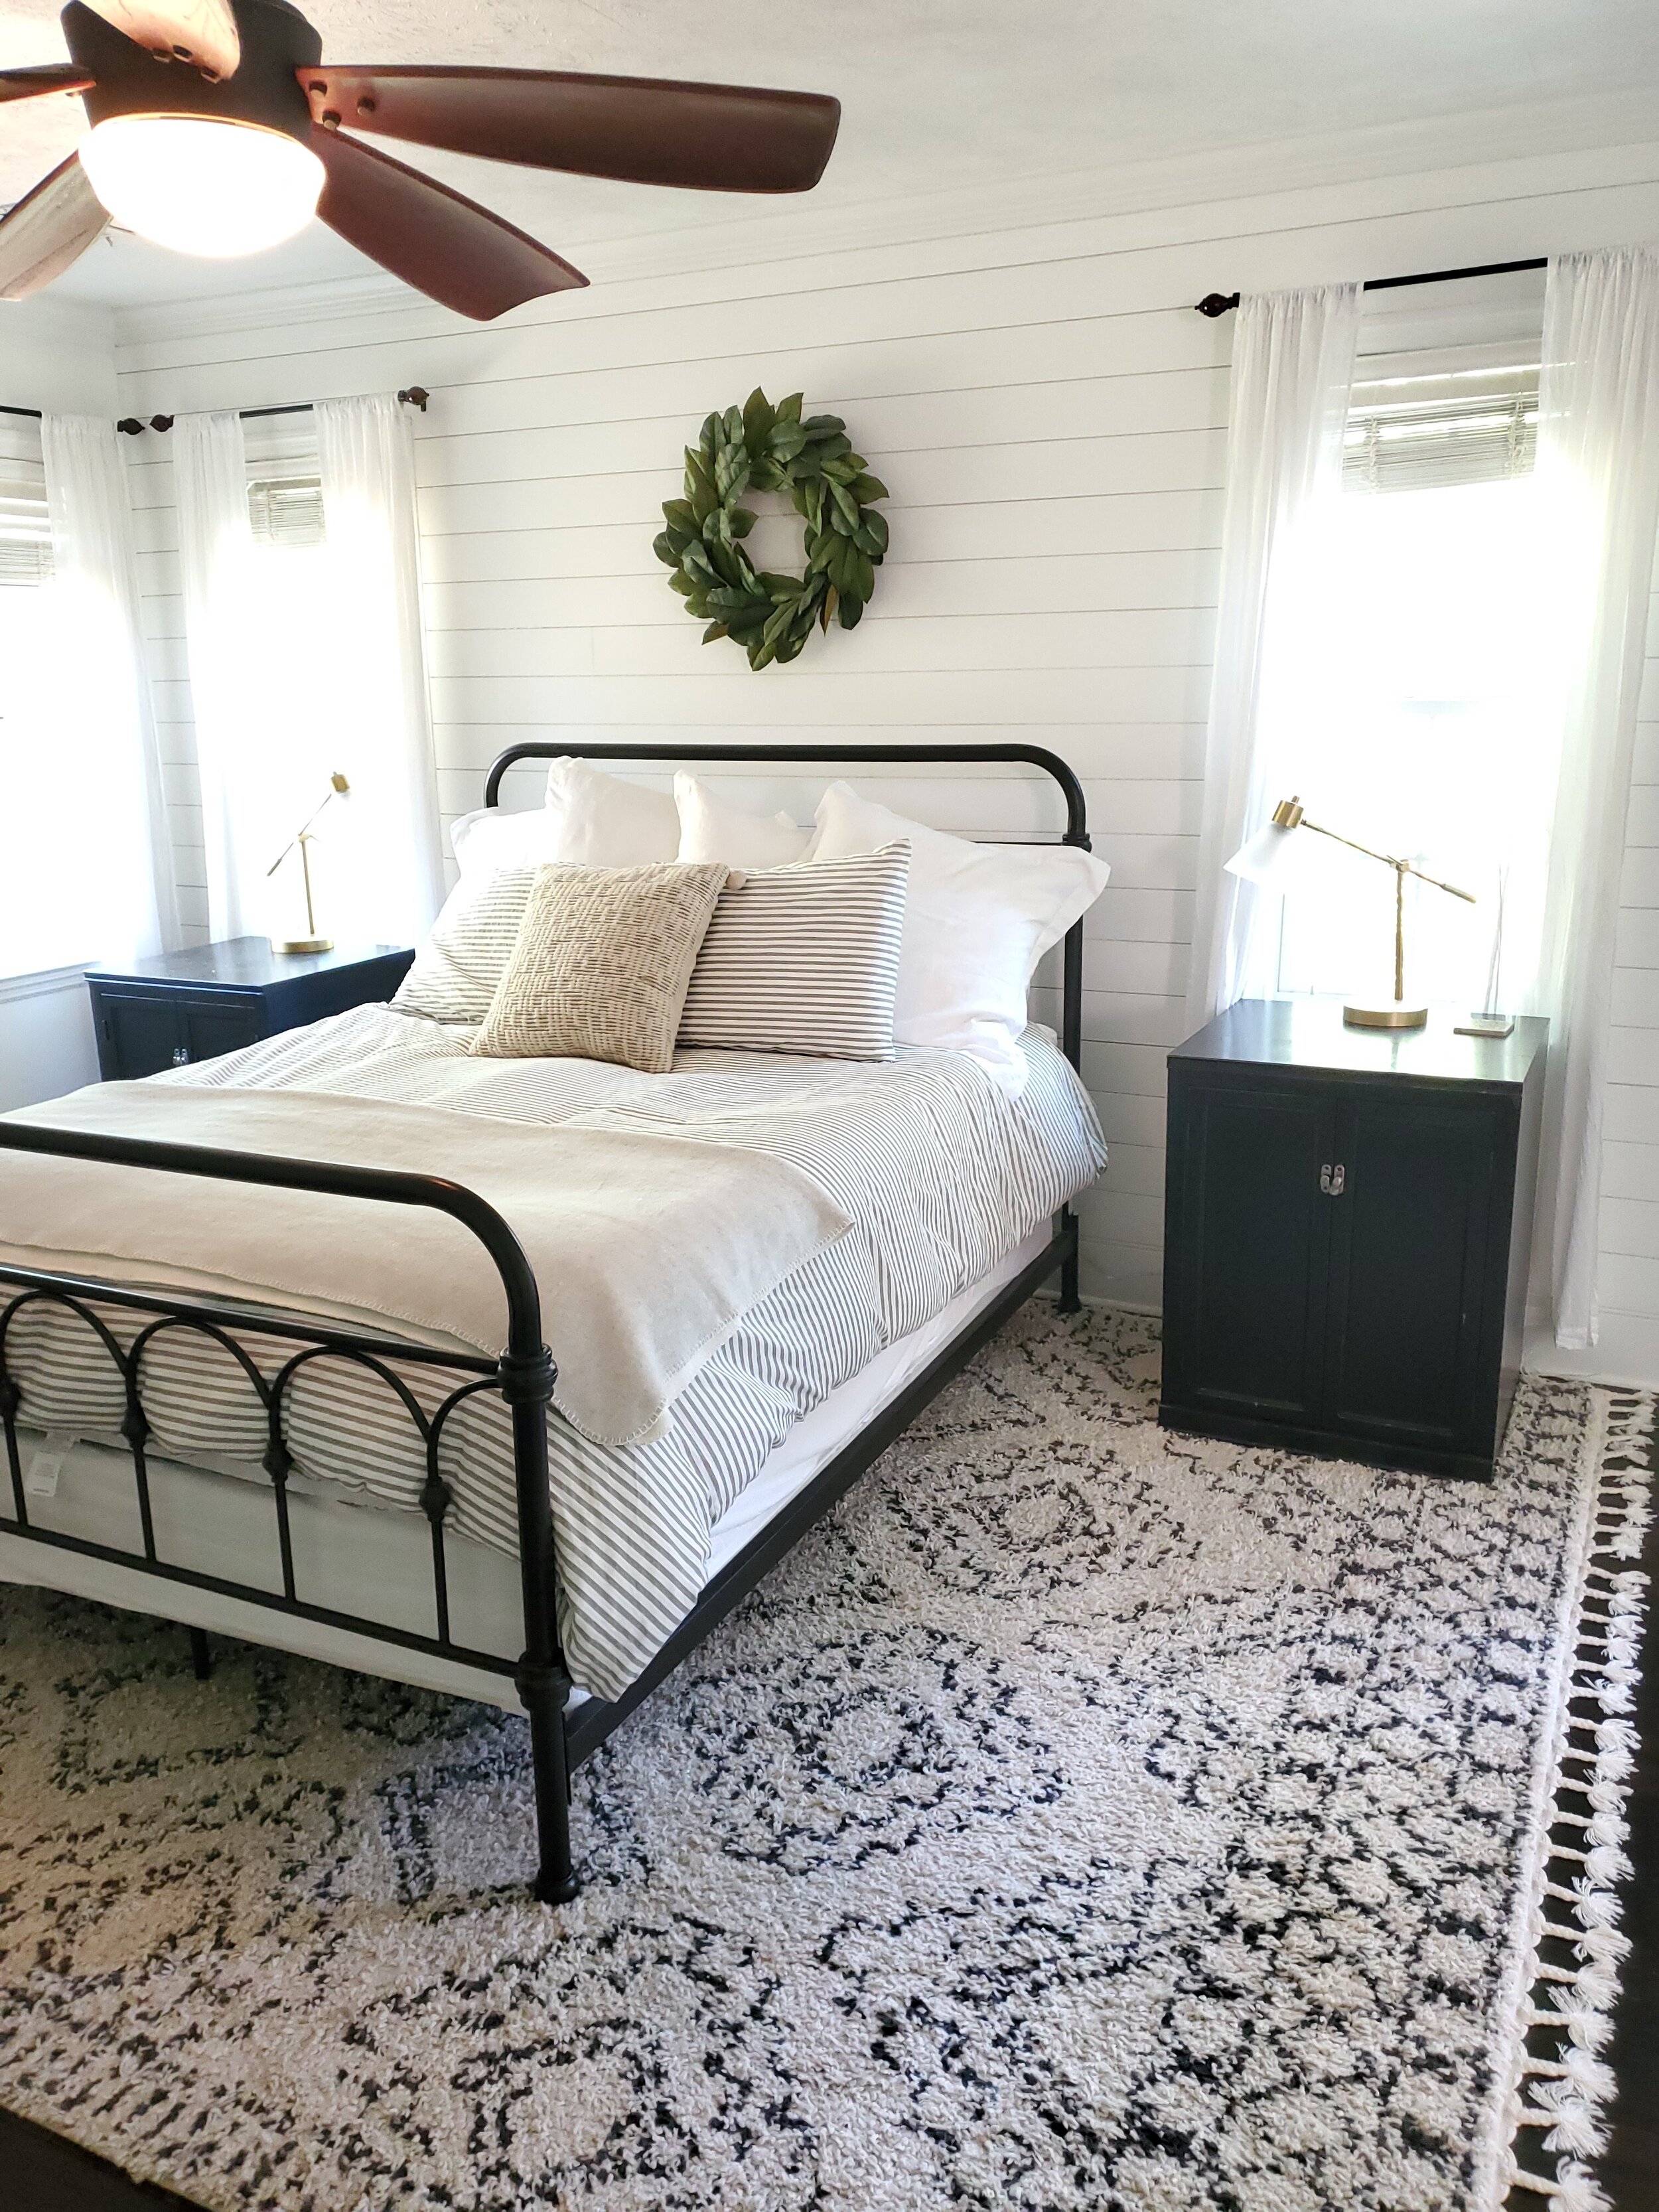
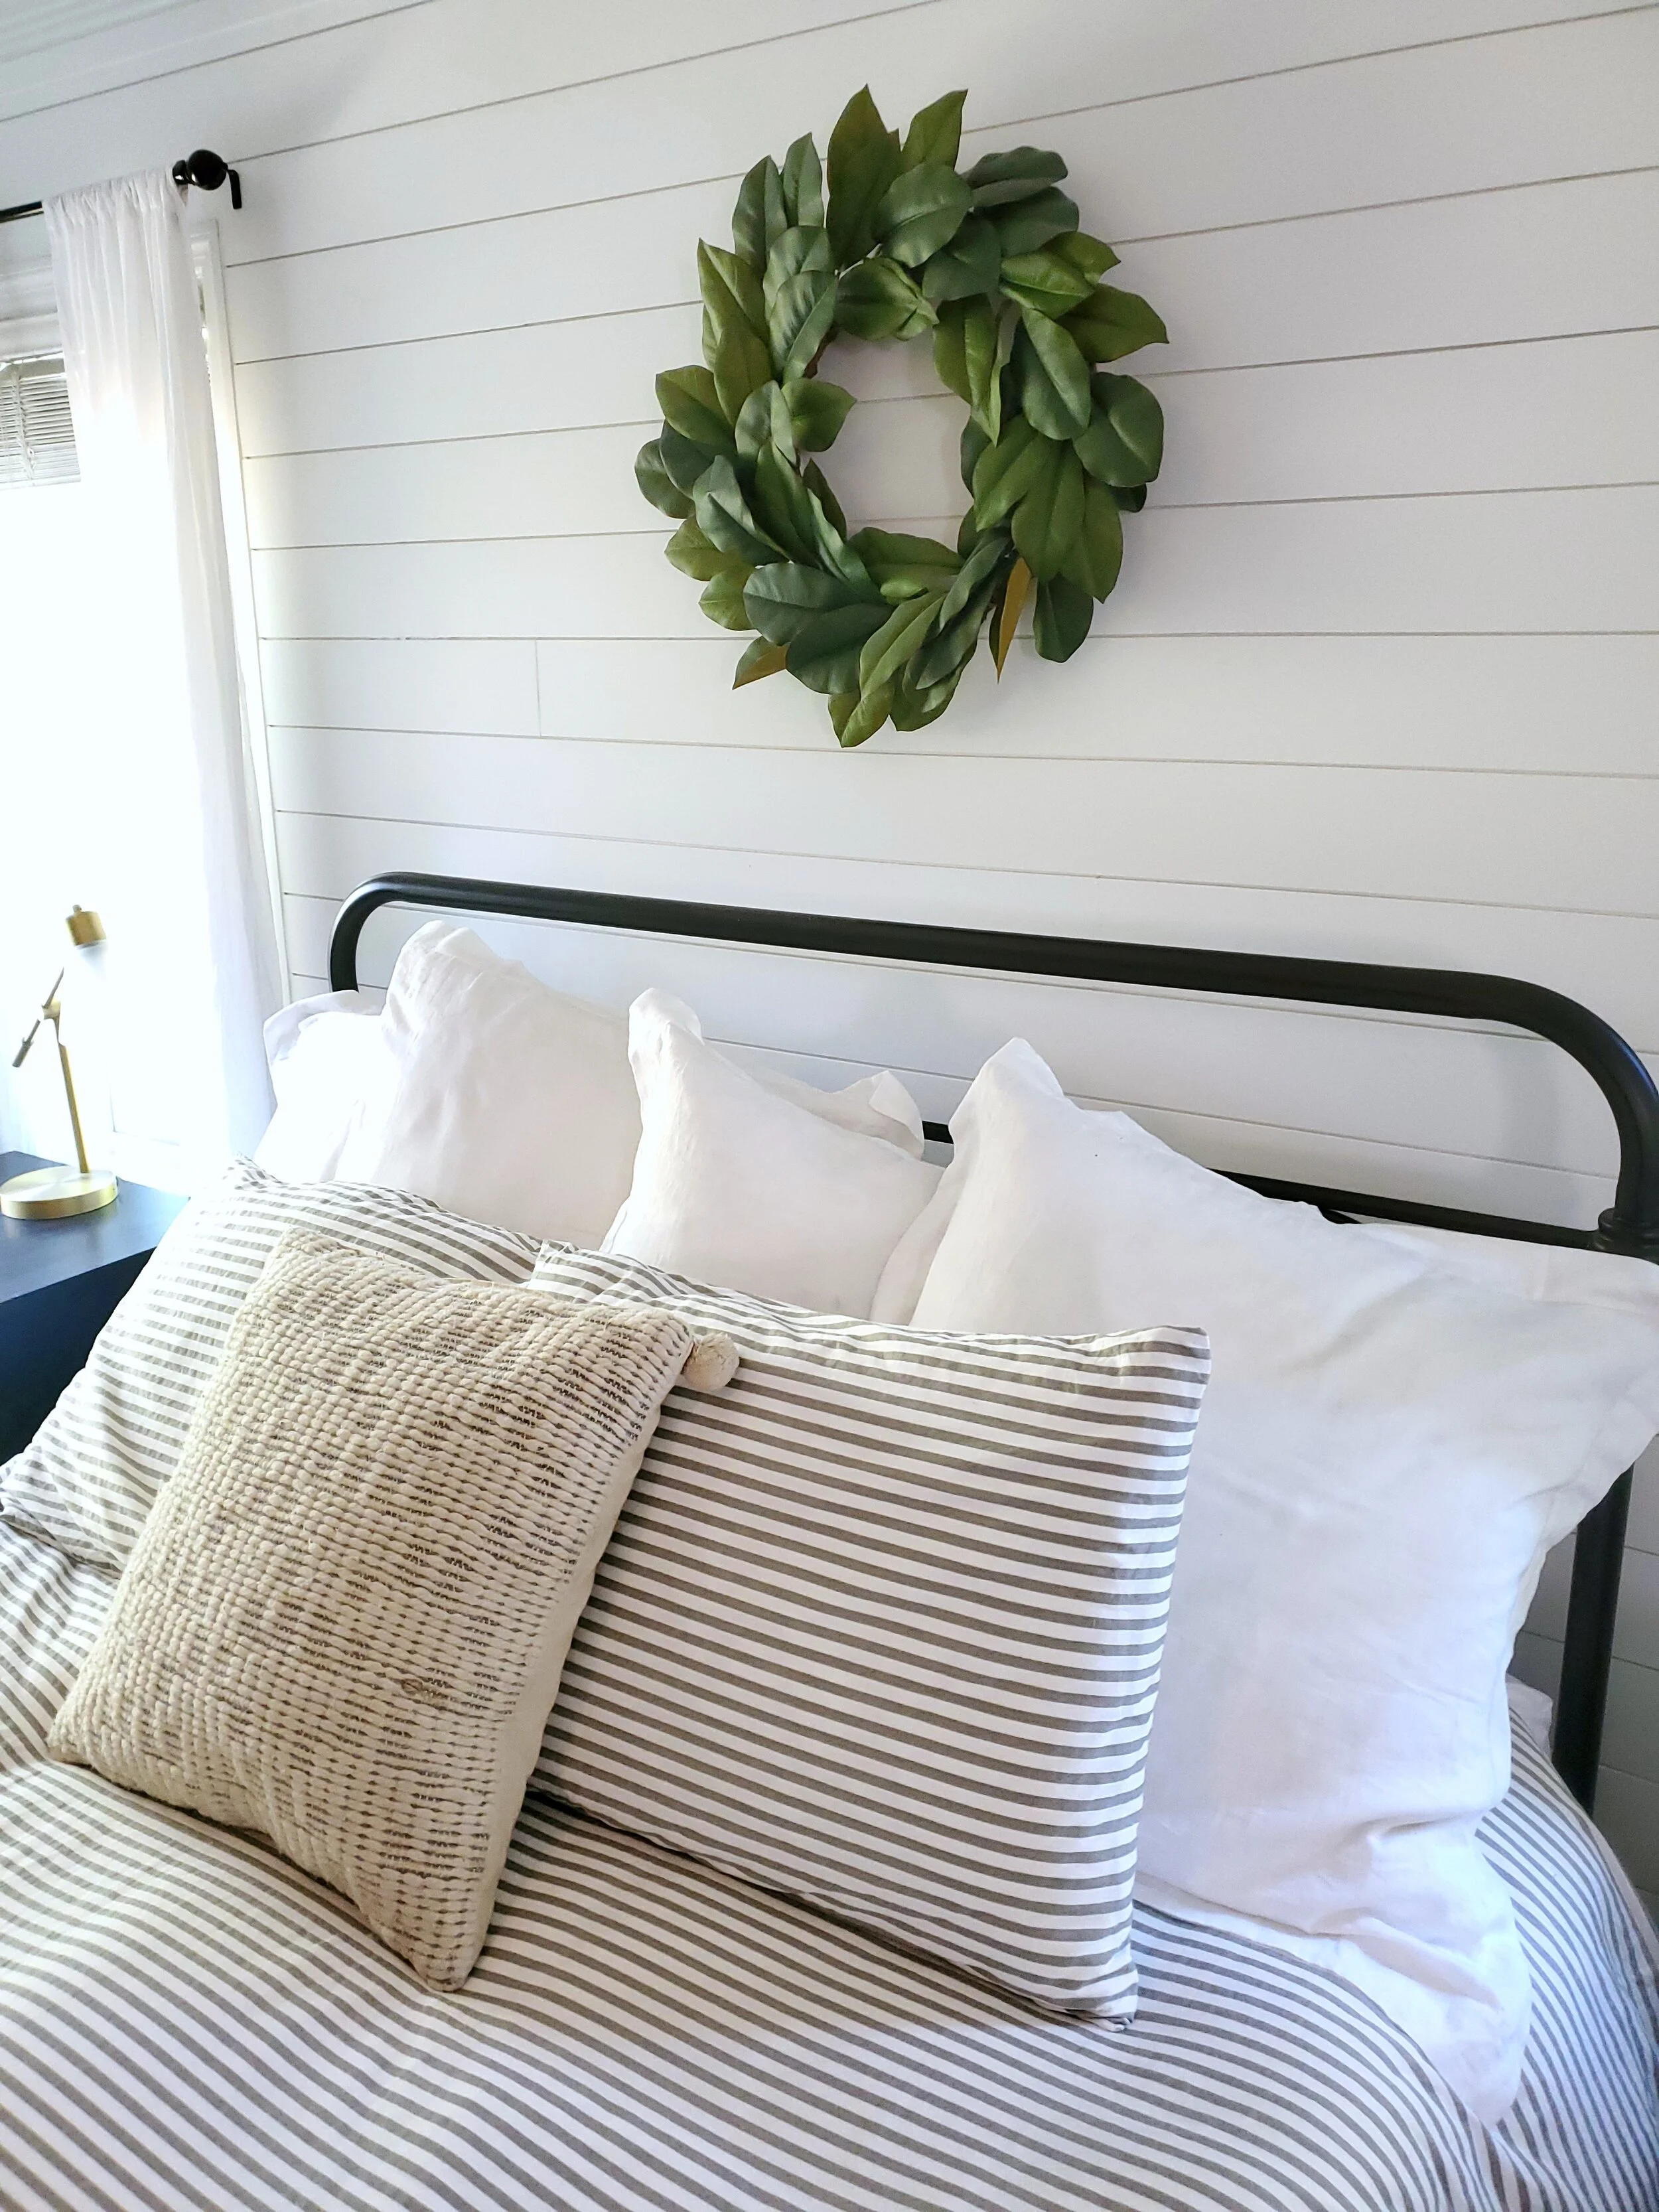
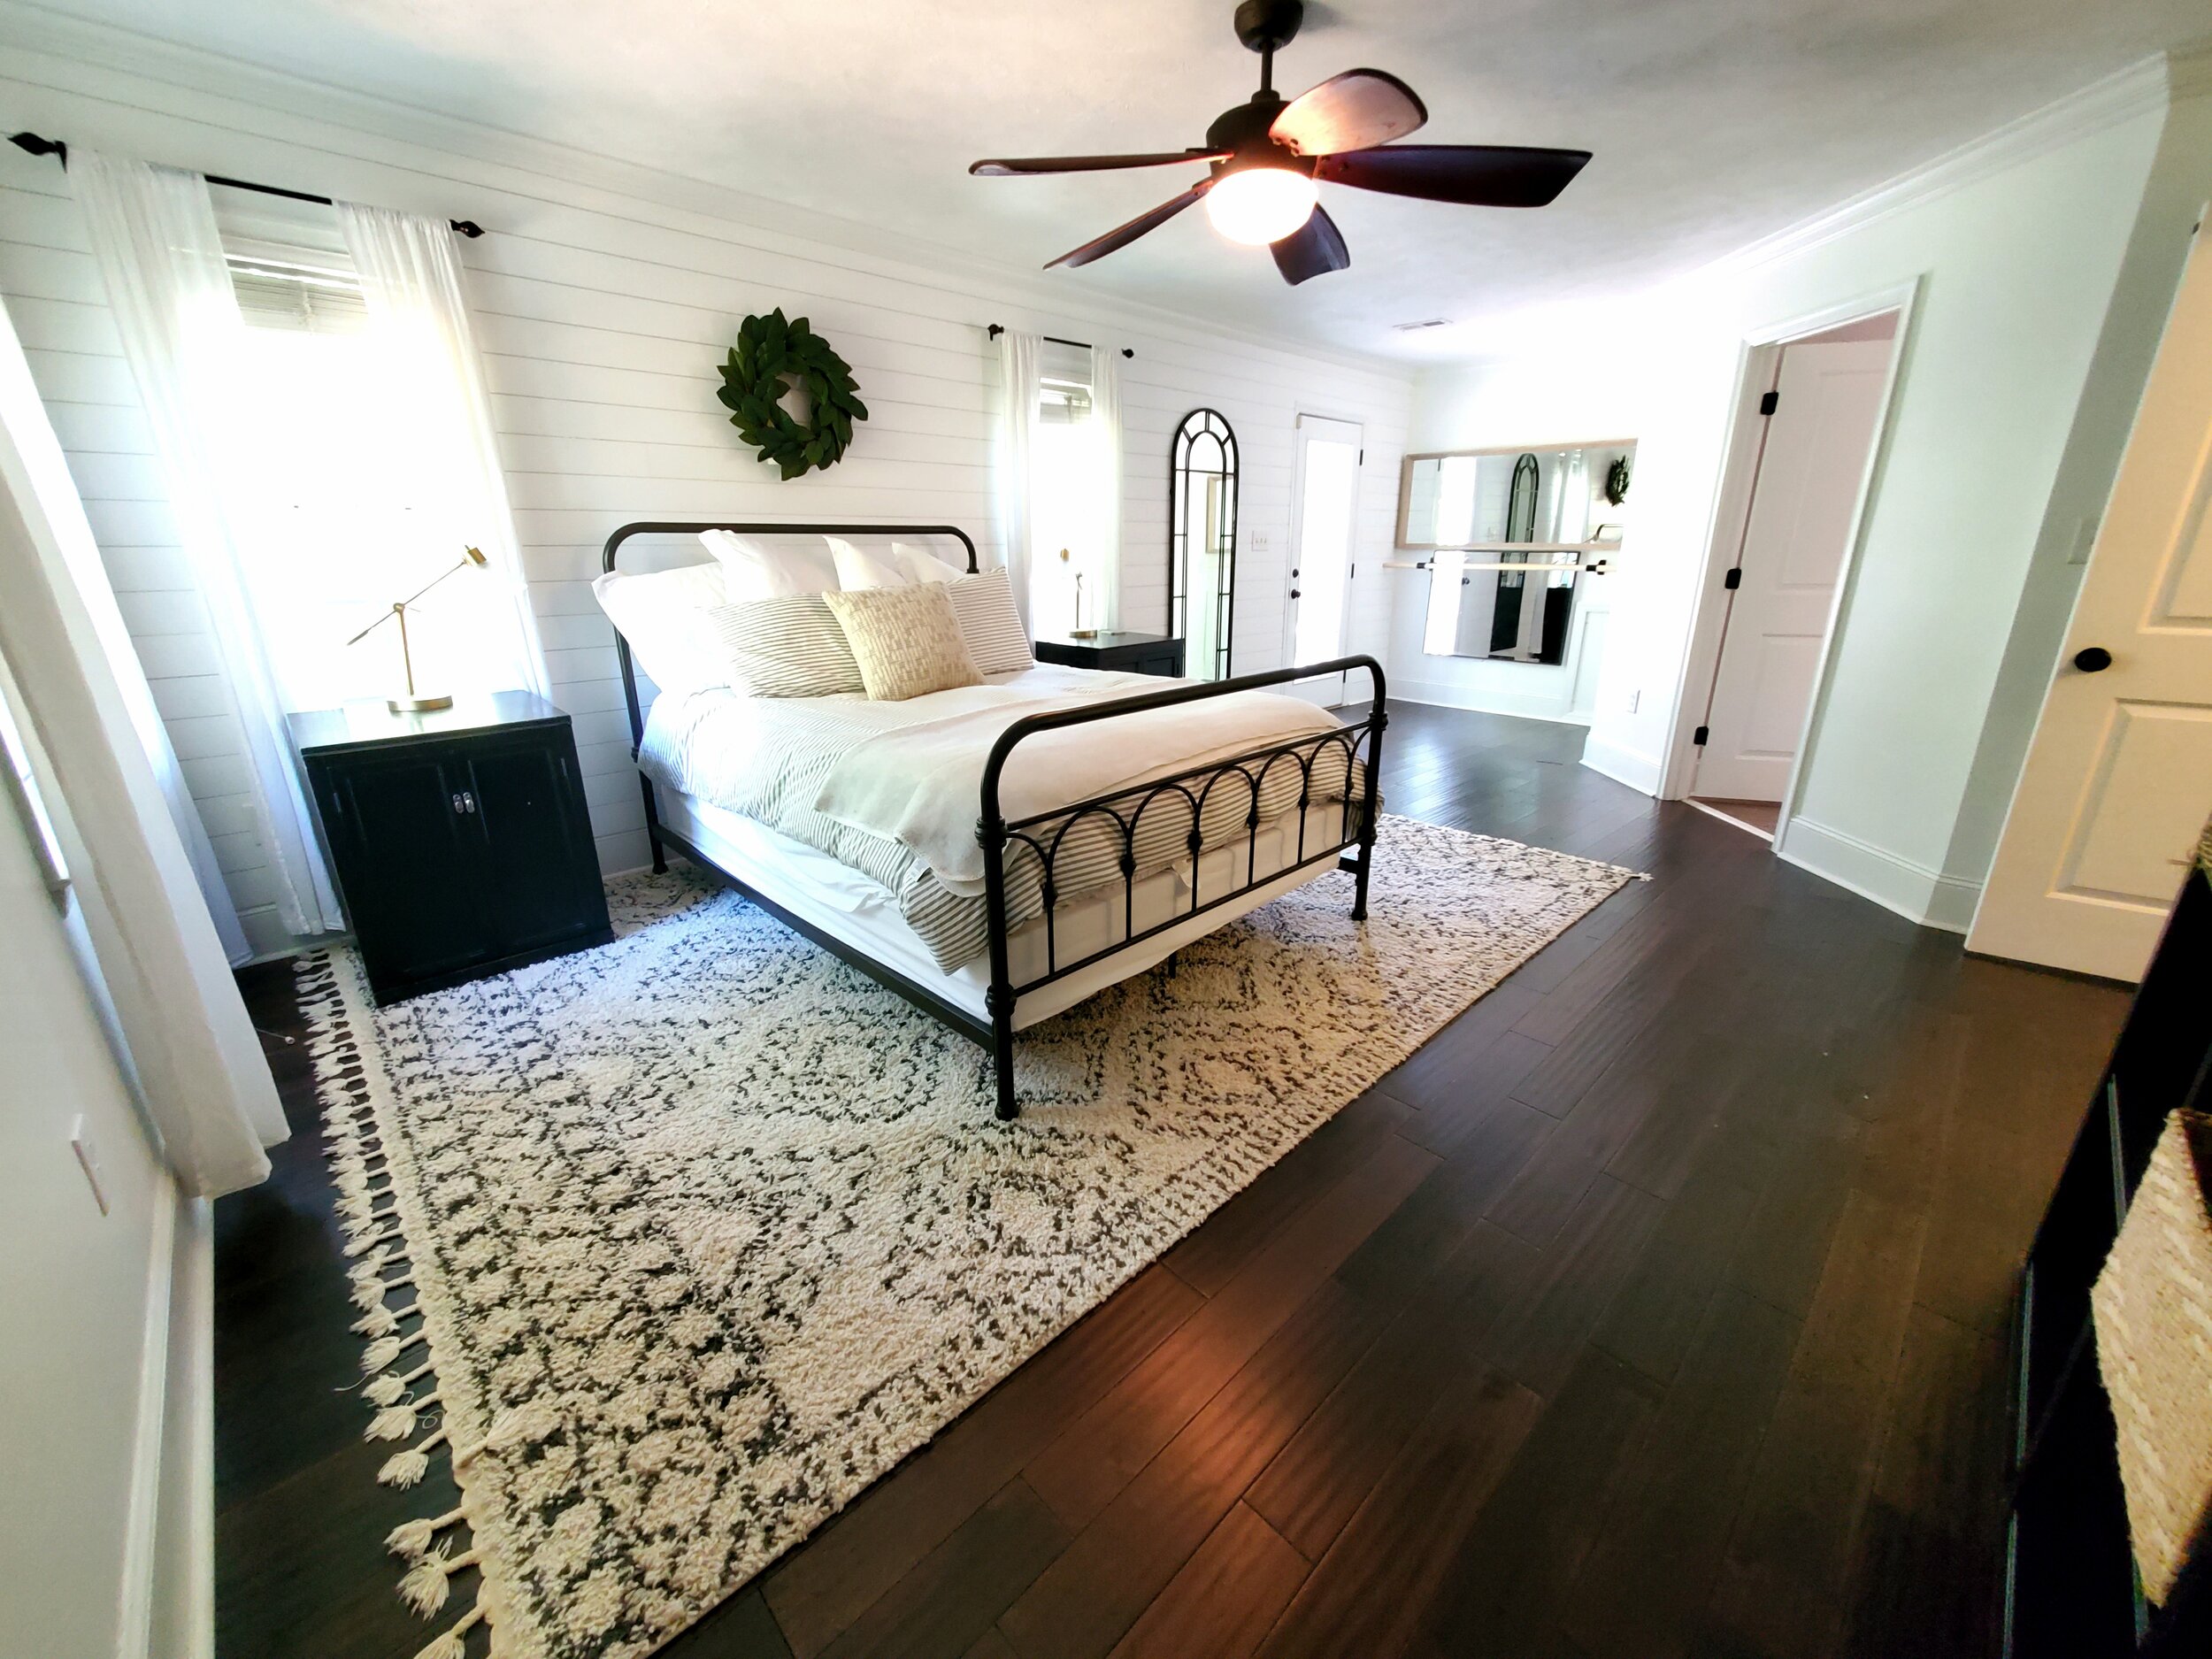
In the bedroom, our very skilled contractors repaired the walls. They went from a rippled plaster job, to nice smooth clean walls feeling almost new again. Additionally, to add some interest, we added shiplap as a feature wall to the fireplace. It was painted in Benjamin Moore Cheating Heart, which is a grayish blue black color…. Hard to define and very rich. The walls were again Sherwin-Williams Pure White.
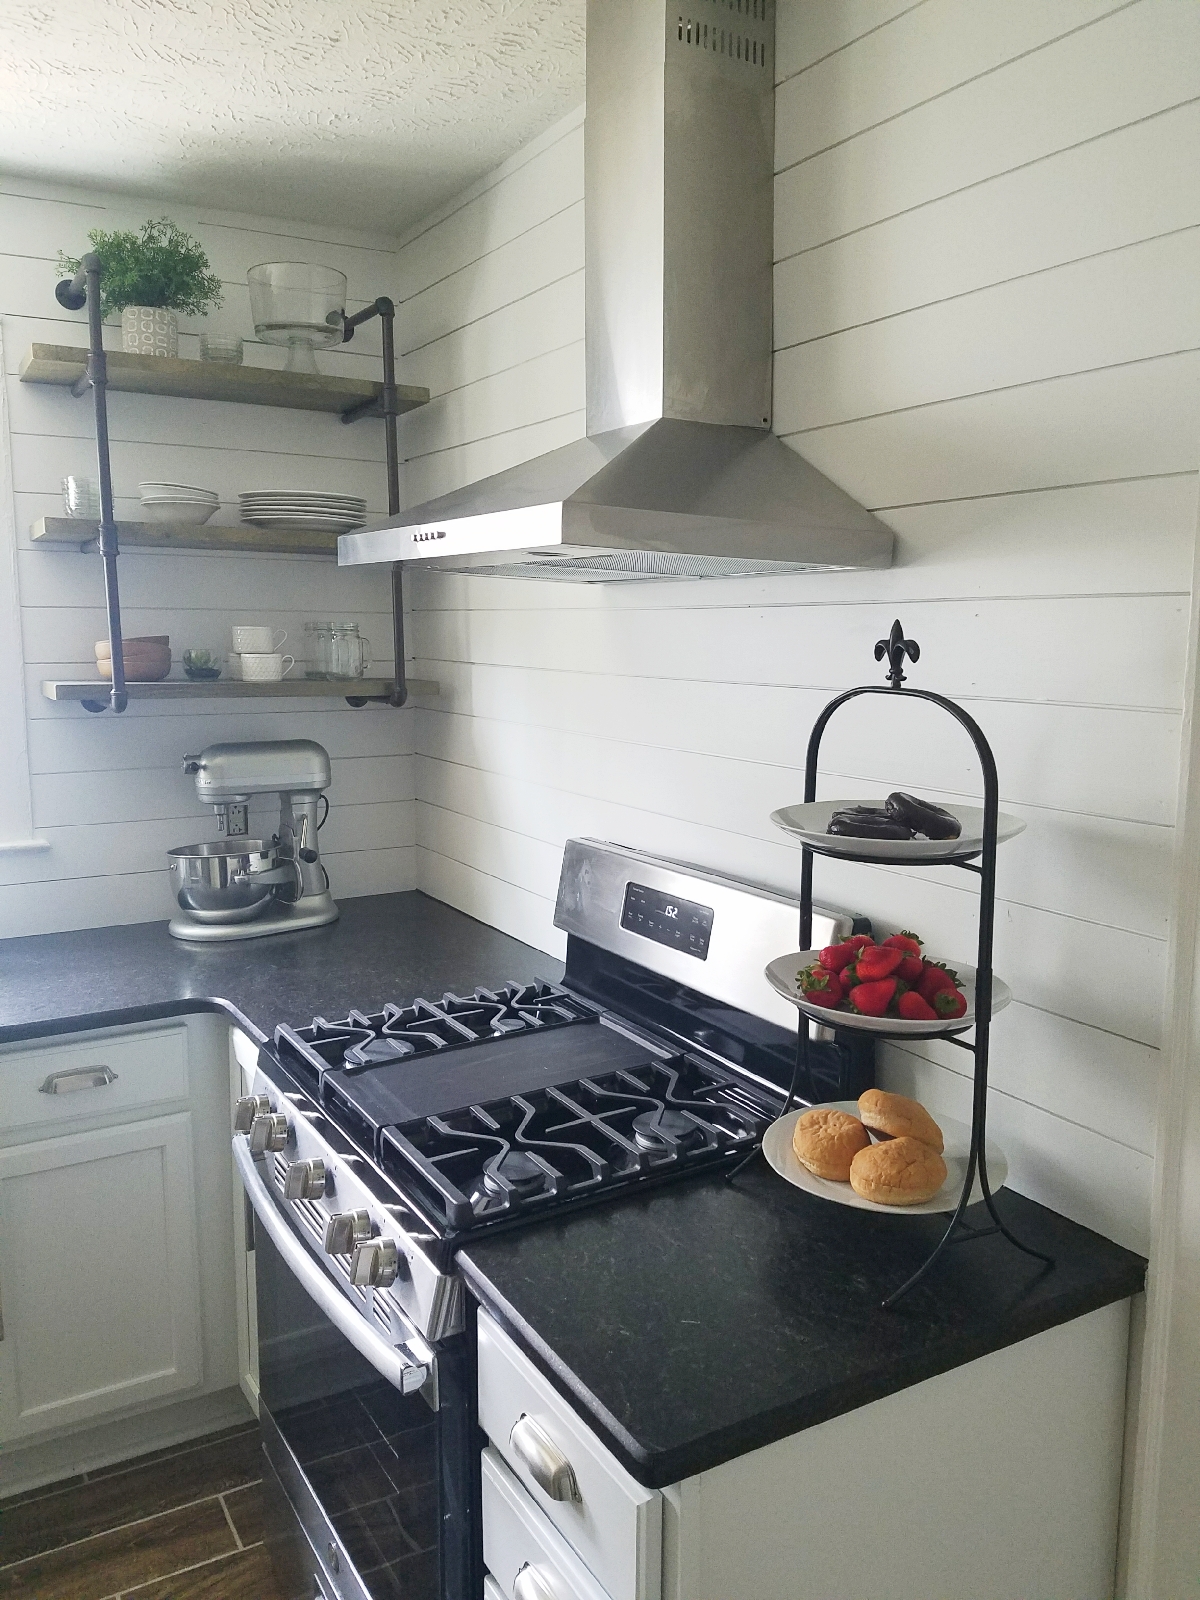
Finally the kitchen was simple. We just painted the walls Sherwin-Williams Pure White (even after comparing about 20 different samples of white…) and then began to hunt for different hardware. We wanted hardware that was more of a statement, and also brought in some brass touches that were throughout the home. you wouldn't think that was so difficult, but we ended up ordering about 30 types of hardware to find what we wanted. our photos ended up looking kind of yellowish on some of these photos, but at least you get the idea.
Thank you so much for taking the time to take a peek at our transformation! As much work as it is, we are loving the result!
-Casey and crew


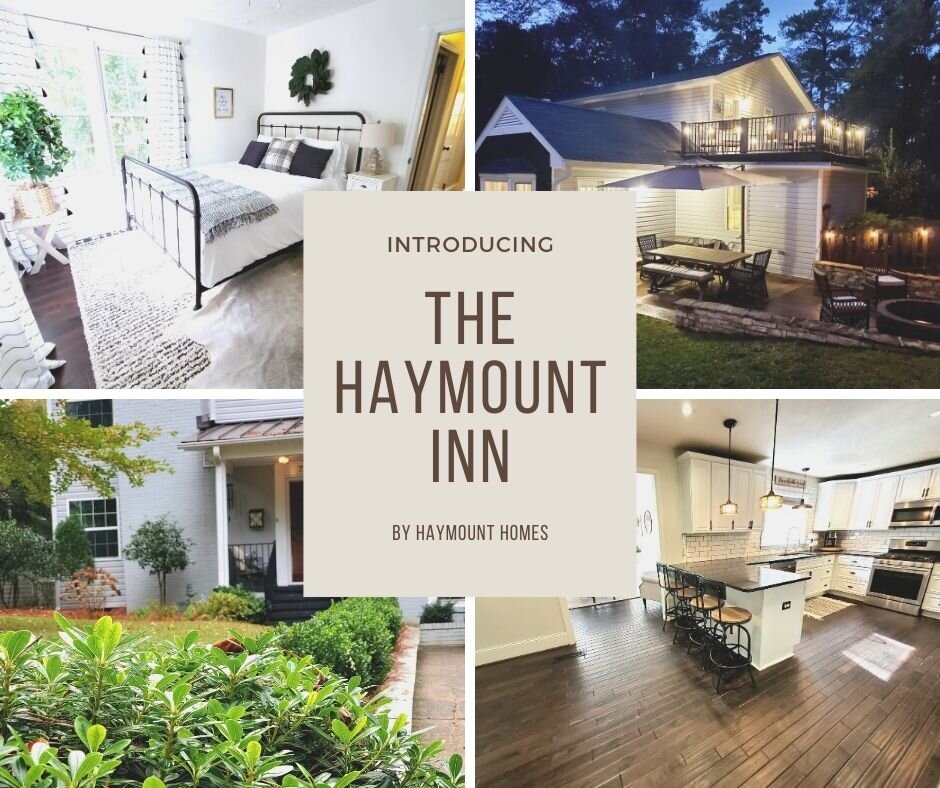
THE HAYMOUNT INN - AIRBNB by HAYMOUNT HOMES
EEEEEKKKKK!
We are excited to announce the opening of our first short term rental option in Haymount:
The Haymount Inn
We loved our first Haymount Home so much that we decided to give it a fresh overhaul and offer it to visitors looking to experience Haymount for themselves. Whether you have family and friends visiting, need a short term place to live in Haymount, or find yourself between moves, we hope you’ll consider our Haymount Inn for your short term stay.
Located in the heart of Haymount, this 2450 square foot home sleeps 10 and has 4 bedrooms and 3 full bathrooms for your enjoyment. Plenty of amenities and all you’ll need for a great stay. Full availability and reservations can be found here: https://airbnb.com/h/the-haymount-inn-by-haymount-homes
You can also look at the information on our website under the AIRBNB link, but scheduling stays is on the link above.
Enjoy the tour (click through the pictures and you will get the full tour of each area) and thank you again for considering our new adventure! We are excited to share Haymount with your guests!
-The Benander Family


Hillside ave - before and after part two
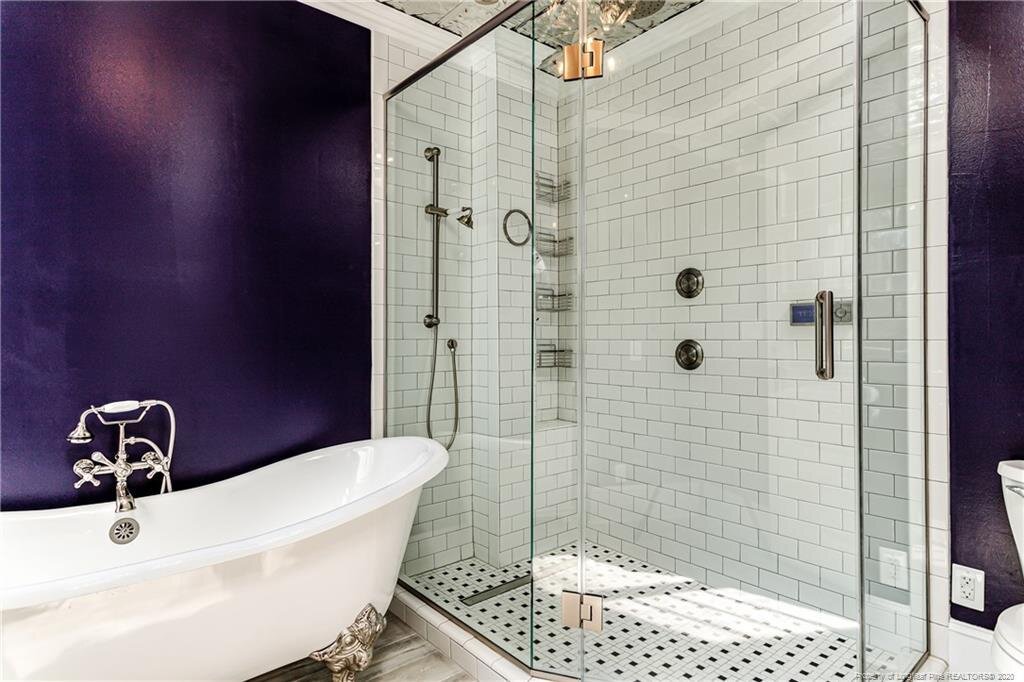
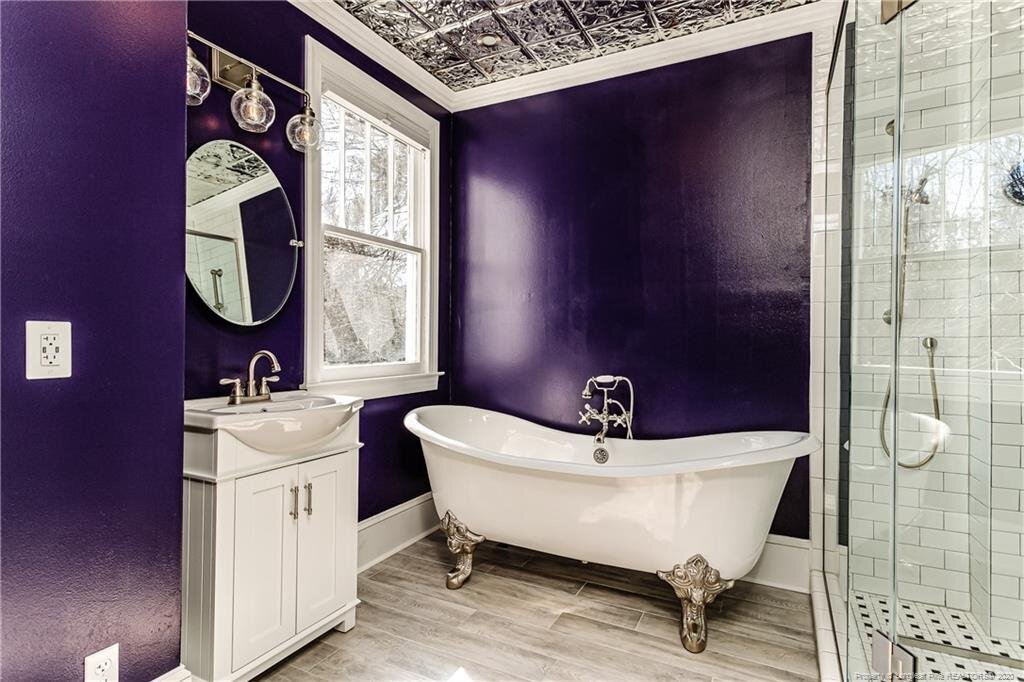
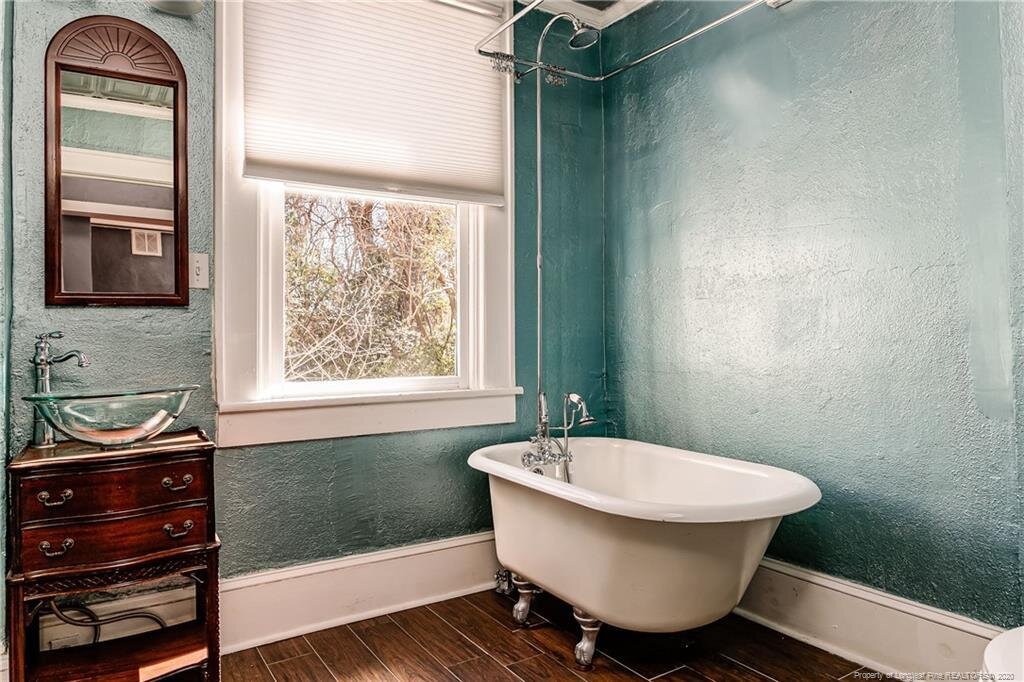
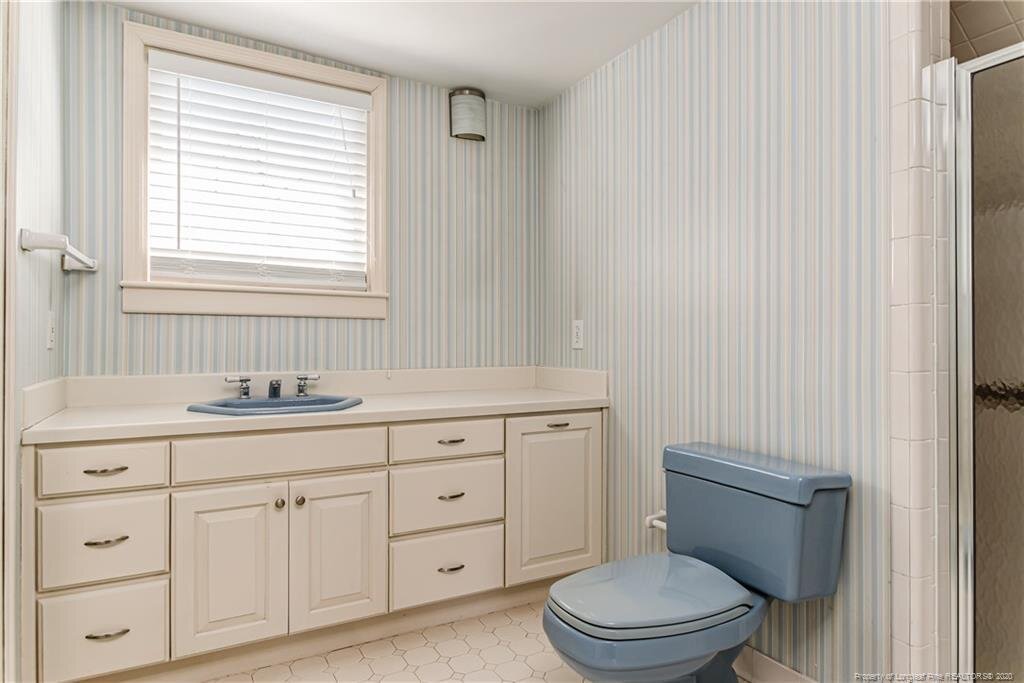
Enjoy our small photo tour of the music room and bathroom transformation!

Happy Sunday!
Round two of before and after photos are here! We continue to put more ideas into our new home, but I was able to snap a few photos of some of our progress so far. Please ignore some of the randomness and try to see the beauty through the trees!
Some of our touches include great shiplap detail that helped disguise the poorly formed walls. Additionally, our contractors worked their magic on smoothing out other areas and making everything look new again. Refinishing floors and adding new paint made everything come together.
We bought a beautiful new light fixture for what we are now calling the music room, from Mid-South Lighting in downtown Fayetteville . If you need a light fixture, check them out because they are amazing!
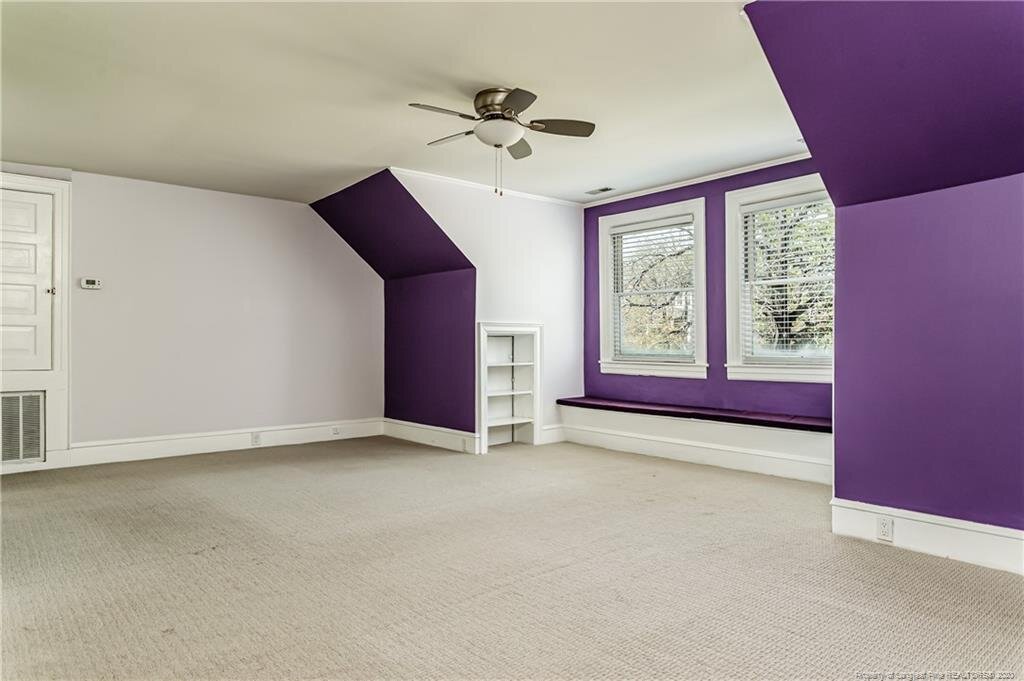
The majestic purple bathroom has been toned down. This was not exactly a group decision, and many people told us they loved that deep purple, but it wasn't the calming environment we were looking for. We love the result with our changes and apologize to the purple fans out there!
Many people have asked about the colors that we have chosen at Hillside. The white on the walls is Sherwin-Williams pure white, which is one of our favorites to use on our homes. Pure White is slightly warm but still crisp, which makes it feel cozy but not too ivory for our taste. In the bathroom, we have used Sherwin-Williams Big Chill. It has a beautiful mid-range light reflective value and is a wonderful slightly cool gray. In the dining room and entryway, you will find more Pure White and also Sherwin-Williams Tricorn Black.
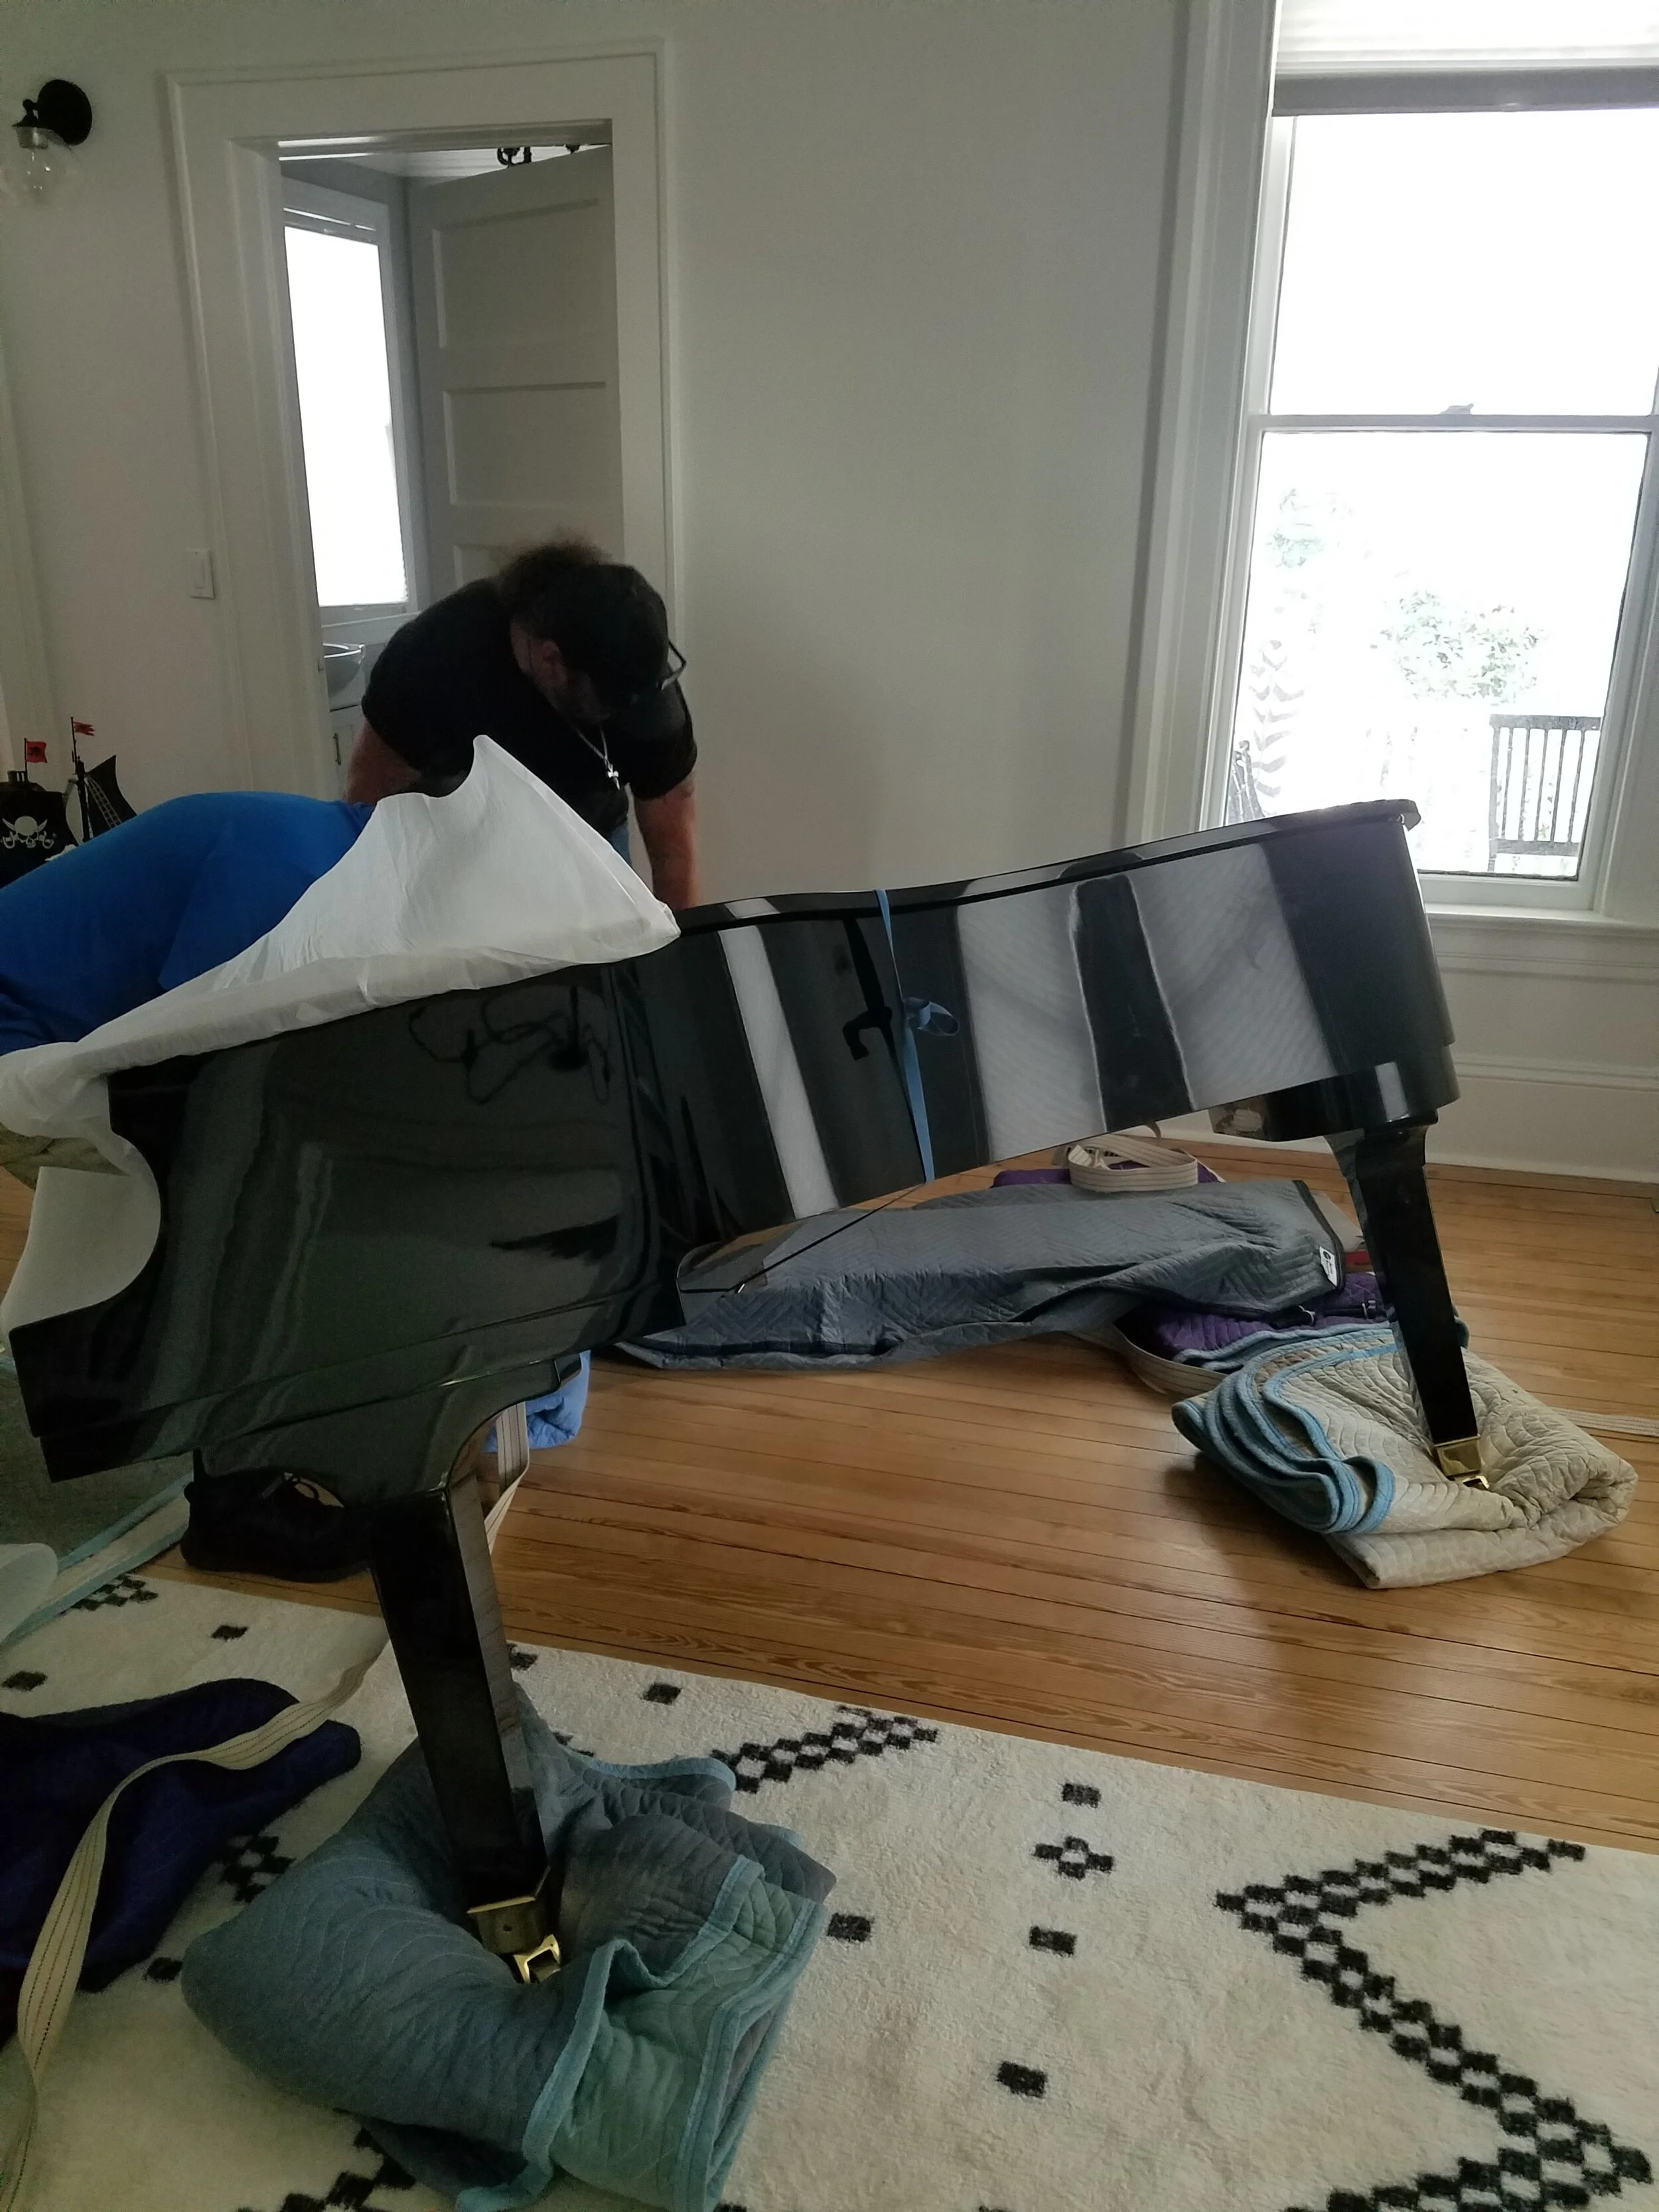
We hope you enjoy the photos. If you find yourself in the neighborhood, stop by for a concert on our “new to us” grand piano. The kids play it every day and it's wonderful to listen to…
Casey and Crew


Hillside Ave - Before and After - Part One
Enjoy the preliminary before and after photos of our Hillside Ave renovation

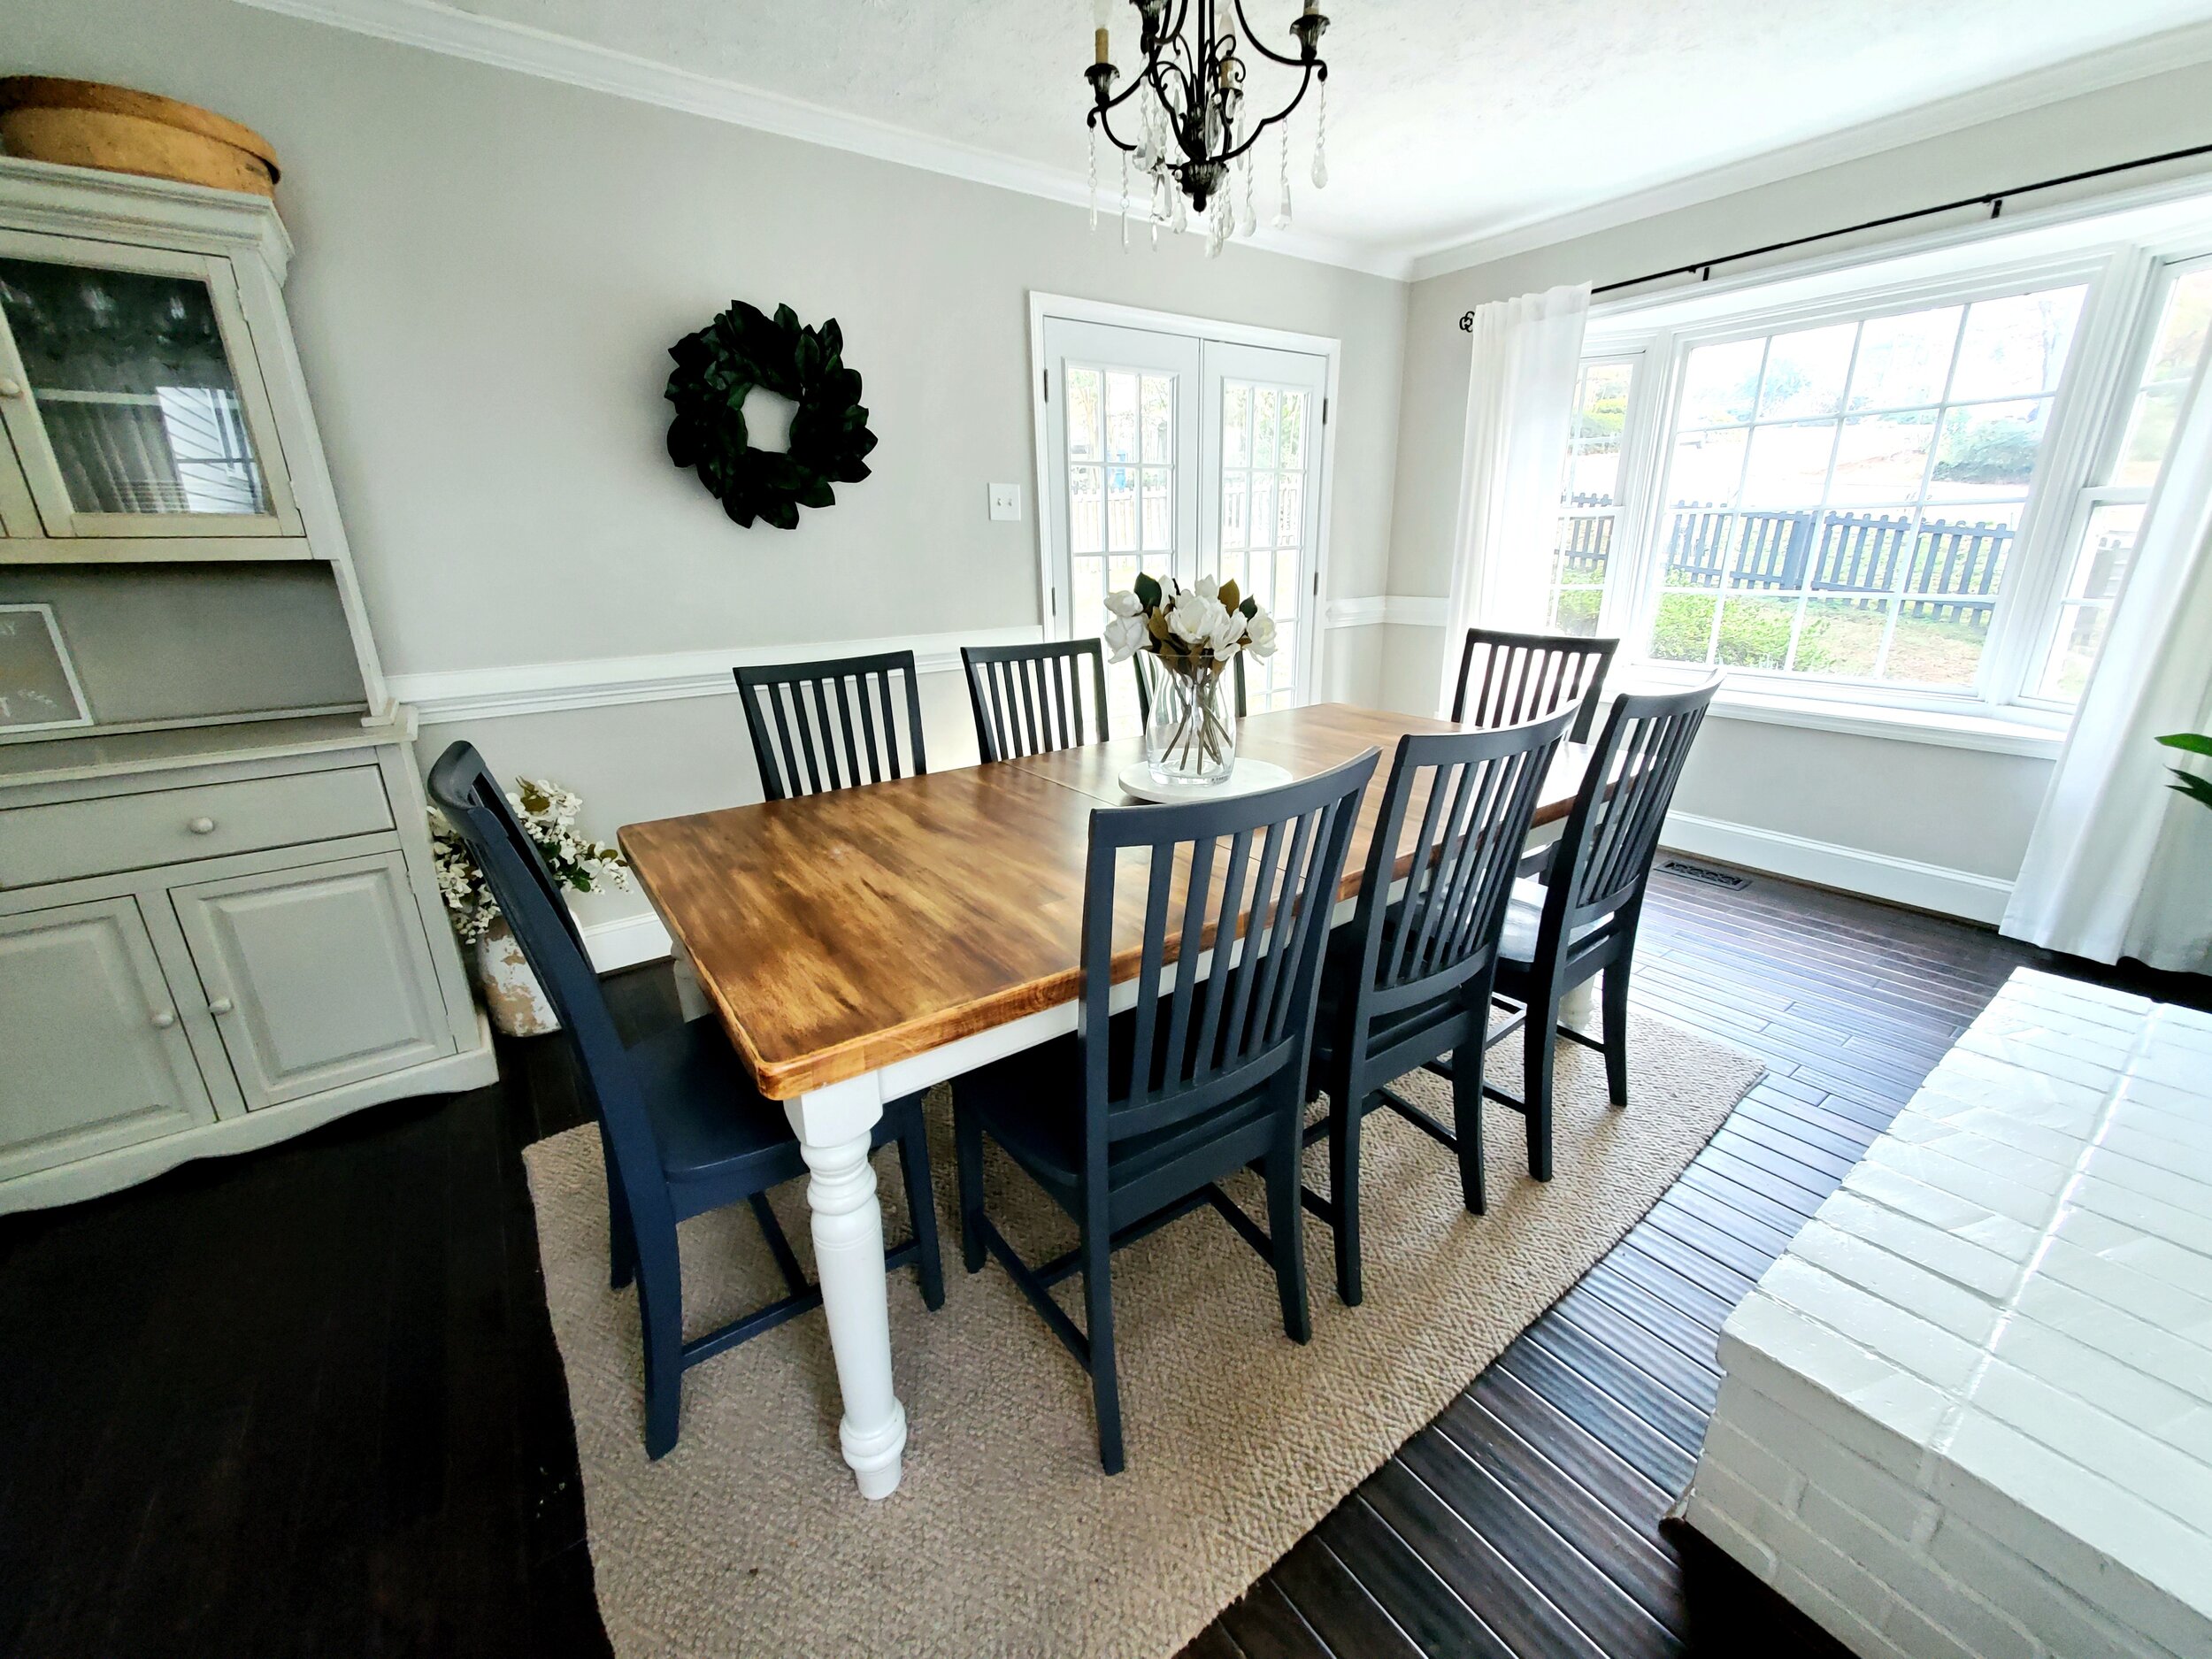
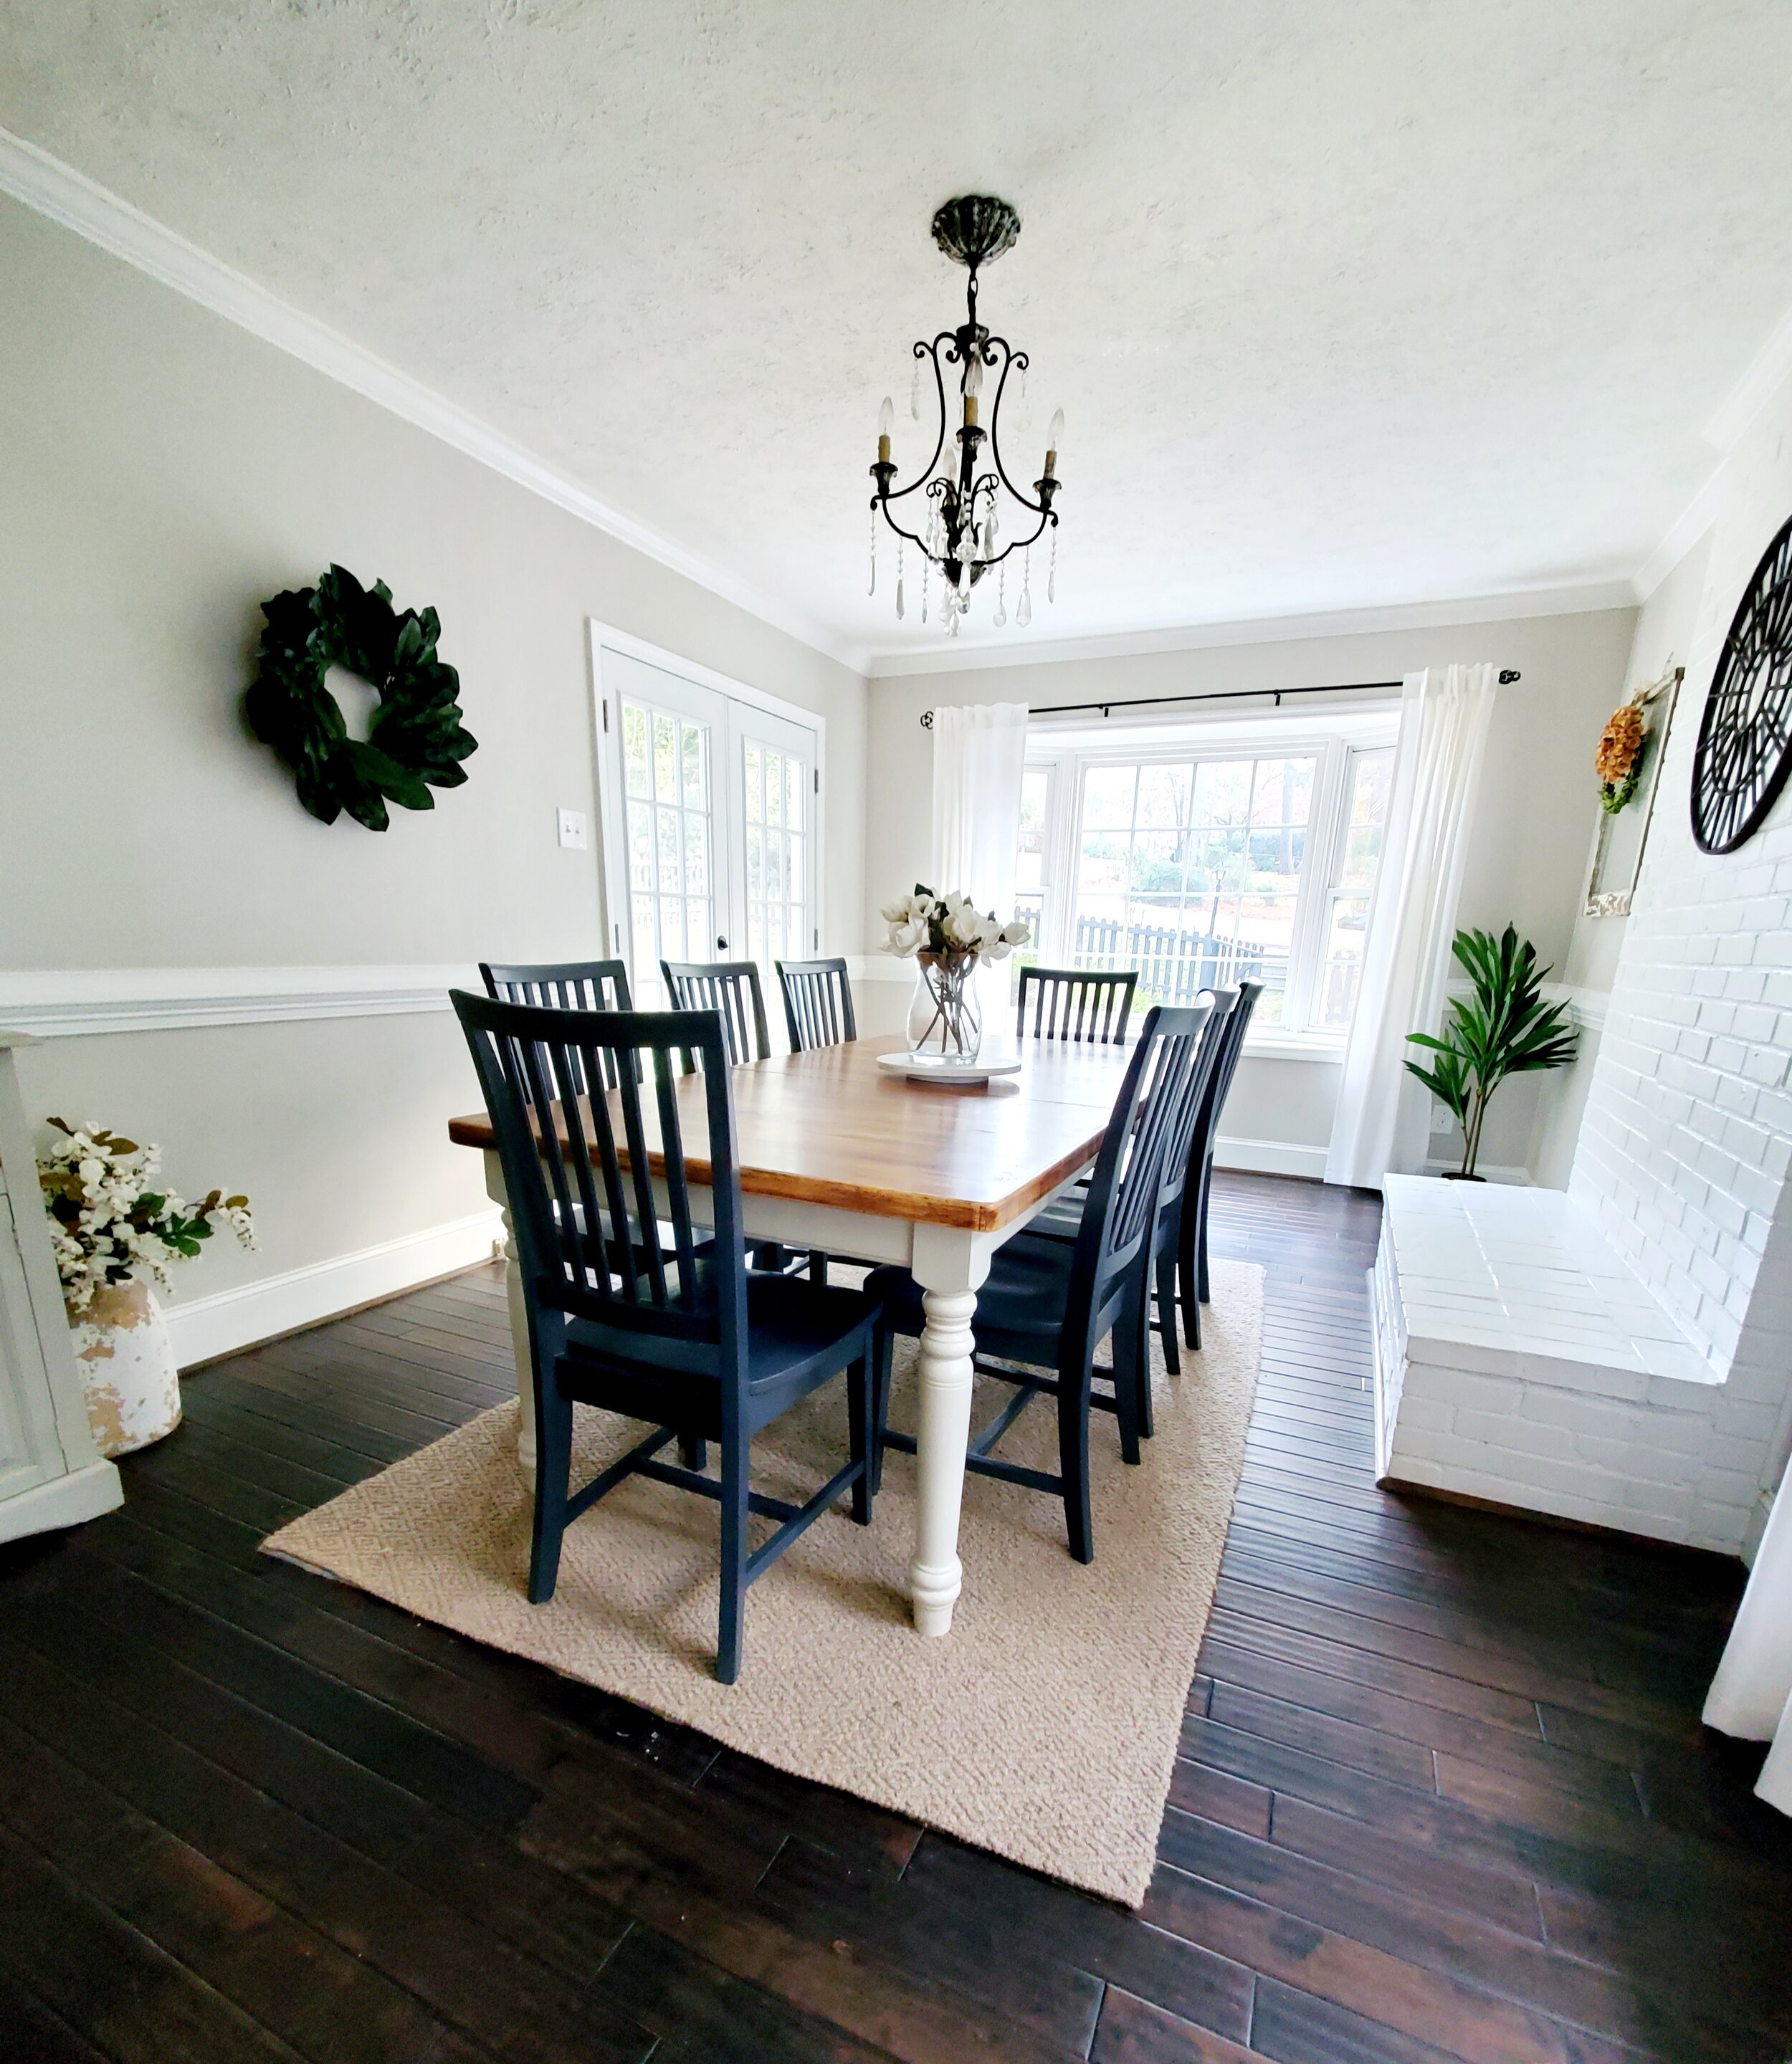
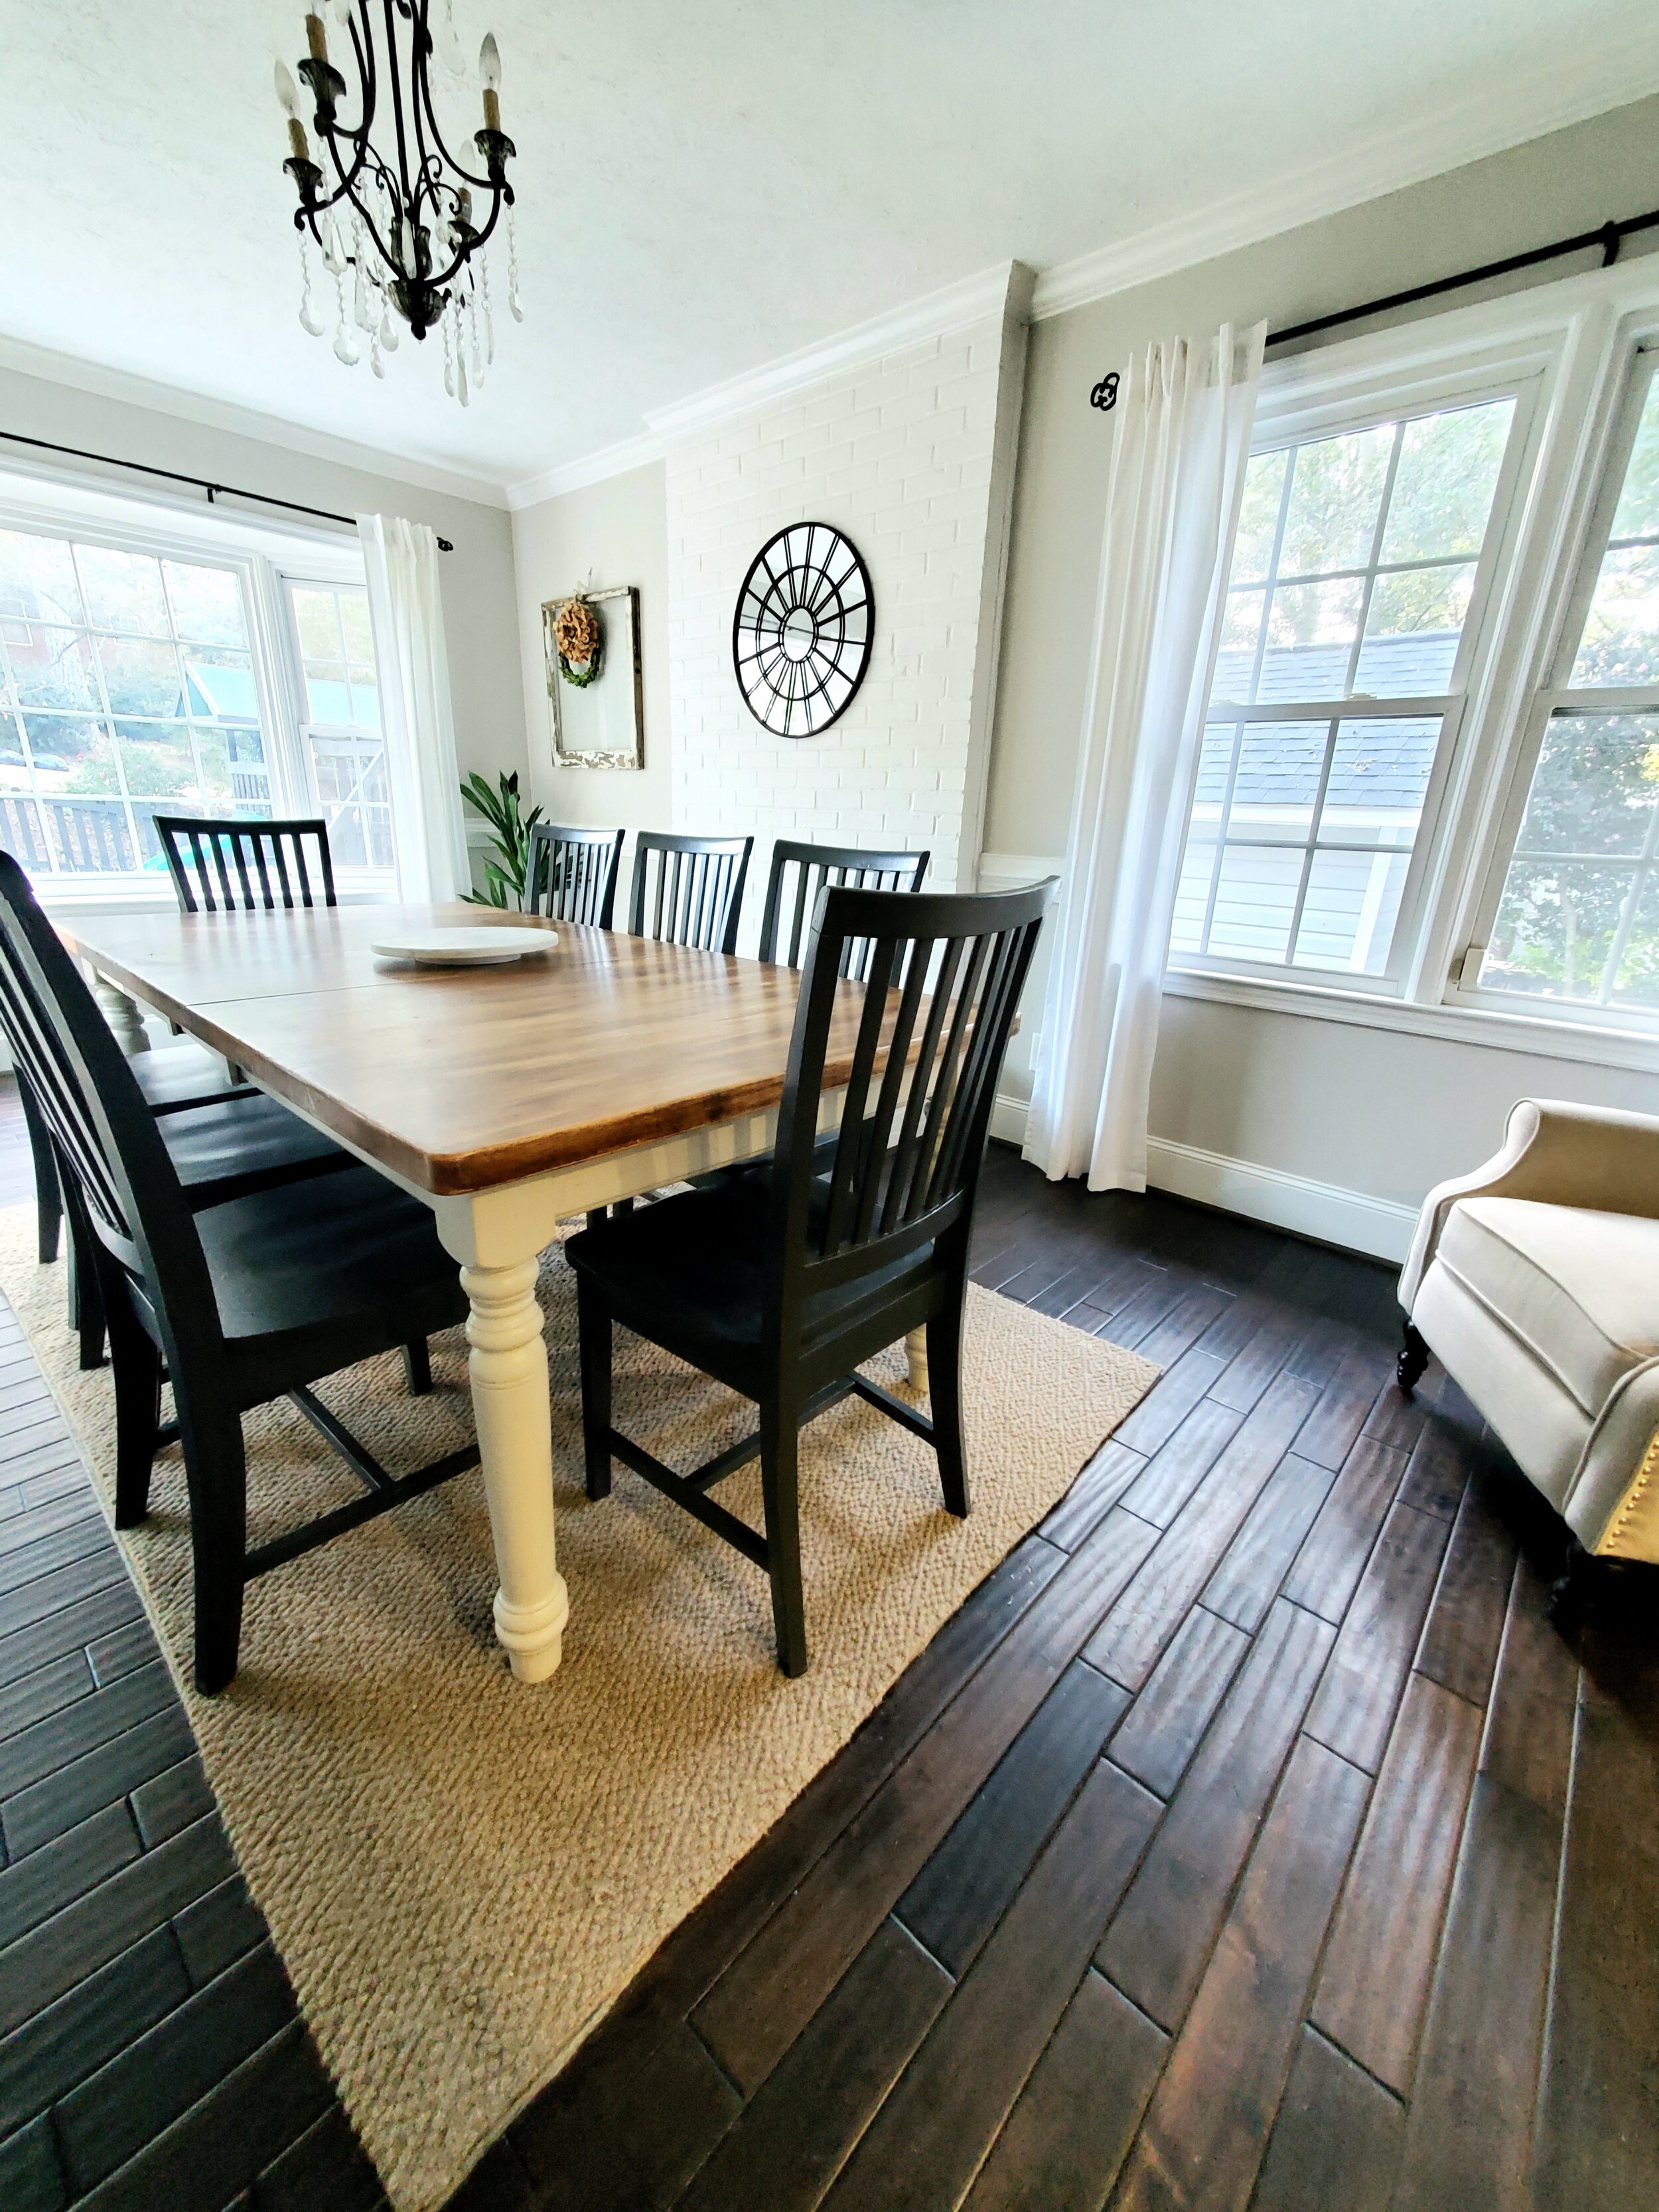
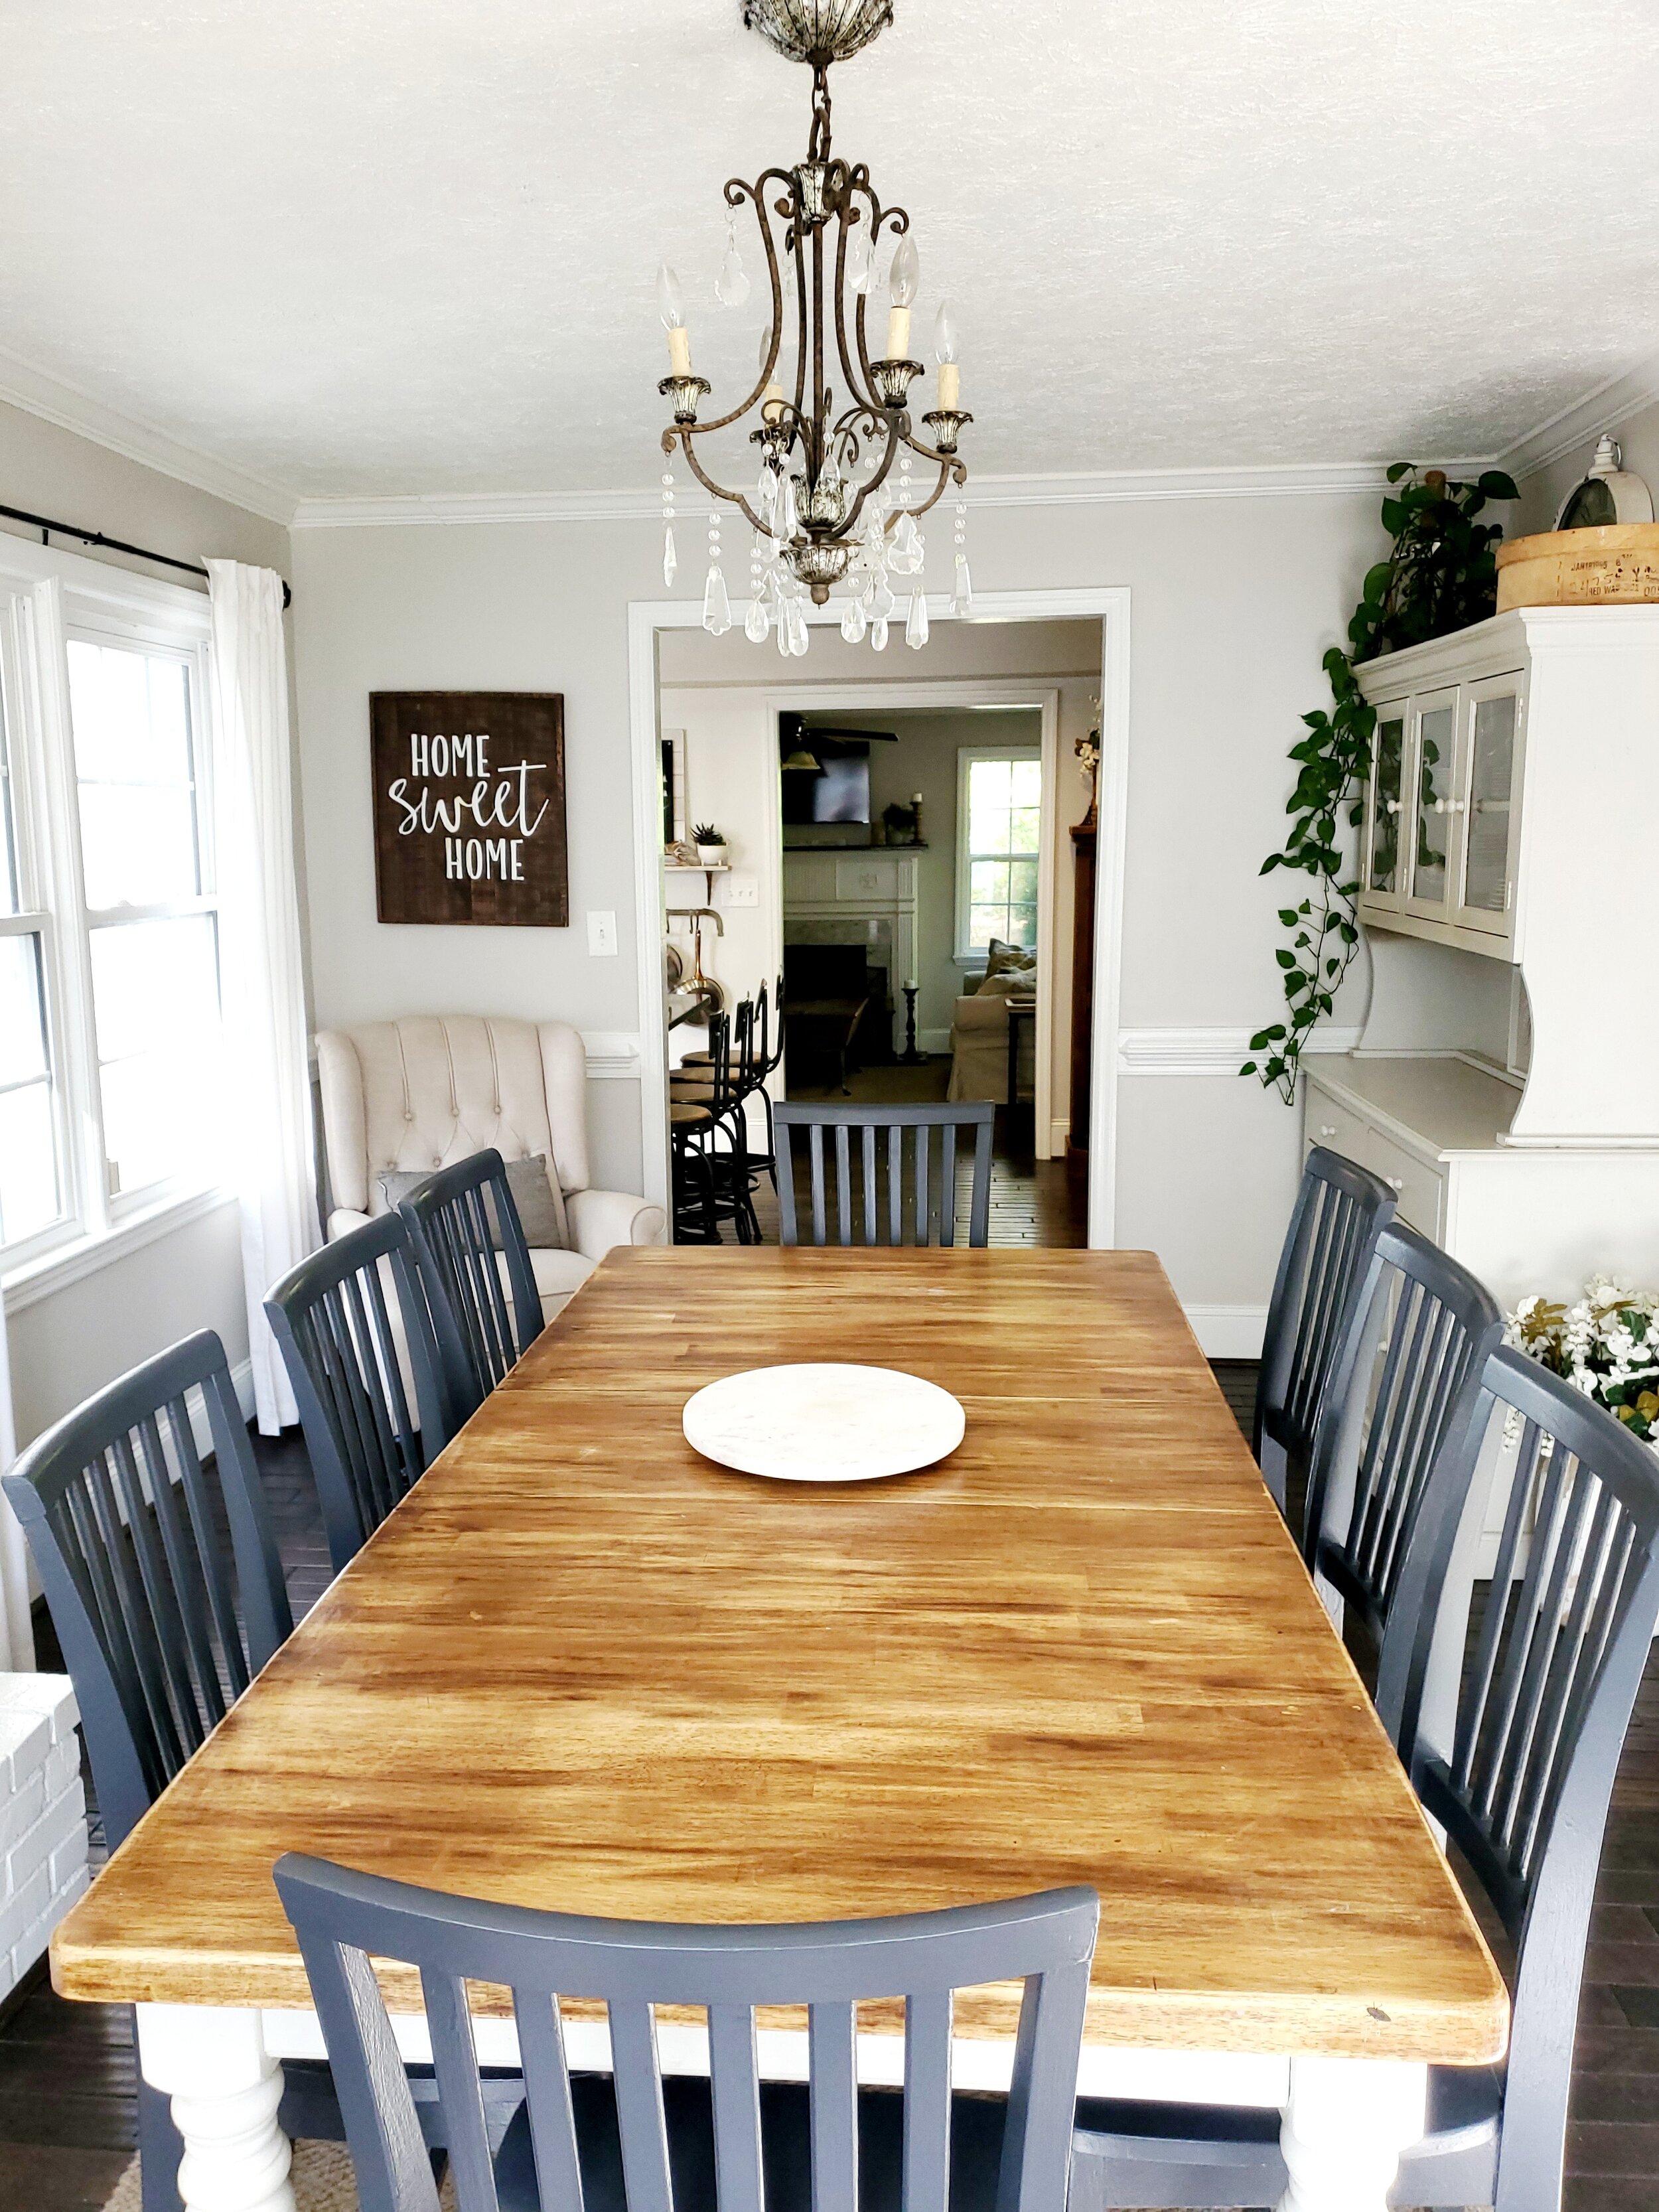
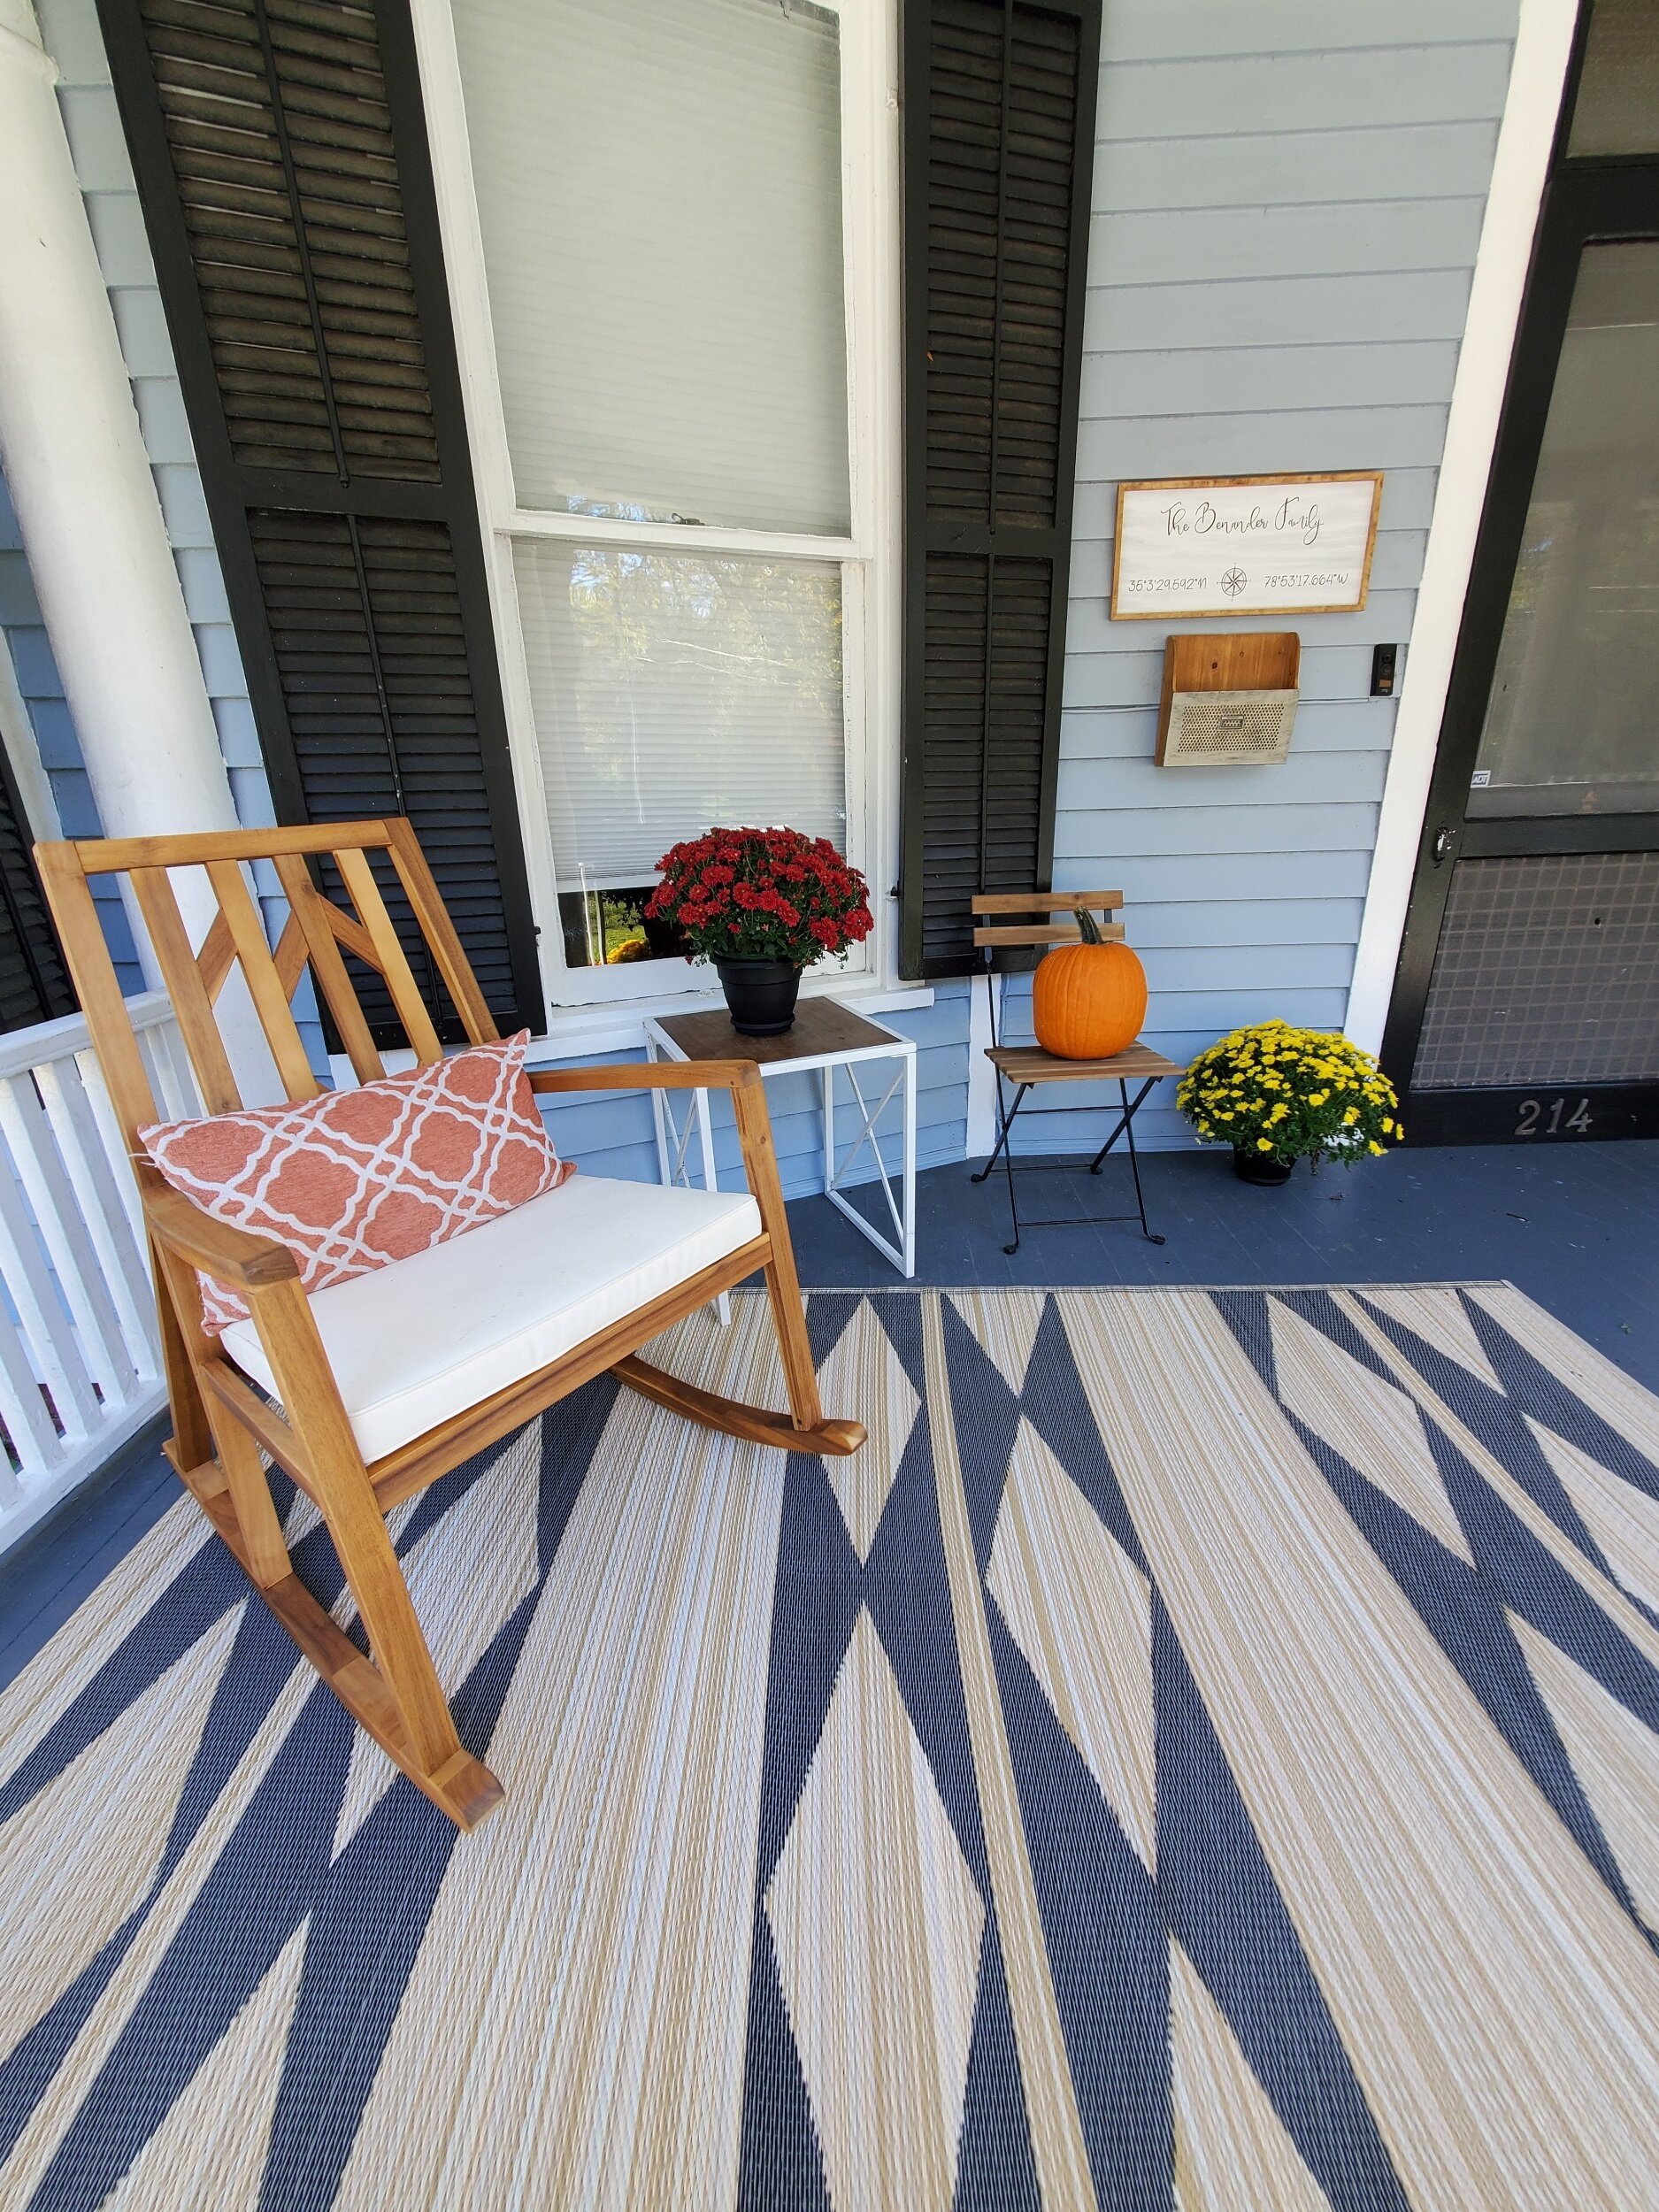
We are excited to show you our preliminary makeover at our new home on Hillside Avenue. Everything is still in transition but it's been fun to start to pull things together. Please enjoy a few before and afters of our progress so far. Here you will find the entryway, the dining room, and our front porch: a quick note about a little front porch project that we did. We found an old window up in the attic and we turned it into a herb planter!
Our home is still a work in progress, but it's been really fun! We hope you enjoy some photos. Happy Halloween!


HILLSIDE AVE - ANOTHER WEEK OF RENOVATIONS

Happy Sunday!
Here is the recap on another week of renovations!
Our neighbors from Weldon are moving after 30 years. We are all sad that they will be leaving. CJ has been their chicken keeper for about 5 years now and they have generously given our family their chickens since they cannot take them along. We are grateful and excited to keep the chicken “farm” alive. Moving the coop, however, was not easy and thankfully we had some great help to make it happen!


Hillside is pulling together. Another really great and exciting moment was the delivery of our grand piano. This was really exciting for all of us. After buying my first electric keyboard in 1999, it has served me and our family very well through countless moves from college, military life, through now. We had vowed that once the space allowed, we would invest in a “real” piano. The folks at JML music really pulled through for us and made this dream come true. For the first time since I graduated high school, I have a real piano to play and it is a dream come true. You can believe the house is already full of great sound and several guest artists have made their debut on it!


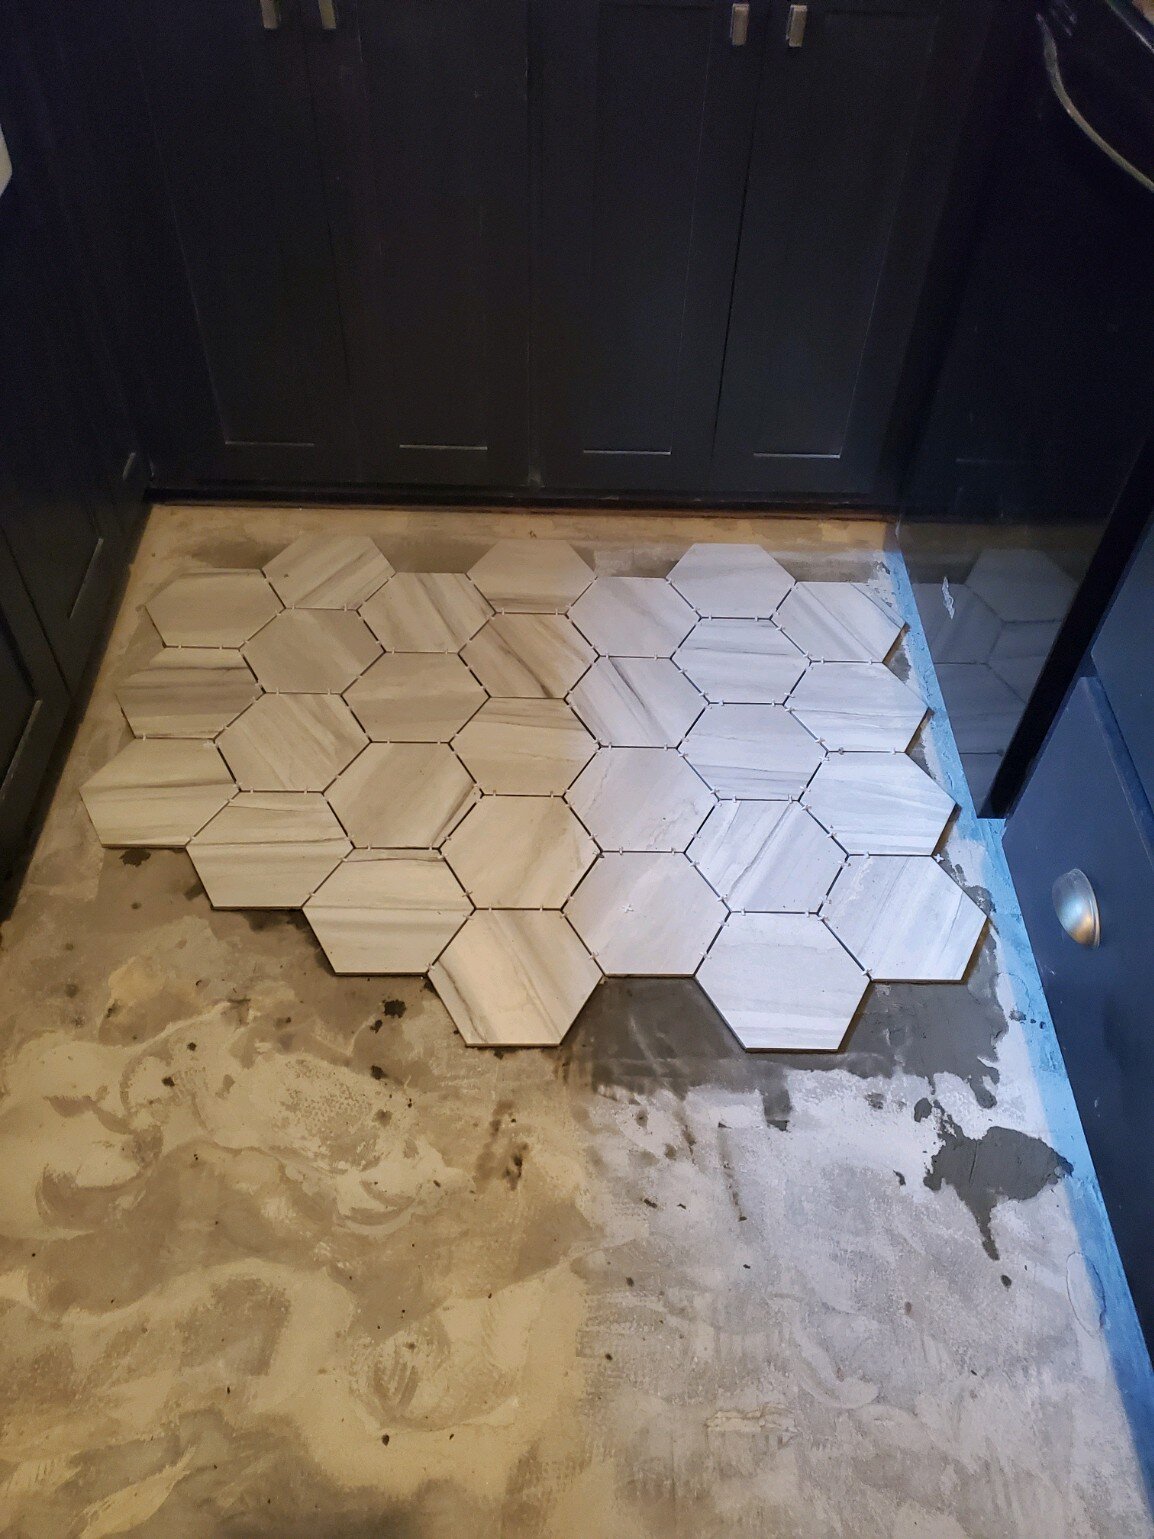
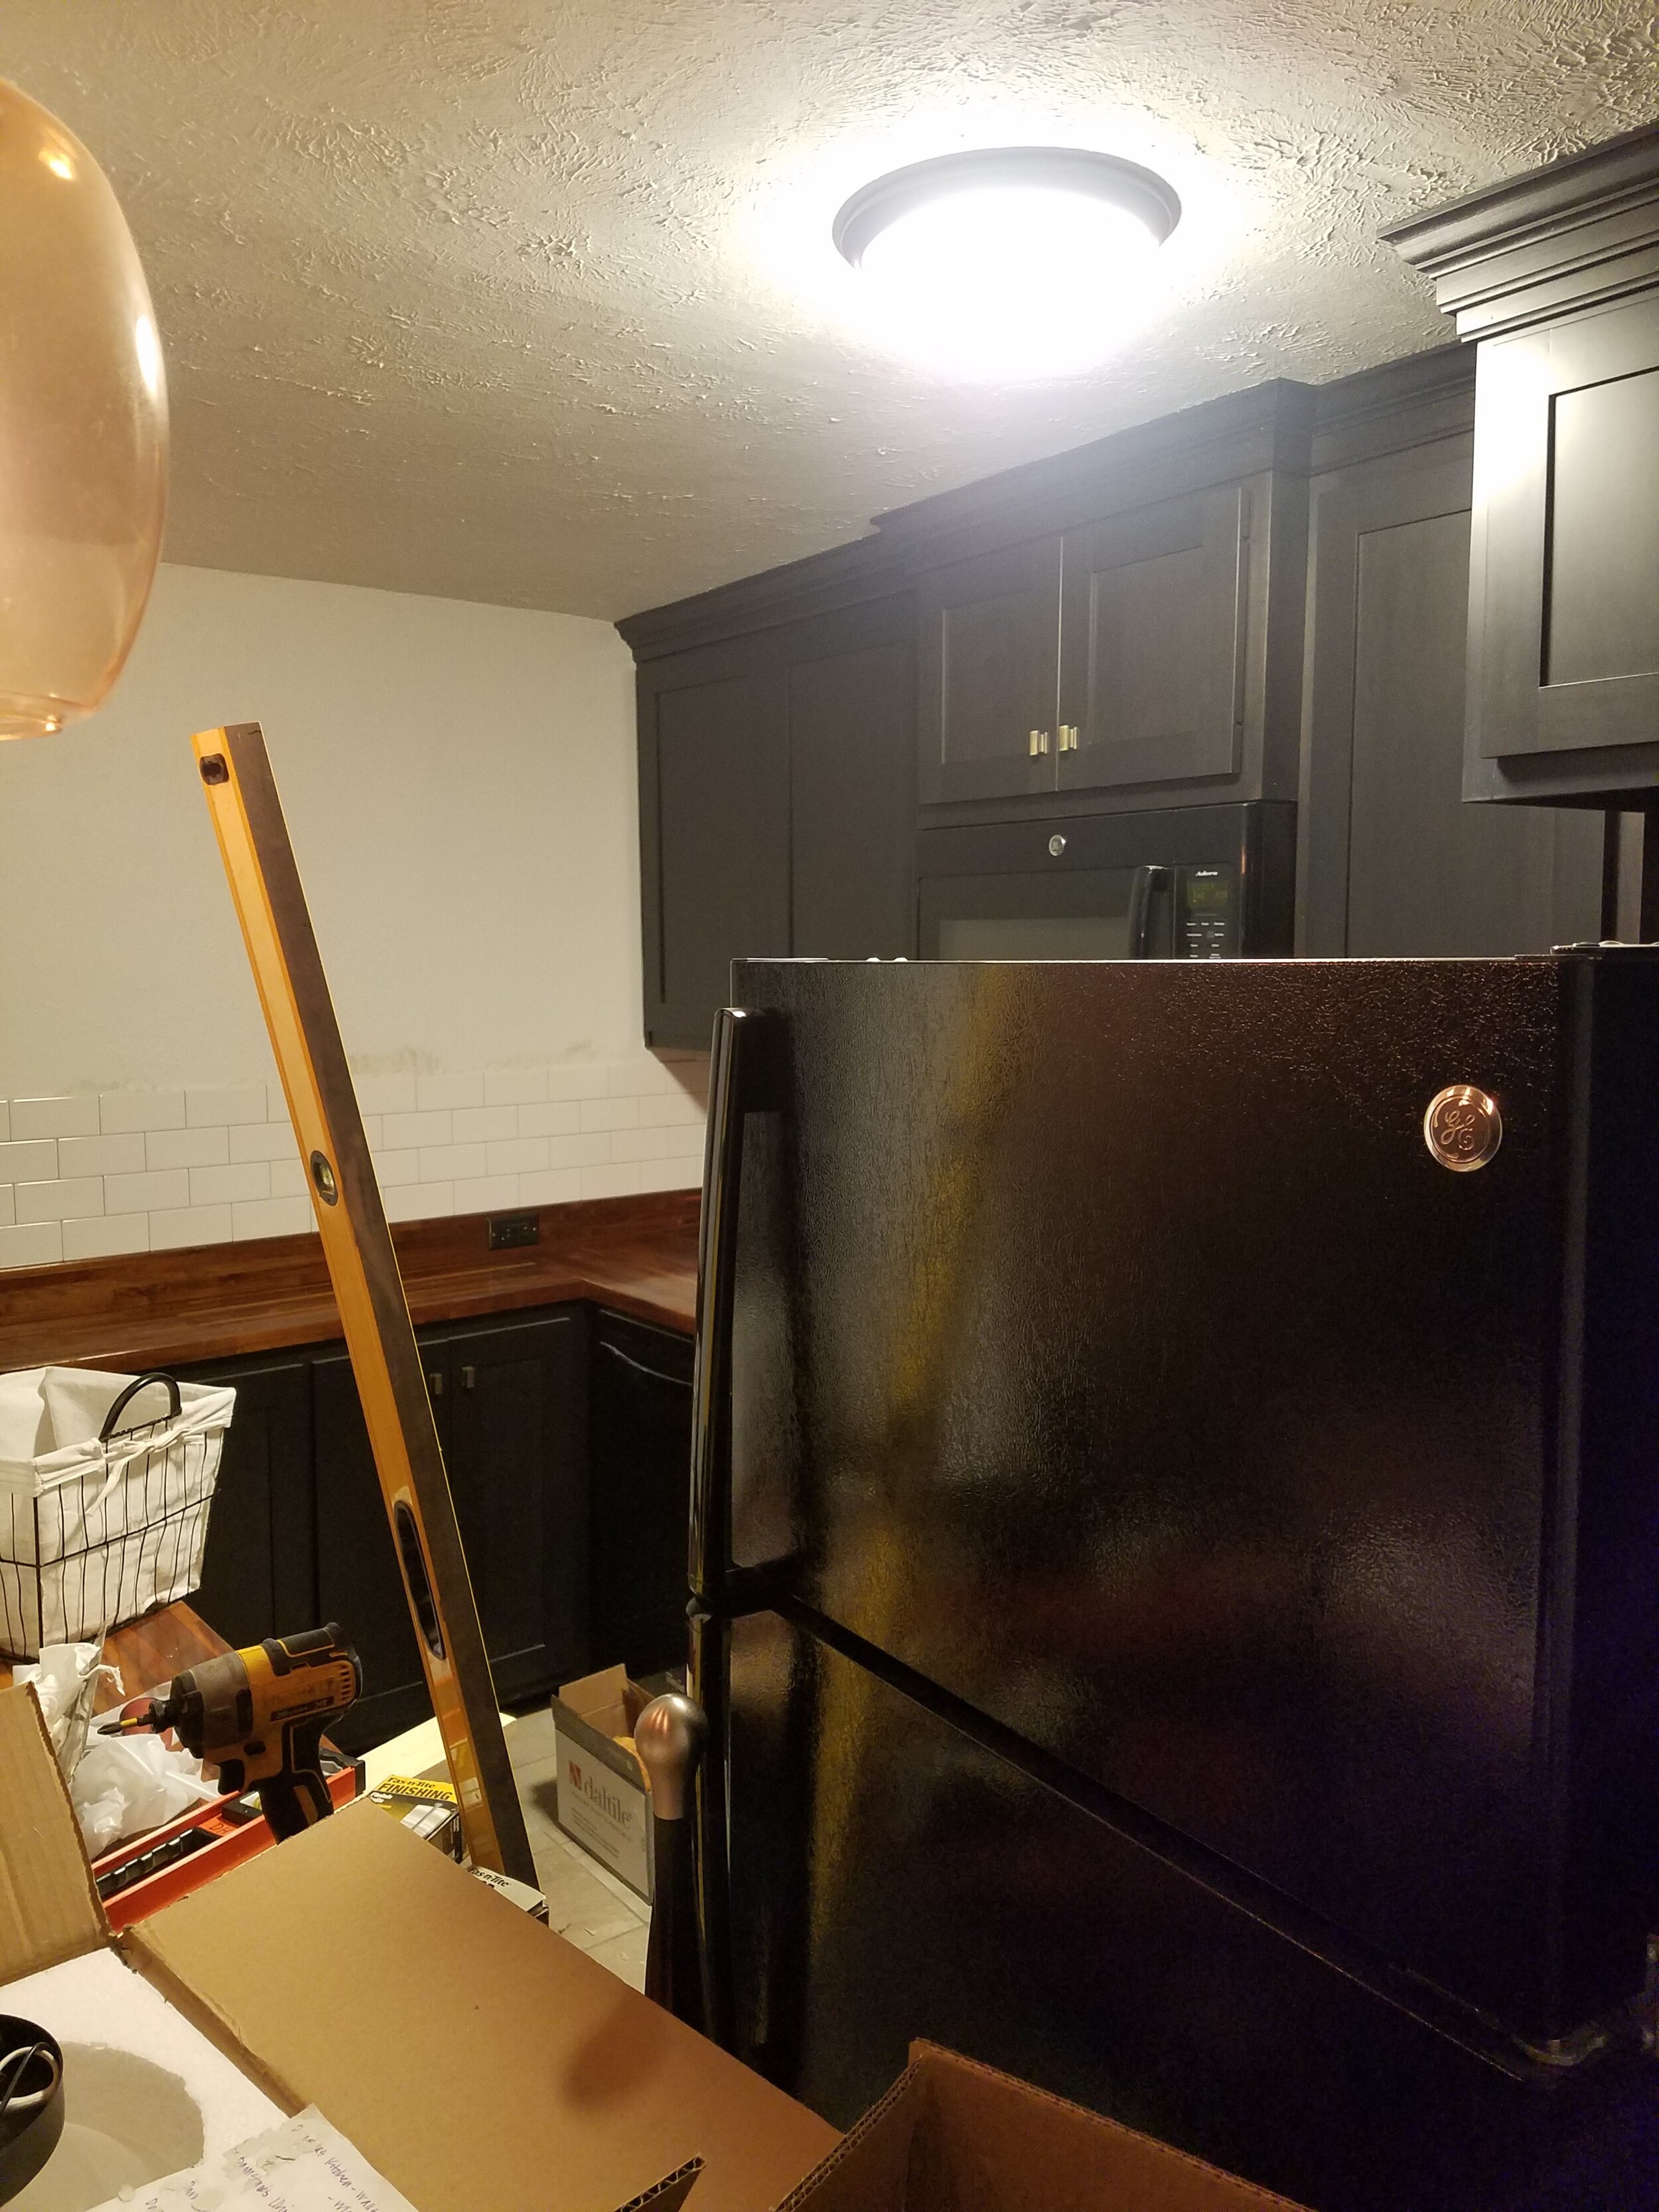
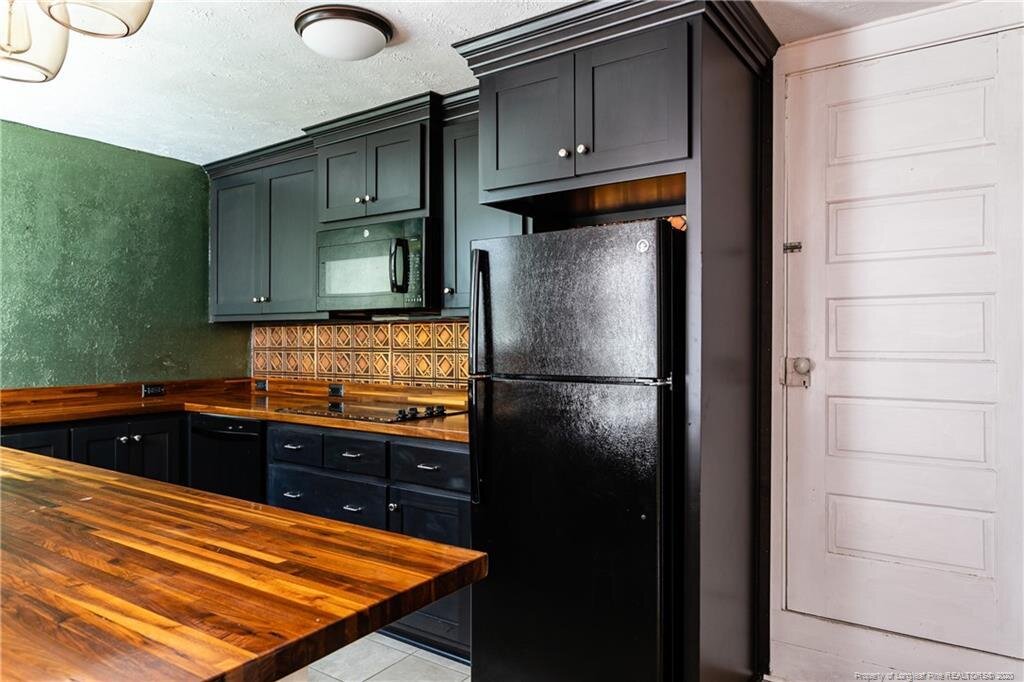
We are still waiting on some electrical work and then the painters can return to finish their end of things. Having used nearly 60 gallons of paint, Hillside is definitely getting refreshed! We are turning to the downstairs kitchen where we will start the renovation there of replacing the backsplash, hardware, lighting and replacing the tile floor. That job is exciting but DUSTY!


Things keep progressing and we have made the move over to Hillside, so if you are looking for us, we’ll be there. Living in renovation is always a challenge, but we are hanging in there with the bulk of the work behind us. Annika has been working her organization skills in the kitchen - we are loving more space - even with all the chaos of moving!


It’s a mess, but we are getting there. Hope you enjoyed the update.
Have a great week and we’ll “chat” soon!
Casey and Crew

HILLSIDE AVE - 2 more weeks of Renovations
Haymount Homes Hillside HIstoric Renovations continue - next 2 weeks!

Progress continues! Knee deep in painting - old walls need a LOT of love!! However, it is making a huge difference to the feel of our new home- exciting!


We have also been playing the light fixture game - round and round we go, trying them in different spaces to see how they fit and feel. I think we have ordered over 30….and keep UPS and local stores busy with our exchanges…however, light fixtures are like the jewelry in a room - they are the best accent and need to fit just right!


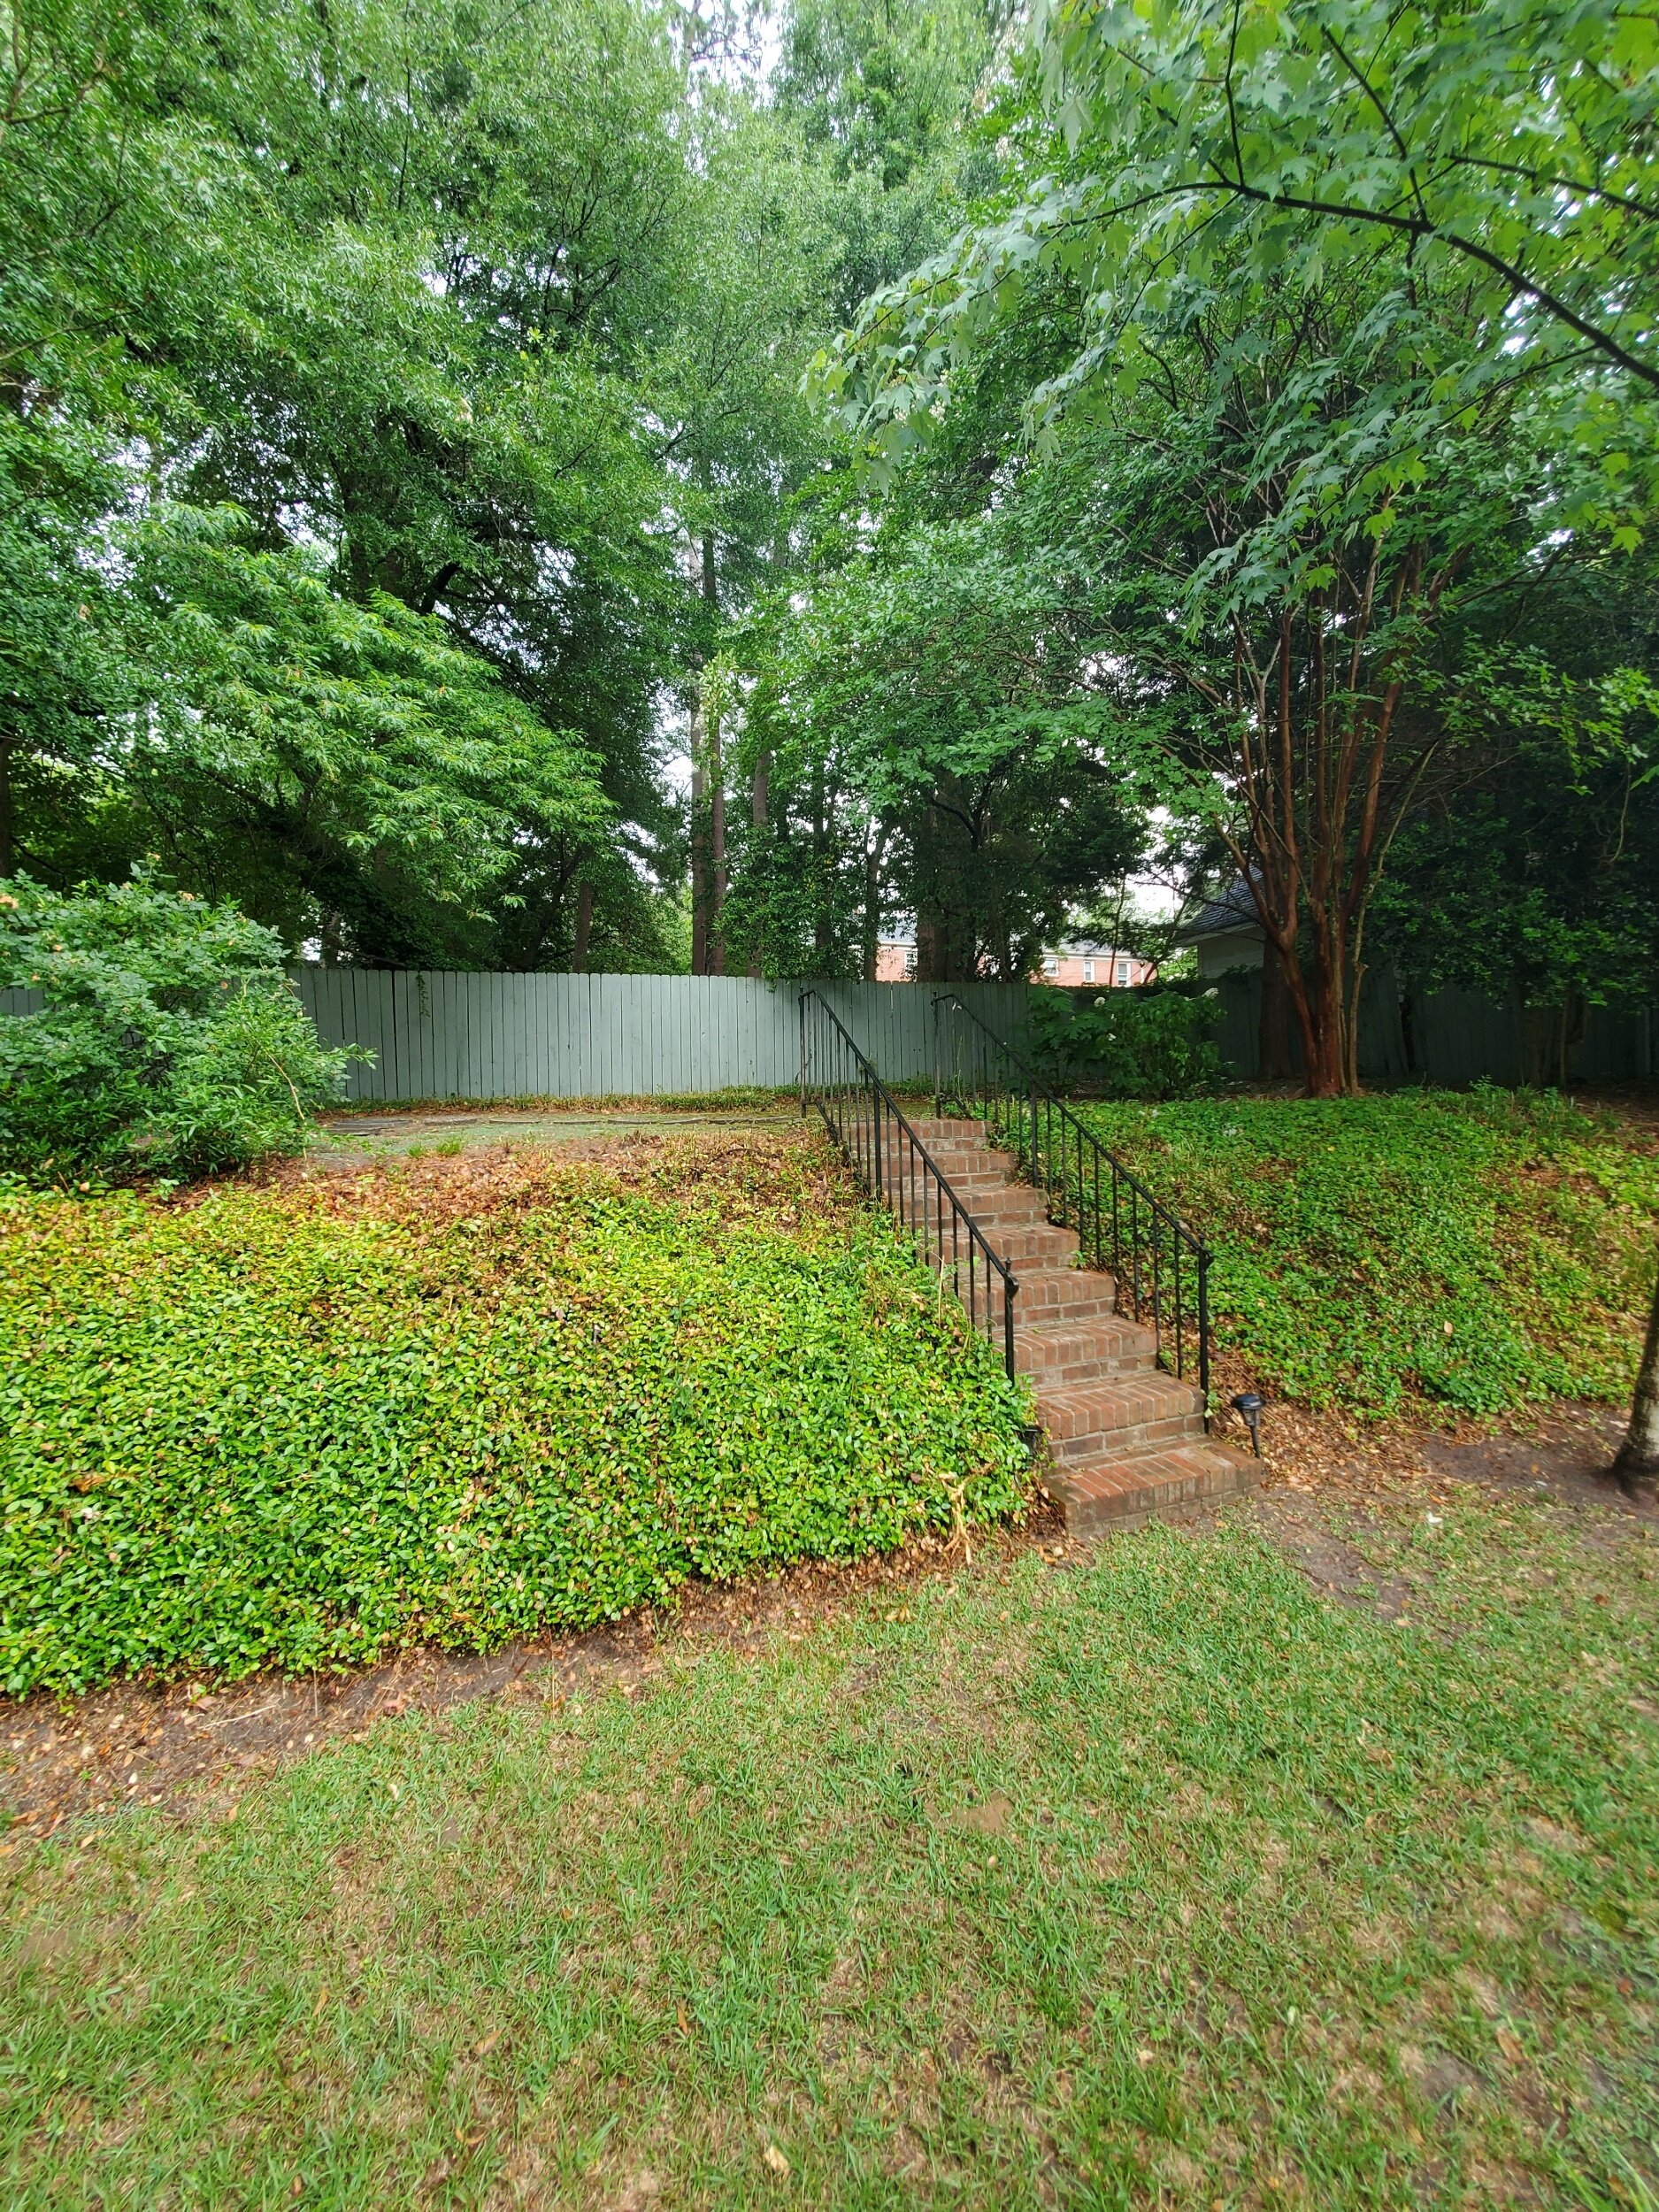
Also we are trying to find the backyard….a little at a time….


Stay tuned for more! It’s coming together!!
Casey and crew

HILLSIDE AVE - OUR NEWEST DESIGN PROJECT
Introducing our newest design project - follow along as we complete renovations on a 120 year old historic home!
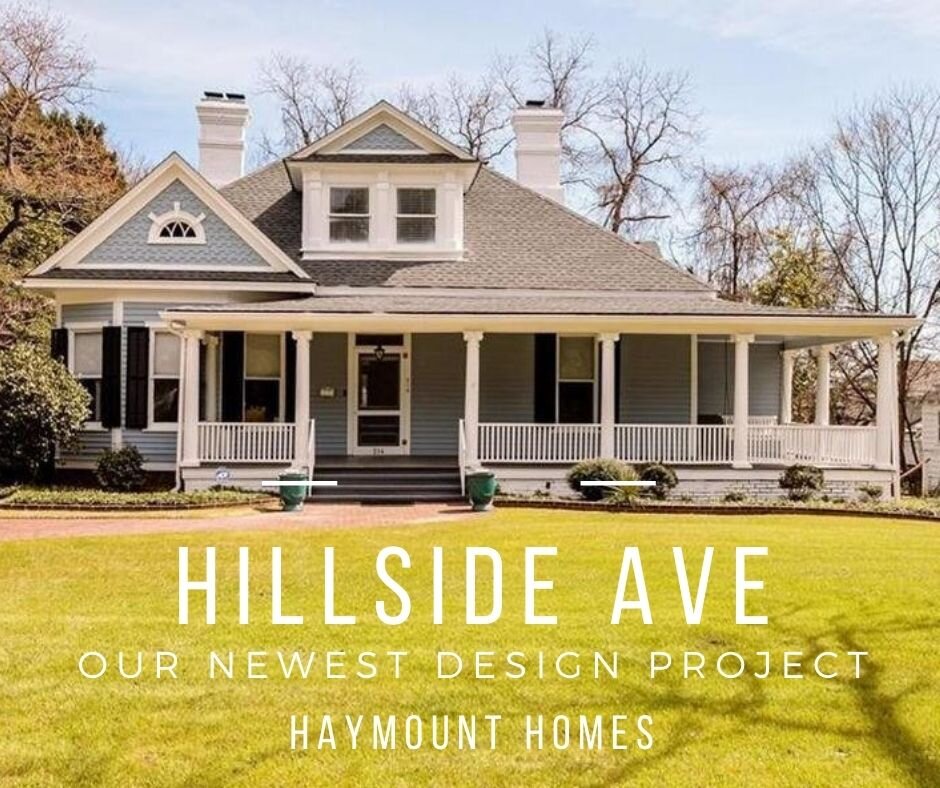
We are so excited to introduce our newest Haymount Homes design project, Hillside Ave!
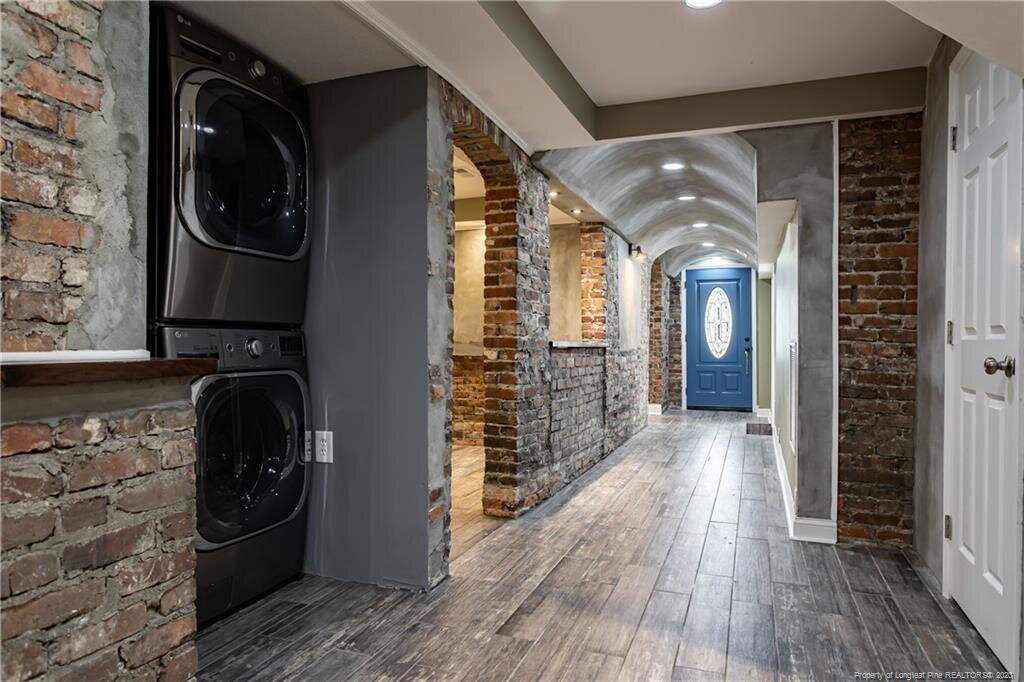
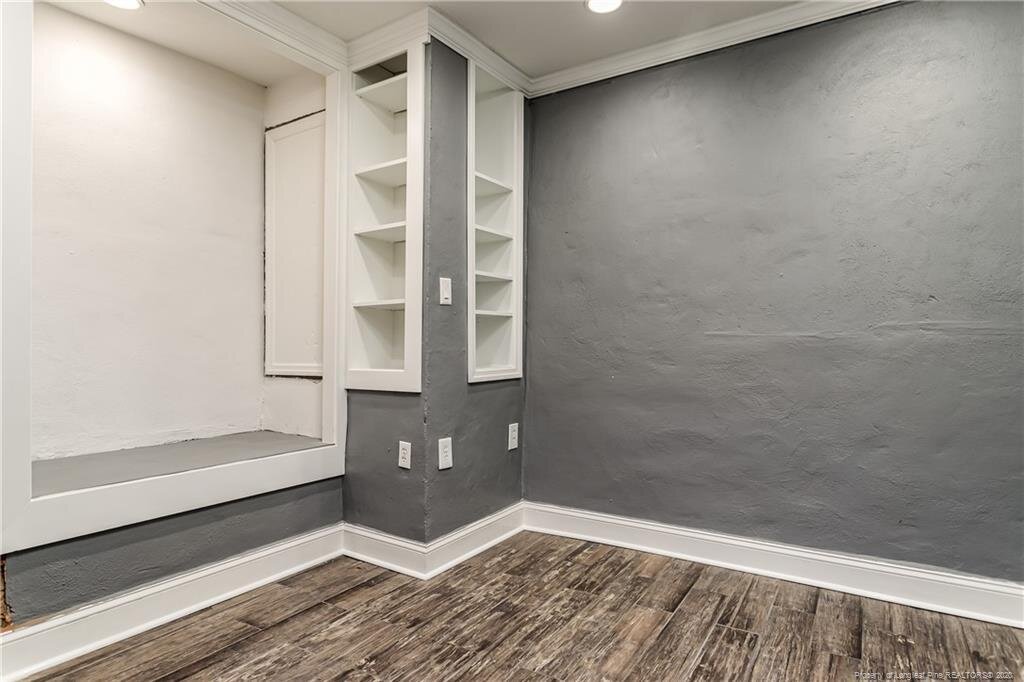
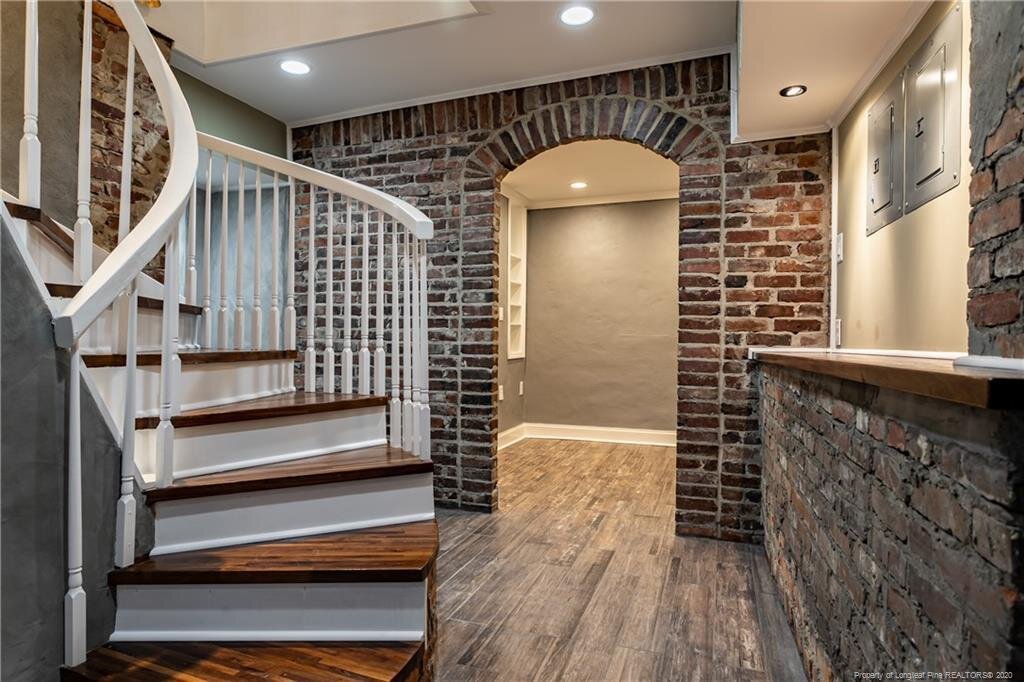
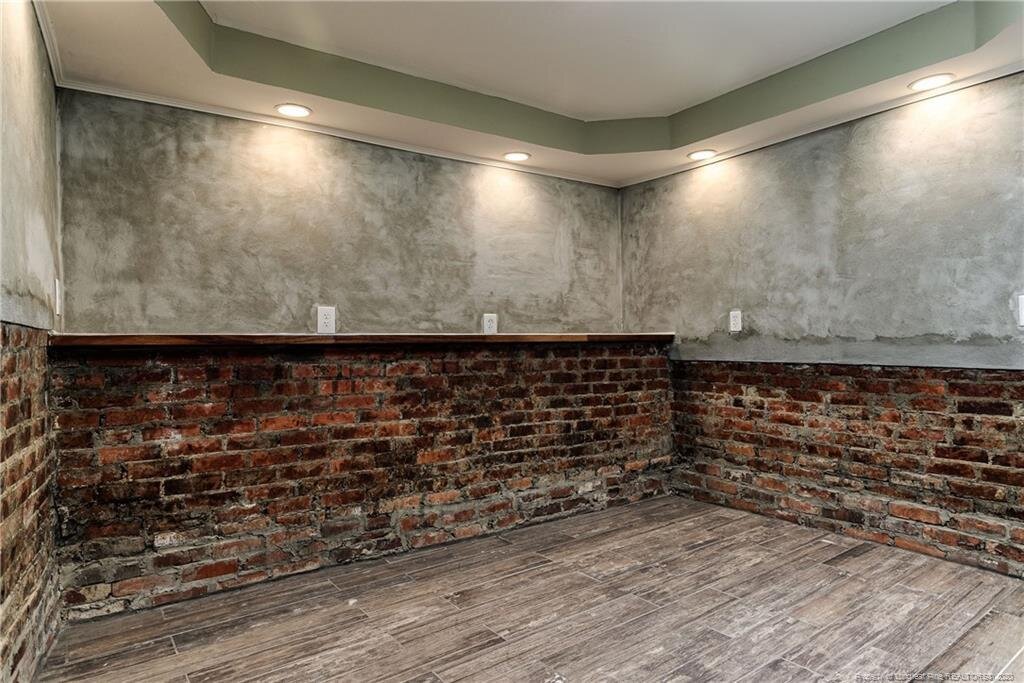
There is so much to love about Hillside. From over 600 square feet of porch living to exposed brickwork and architectural detail throughout the lower level, there is eye candy to be seen everywhere. The grand foyer welcomes you in and the beautiful 120 year old pine floors honor Southern tradition.
This home has been lovingly updated for the last six years, and we are the proud new owners. We have included a present state home tour for you and are hoping you’ll follow along as we place our Haymount Homes stamp on the design.
Stay tuned for updates and you’ll be able to follow us on Facebook and Instagram, using the hashtag, #hhhillside.
For now, enjoy the present state home tour….we are thrilled you stopped by!
- Casey and Carl


HOME STAGING SELLS - BEFORE AND AFTER PHOTOS
Home Staging - Before and After photos - See the value for yourself!

We hear plenty about staging a home for sale these days - experts recommend it, realtors beg their clients to do it, and homeowners stew about whether or not it is worth the investment. We get it completely. Staging a home takes important resources: time, energy and money. However, these efforts certainly pay off in the long run.
Staging a home often brings more interest in your home, a higher selling price, more viewings, faster offers (sometimes multiple offers), and quicker sales. In our experience, you will receive every penny you spend in staging your home back in selling your home for more money in less time. Additionally, sometimes staging will just get your home sold when it otherwise has been sitting. Avoiding more time on the market also saves money.
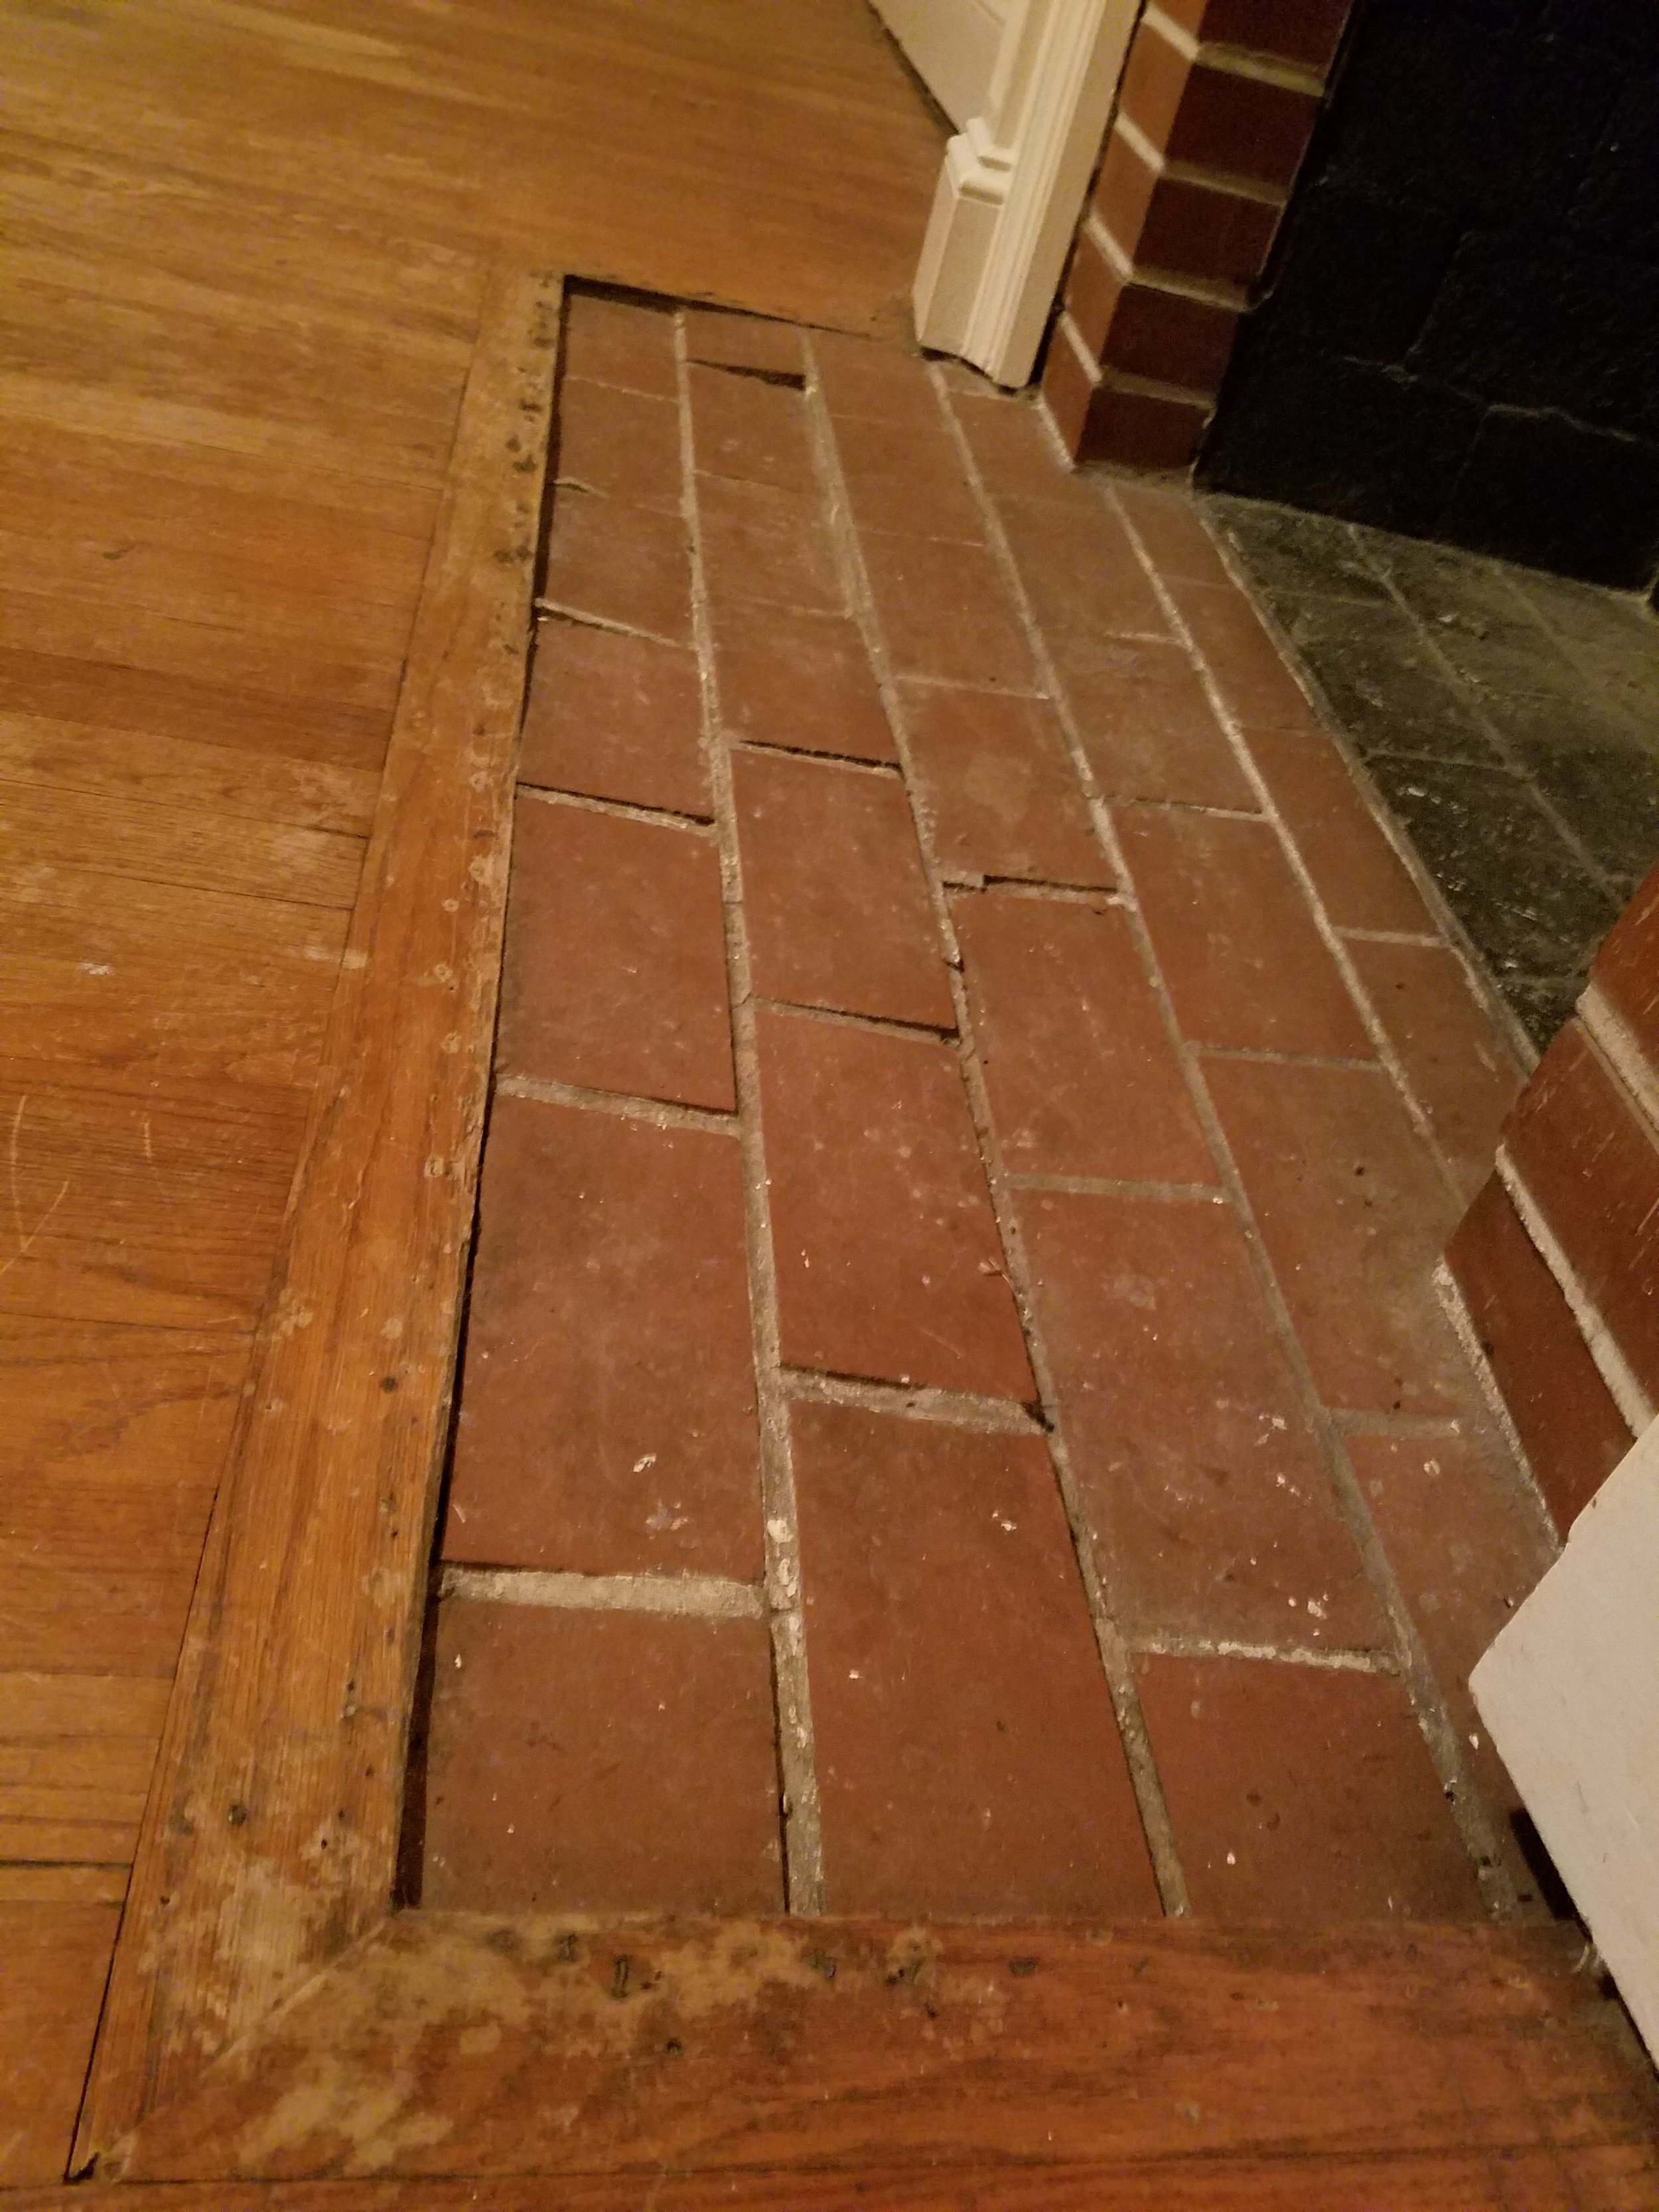
Below you will find before and after photos of a project we recently completed. We also did some light renovations with the staging, but they were mostly cosmetic- painting, flooring refinishing, and recoloring grout. There are a few types of tile that were added and swapped out. Overall, there are big changes with the staging and light renovations, and these changes at a big impact.
Prior to the staging, this home had been in the market for a year. Once staging and light renovation were complete, 12 days later it had a full price offer for over $30,000 more than the asking price when it was removed from the market for renovations.
Enjoy the photo tour before - we all love a good before and after don’t we? We did not have before pictures of the upstairs, so we just included the first floor of this beautiful home. Staging and updating allow a home to shine in its full glory, and give the best impression to prospective buyers. If you need assistance staging your home, don’t hesitate to ask for our help! If you don’t know where to start, we can help you figure that out too!
Enjoy!
The Benander Crew


GREENLAND DRIVE - BEFORE AND AFTER
See the amazing before and after pictures of our newest rental home - Greenland Drive!

We hope you enjoyed the Greenland drive home tour. As mentioned, it was a labor of love for many people involved in the project. If you are anything like us, you love the see the before pictures to help give perspective on what has been achieved.
We are not the best at remembering to take a lot of before pictures, so we need to improve on this. However, we will give you what we have so you can see how far our Greenland home came. It had been neglected for quite some time and we are so happy it has been restored to a home you can love!
Without more chat, here are some before and after photos for you!!


As you can see, Greenland has come a loooooong way! From rotted flooring to unlevel fireplaces, from wild and uncontrolled yards and trees to long past their prime roof and windows, it has been nothing short of a job. With each part of its renovation, a little more of the home’s personality came through. It was almost as if it wanted to be loved.
“Everything has its beauty, but not everyone sees it.”
It is so much fun to restore beauty to our neighborhood and haymount continues to give back to all of us. Thanks for looking at this before and after photos. We hope you they inspire you to create beauty around you!
-Casey

INTRODUCING THE NEWEST HAYMOUNT HOME - GREENLAND DRIVE
Tour our newest Haymount Homes rental property - Greenland Drive!

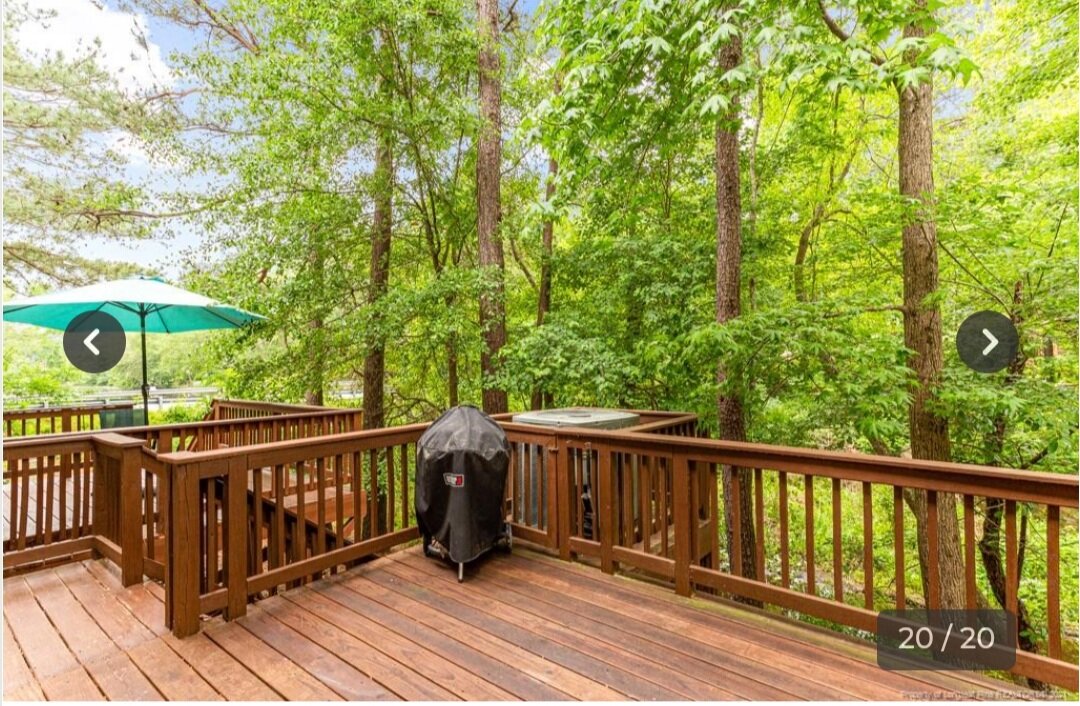
We are so excited to introduce the newest Haymount Home: Greenland Drive. Greenland has an amazing front porch for your sitting pleasure. Add a chair and some sweet tea, and you’ll be ready to relax! The porch was fully replaced and is now sturdy and beautiful richly stained wood. Venture into the back yard and you will have room to roam in the fully fenced space.


Greenland Drive is a 2 bedroom, 1 bath home and has been lovingly transformed. It boasts farmhouse styling throughout, including a shiplap dining room and kitchen!


Greenland Drive has been quite a project but a labor of love. This has been the largest project we have undertaken and nearly every surface of this amazing home has been transformed. I will post more before and after photos for you in upcoming blog posts. I know everyone loves to see how far the home has come. I can promise you that we saved this little gem from years of neglect.
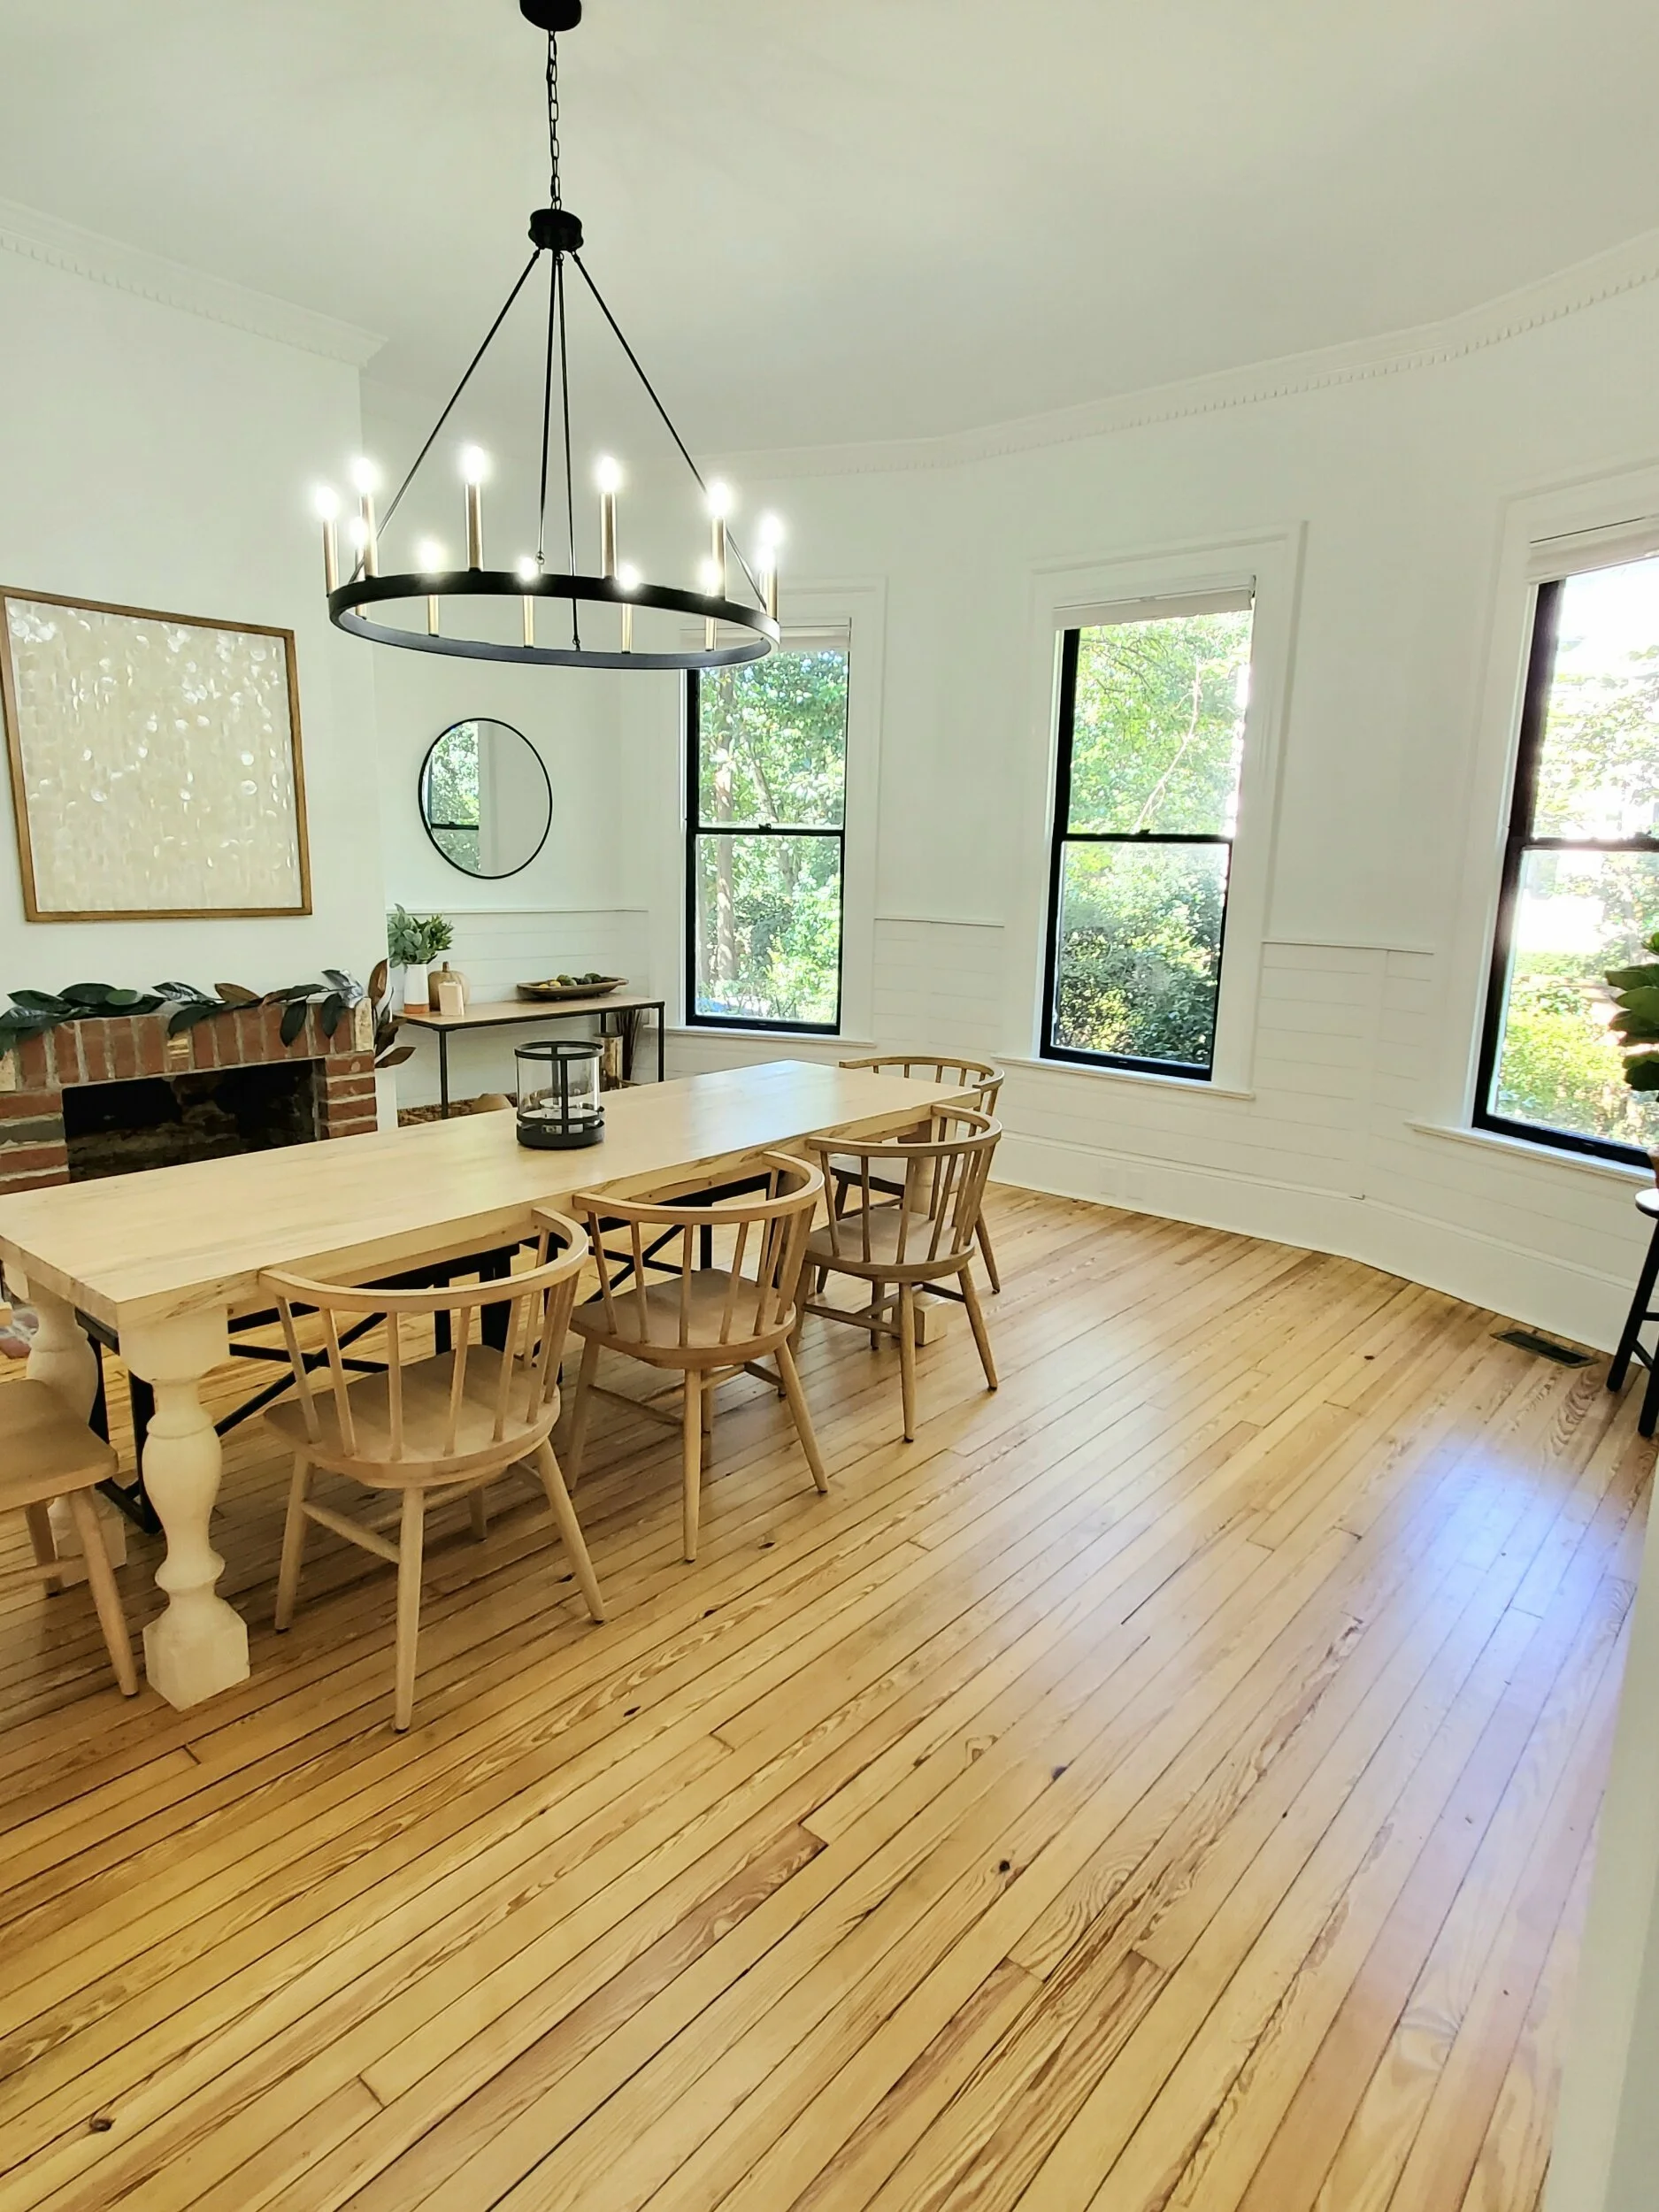
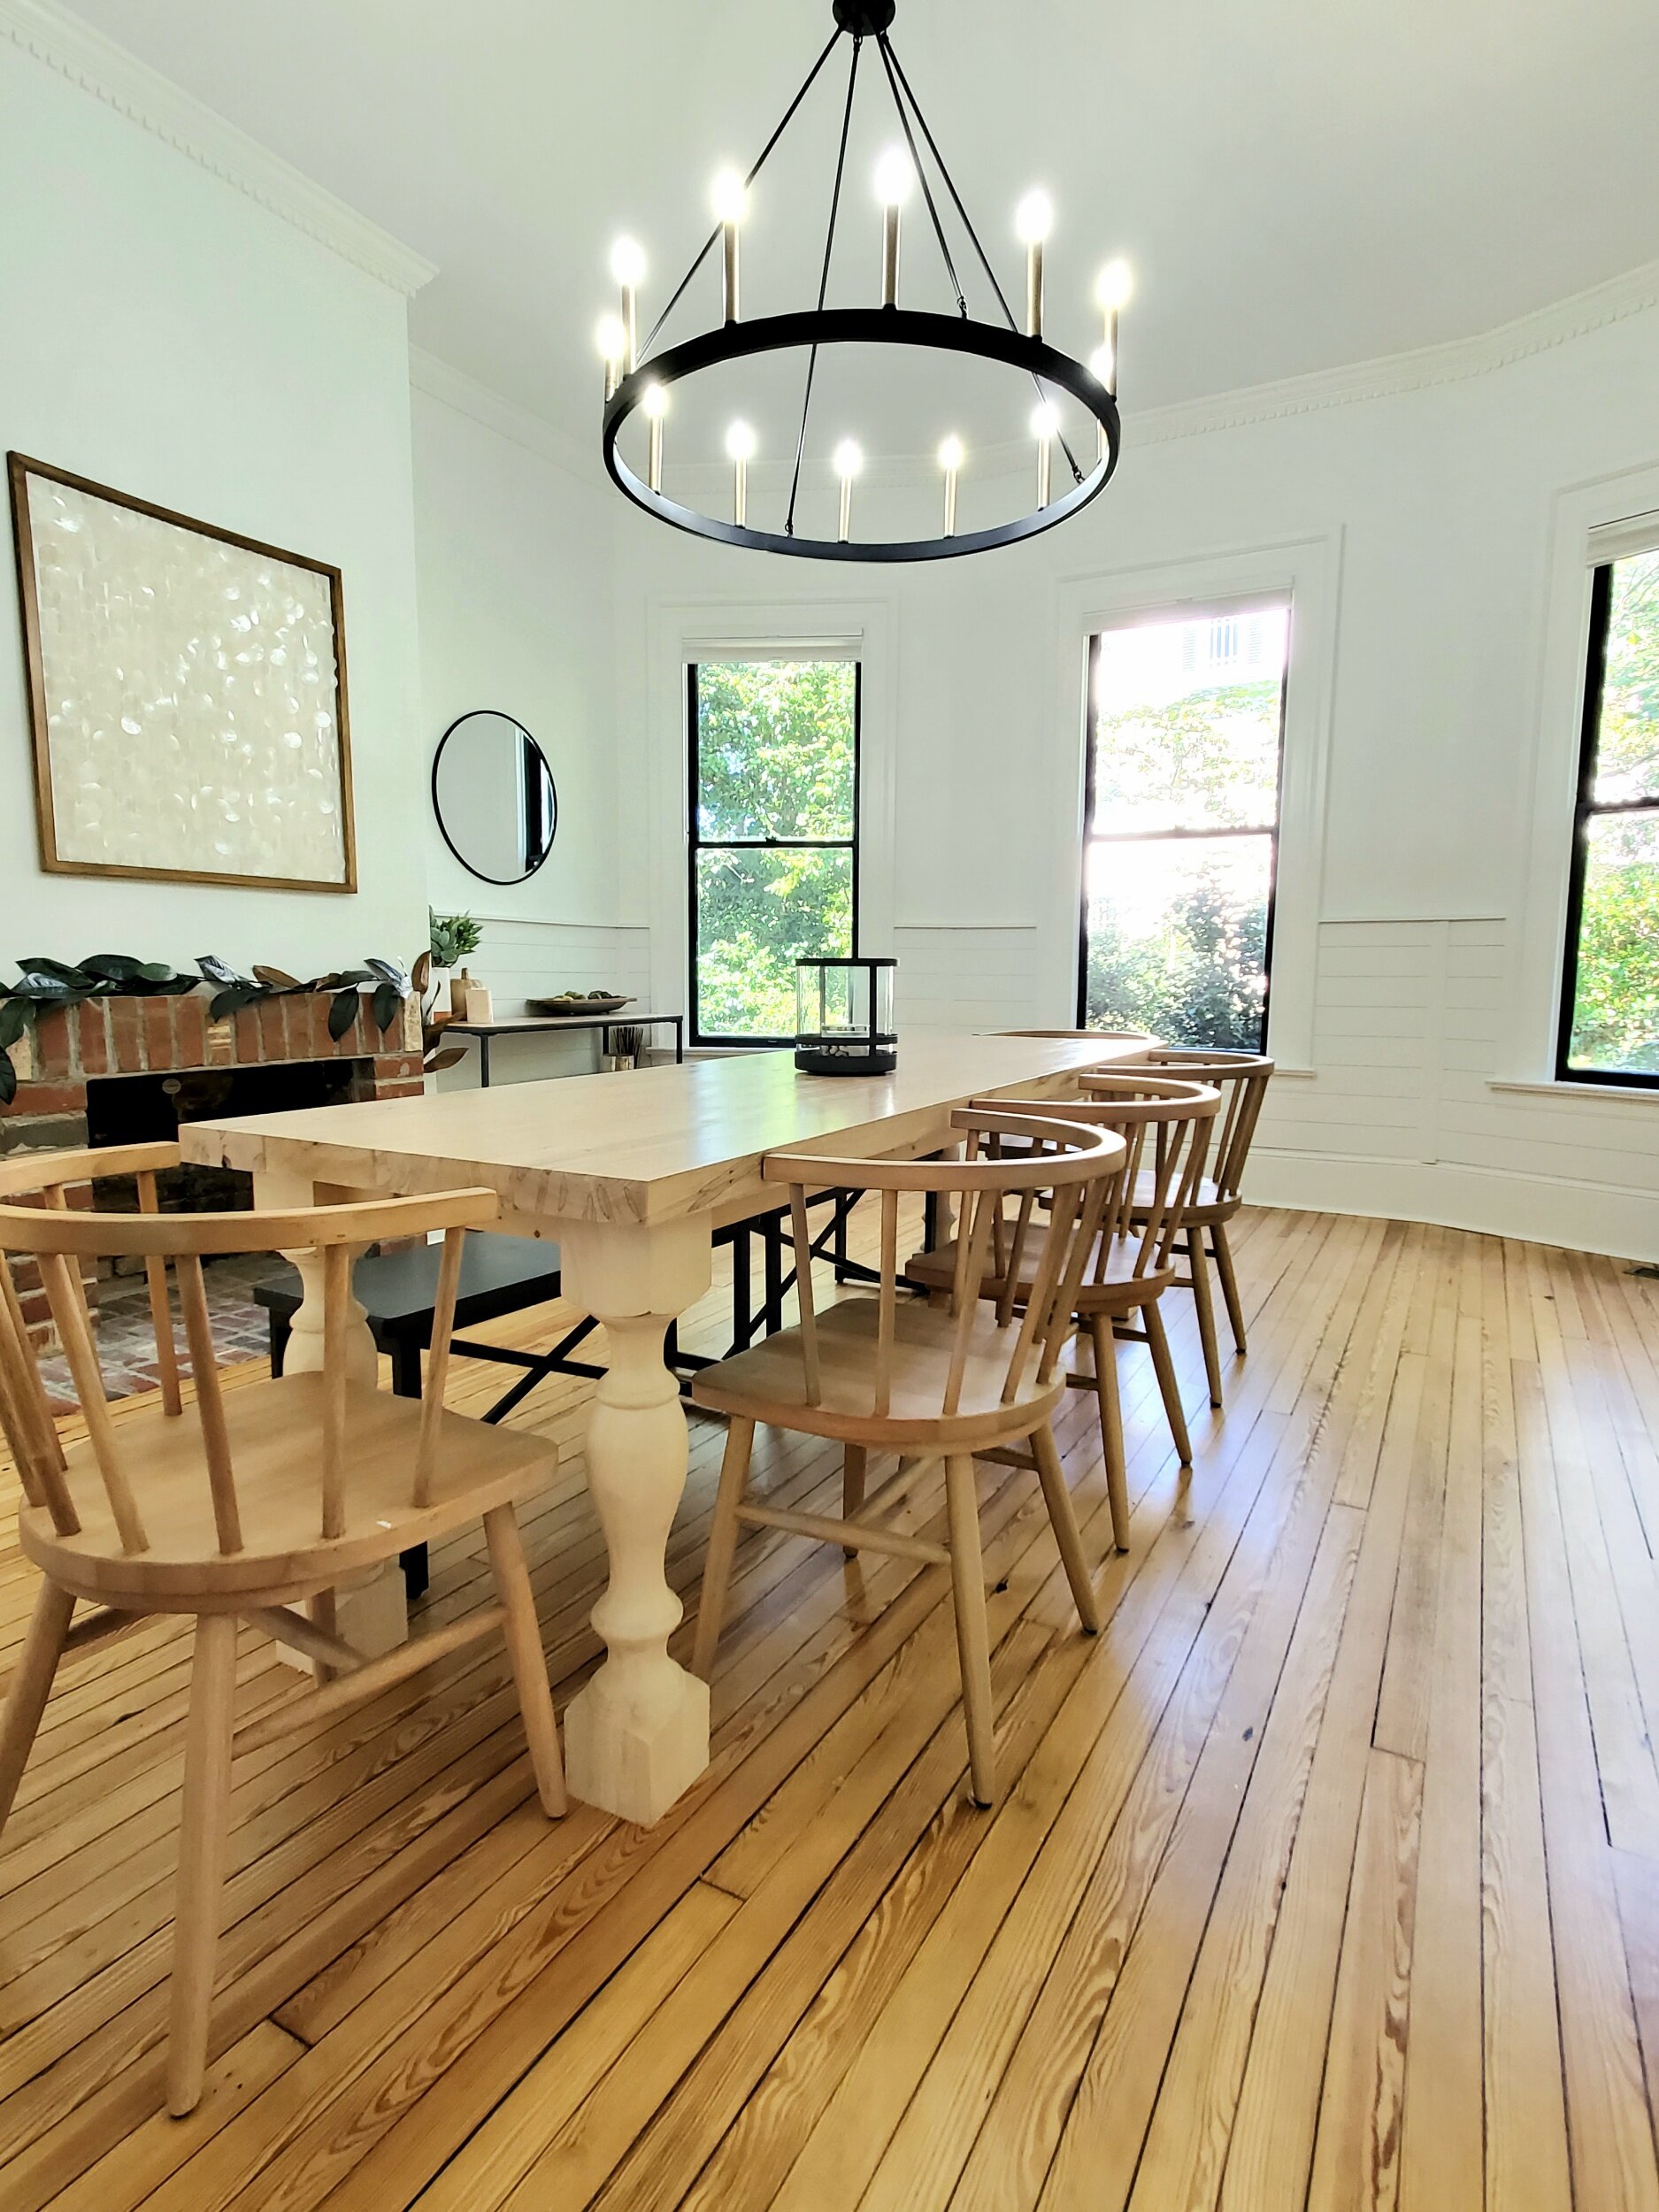
The dining room at Greenland is the hub of the home. Centrally located and accessed from the living room, kitchen, and porch, it will be a gathering space for all your friends and family. The attached living room offers ample space to relax and the gorgeous fireplace is a statement piece. We were able to retain the original mantel and add amazing herringbone tile.


Greenland Drive features hardwood floors throughout the living, dining, and bedroom spaces. The kitchen, porch, and bathroom all have ceramic tile. The brand new kitchen features wood cabinetry from our friends in Southern Pines, soft close drawers, and farmhouse style accents. The amazing black pearl granite countertops offer a honed matte finish and accent the beautiful undermount infinity edge stainless sink. Open shelving finish off the details along with beautiful stainless appliances. Did we mention a gas range? Now your culinary dreams can become reality!


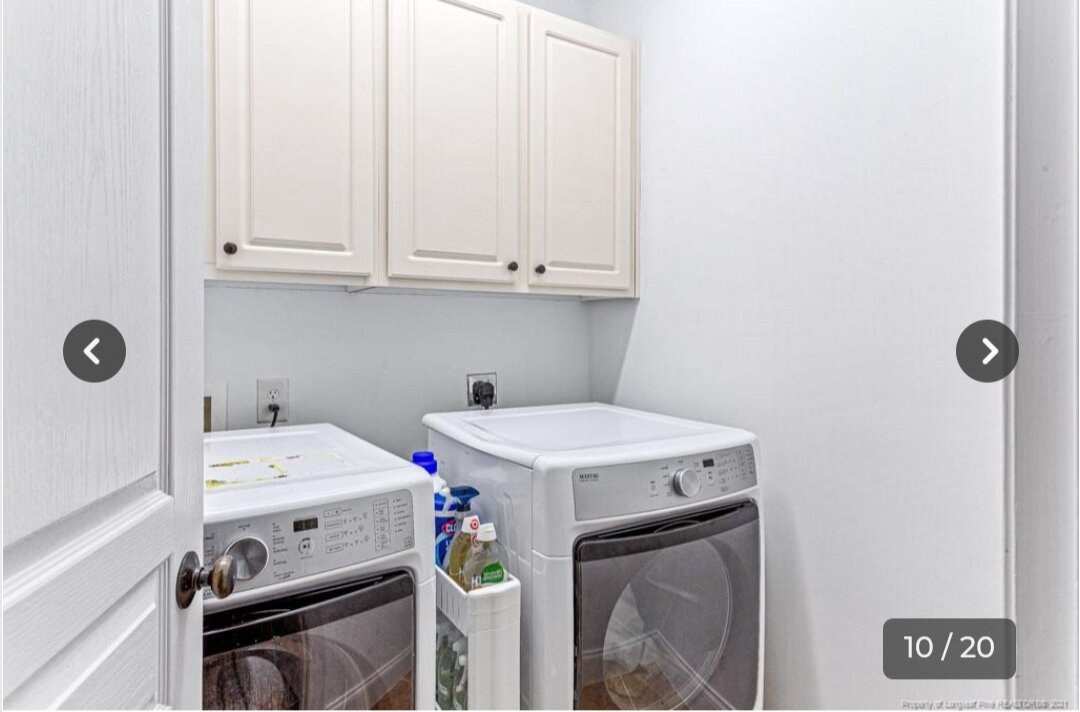
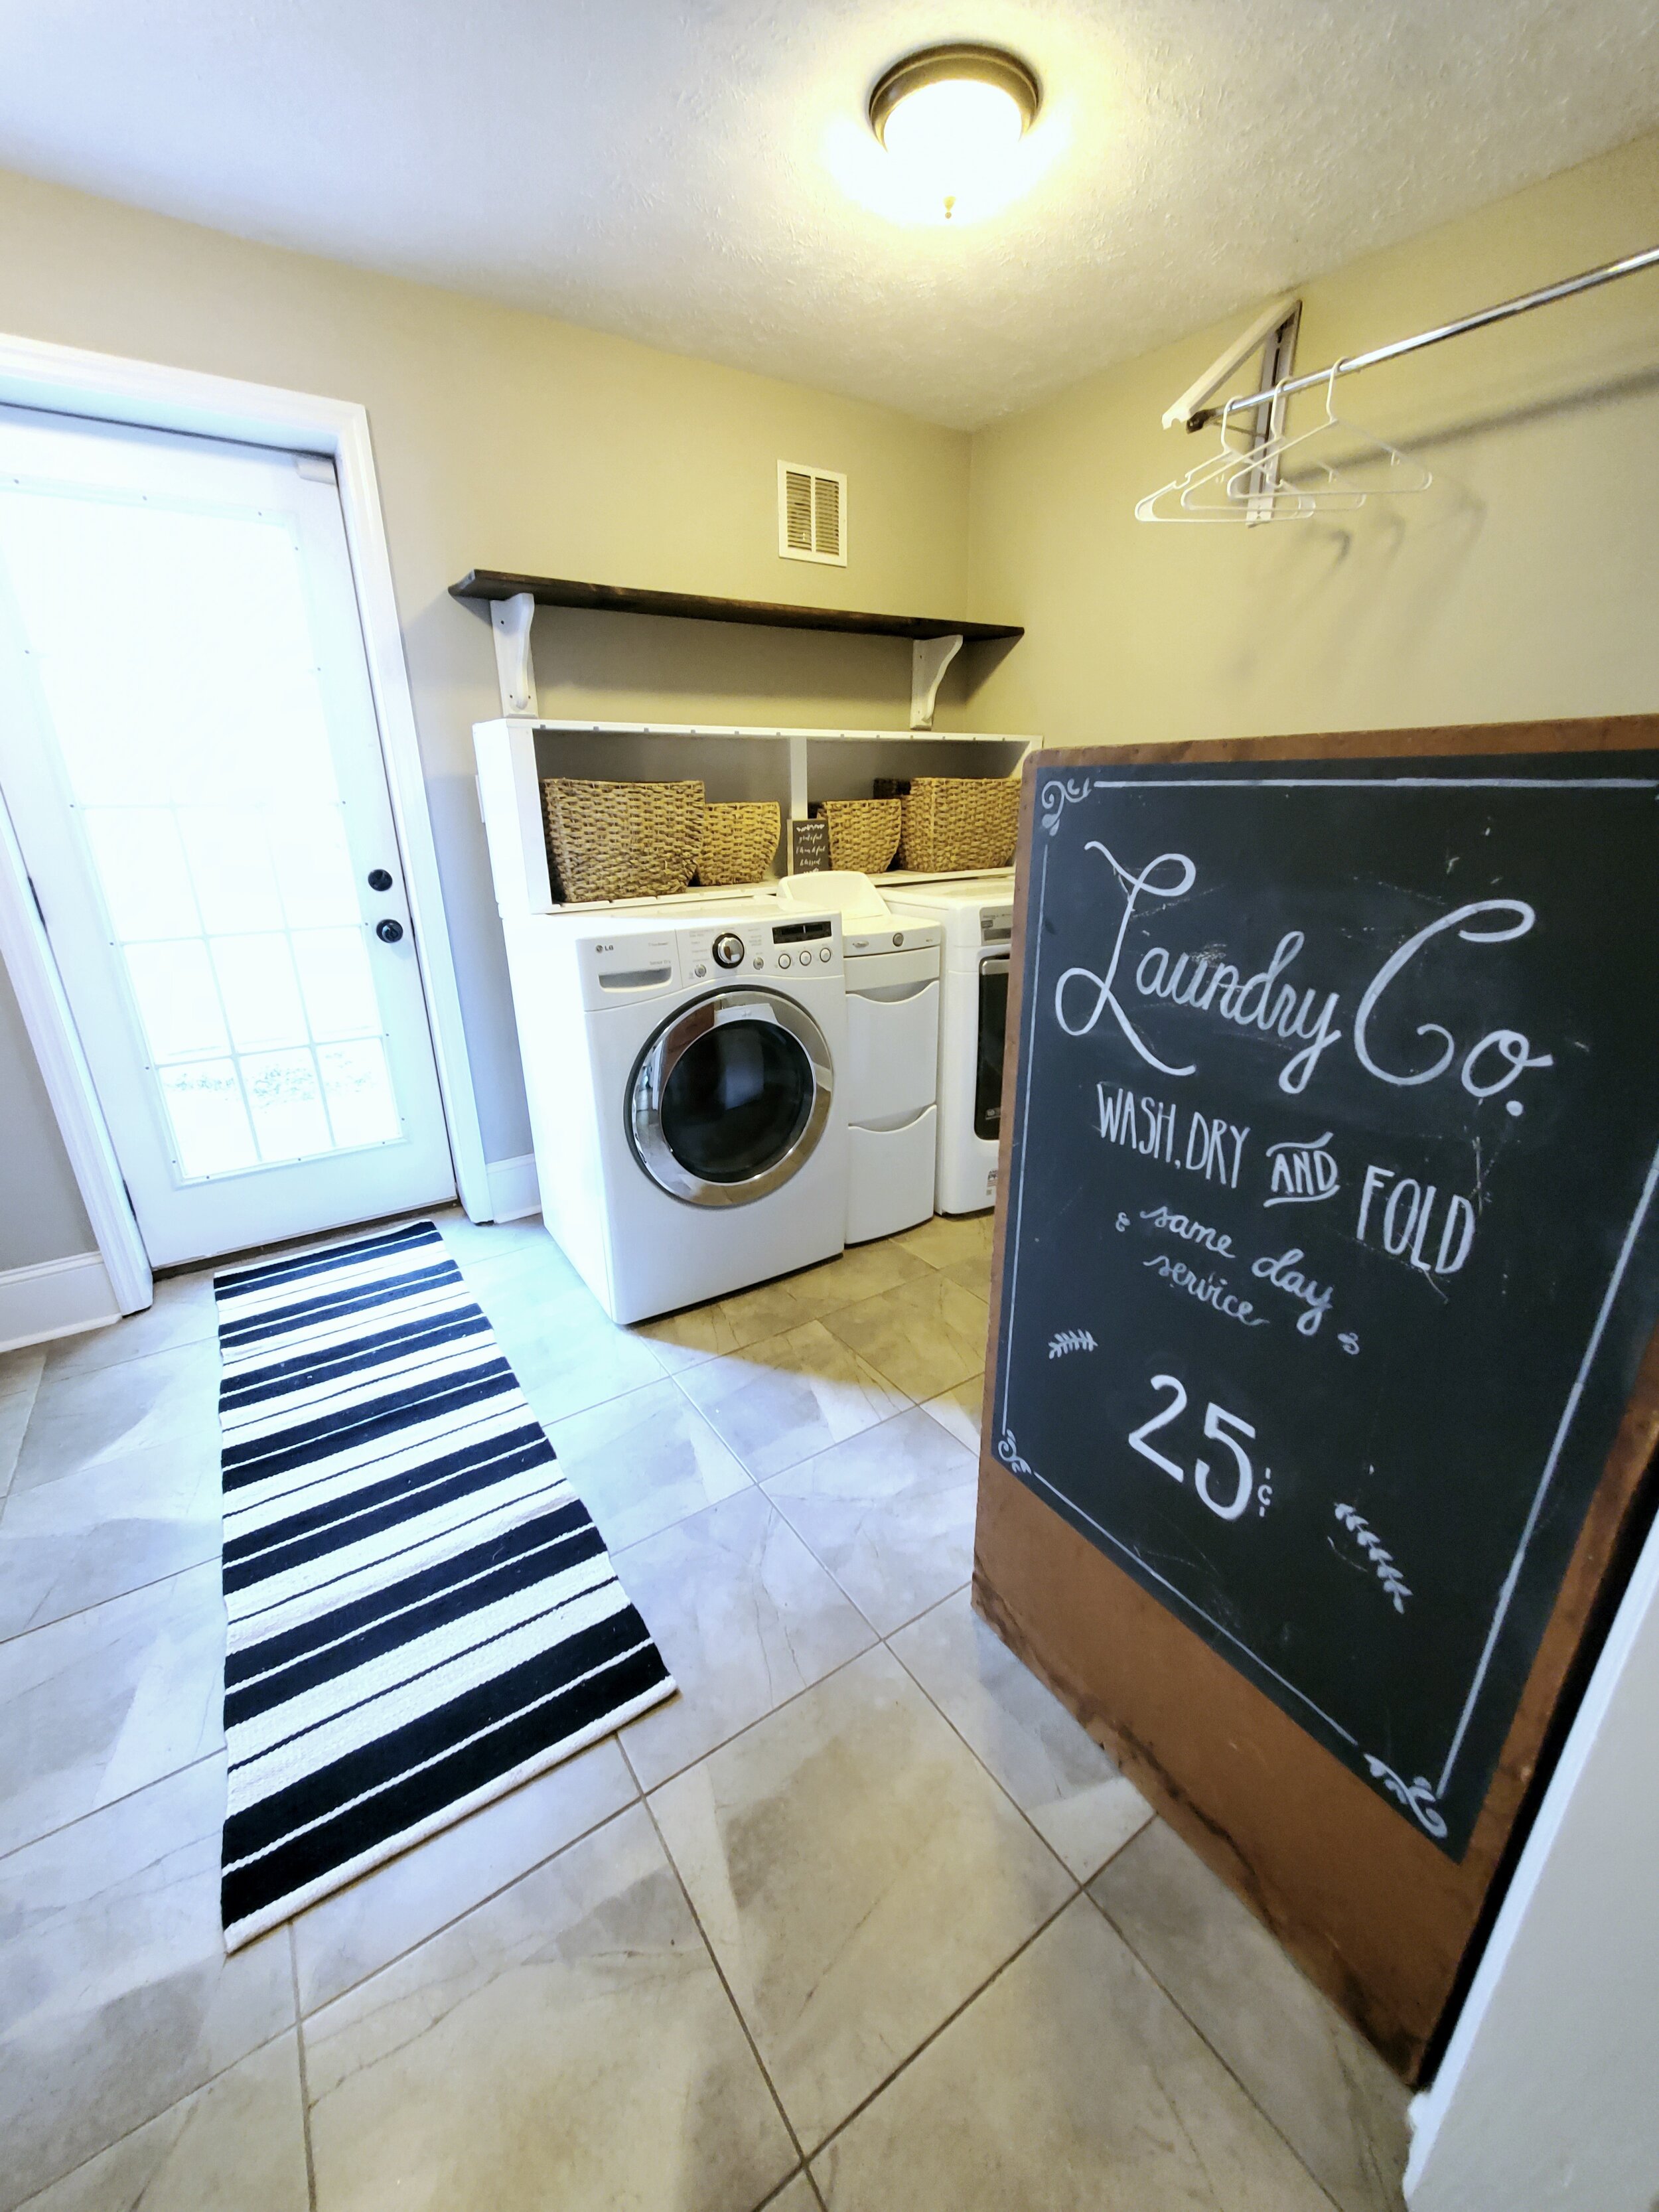
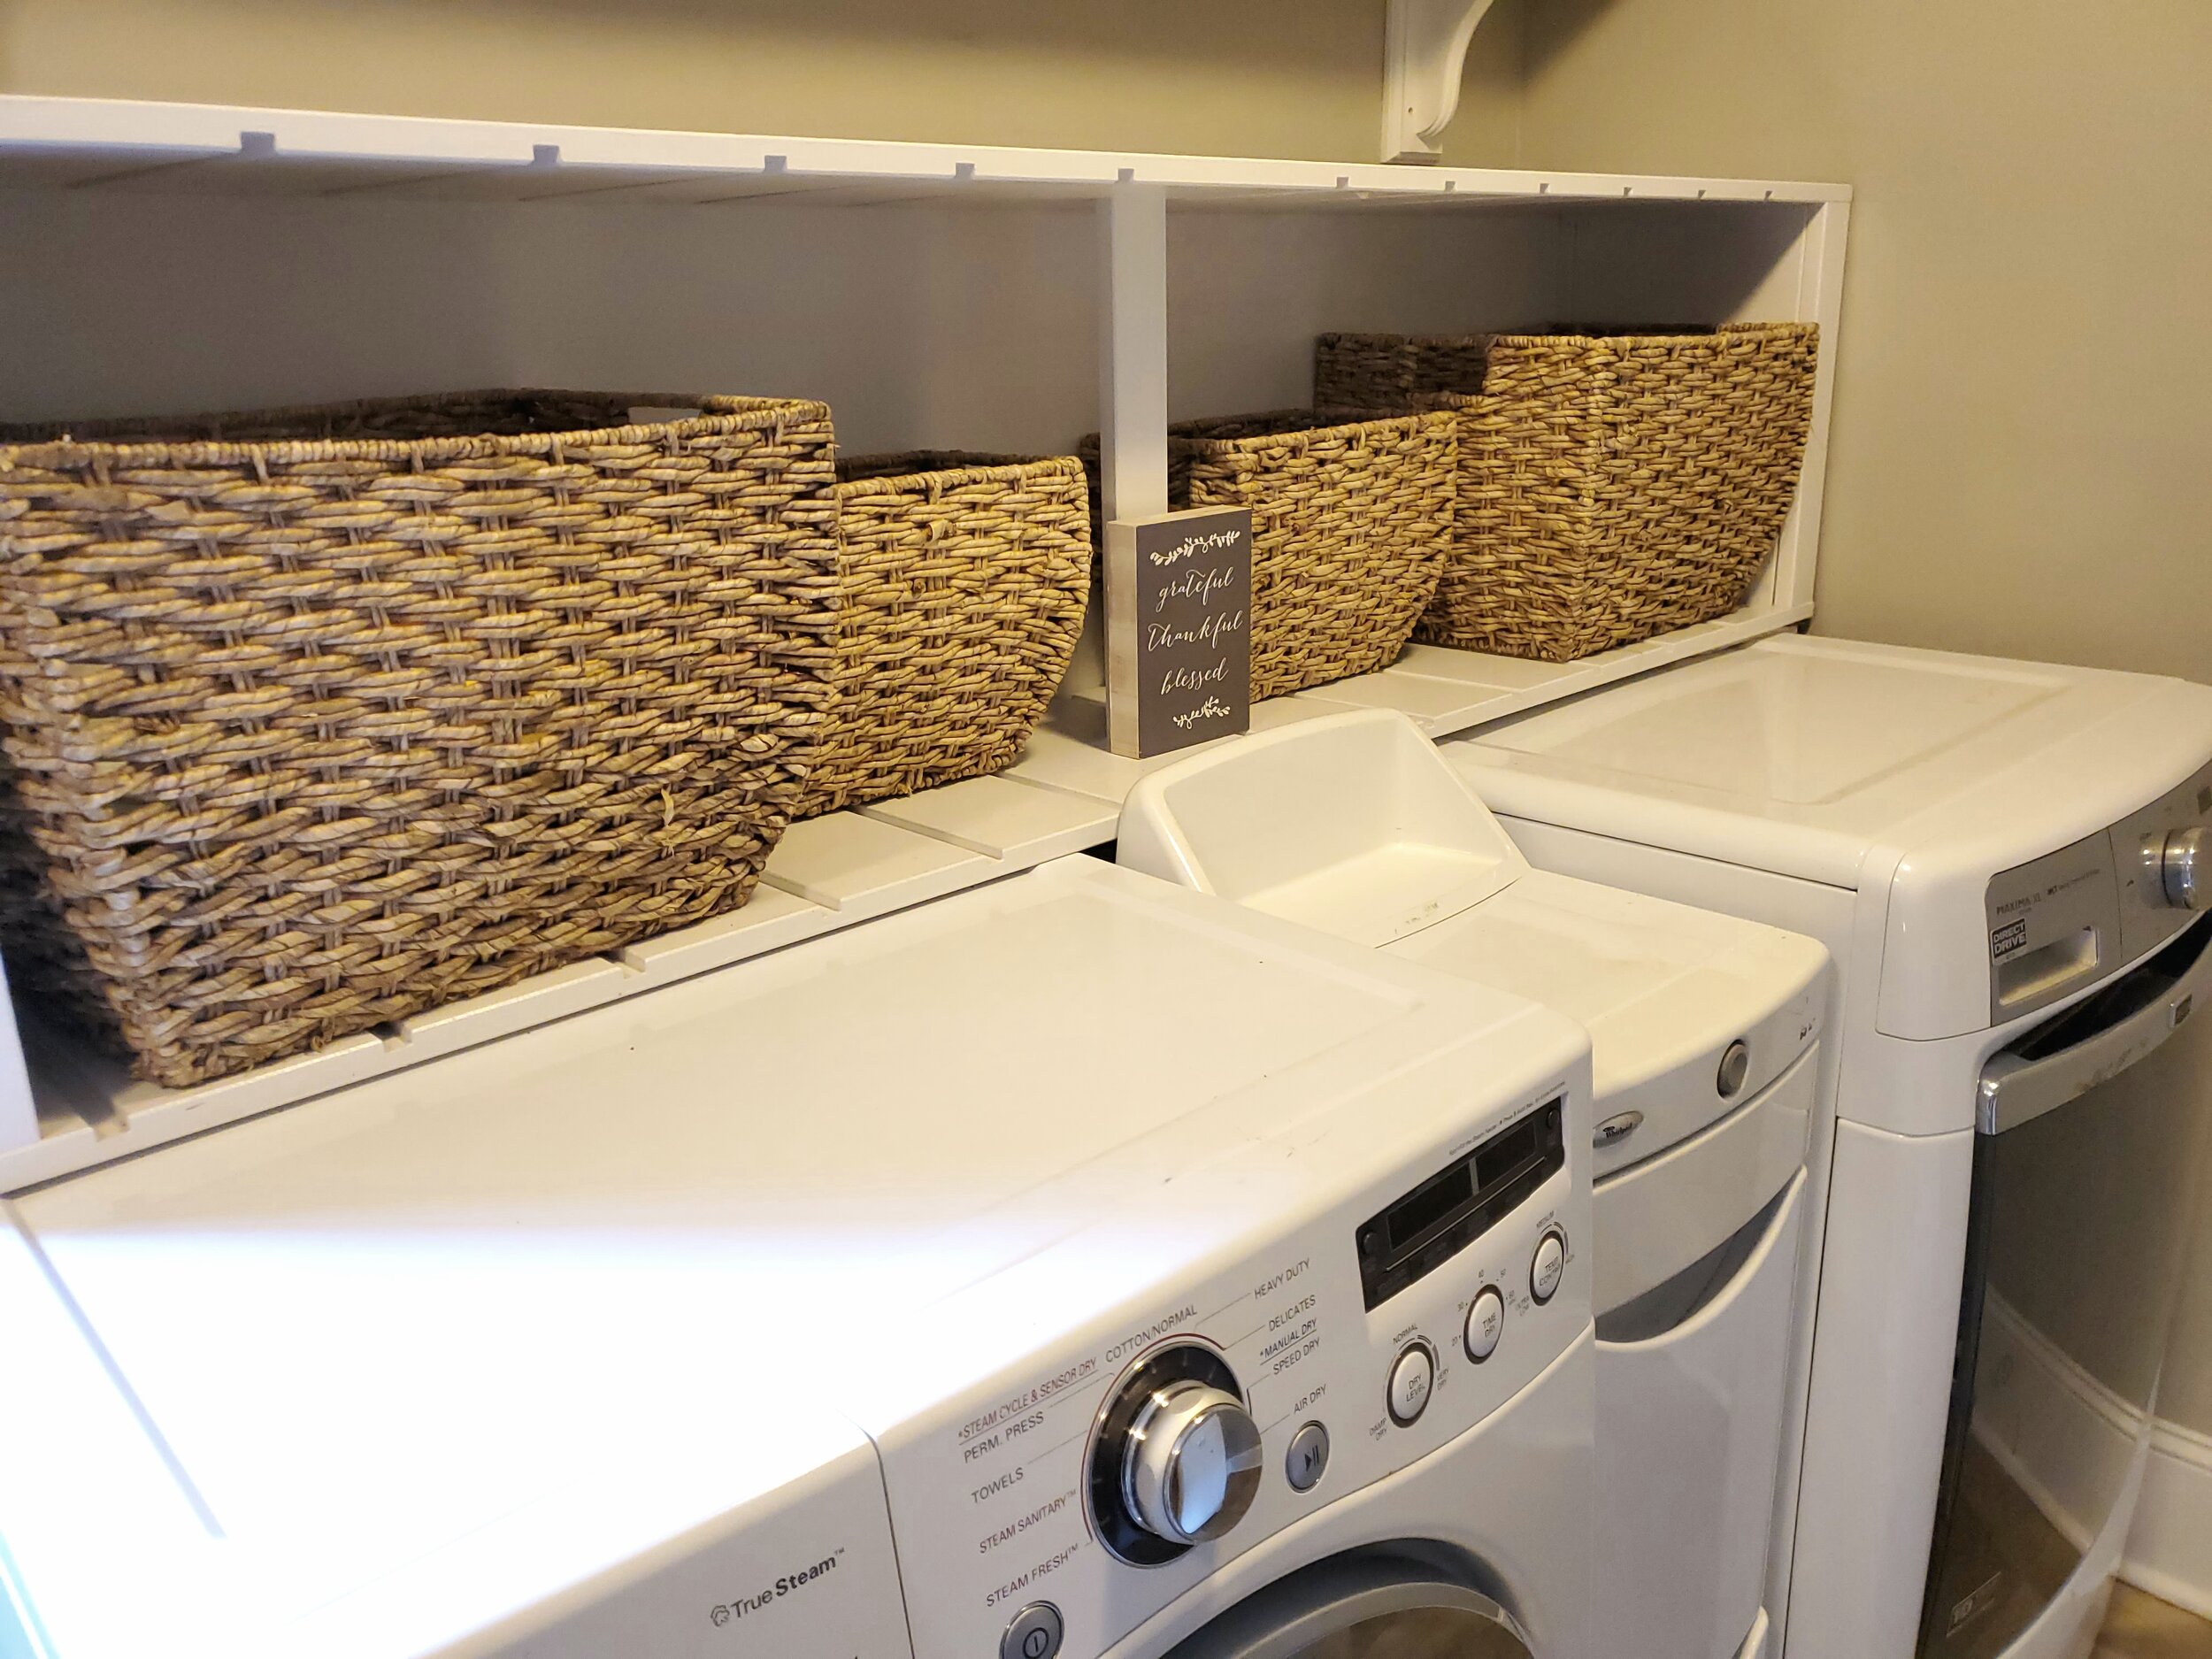
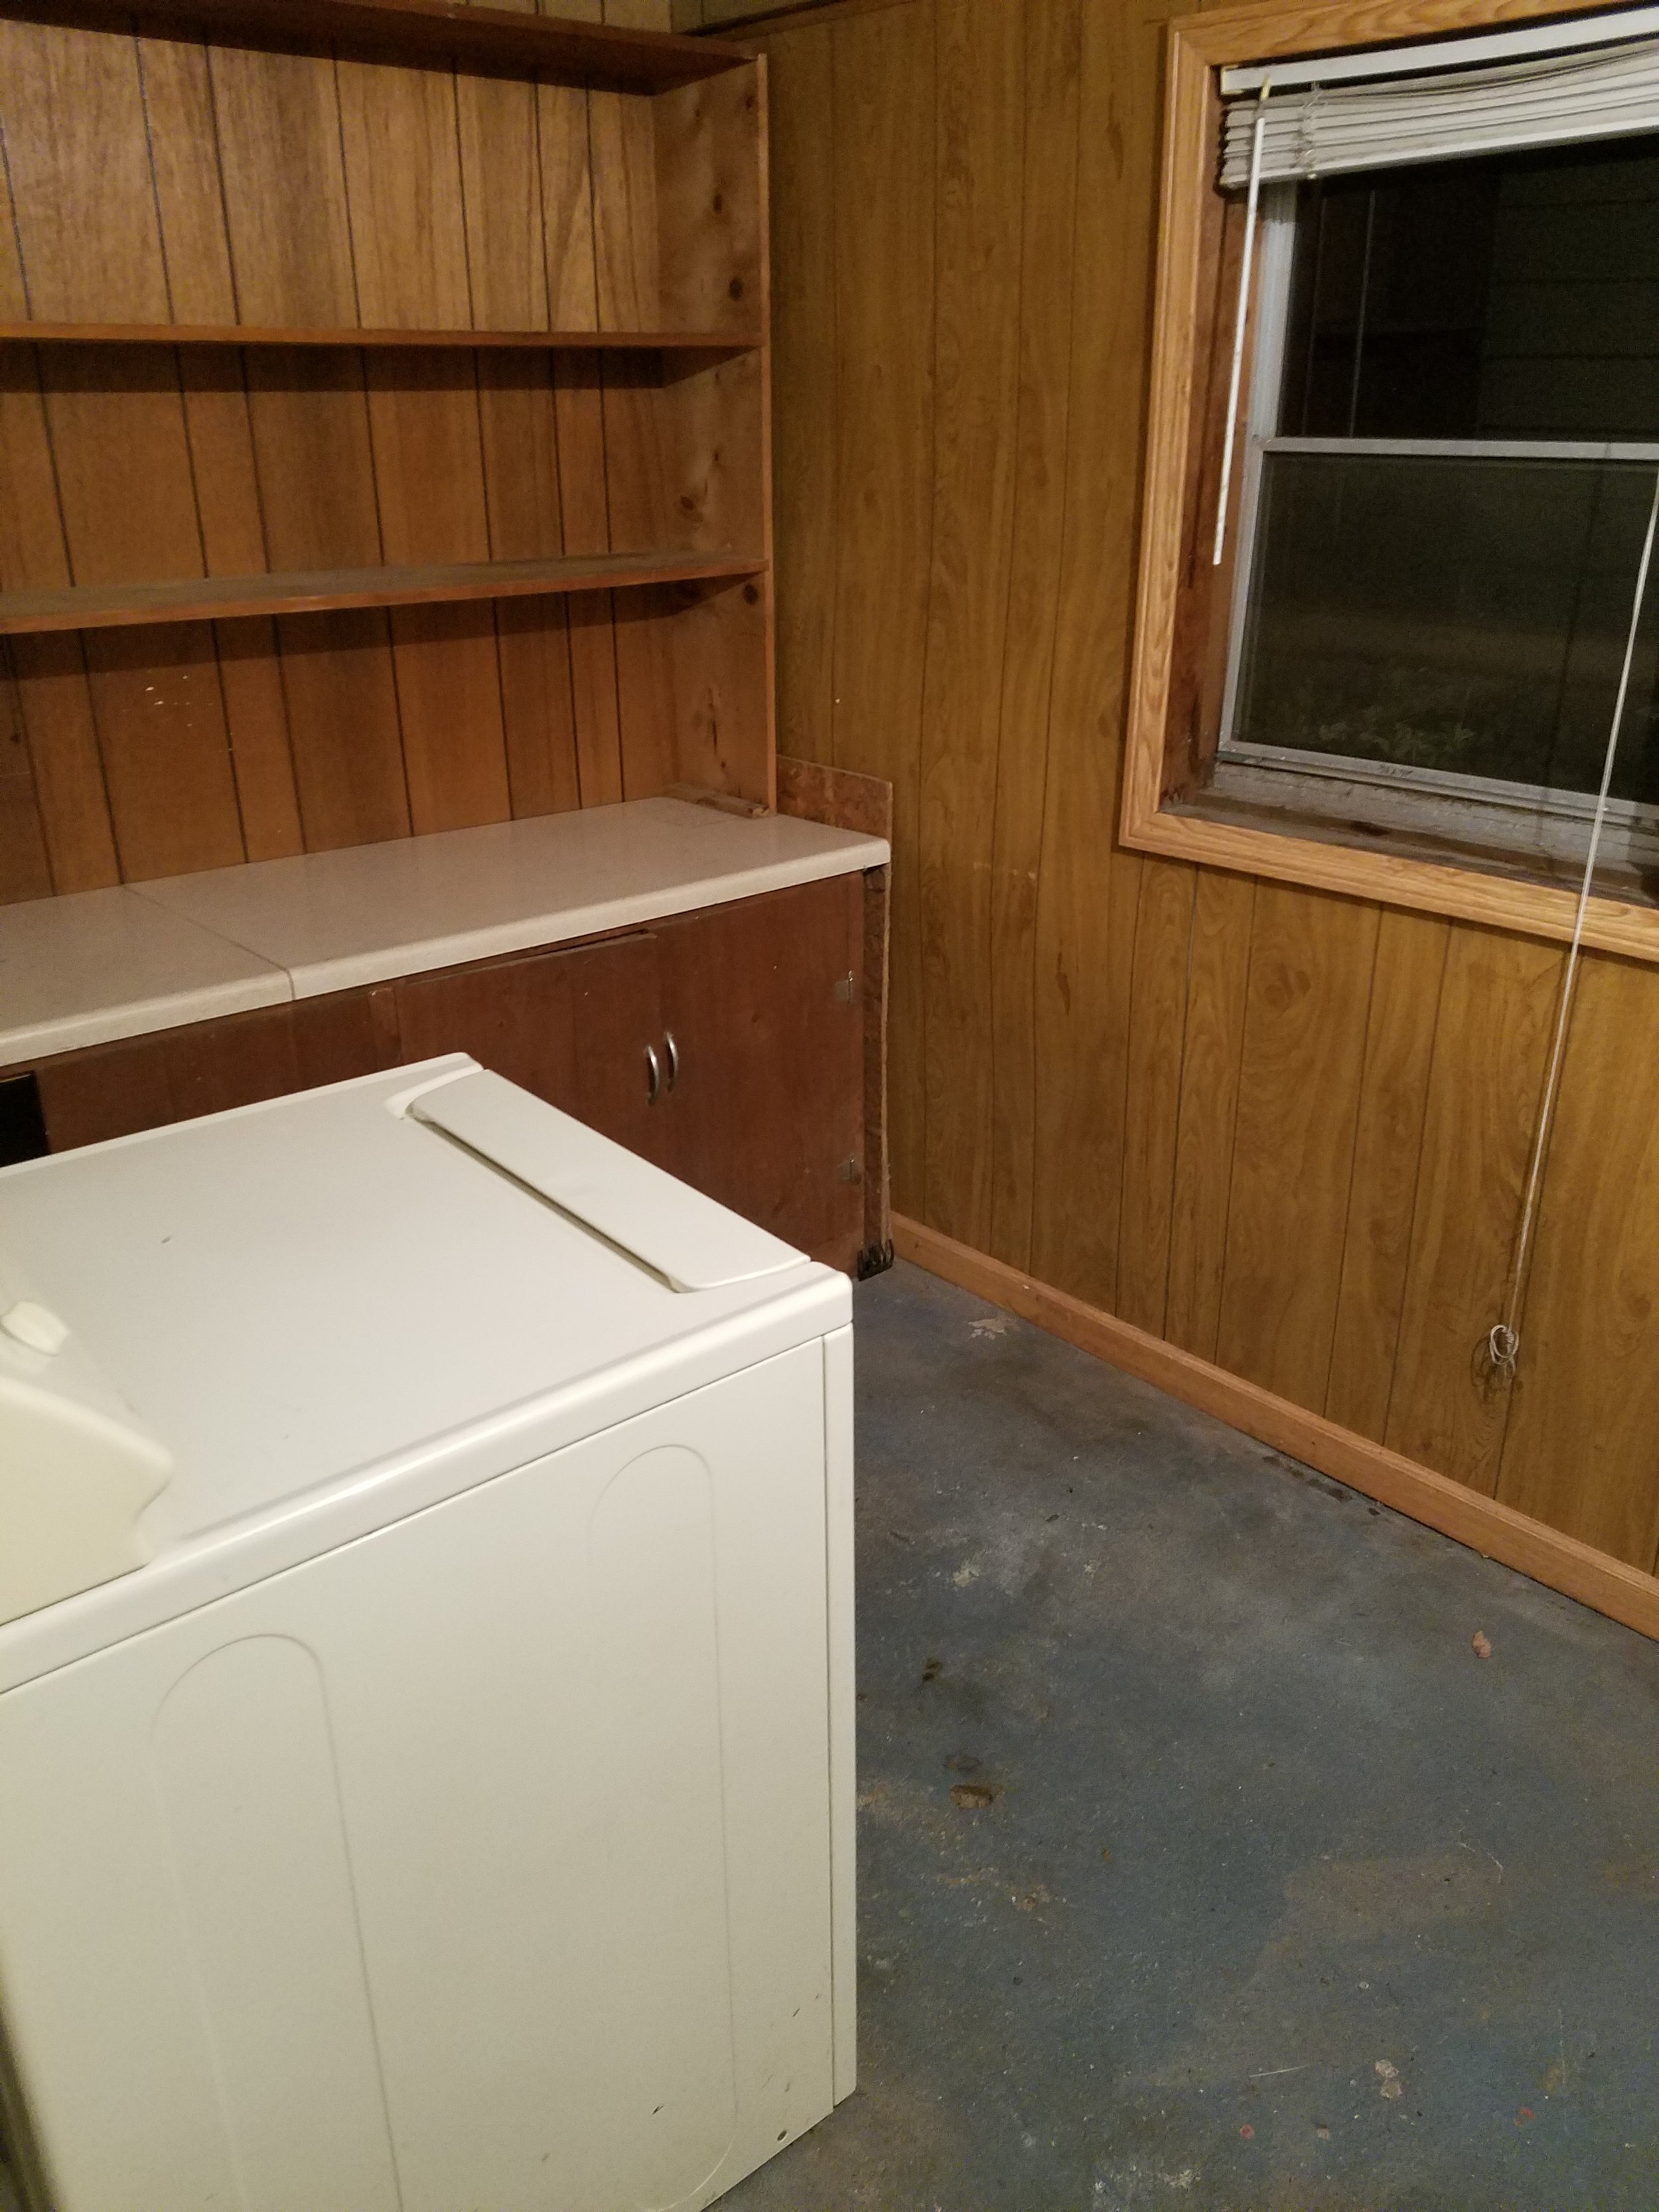
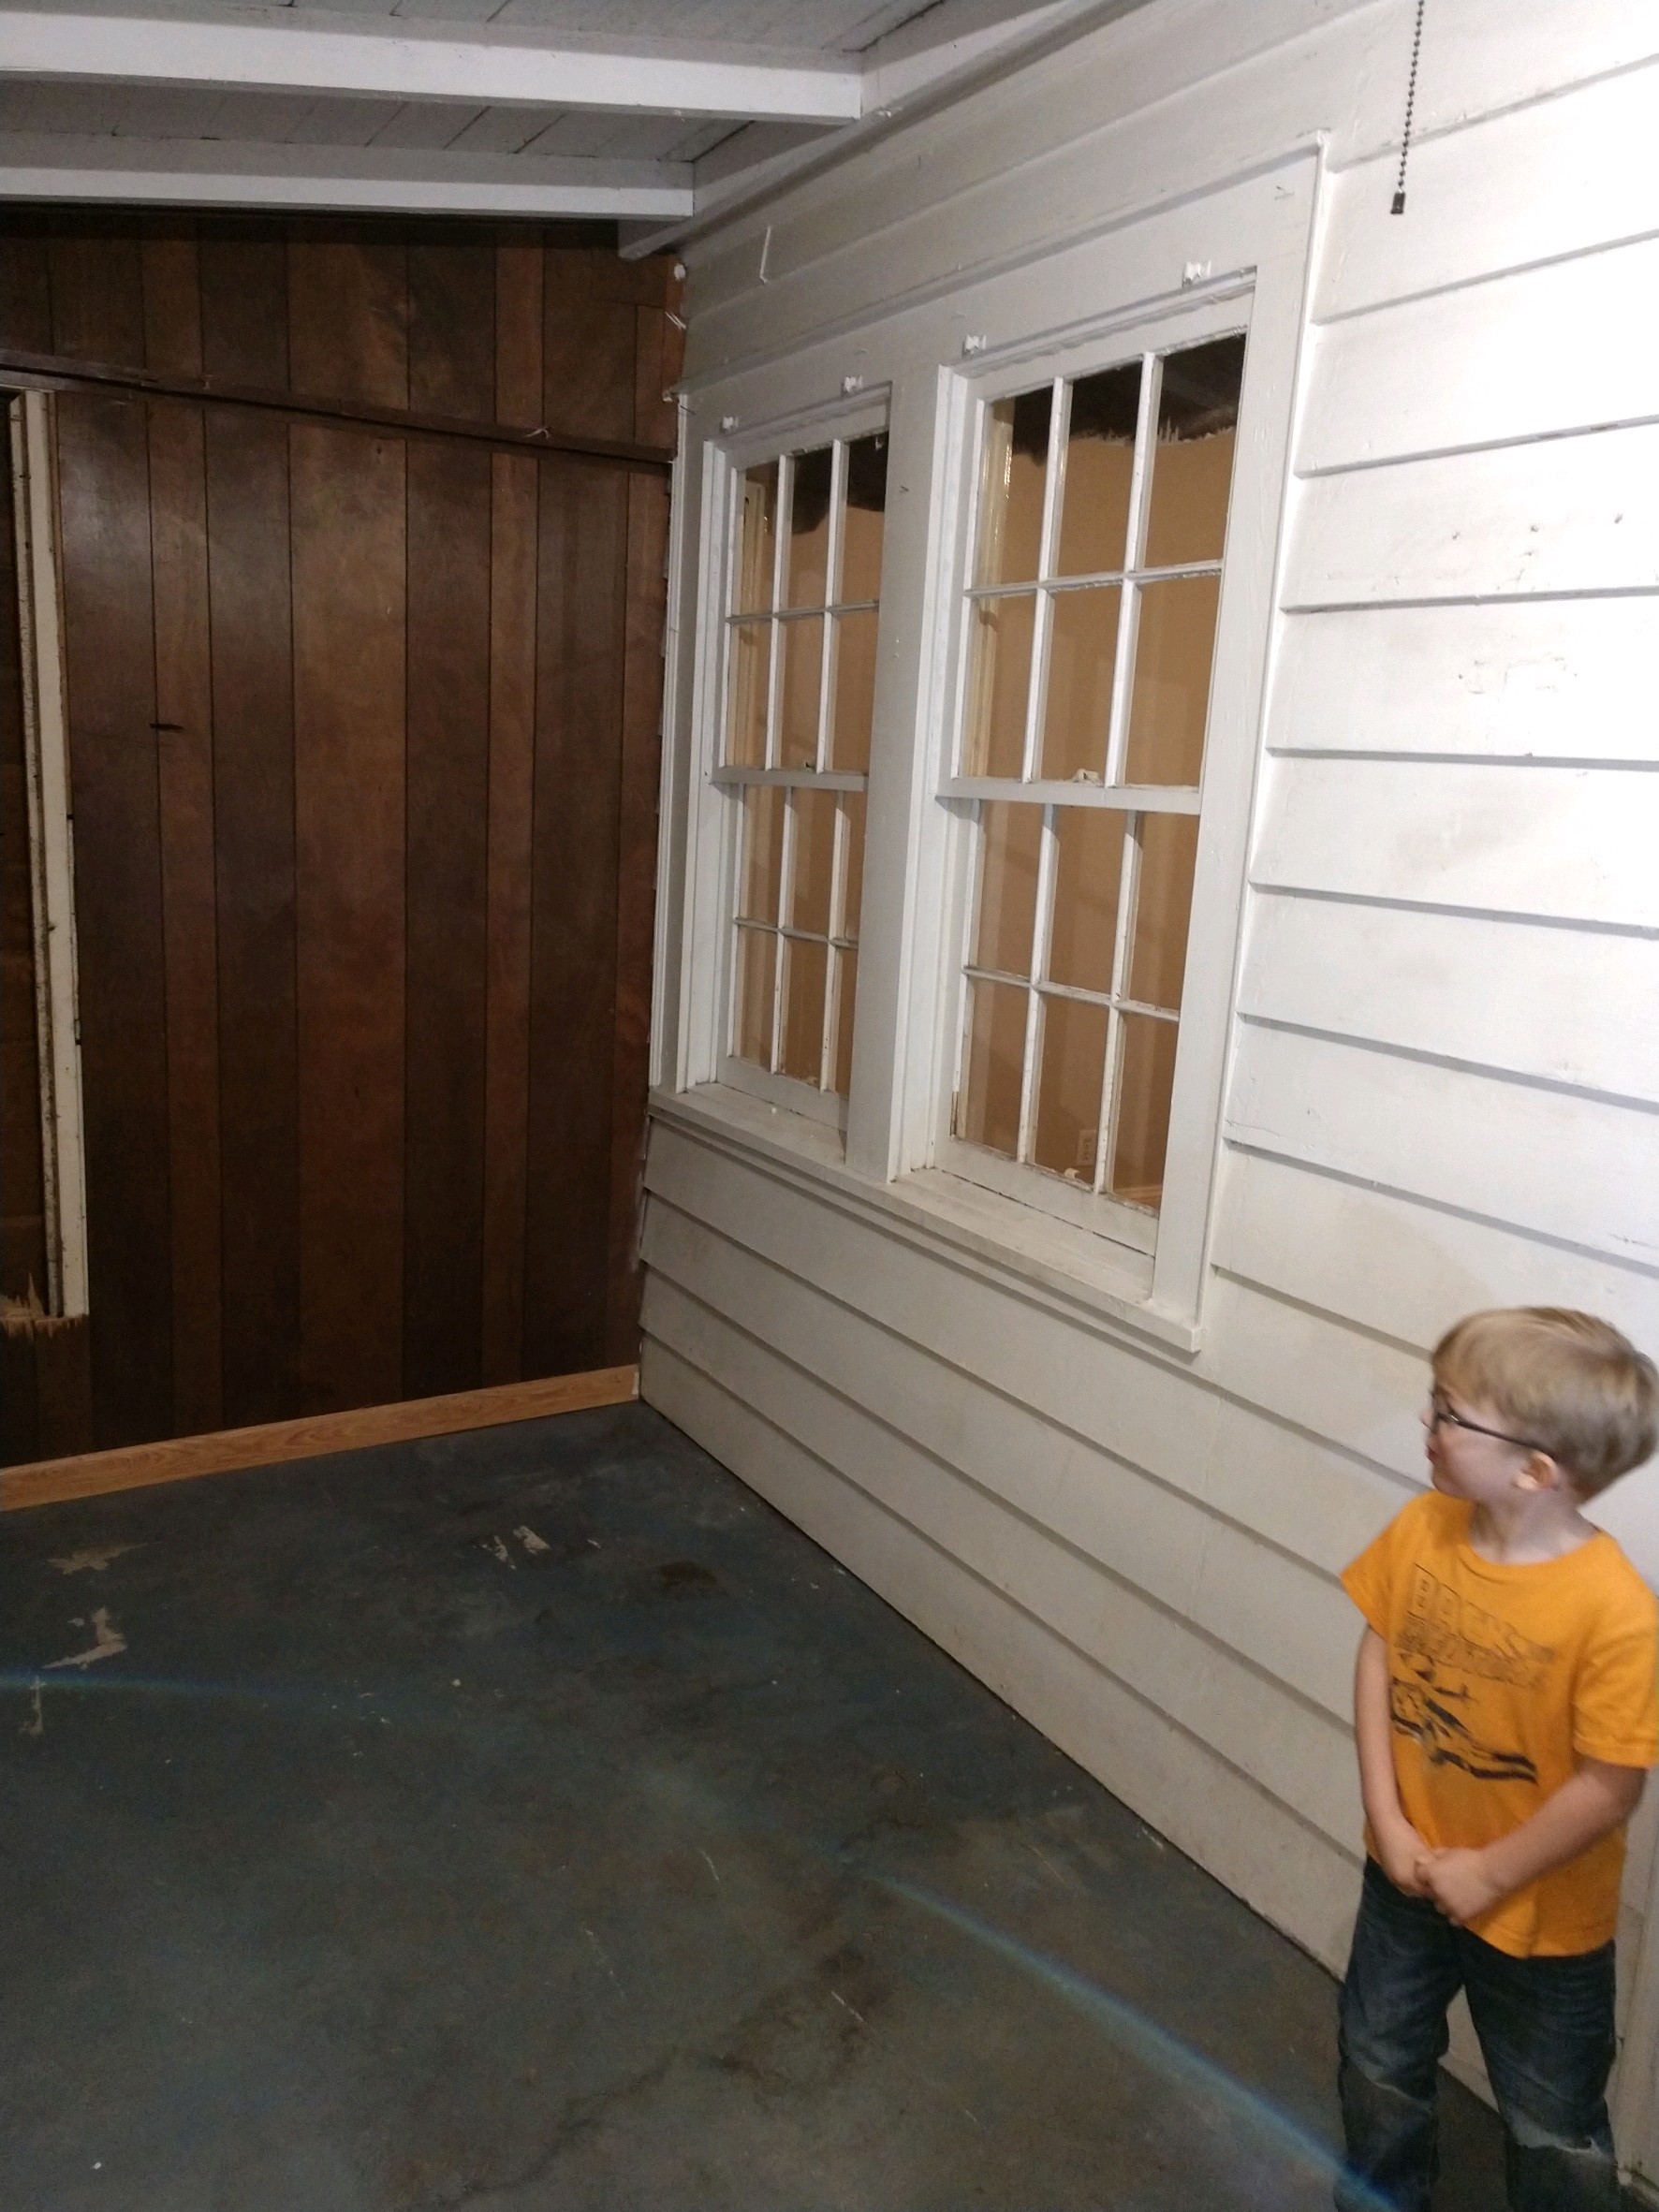
Let’s talk about the porch/mudroom. It’s now beautiful - but oh my, it was not. There is now a lovely enclosed laundry closet, a beautiful tile floor, and amazing sitting area. With easy access to the kitchen and dining room, it is now part of the living space of Greenland.


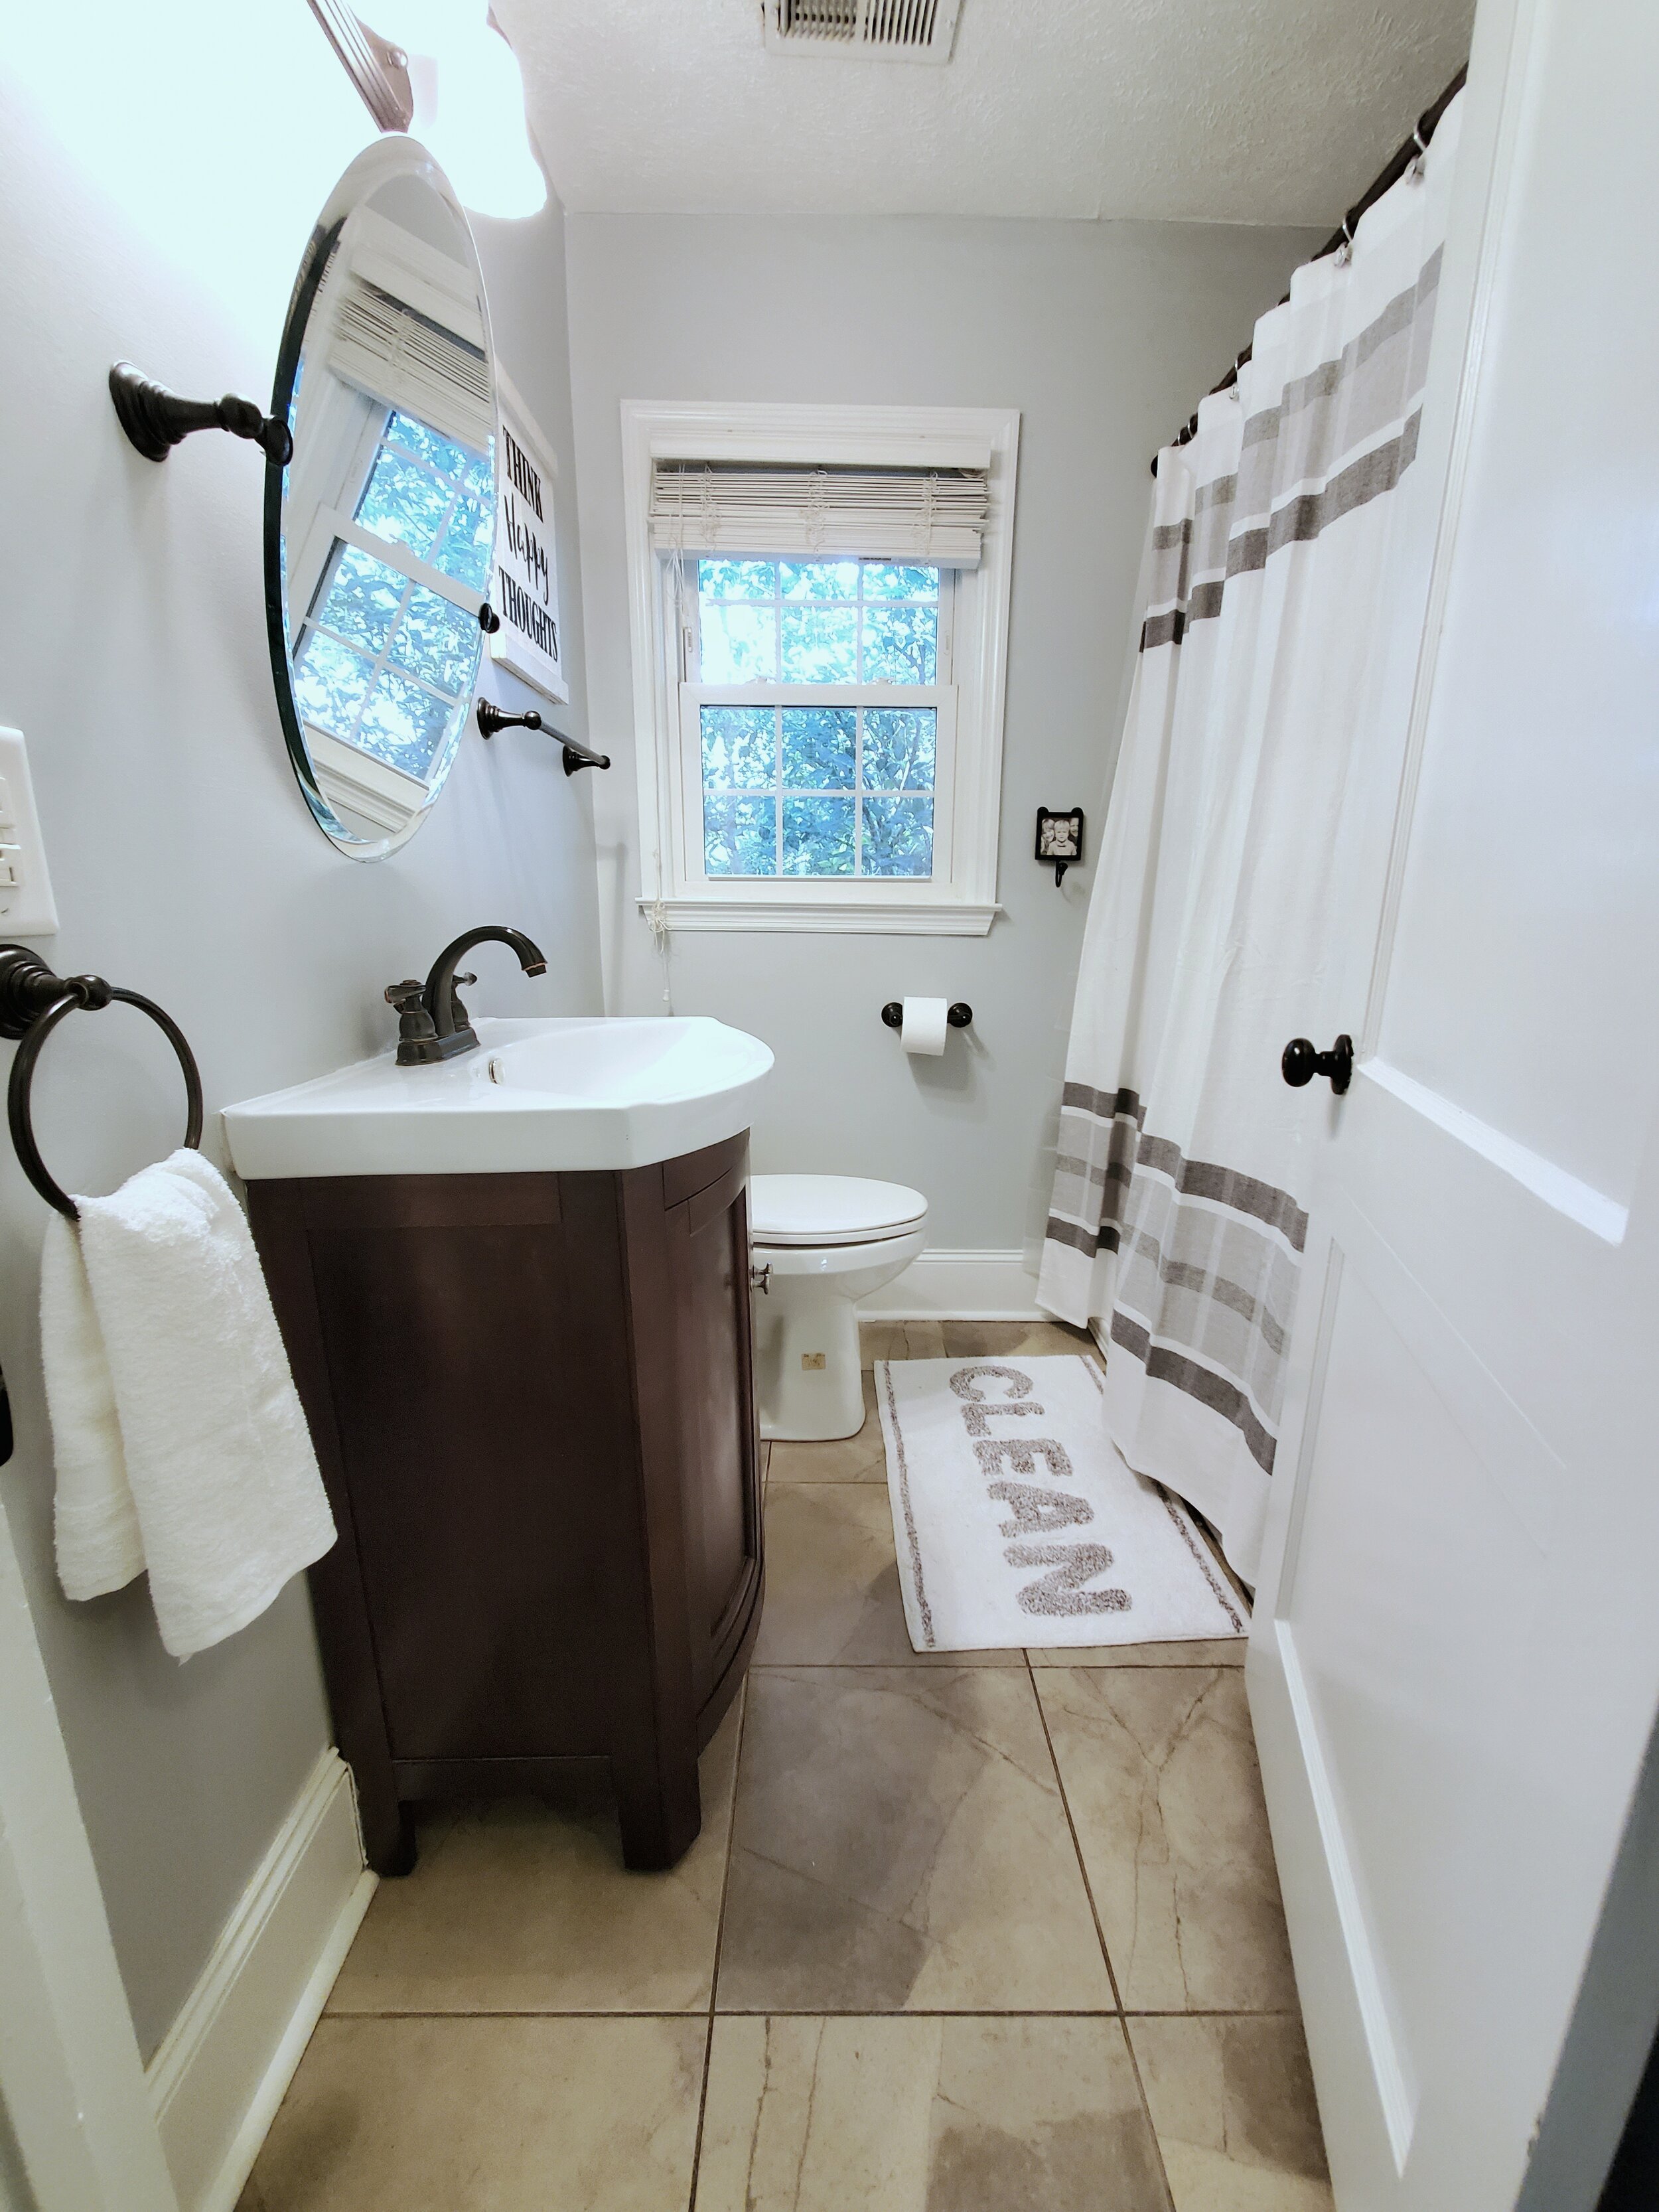
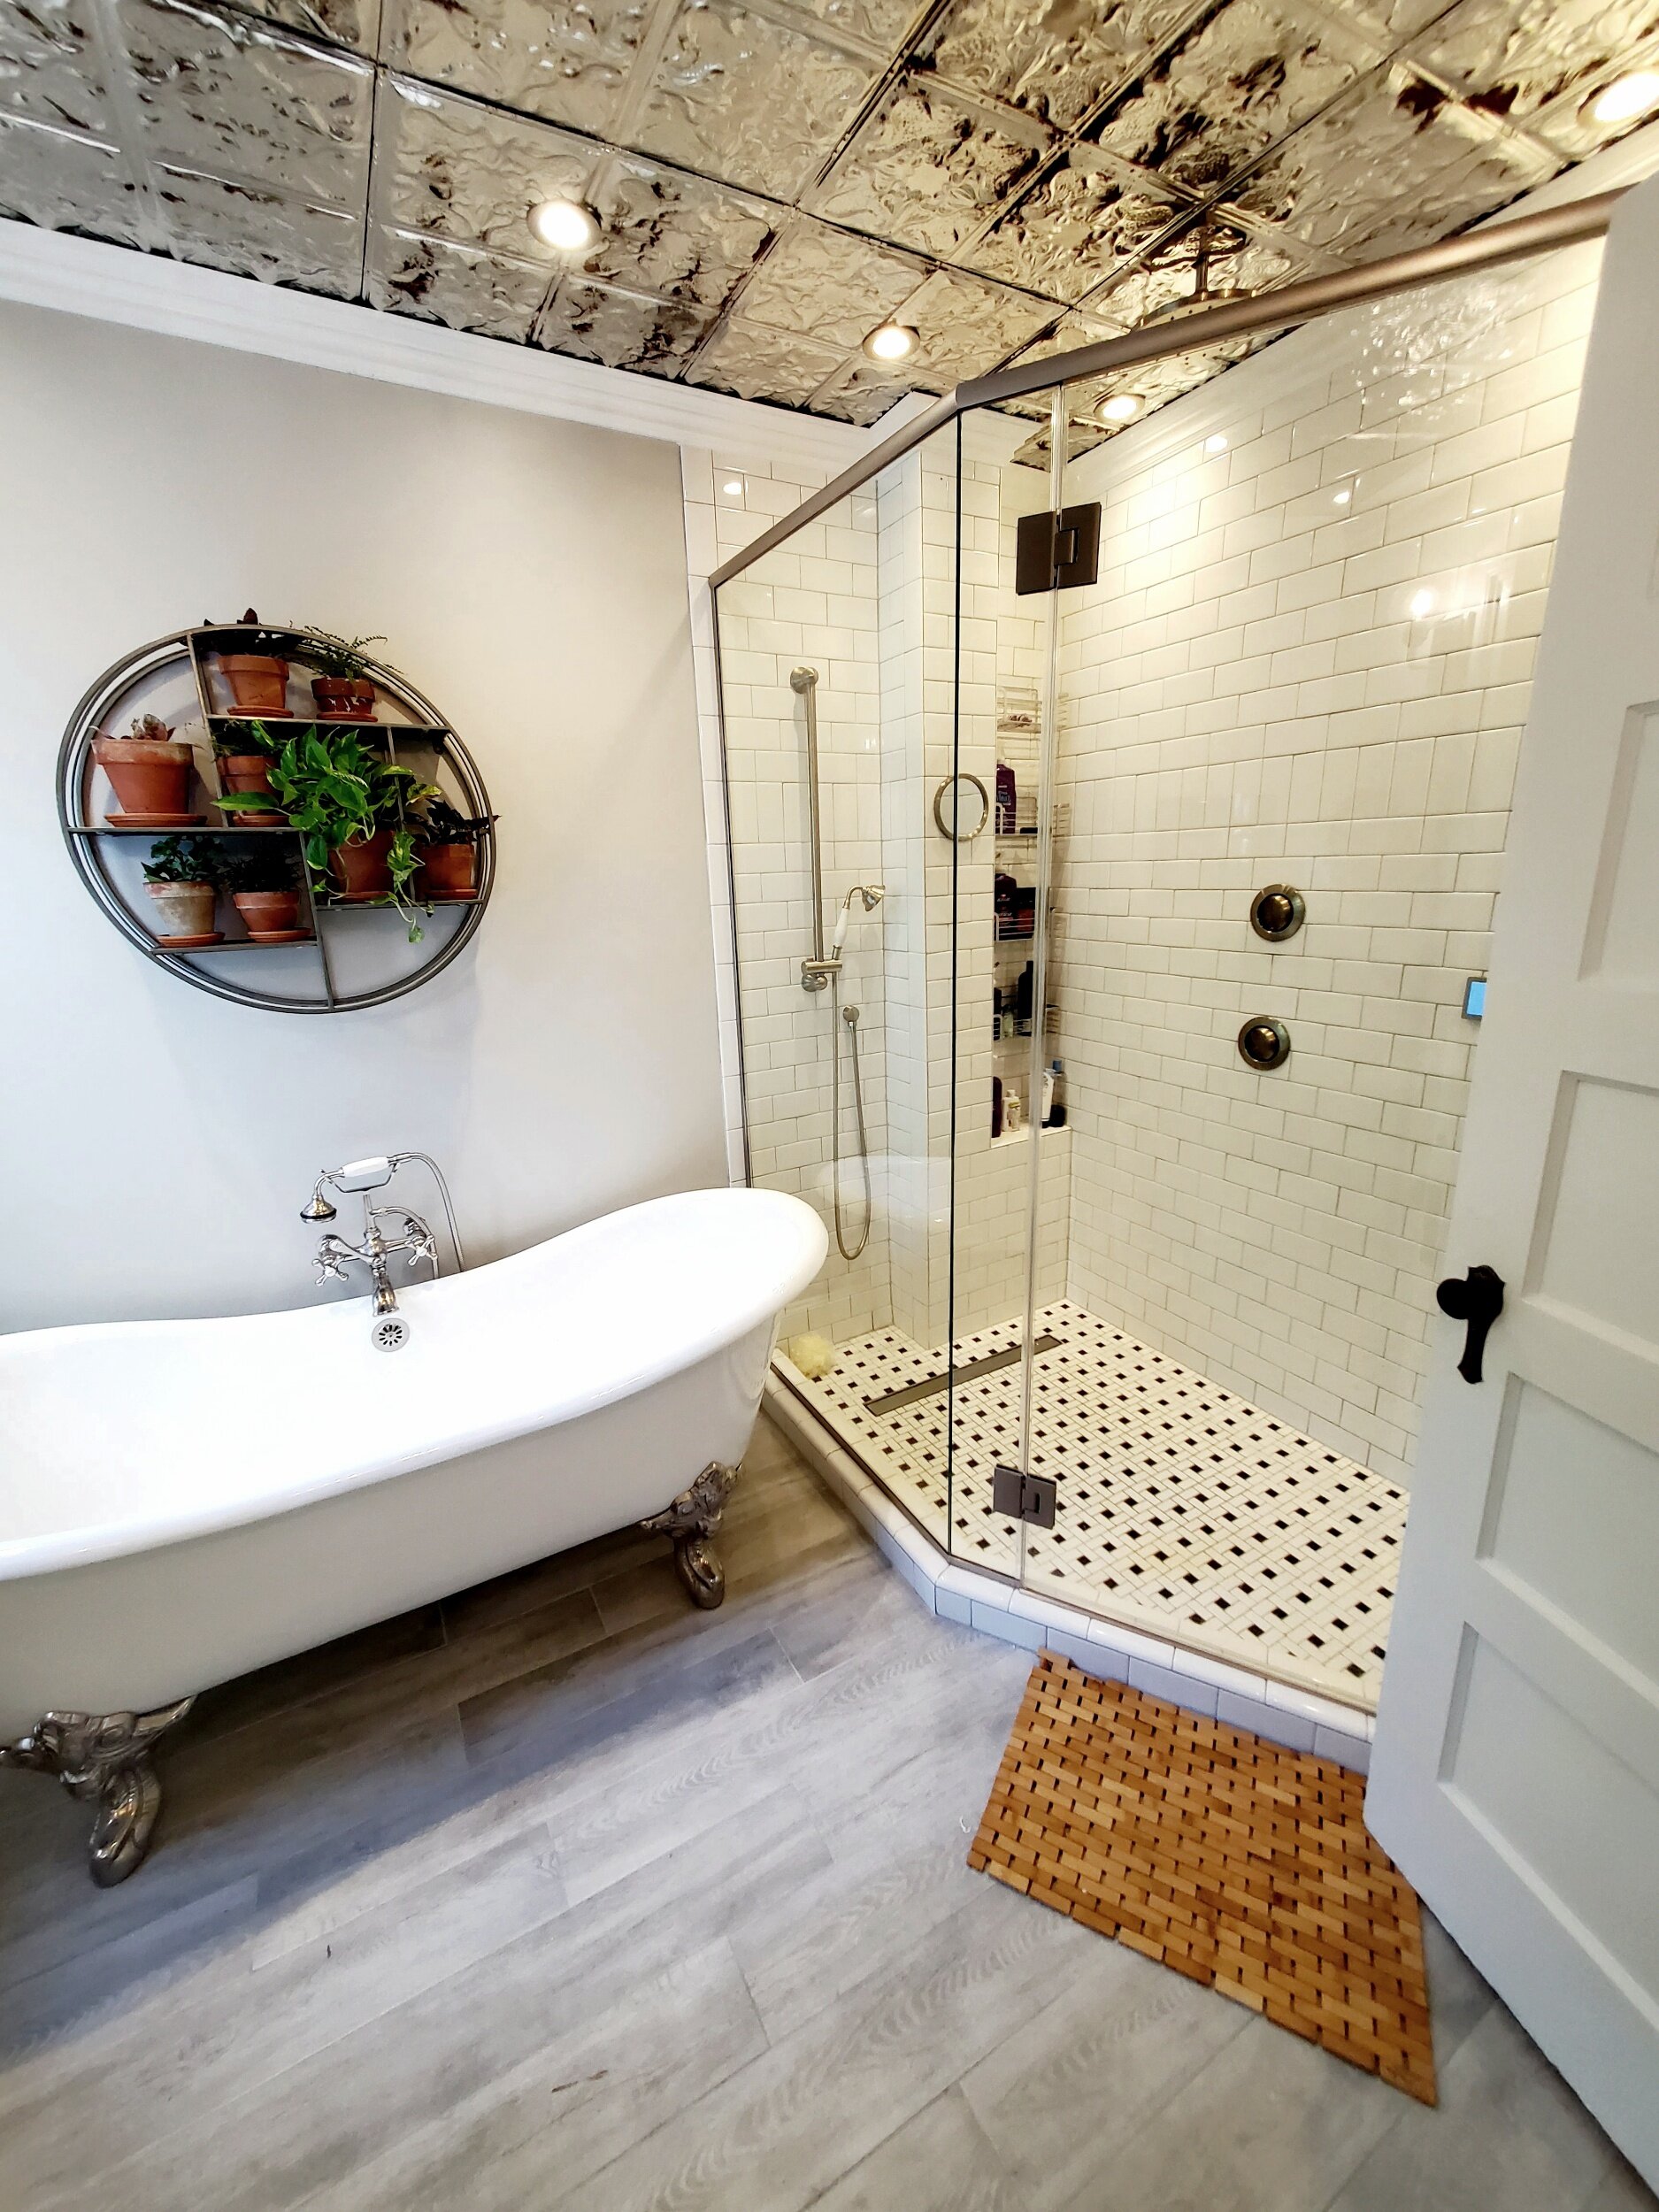
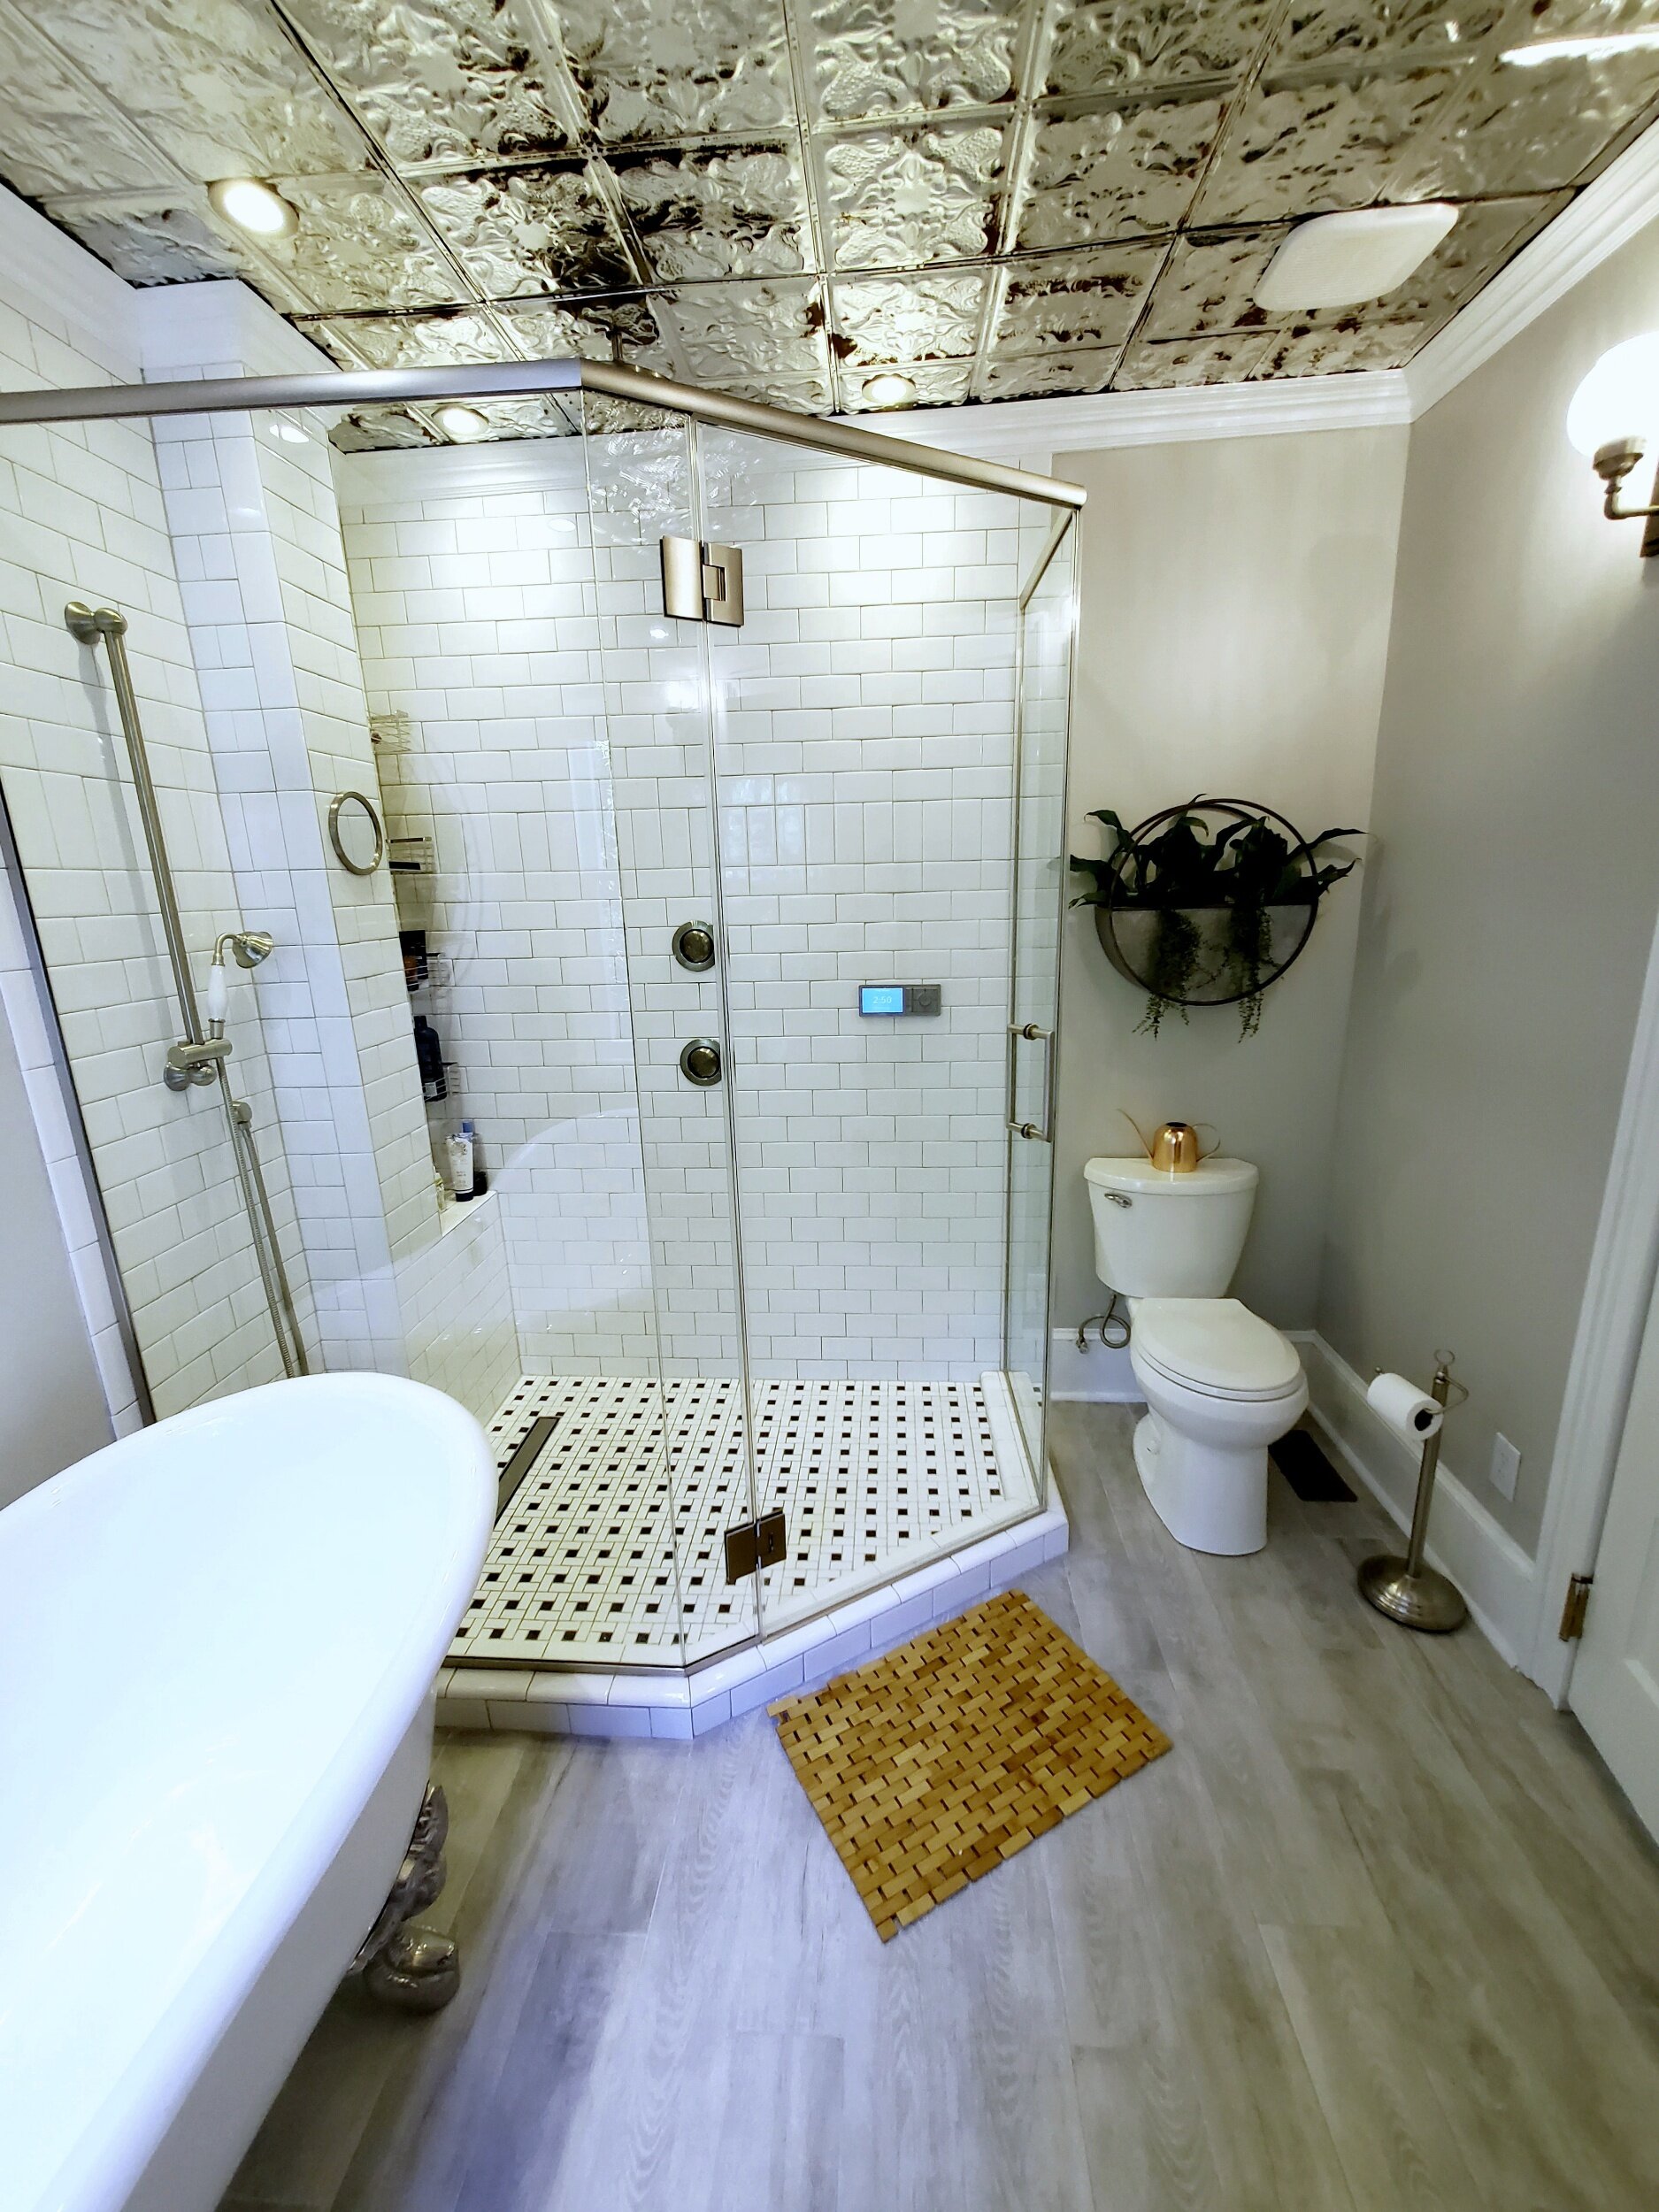
Greenland Drive features a beautiful fully tiled bathroom, complete with pedestal sink and storage closet. The vintage iron soaking tub has been restored and holds the water temperature for so much longer than a plastic tub insert!
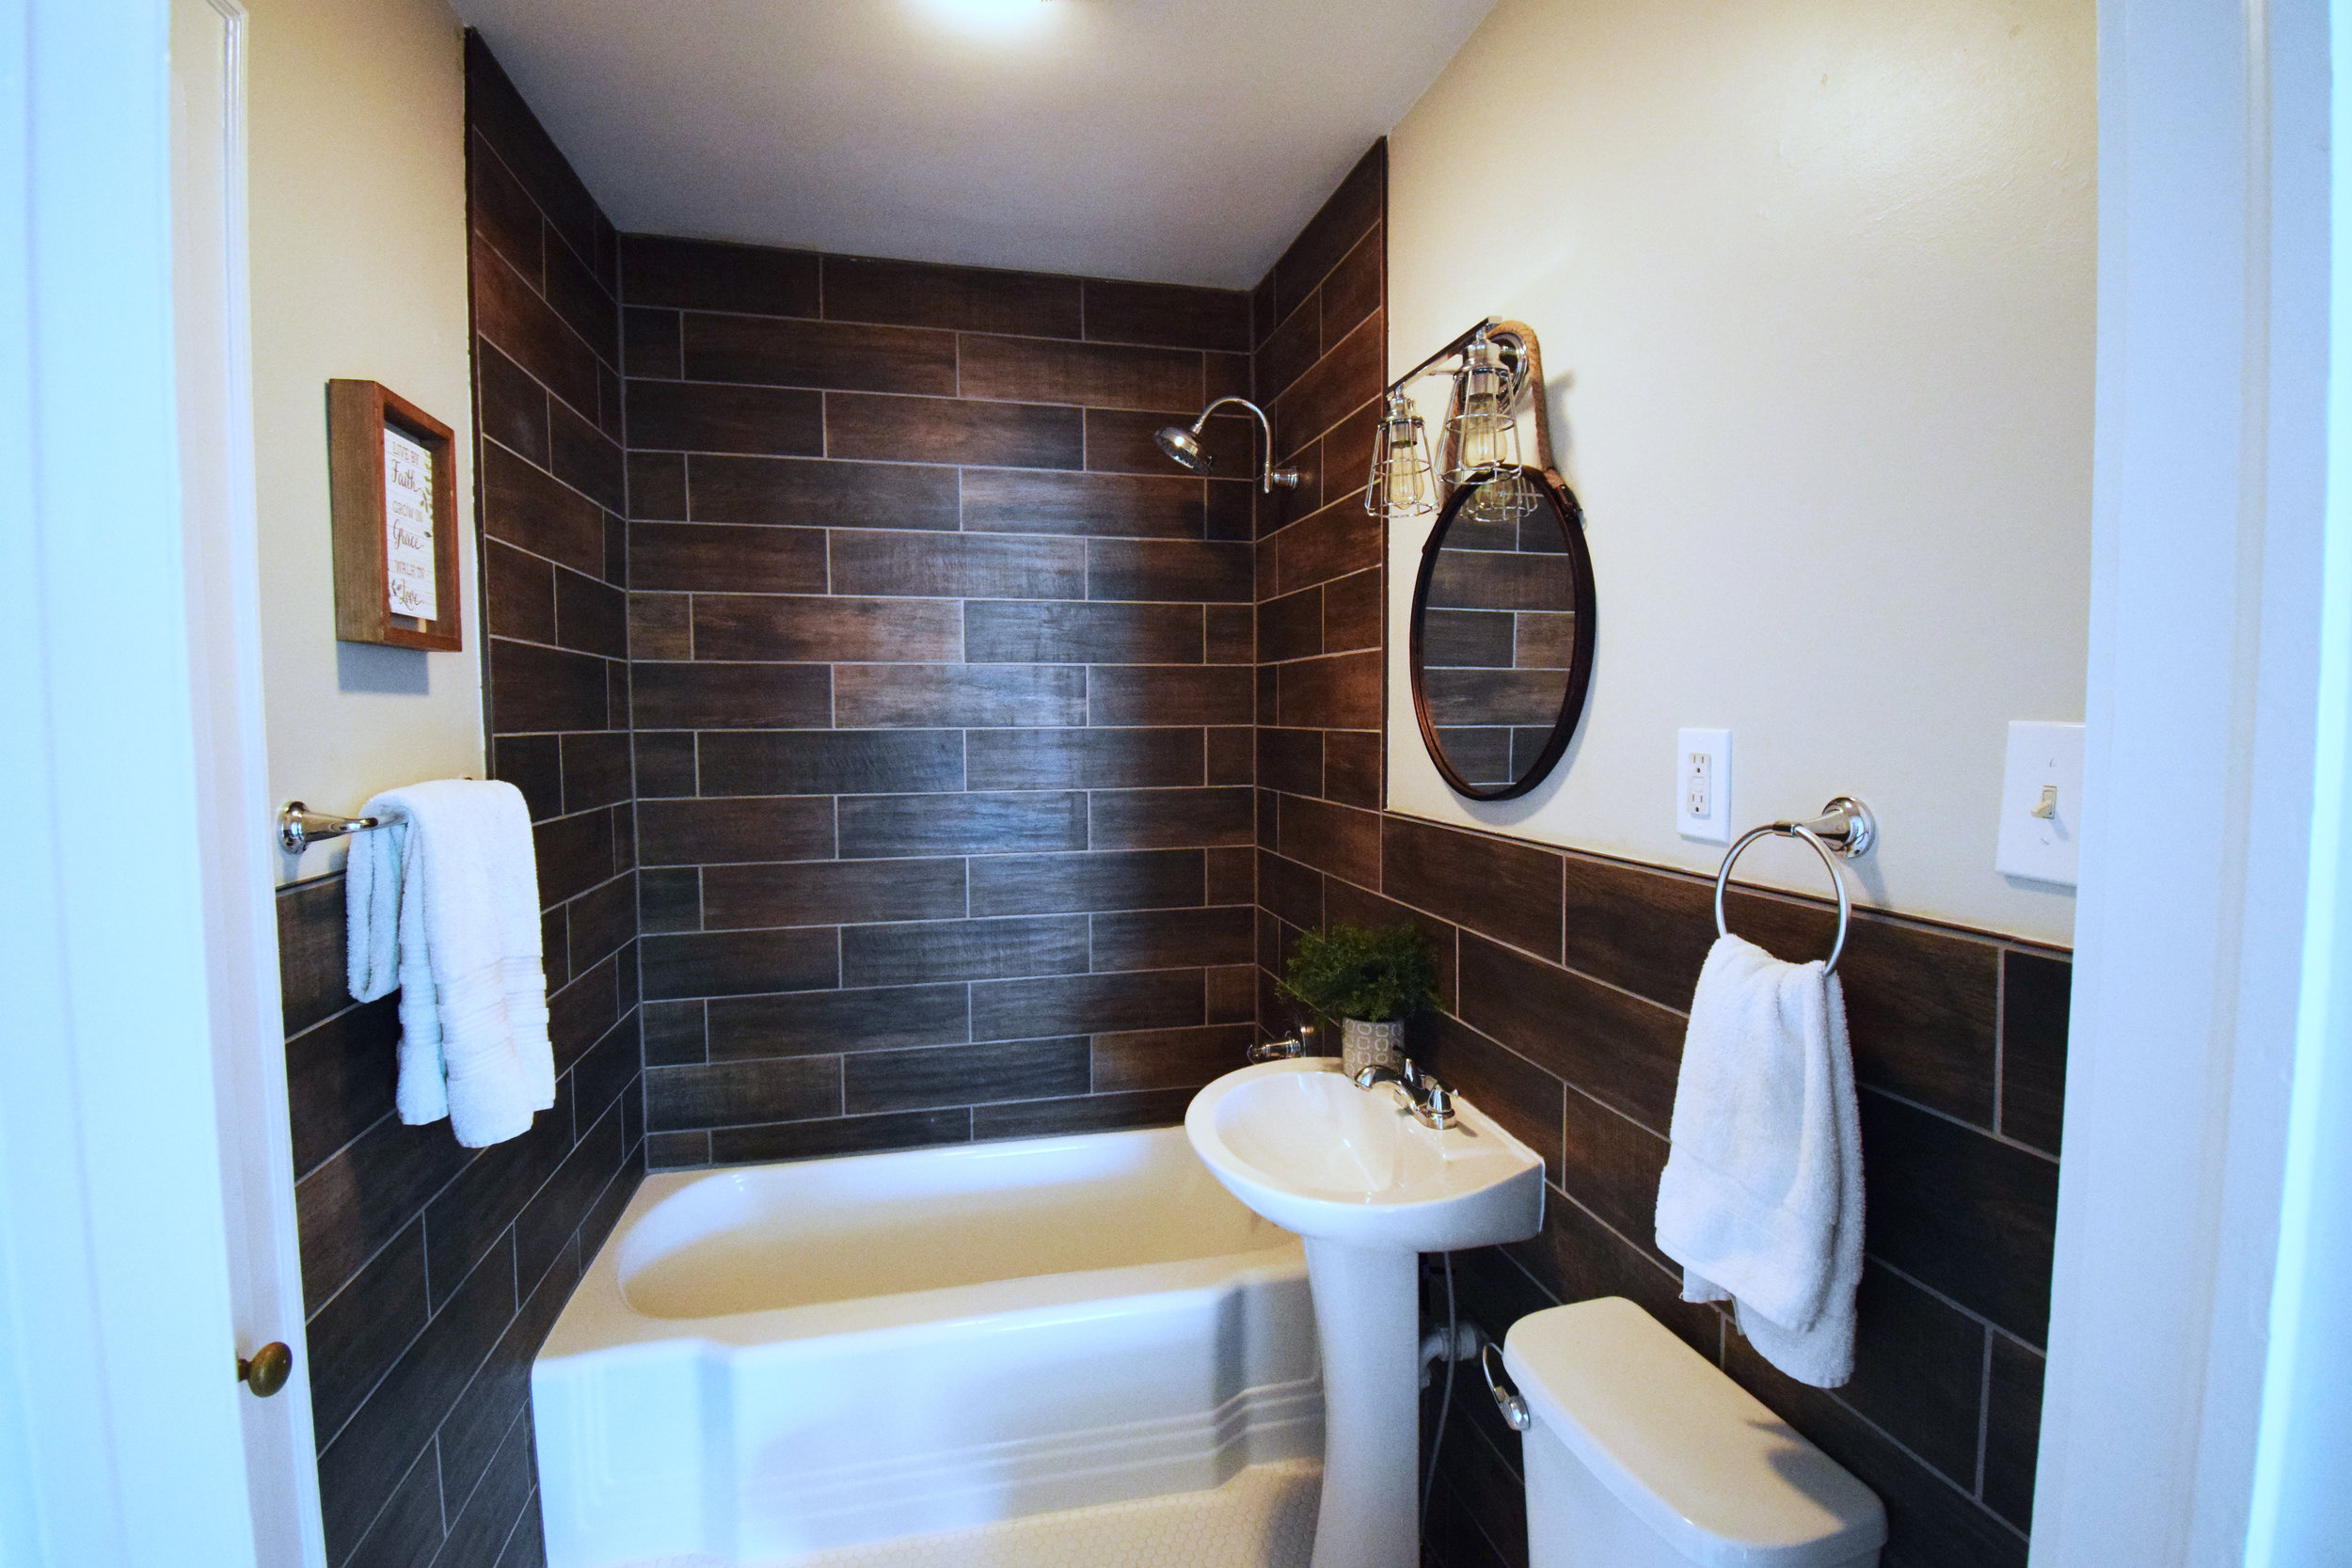


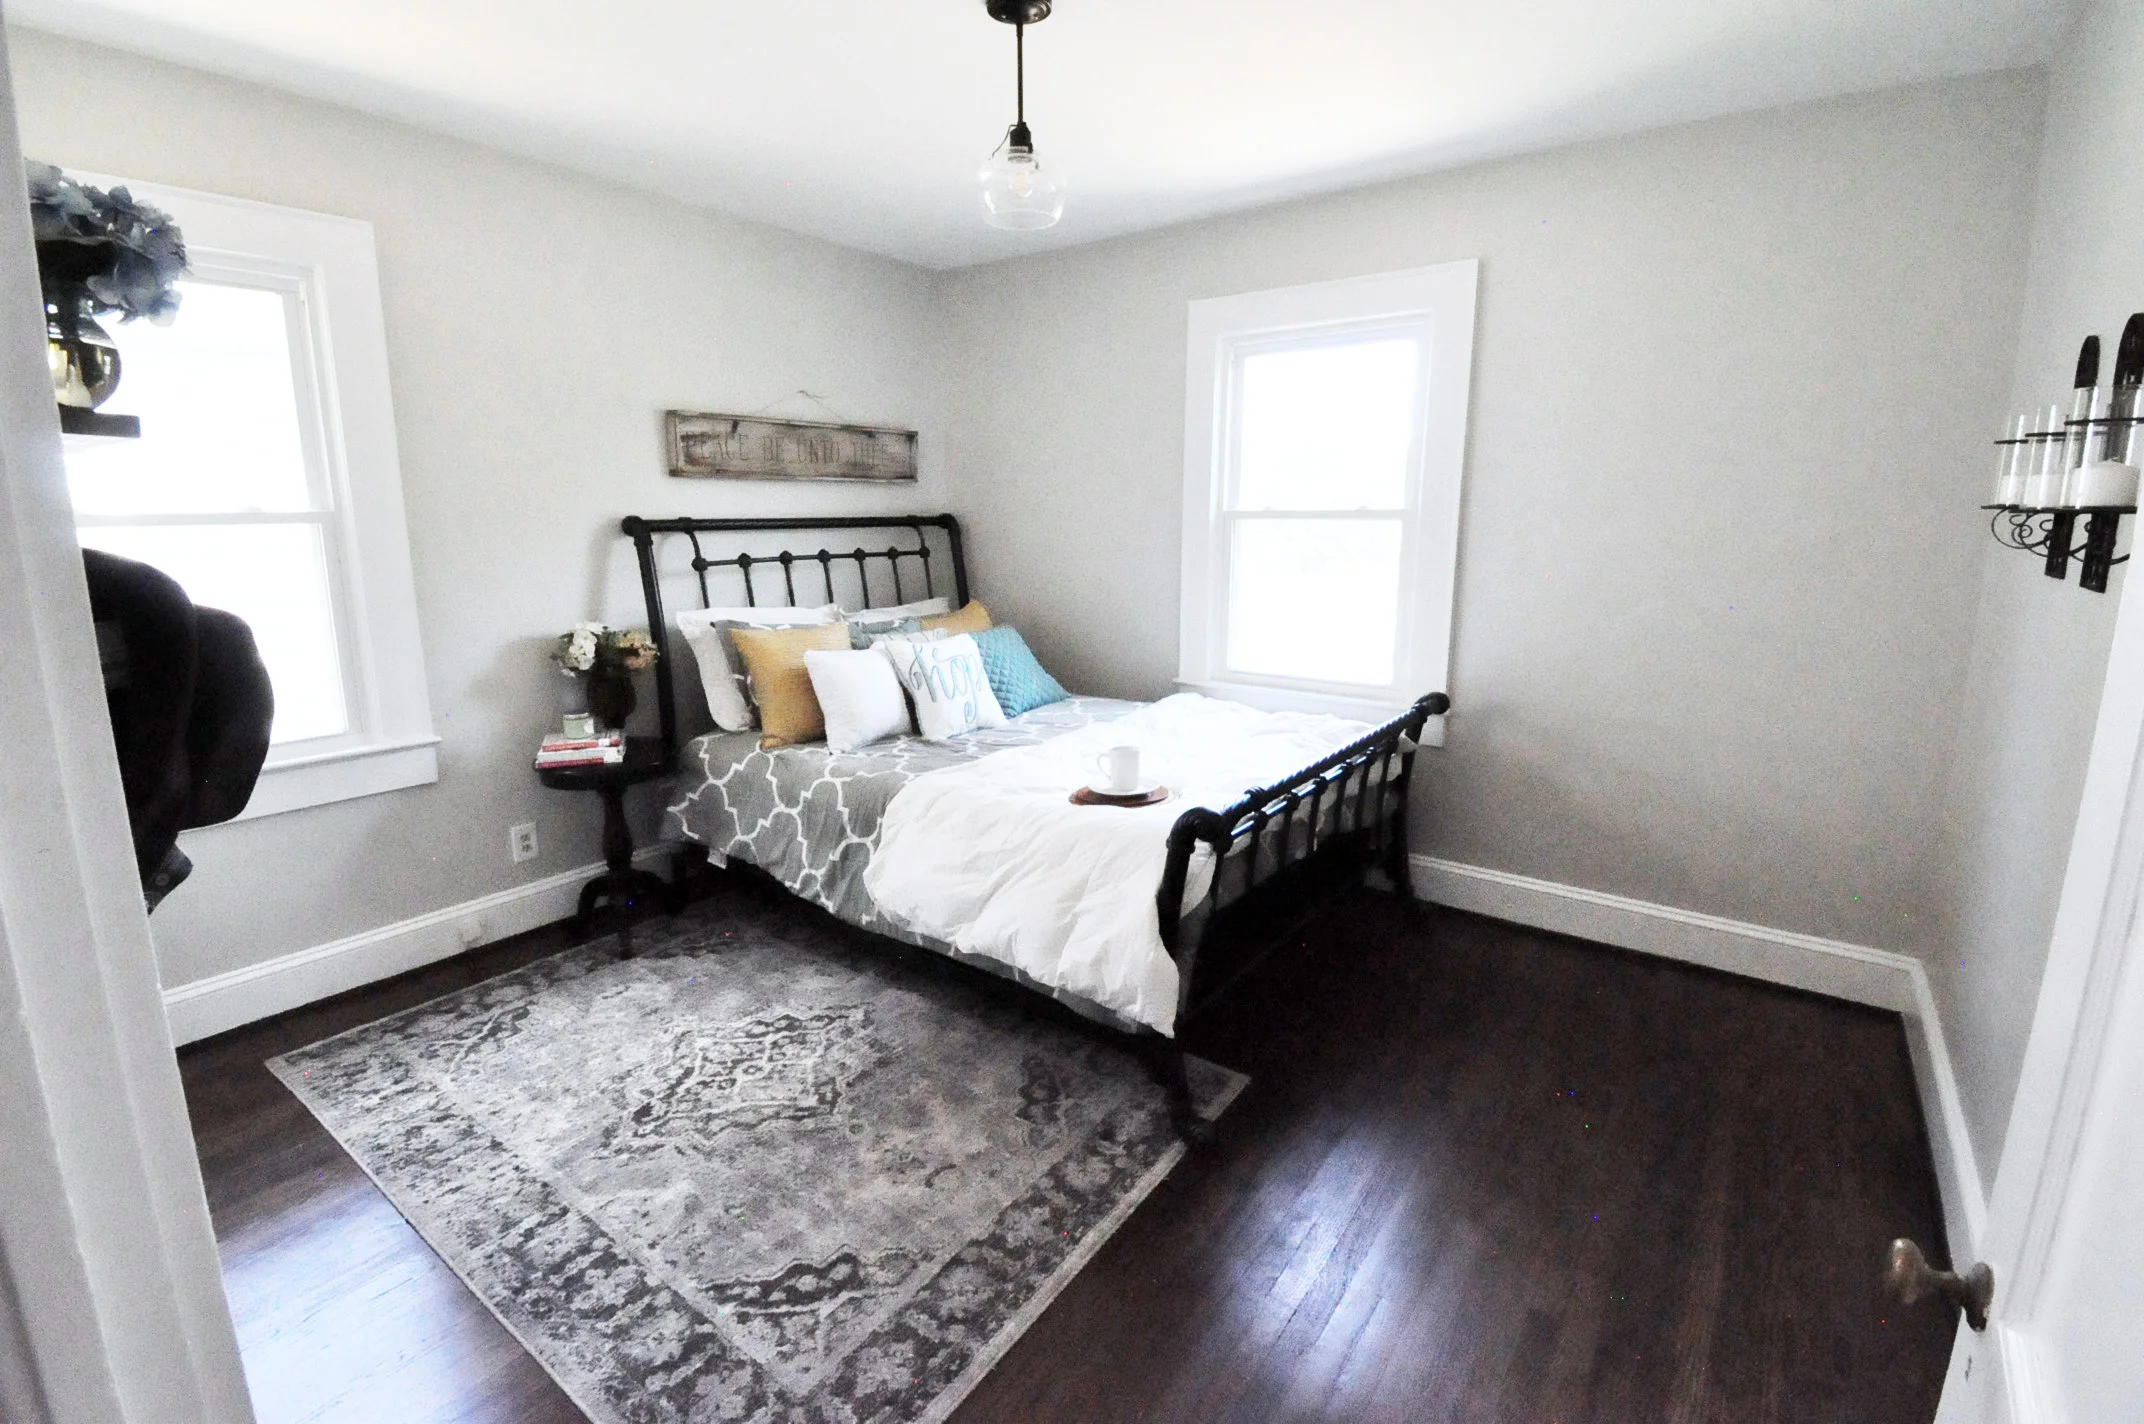
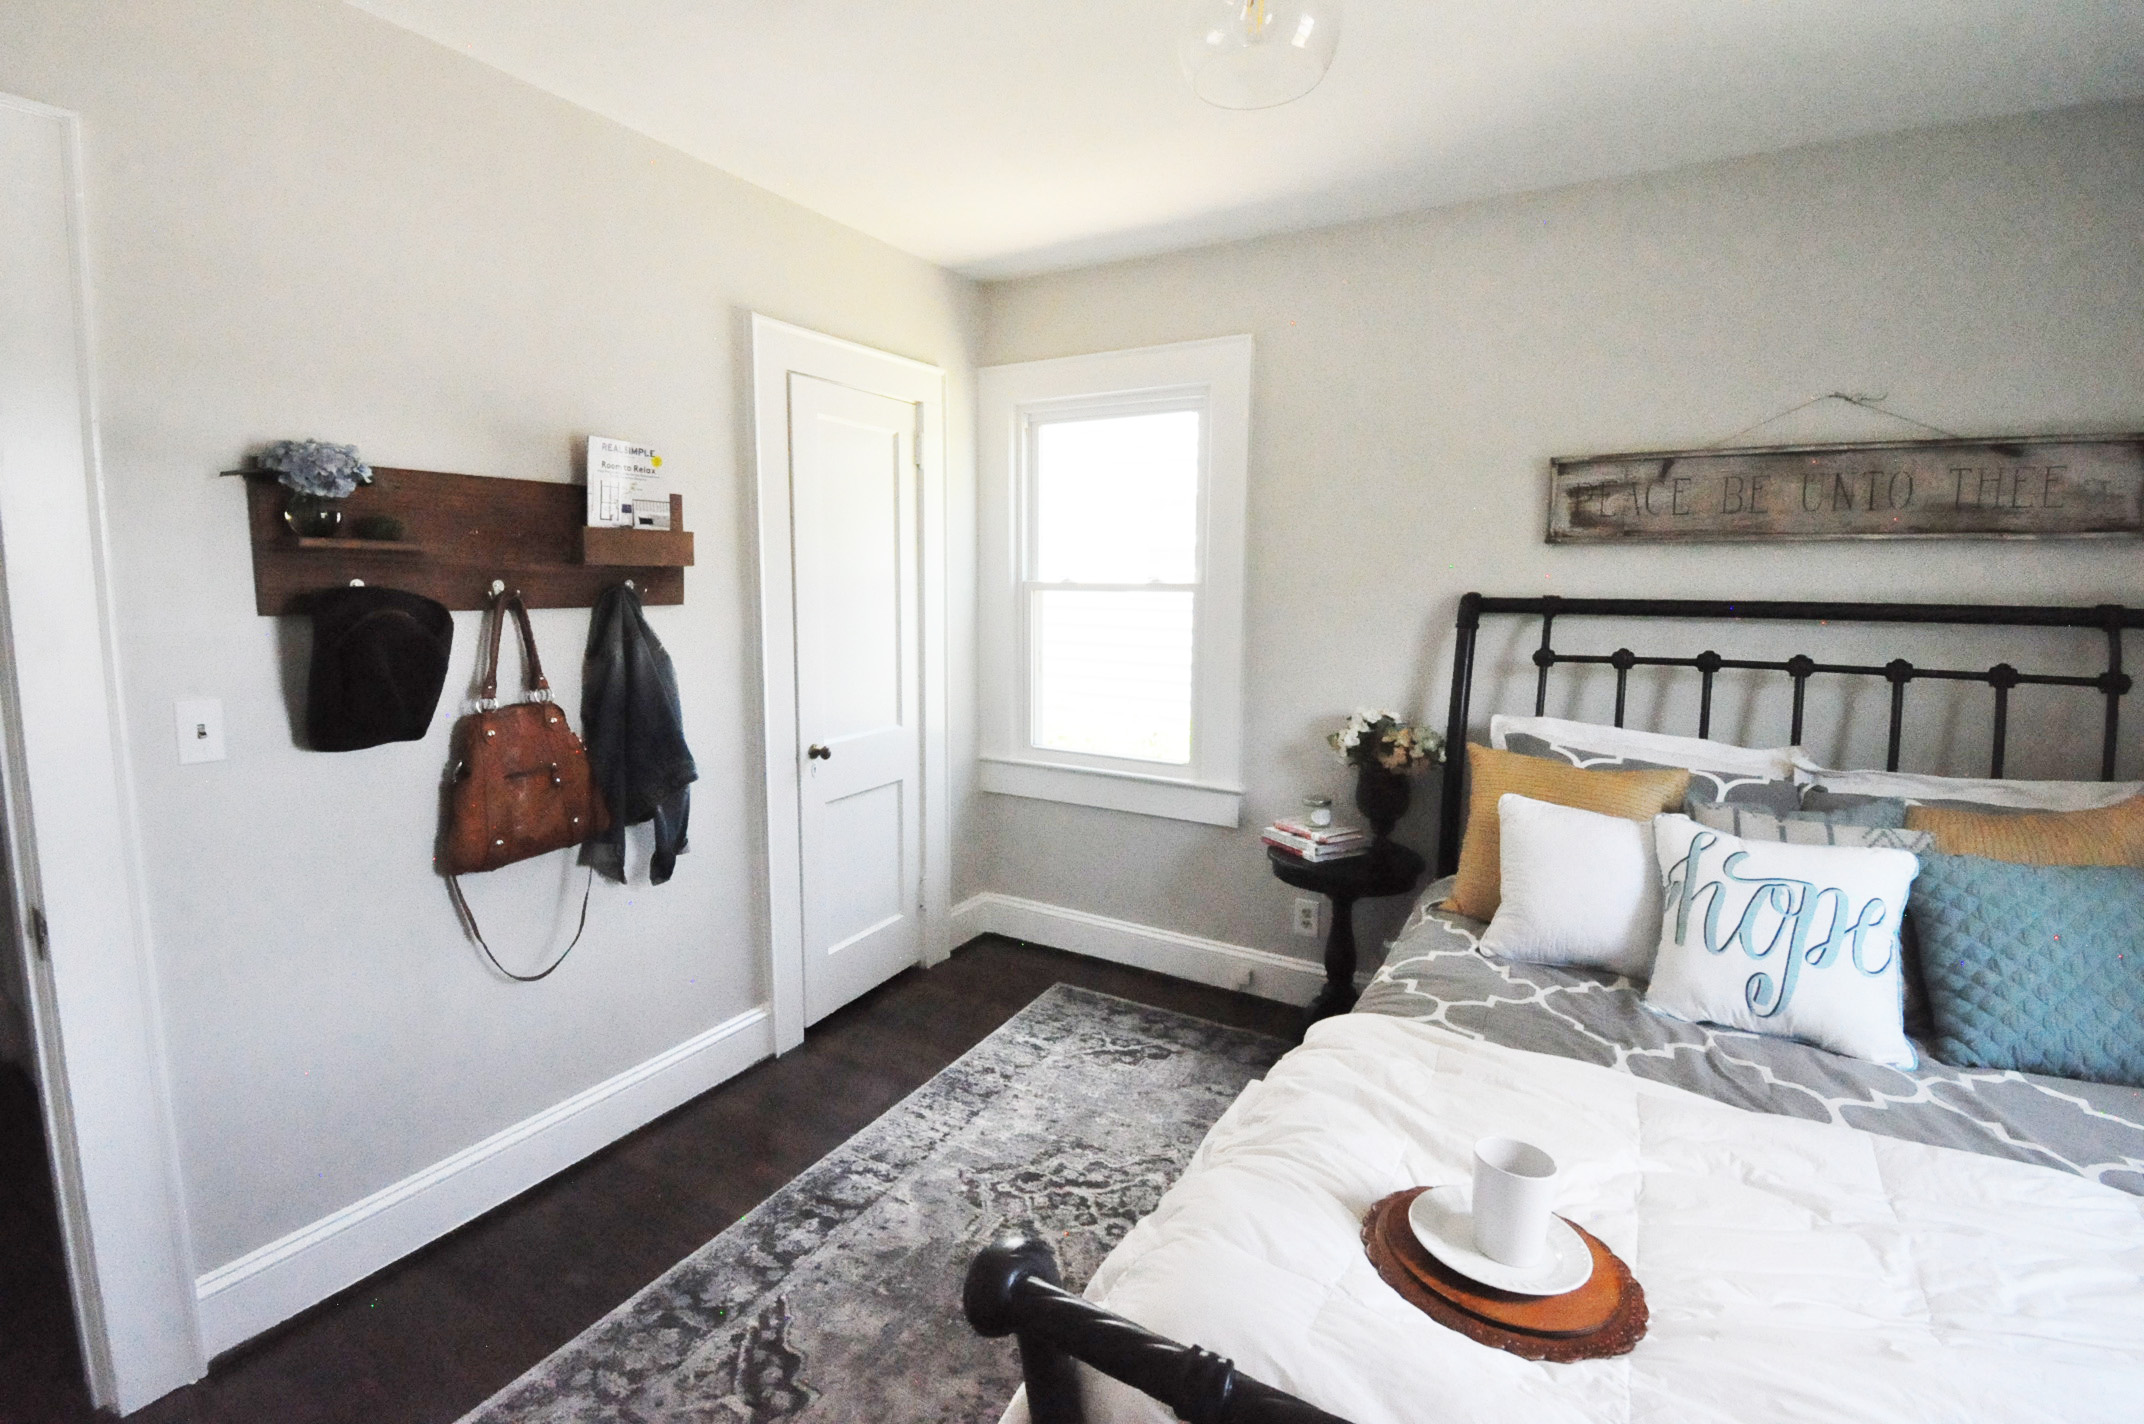
There are two bedrooms in Greenland, both of equal size and both have a closet and two windows. Vintage hardware adornes the doors throughout the home and the doors are solid wood. The home features a new roof and windows for maximal efficiency as well.


Living is easy at Greenland and you will enjoy the vintage charm with updated design. We are so pleased with the outcome and believe it is now a home to love. We would be remiss without thanking the amazing guys that helped us with the project. If you need someone to bring your dreams so life, rest assured that they can help you achieve that goal! You can find their information in the “about us'“ tab on our home page! Special thanks especially to Geo Livingston, Darin Halford, Don Armstrong, Colin Sherrill, Justin Haire, Ricky Hair Jr., Dustin Brewington, Clint Suggs, Kevin Williamson and Ron Geddie on this project; y’all are lifesavers!
Greenland is already home to our newest client. She is a brave soul that reached out to us earlier this year and reserved Greenland as her new home - even in a state of mess and chaos. We were so thrilled that she had the confidence in us and were so delighted to find that she loved her new home as well.
“Whenever you are creating beauty around you, you are restoring your own soul.”
We hope you enjoyed this home tour. Forgive the imperfections in the photos - some day I will really know what I am doing! Don’t hesitate to leave your comments below - what did we get right? What did we miss? We love hearing from you!
Until next time, go on loving your home!
-Casey

UNDERSTANDING PAINT SHEEN
Understanding the different sheens of paint - and where and when to use them!
Happy Spring! There is something about spring weather that inspires change. I think it is the season turning over and the new life of spring replacing the dreariness of winter. Don’t get me wrong - I love the coziness of the winter season, but there is a turning point where I am ready to move beyond the dark nights and into the fresh air and sunshine of spring.
Spring brings the energy of change…and with it comes spring fever. For me, that means cleaning house. The funny part is, once my house cleaning train begins, suddenly I am inspired to do more. I see a transformation of decluttering and a space seems new all over again. So, I start thinking about refreshing the space, which usually leads me to my most economical and high impact solution - paint. It’s kind of like the “if you give a mouse a cookie” book. If you give me an hour and a trash bag, I will eventually want to paint a room :) It’s a small disease I have; unfortunately, it’s a chronic illness!
Paint means a lot of things - you find that out the minute you step foot in a paint store. Once you have chosen your paint color, the next question is going to be about what paint sheen you will choose.
There are lot of reasons to choose certain sheens, but I wanted to provide a quick overview on what benefits each each provides, how it is most often used, and when to use each type. Hopefully that will be helpful to anyone out there that is having this question themselves.

Most often, paint can be found in the following sheens:
Flat
Eggshell
Satin
Semi-gloss
Gloss
This can get more complicated by each brand. For example, Sherwin Williams adds additional names to their sheens like Low-Lustre, Pearl, flat Enamel and Matte. Understanding the type of sheen you need will allow you to enter any paint store and ask for the sheen you want and they can provide you with their brand’s equivalent. While there are variations on each type of sheen, this should give you a basic overview. Let’s begin!

FLAT
Flat paint is your most inexpensive paint. It is the most basic of the bunch and is the most economical. For this reason, flat paint is often used in new construction. It costs less, covers easily and is easy to use. Flat paint also tends to hide imperfections and flaws in surfaces. Flat paint is often popular in older homes because walls are imperfect and the paint does not have a reflective quality that highlights flaws.
The drawbacks to flat paint is mostly durability and sheen. It is exactly what it says it is - flat. There is no luster or warmth to the paint, and there is also very little durability. In fact, you can scrub the paint right off the walls if you use water and a rag (or we found out with Mr. Clean magic erasers!). Thus, if you have a low traffic area with some imperfect walls and are on a tight budget, flat paint will likely get your job done. As for me, I almost never use flat paint. If I am going to spend the time and money painting, I am going to do something that will be more durable and warm.
The only place I do consistently use flat paint is on the ceiling. It is almost never touched and I don’t usually need the reflective quality of the paint there. There are times i have made exceptions to this, but typically, you can do flat paint there with little difficulty.

EGGSHELL
Your next step up in paint is Eggshell. Eggshell is like flat paint with a hint of sheen. Eggshell paint has about 10-25"% sheen in it, depending on the brand. The sheen adds a touch of warmth and durability, without being super glossy. It can handle a bit more scrubbing and traffic, but is still not considered a high durability paint. Because it is not super glossy, it still hides imperfections fairly well.
If your budget allows, I would make this your basic minimum paint level for most walls in your home. If you have a high traffic area, then I would upgrade to satin and here’s why….

SATIN
Satin paints are usually about 25-35% sheen. That is a great combination of durability and warmth, without being high reflective and shiny. A satin finish allows a great level of durability (think good solid scrub on the wall), and will not fade as easily. Satin finishes will show imperfections a bit more, but they offer forgiveness for marks and spots which can be removed.
If you have higher traffic areas, pets, or kids (or maybe you are just rough on your living space!), then satin paint is a great happy medium. It does cost more than its little sister Eggshell, but usually lasts longer, can be cleaned, and offers great warmth to a space.
If you are painting a kitchen or a bathroom, this should be your minimum level of sheen. You can also incorporate some anti-bacterial paints into satin for these areas, that is often a good idea since these types of room seen a higher level of moisture.
SEMI-GLOSS
Anytime you see gloss in the title, we have moved into “shine” zone. Gloss paints have more gloss in them. Like in our other paints, more gloss means more durability, but also higher sheen. Now you are going to see more flaws in whatever surface is covered in semi-gloss paint because the gloss will reflect the imperfection when light hits it.
Though it does highlight imperfections, the trade-off is great durability. I like to use semi-gloss paint on cabinets, trim and baseboards because they see heavier wear.
Semi-gloss paint can come in a variety of sheen percentages - anywhere from 35-70%. The higher the sheen, the more durable and shiny the surface will be. There is a recent trend to paint semi-gloss on walls, but for me, it is too reflective.

GLOSS
Gloss paint is glossy (shocking, right?). When you open a can of gloss paint, you’ll know it. Even in the can, gloss paint is thick and shiny; it’s actually quite beautiful. Gloss paint is my favorite for a front door - bright, shiny, and thick. High gloss paint is durable and can be scrubbed and scrubbed. It is also the most expensive since you are paying for that gloss. Some people really believe in high gloss for all cabinets and trim, but I prefer a slightly more matte look. High gloss will highlight any type of surface flaw, so remember that when applying. It is also a little more difficult to paint with as it is very thick.

OTHER CONSIDERATIONS
Room Position
Natural light and also the size of the room can help you decide on your paint sheen. Rooms that are filled with natural light will tend to throw more sheen and color throughout the room. You can safely choose a lower sheen paint (like eggshell) and probably have the same level of warmth as a satin painted room. The inverse is true as well. Poorly lit rooms often benefit from a higher sheen. What little light there is in the room, can more heavily bounce off the sheen and warm up the space.
Wall Texture
Walls that are textured or imperfect will look better in a flatter sheen; it will help smooth them out. Just remember your trade off for the sheen is lack of durability.
Moisture Level
Rooms suspect to higher moisture often benefit from a higher sheen paint as it is more durable and less suspect to moisture retention. The sheen can help reflect moisture.
Room Size
Higher sheen paints allow light to bounce and help make rooms feel larger. It sounds crazy, but can really help ‘open up’ a room visually.
Same Tone, Different Sheen
One of the most popular trends right now is painting the trim and the walls the same color. This look is seamless and really can open up a room, giving a larger visual appearance. The best way to achieve this look is to paint the walls in a lower sheen paint, and then paint the trim in a higher sheen. You want a nice level of contrast here.
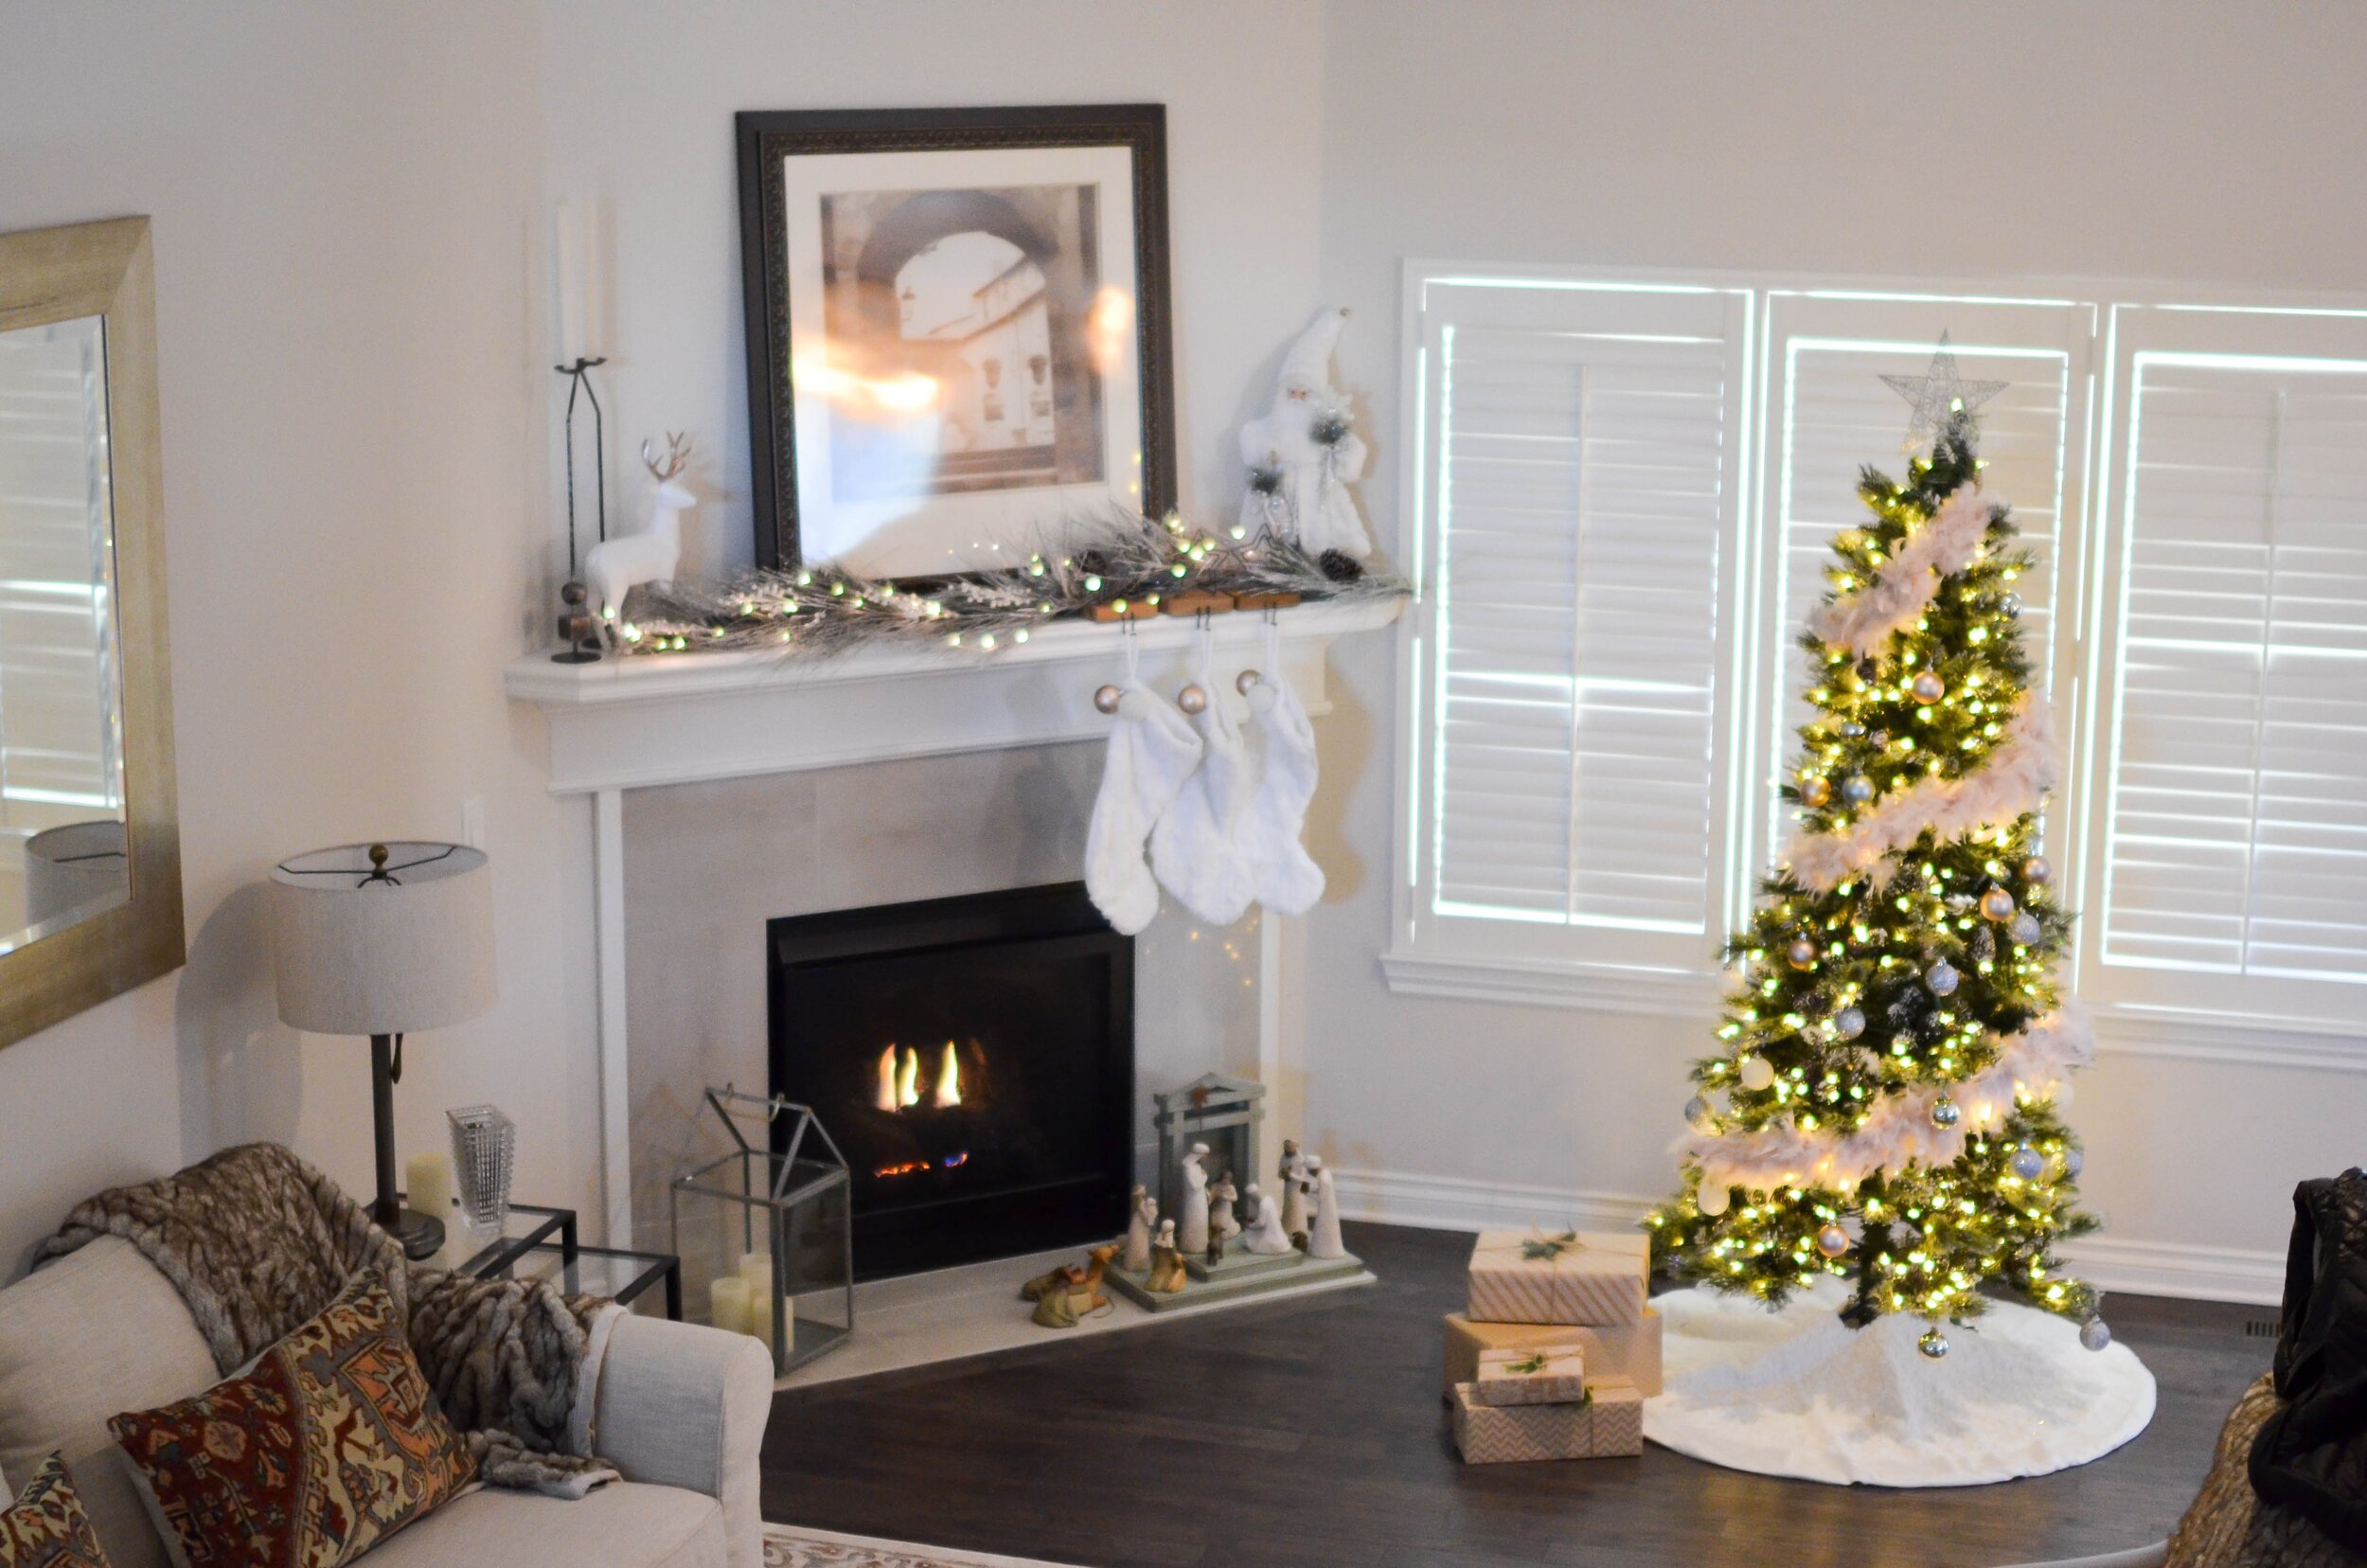
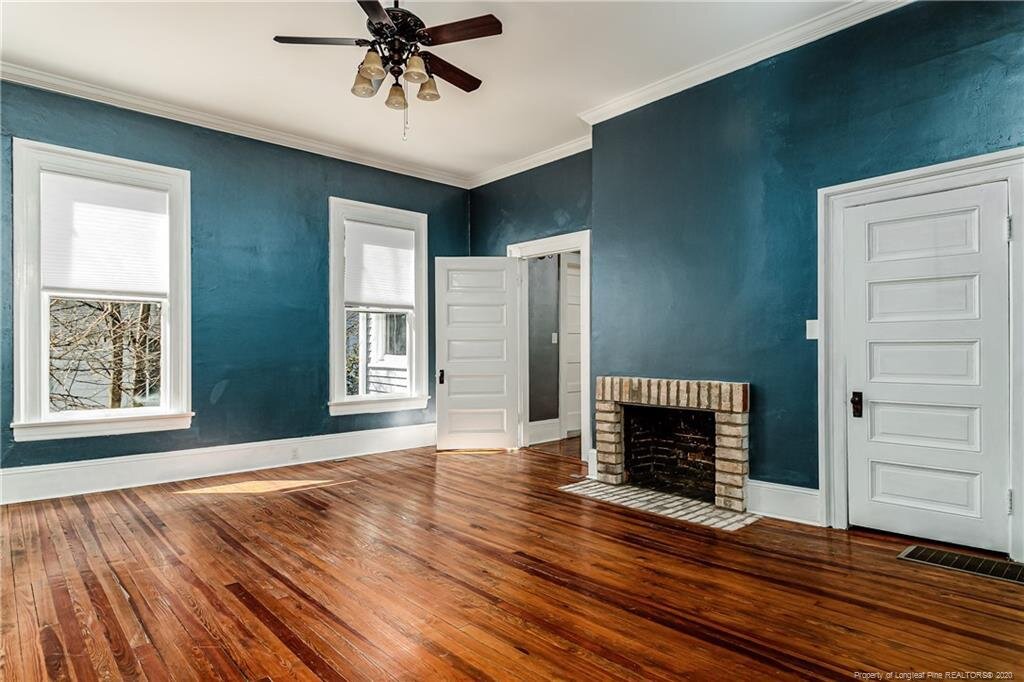
Depending on your taste, you might consider an eggshell wall with a semi-gloss trim. If you don’t mind spending a bit more and having a bit more light bounce in the room, then going to a satin finish wall and high gloss trim can work as well. The result is really stunning! The picture above this section with the fireplace illustrates this technique.

“All you need to paint is a few tools, a little instruction, and a vision in your mind.”
I hope that this helps you determine what type of paint sheen is best for your space. Remember to consider cost, lighting, room size, and surface texture when choosing your sheen. Again, my catch-all favorite is satin for walls and semi-gloss for trim, but you should feel free to experiment and find out what appeals to you!
Happy painting!!
-Casey

The Best White Paint You've Never Heard Of
Discover the only white paint you’ll ever need - and figure out how to get it!


My mom recently asked me the question that I have heard (and had myself) more than once. Her question was , “Do you know of a white paint that is actually just white?”
The question is simple enough, but if any of you have had the experience of selecting a white paint, you know it is far from simple. There you sit, immersed in paint chips, each a slightly different shade of white and your head spins. You think to yourself, “This one looks yellowish; this one gray; this one looks blue; I am pretty sure this one looks like lavender, wait, maybe gray." Finally, after putting them up on the wall, against the baseboards, up by the light, and in the shady corner, you withdraw from your pile what you know to be the winning chip…only to find that it doesn’t seem white at all. You begin to second think yourself, your lighting, your walls, your life…wait, well…maybe not, but you get frustrated.
Defeat over choosing a white paint is one of my least favorite first world problems. Sure, we have bigger fish to fry with our lives, including almost anything that is more important than paint. However, you are talking about living in a space that you want to love and also spending the time and money to paint it. It can be frustrating to use your resources on poor decisions and things that don’t work well. Making a good selection is important and does matter, but we do need to keep it in perspective.

So where does that leave us? I would like to introduce you to the best white paint I know and you have probably never heard of. It’s the same white paint I told my mom to ask for at the paint store. This white paint is not something with a fancy name like “white dove”, “iced mountain”, or “creamy marshmallow.” It is not fancy, but like your favorite pair of jeans, just seems to work every time. This white paint is the secret of the contracting world. In fact, if you cannot quite seem to find the perfect white paint match to the trim that was in your house when you bought it, it’s probably because you don’t know about my favorite secret paint. That paint is B2.

B2? Yup. B2. I know - what on earth is B2, you ask? B2 is simply white paint with a drop or two of black added into it to “make it dirty”. The black paint is subtle and it takes the edge off of the white, but does not compromise the crisp white color. B2 is like a soft neutral white. It never reads “yellow” or “gray”, it doesn’t seem to take on its surrounding colors. It is not too warm, nor too cool. B2 is simply just white. It looks white, it reads white, and it is white (well, dirty white anyway).

Here’s the real life secret. When my mom walked into the paint store and asked for B2, the man helping her replied, “Welcome to the club,” when she placed her order. She was now part of the secret society, the elusive contracting club that knew about B2. They all had a good laugh, but when my mom called me later that day, she was so happy that her cabinets where just white! She wanted white and she got white…..B2 was her new best friend.

All of the photos I have listed in this post are using B2 white paint. It’s simple, it’s clean, and it’s trustworthy. You can use any brand, any sheen, and any level of paint and simply ask for B2. Find a brand/type of paint you love and trust, and then simply ask the store for B2. They should know what to do from there.

““Without black, no color has any depth. But if you mix black with everything, suddenly there’s shadow – no, not just shadow, but fullness. You’ve got to be willing to mix black into your palette if you want to create something that’s real.””
I have a lot of great shades of white that I used in my decorating. Some of my favorites are Benjamin Moore’s White Dove, Sherwin Williams Pure White, and Sherwin Williams Extra White. They are all great and have their use in certain places. However, when you just feel stuck and want to ensure you end up with a pure clean white, you can always fall back on your newest trusty friend, B2. I hope you will give B2 a try the next time you are looking for a basic white paint. It’s loved for a reason - probably because it just works. My mom is the newest big fan. I’d love to hear about your experience with B2 if you do decide to try it. Hopefully this at least helps unravel the white paint mystery and gives you focus!
- Casey

GLENVILLE AVE BECOMES A HOME
Our newest home is transformed!

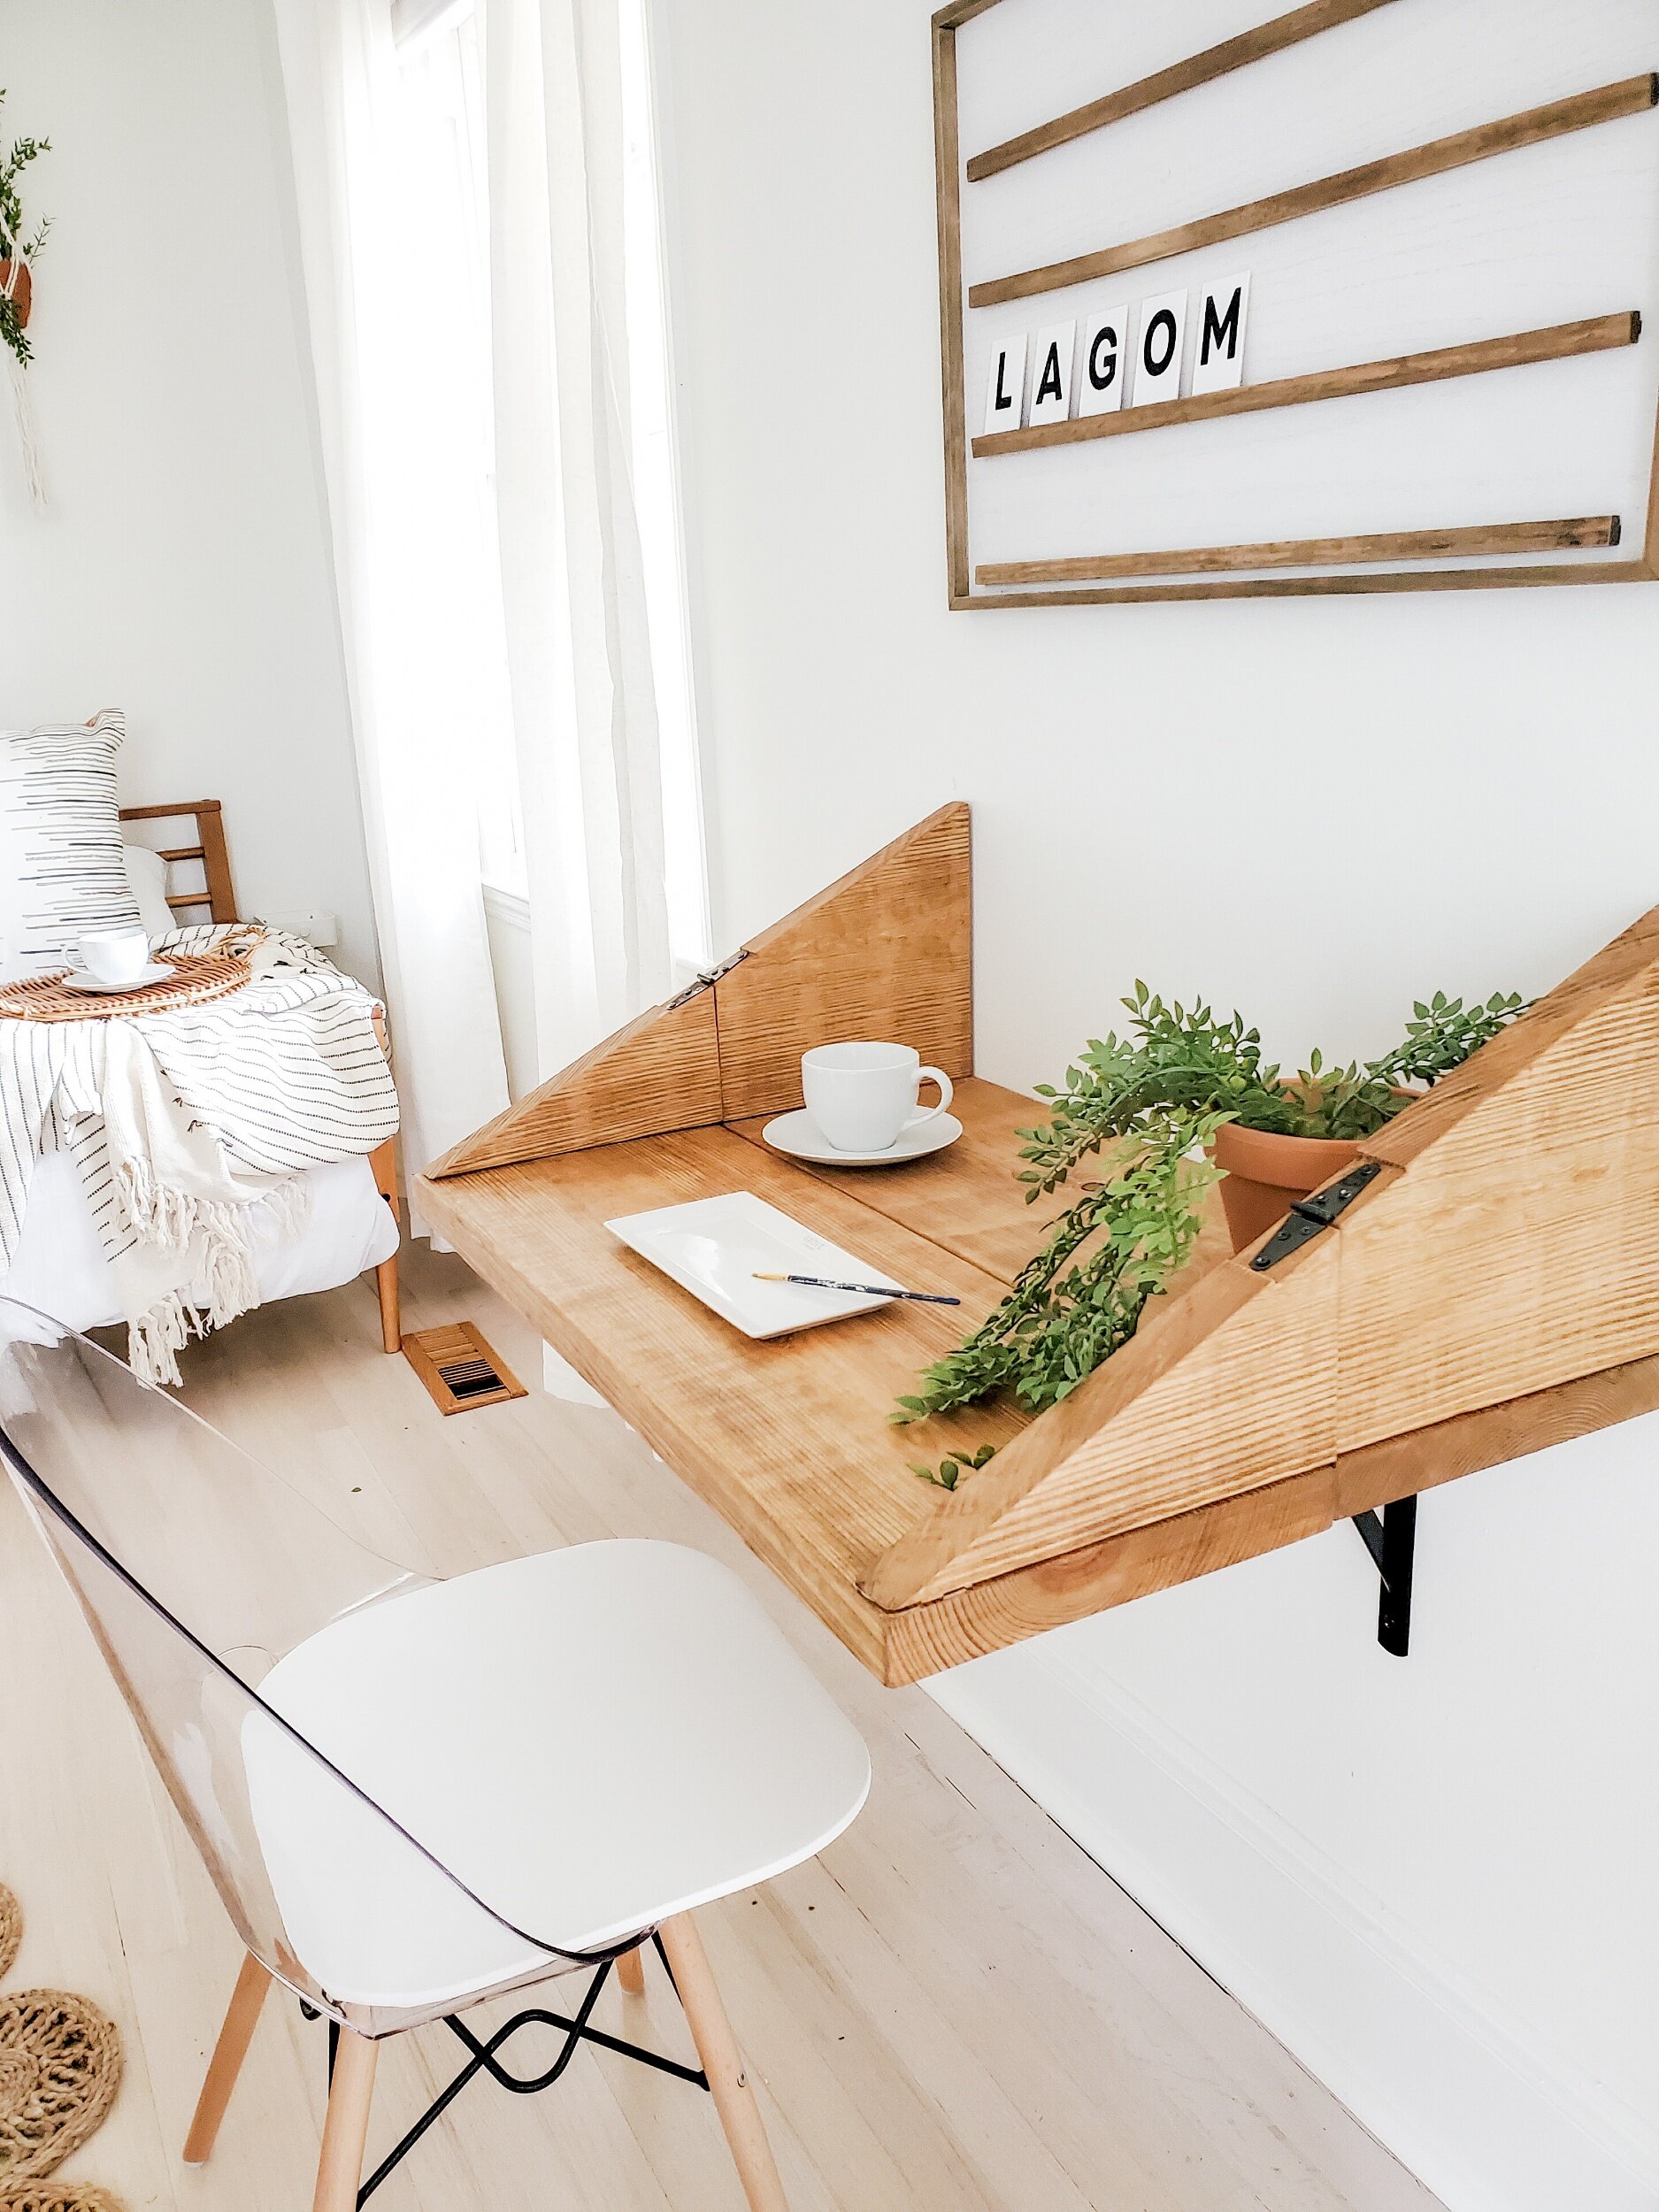
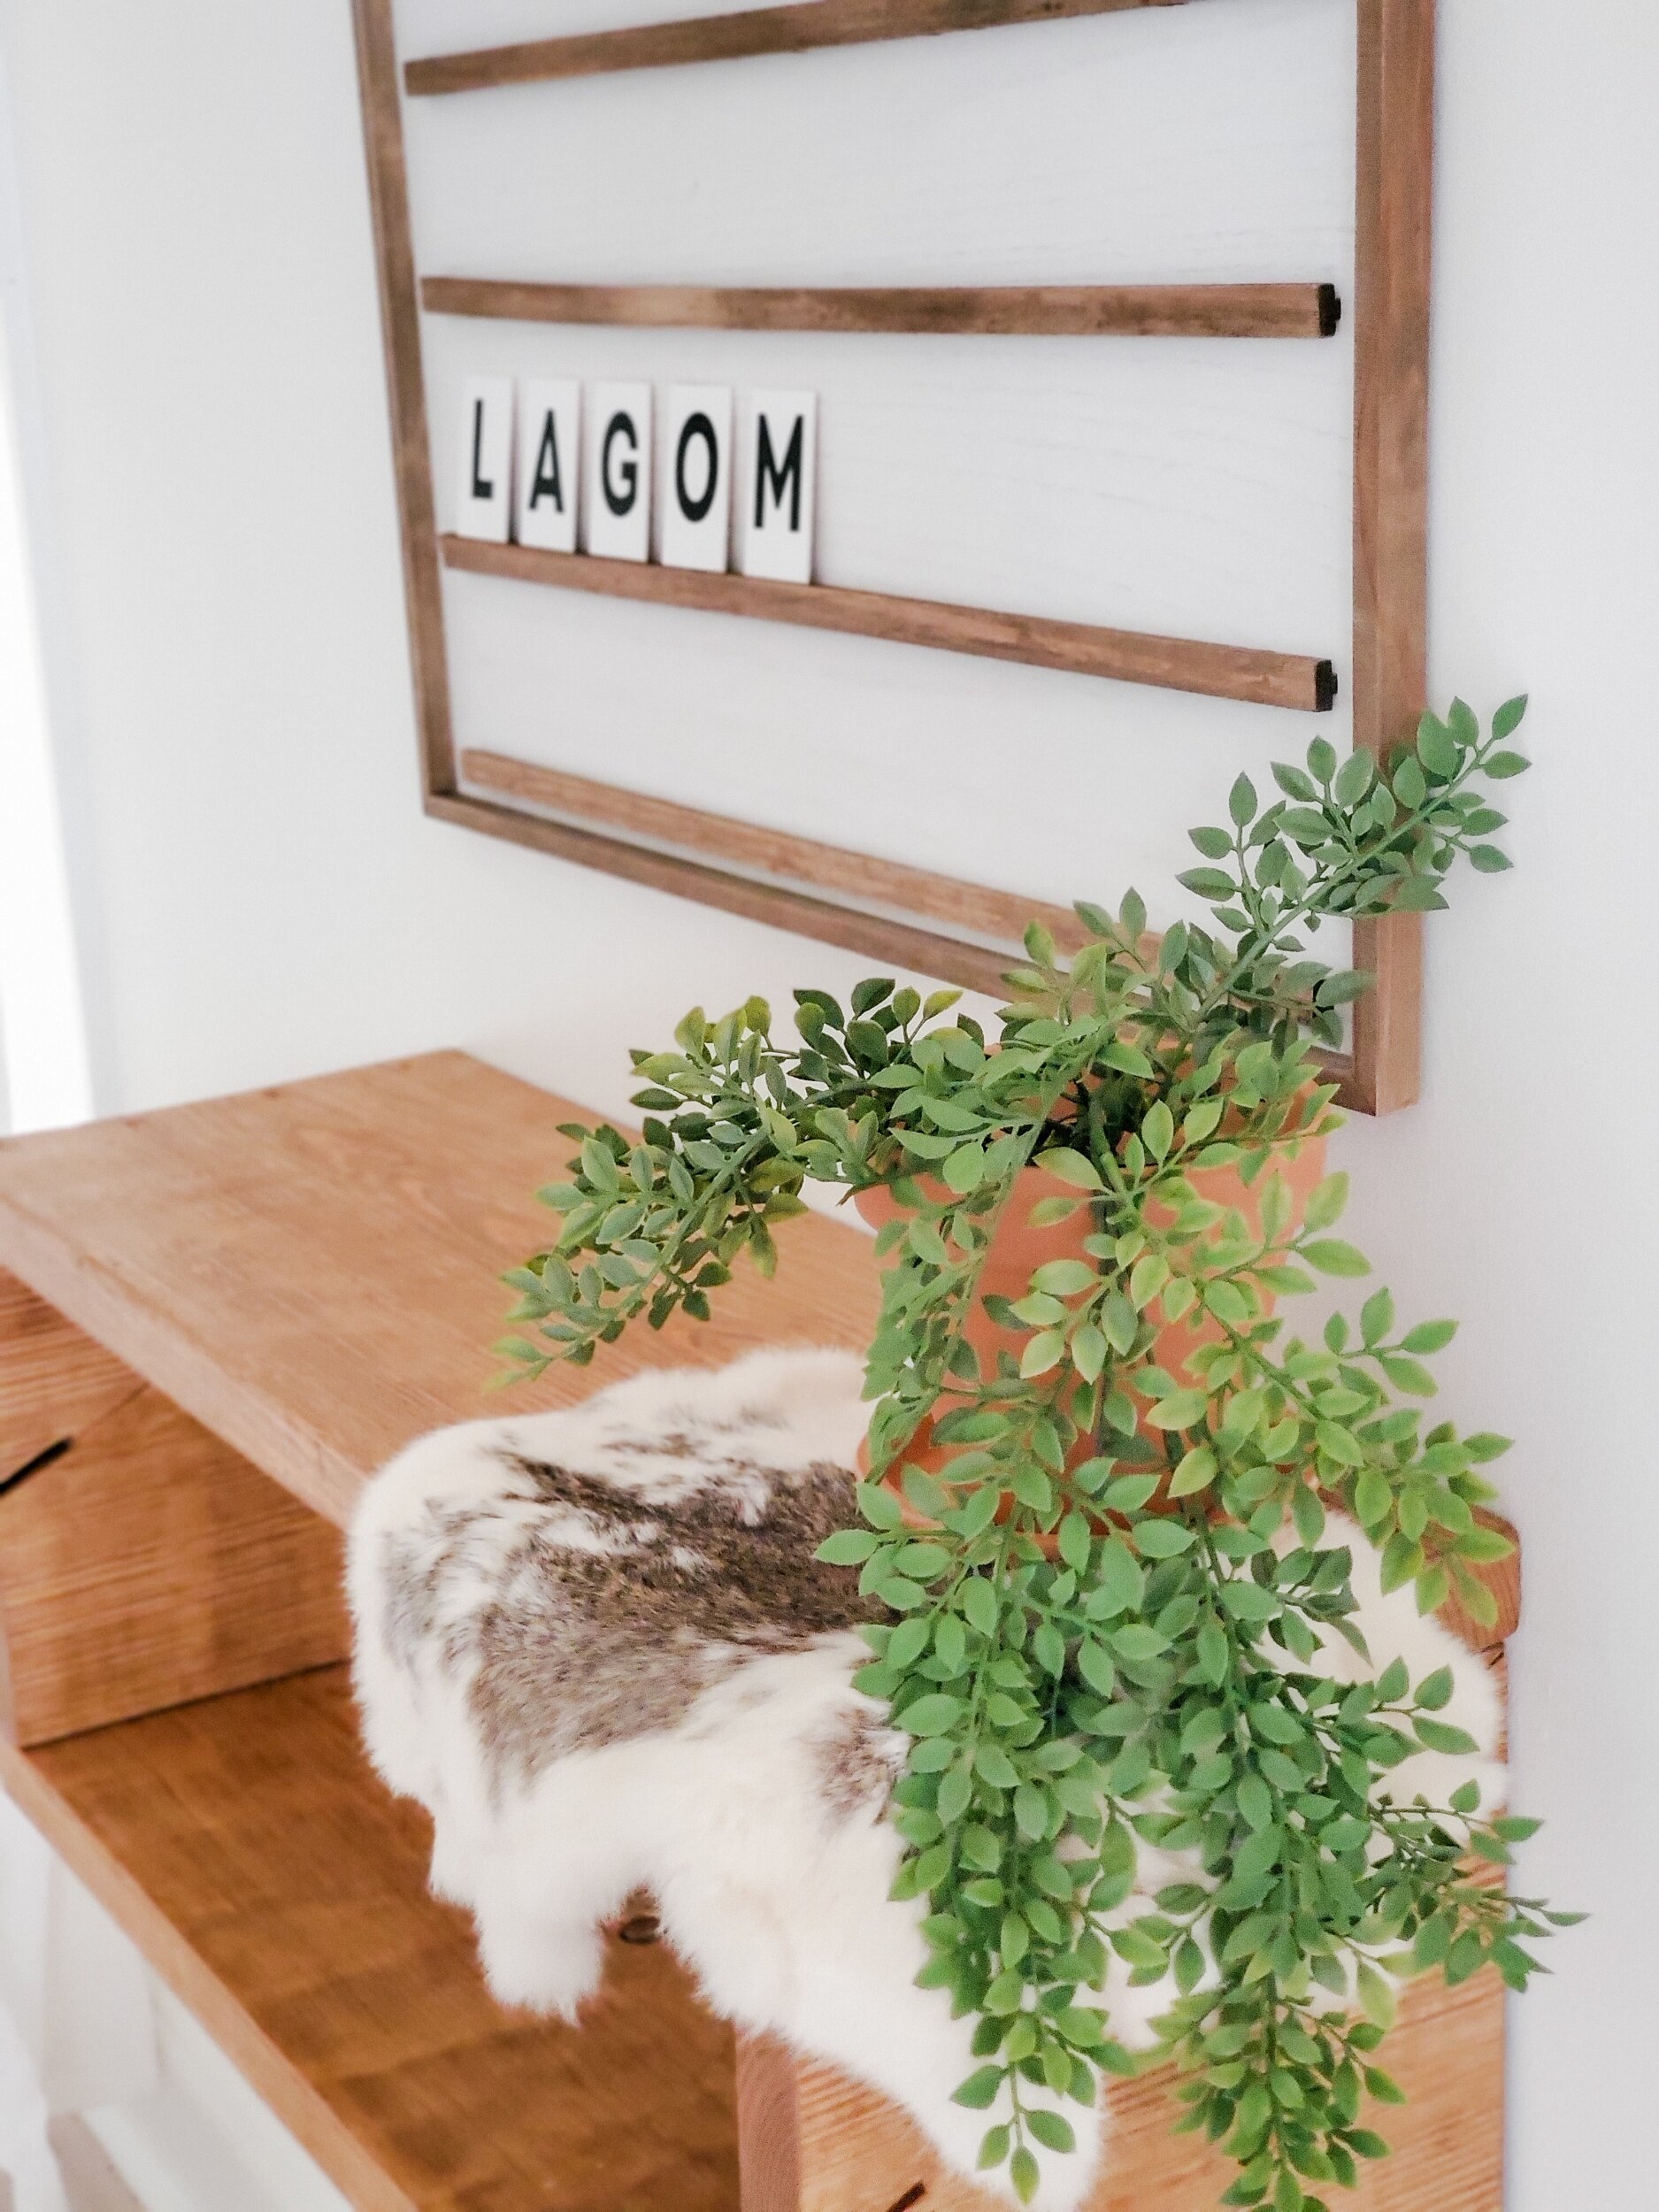
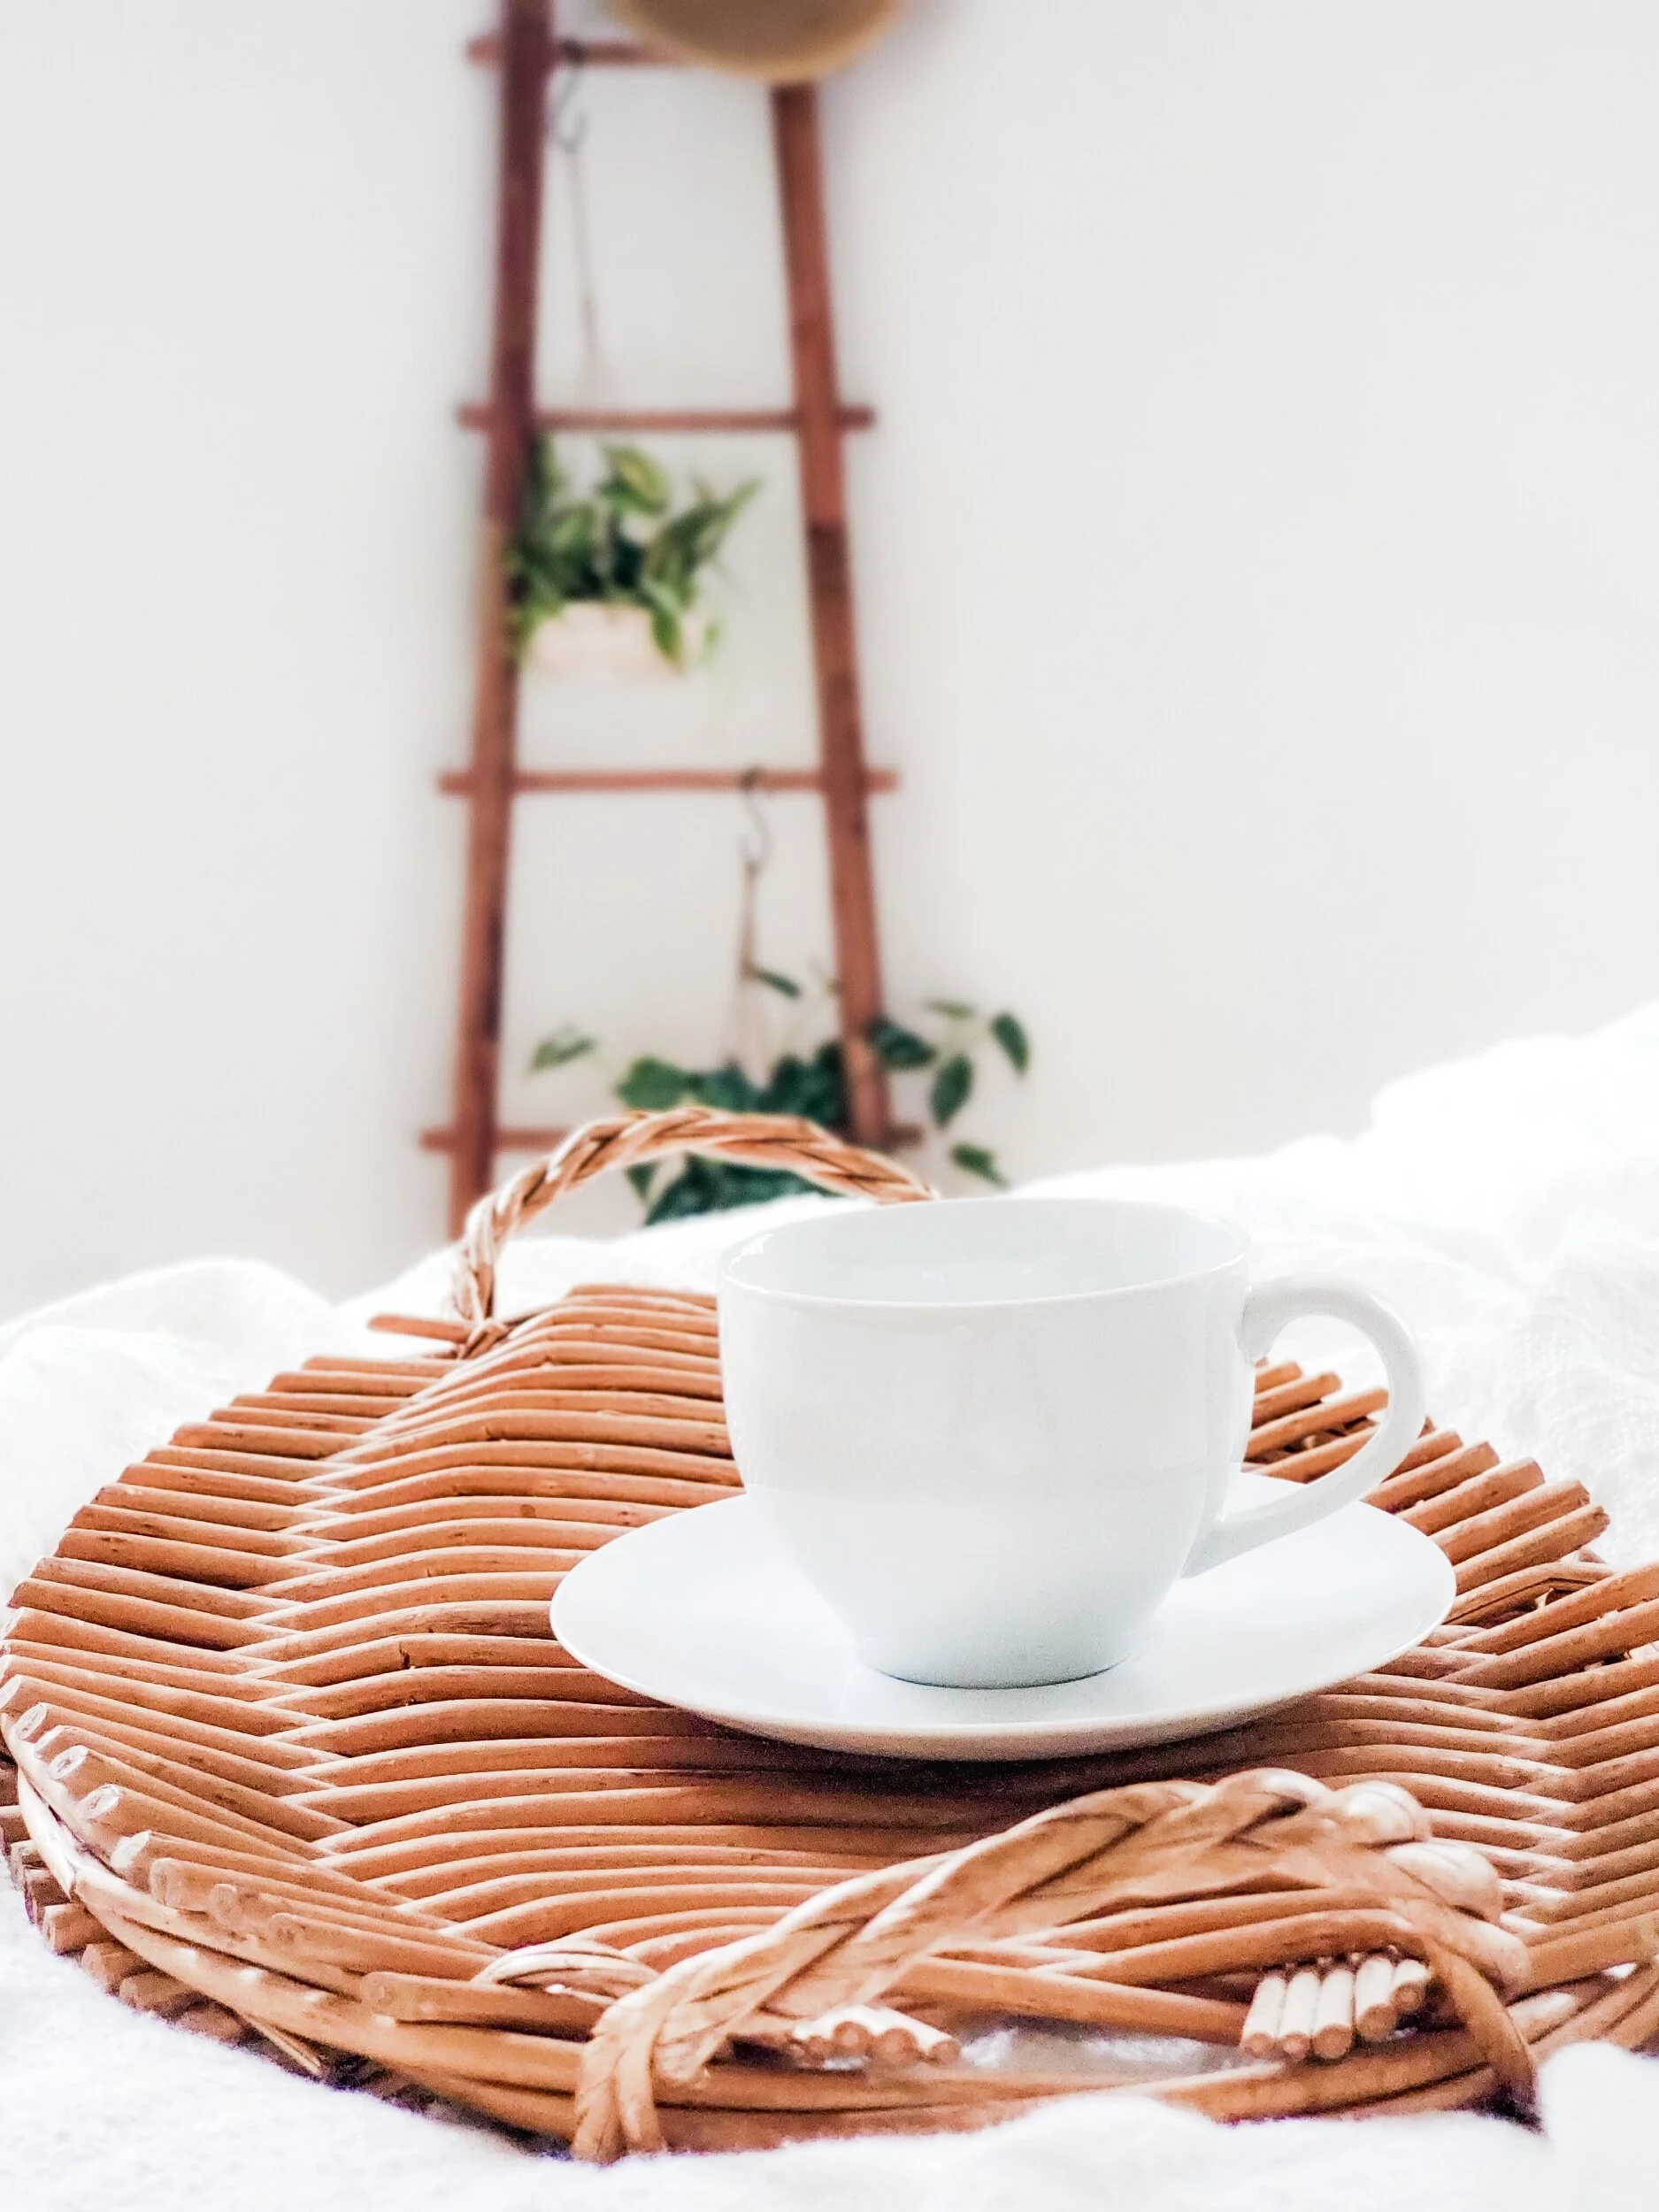
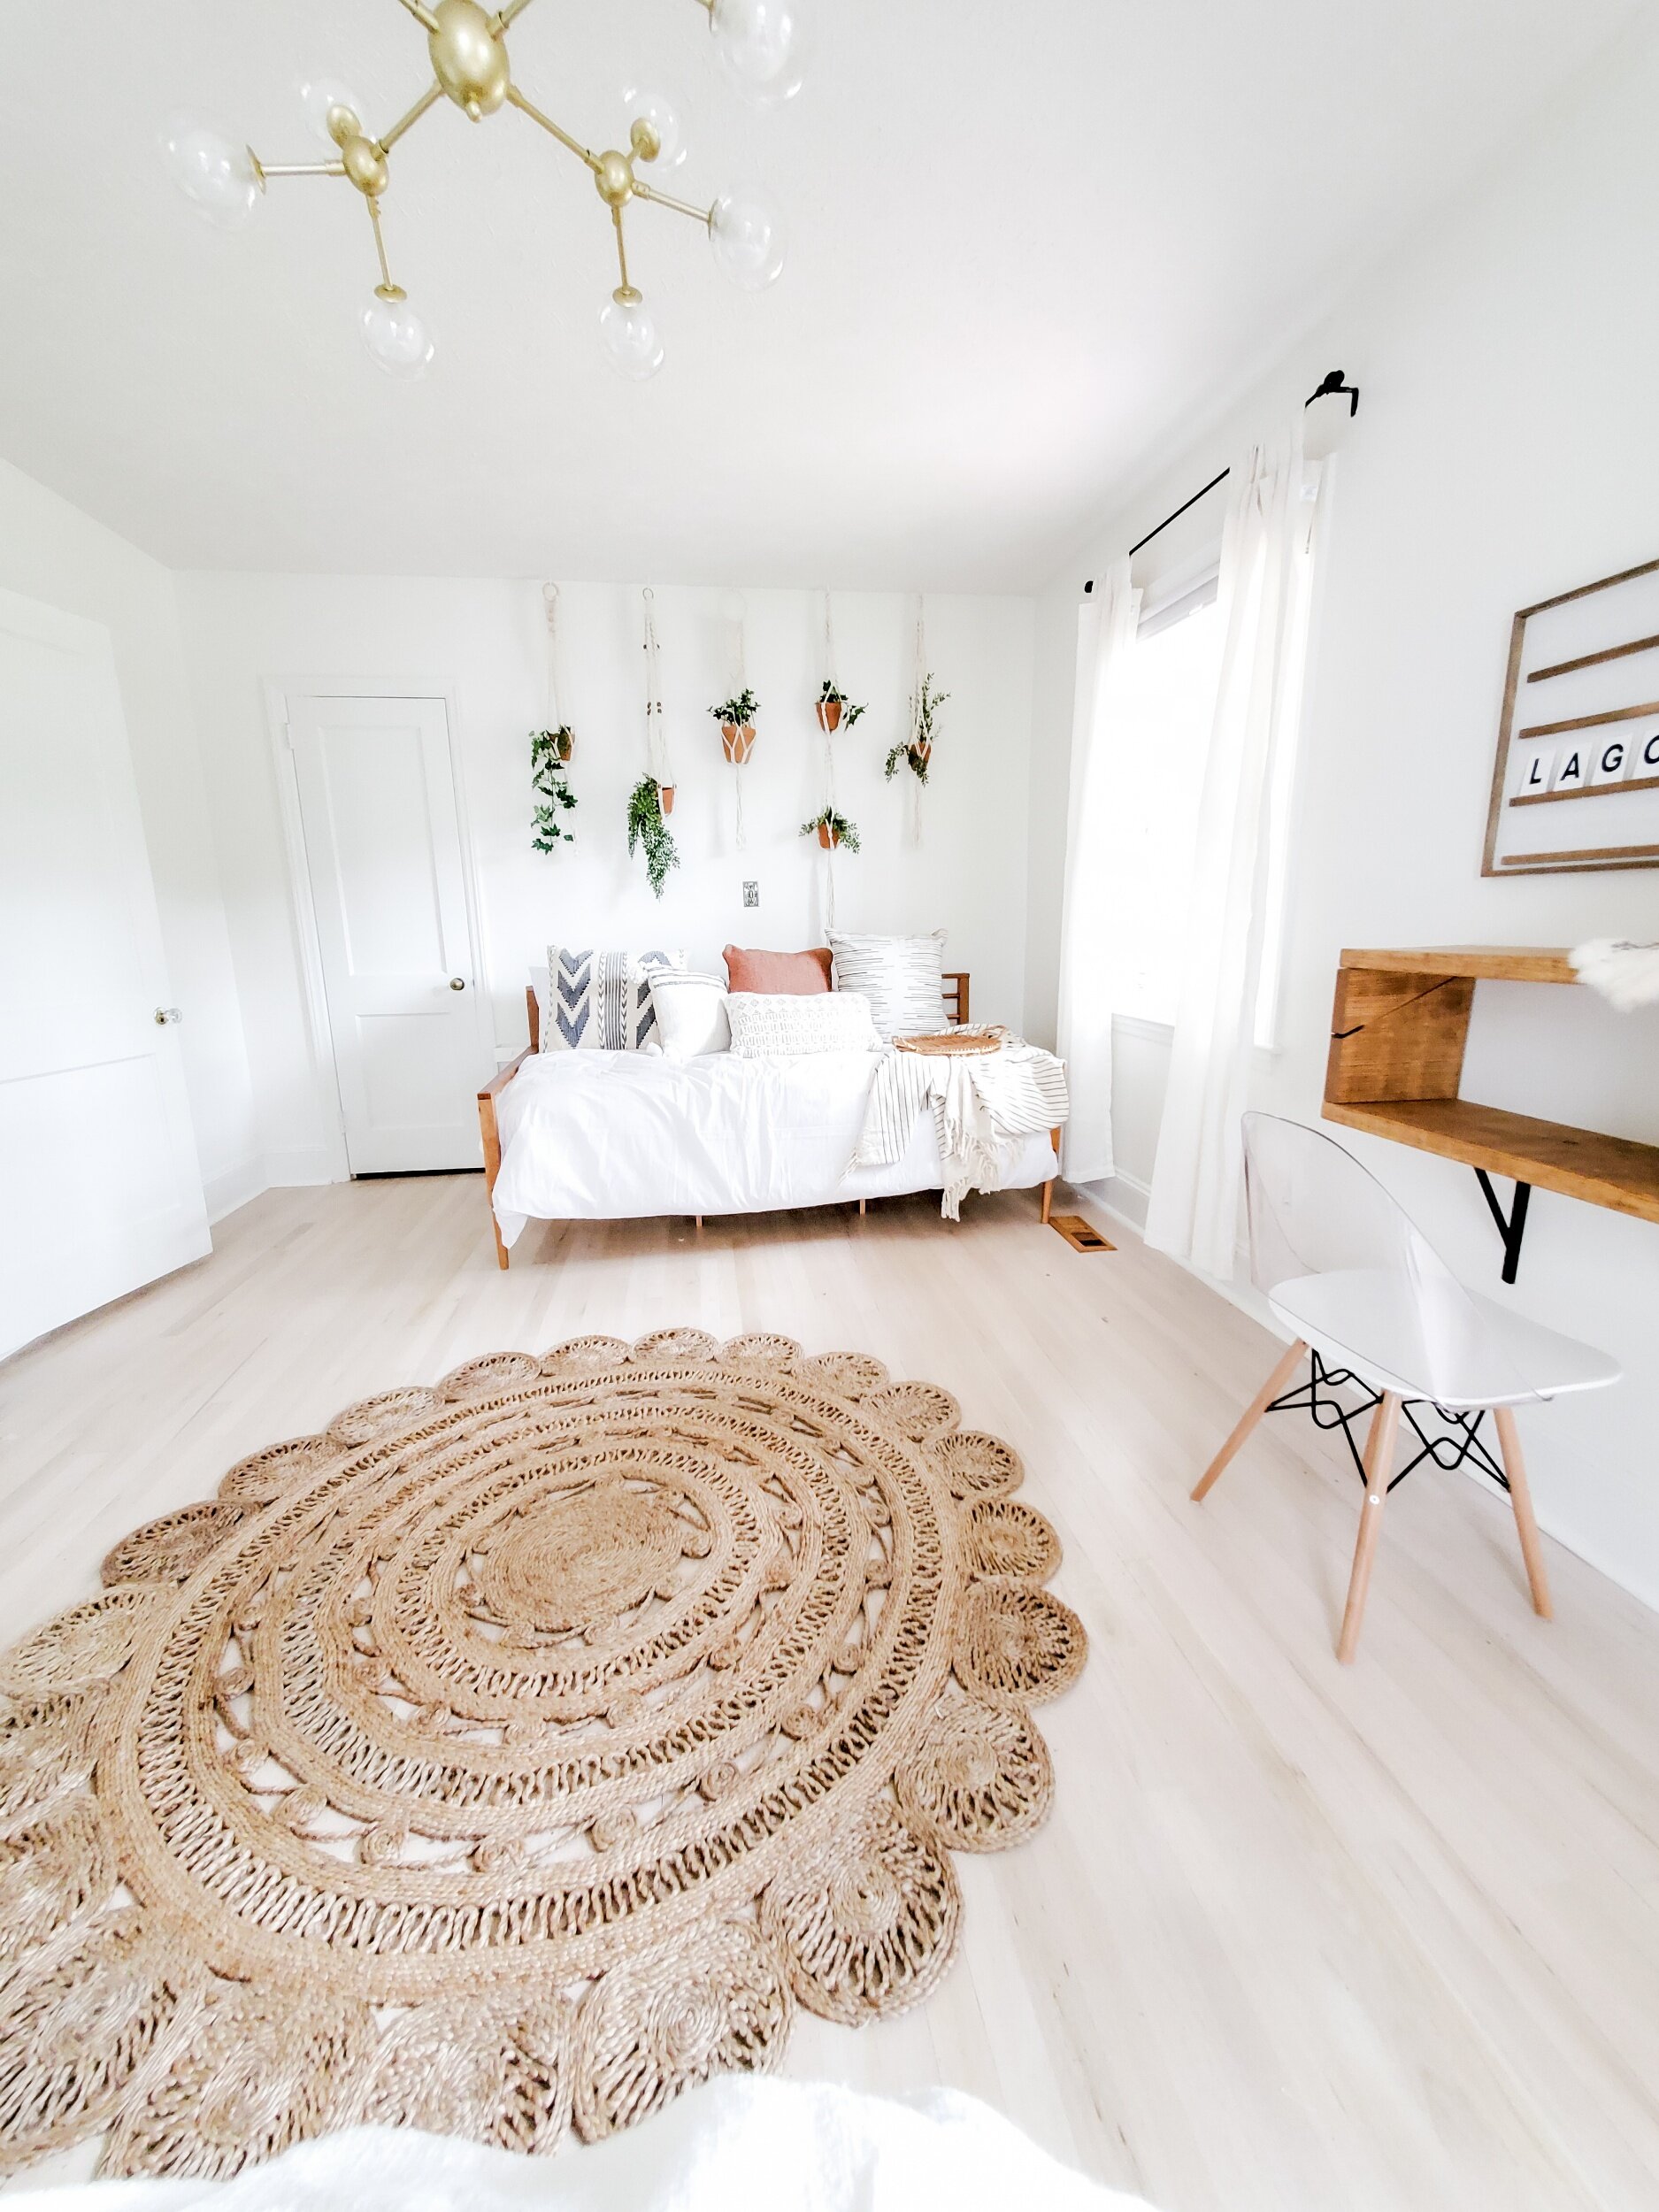
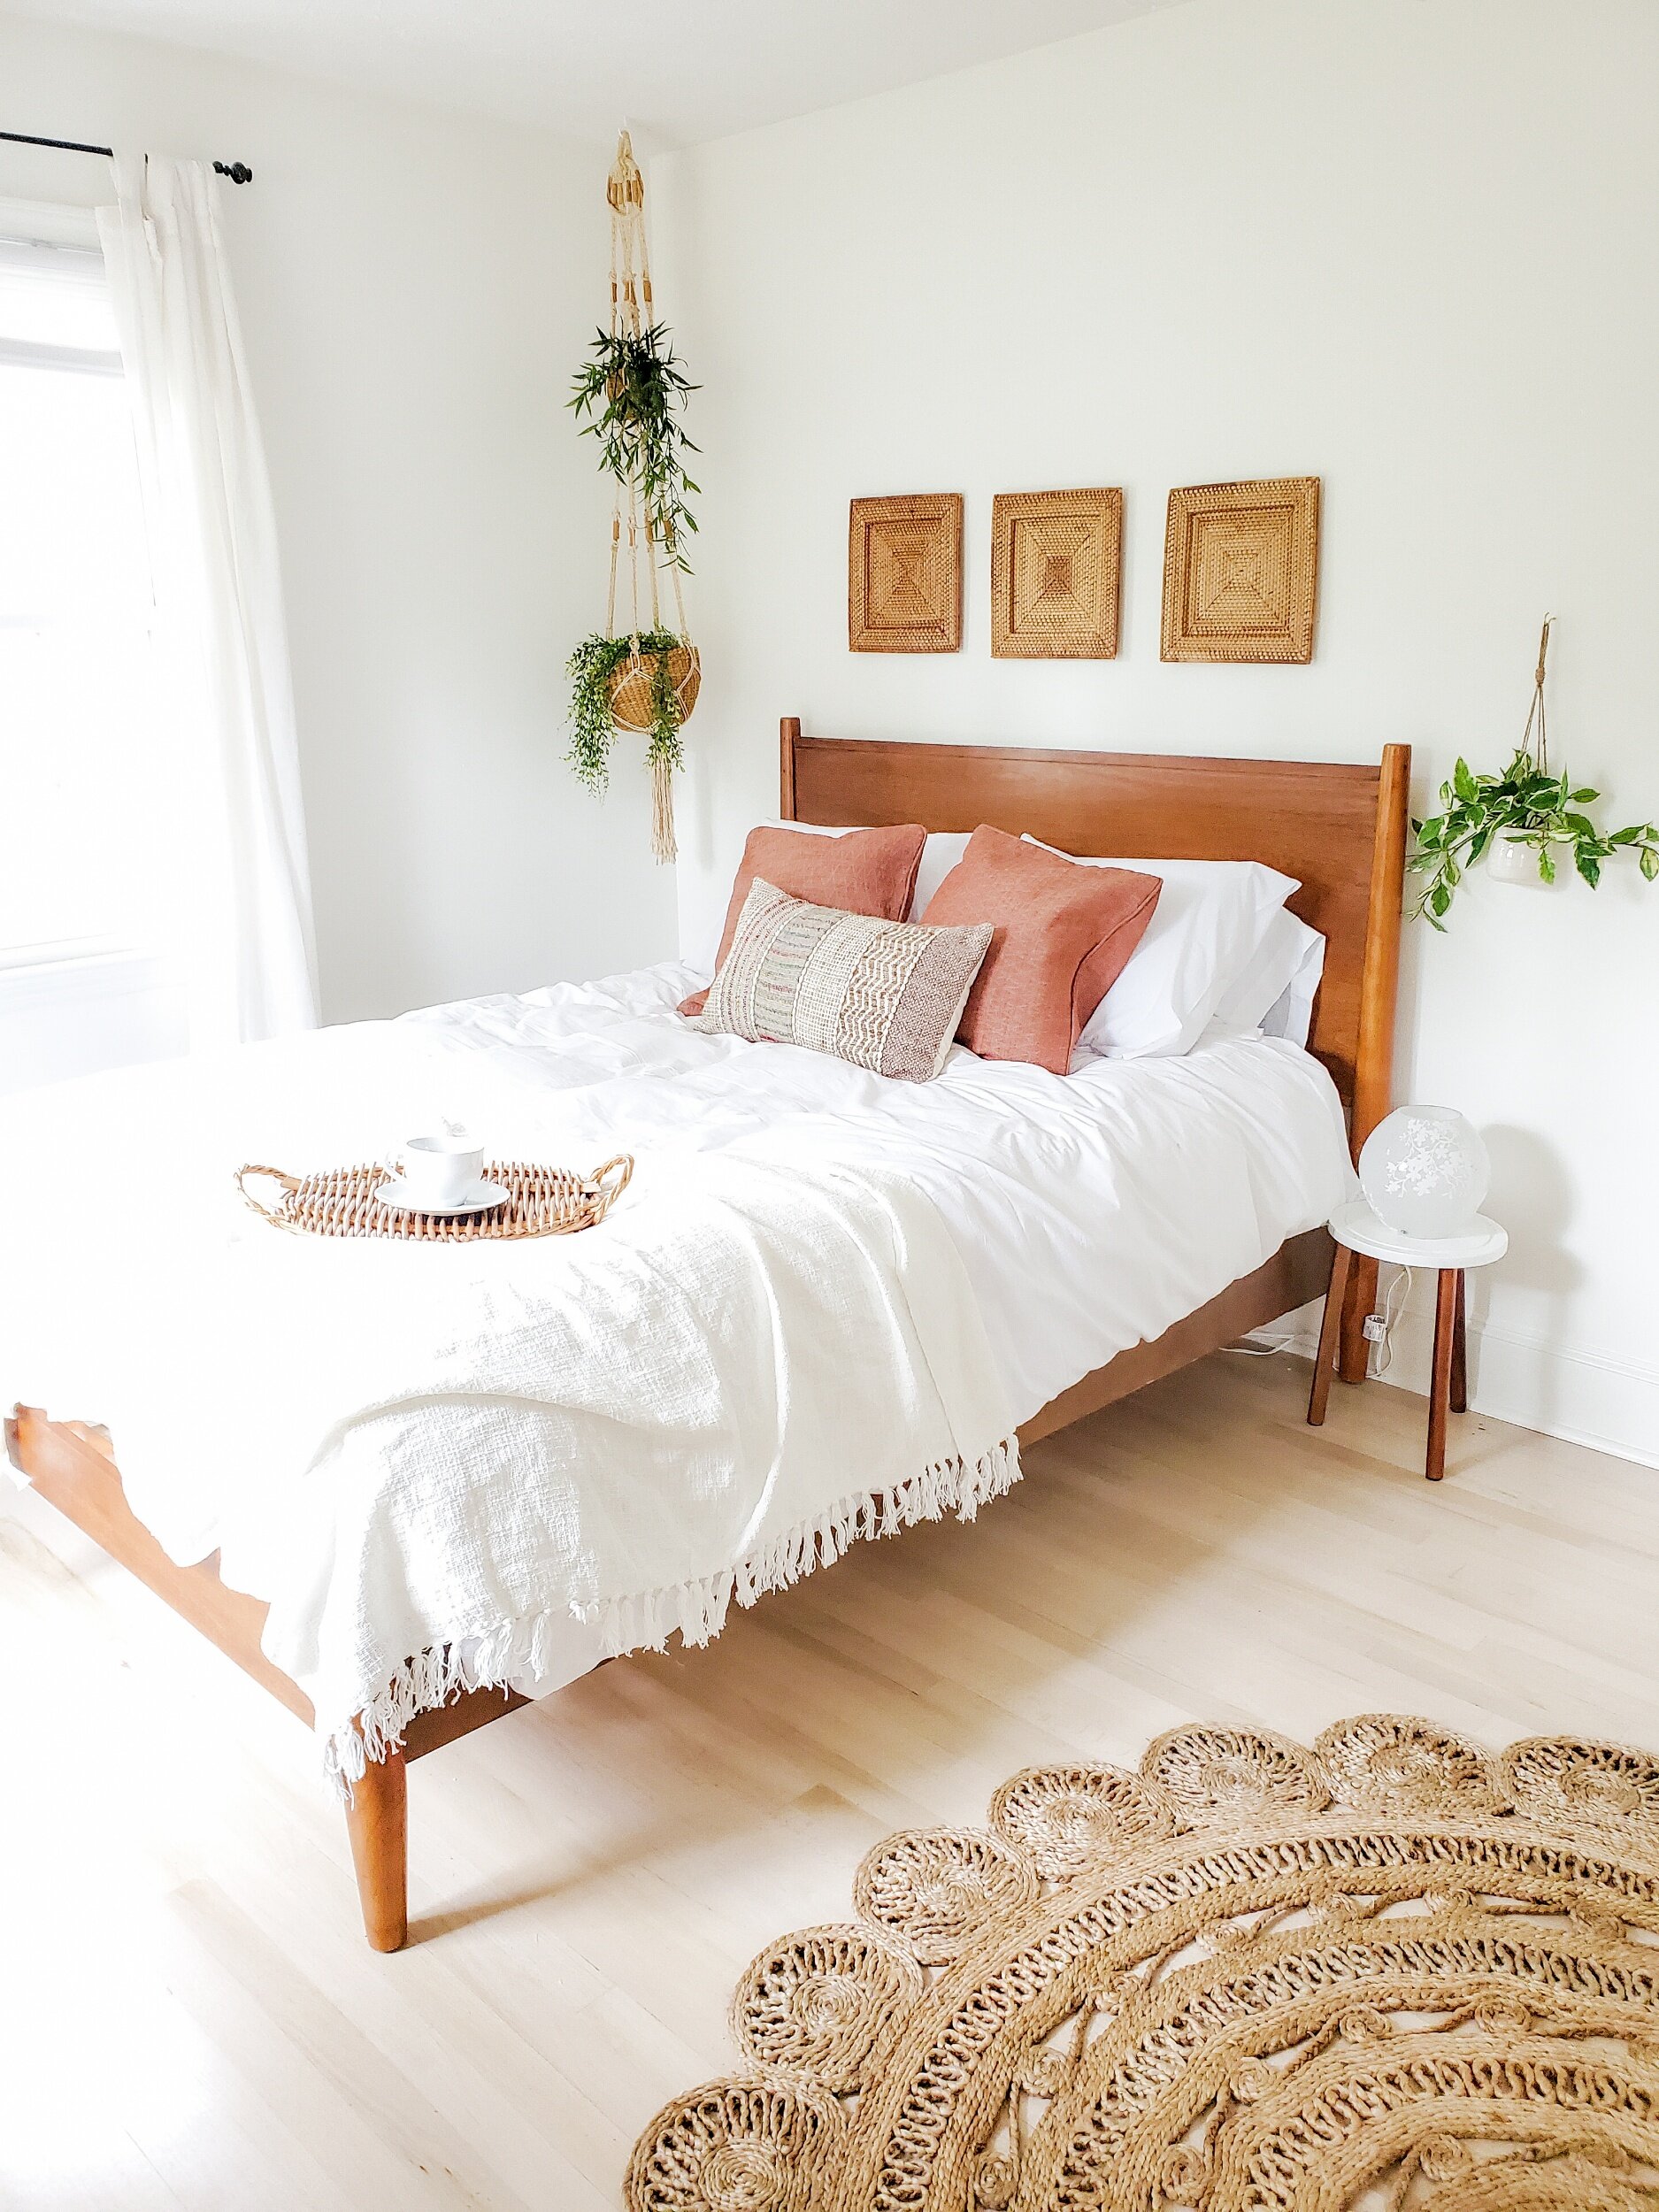
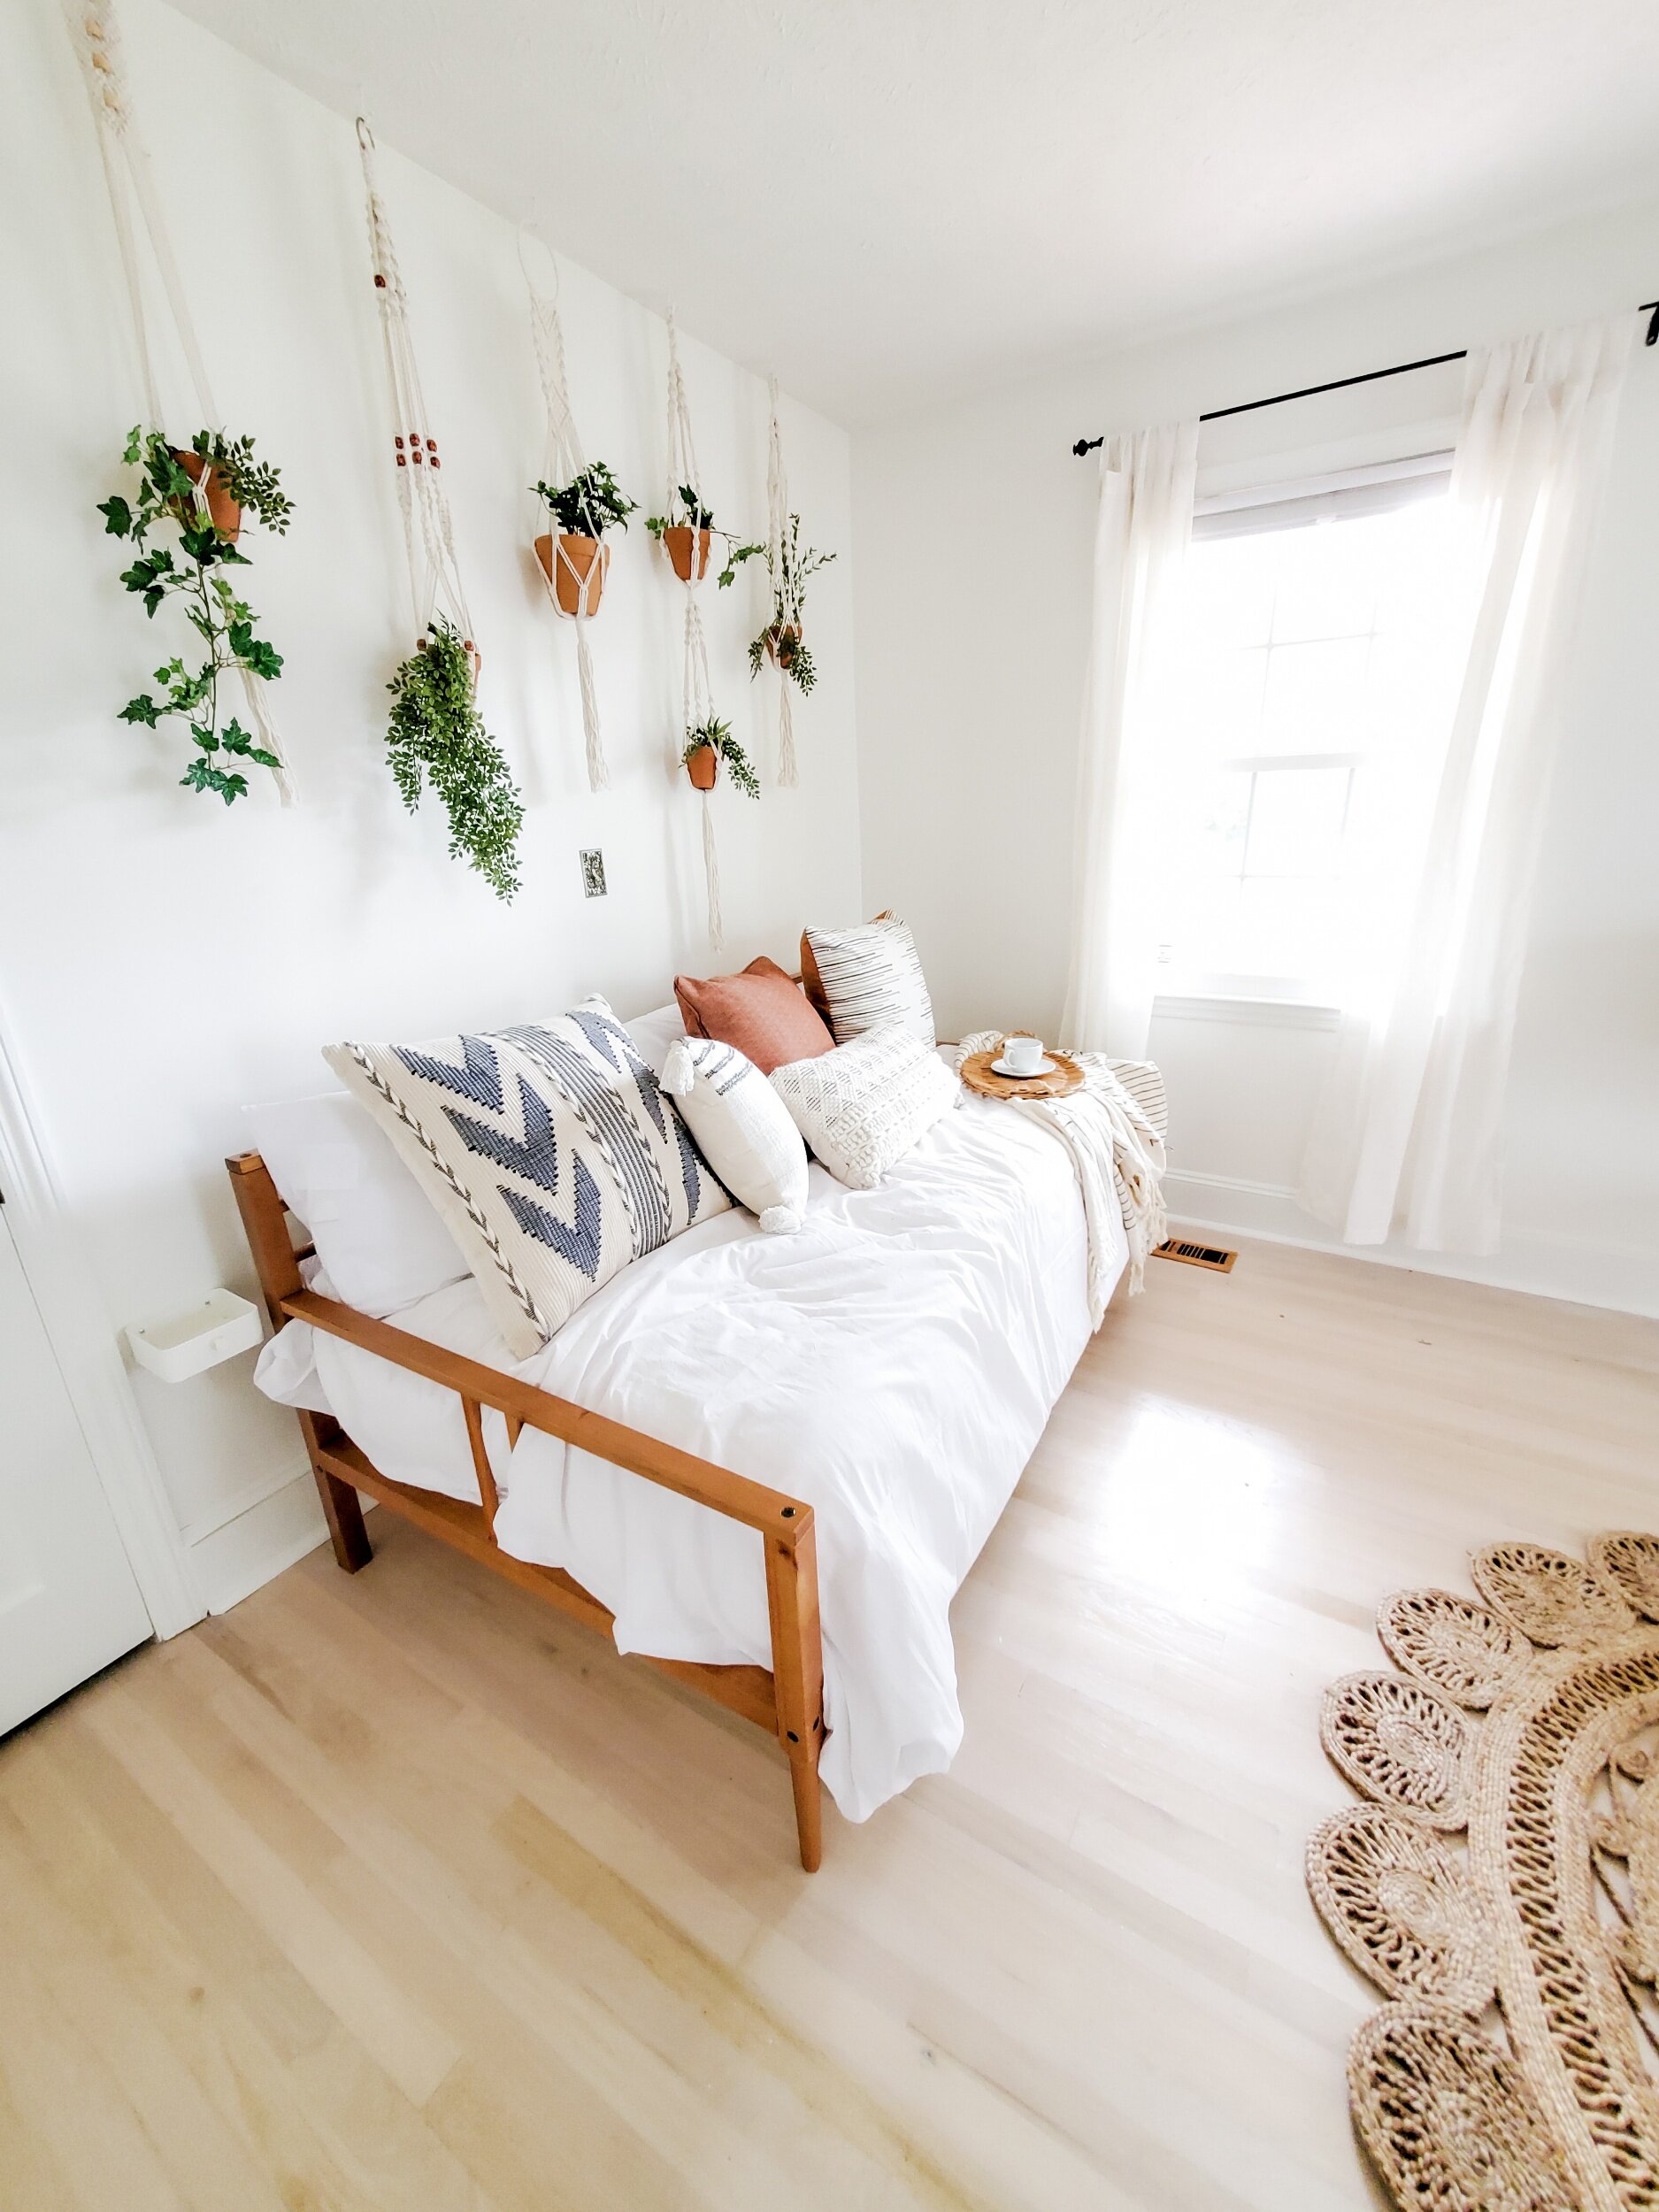
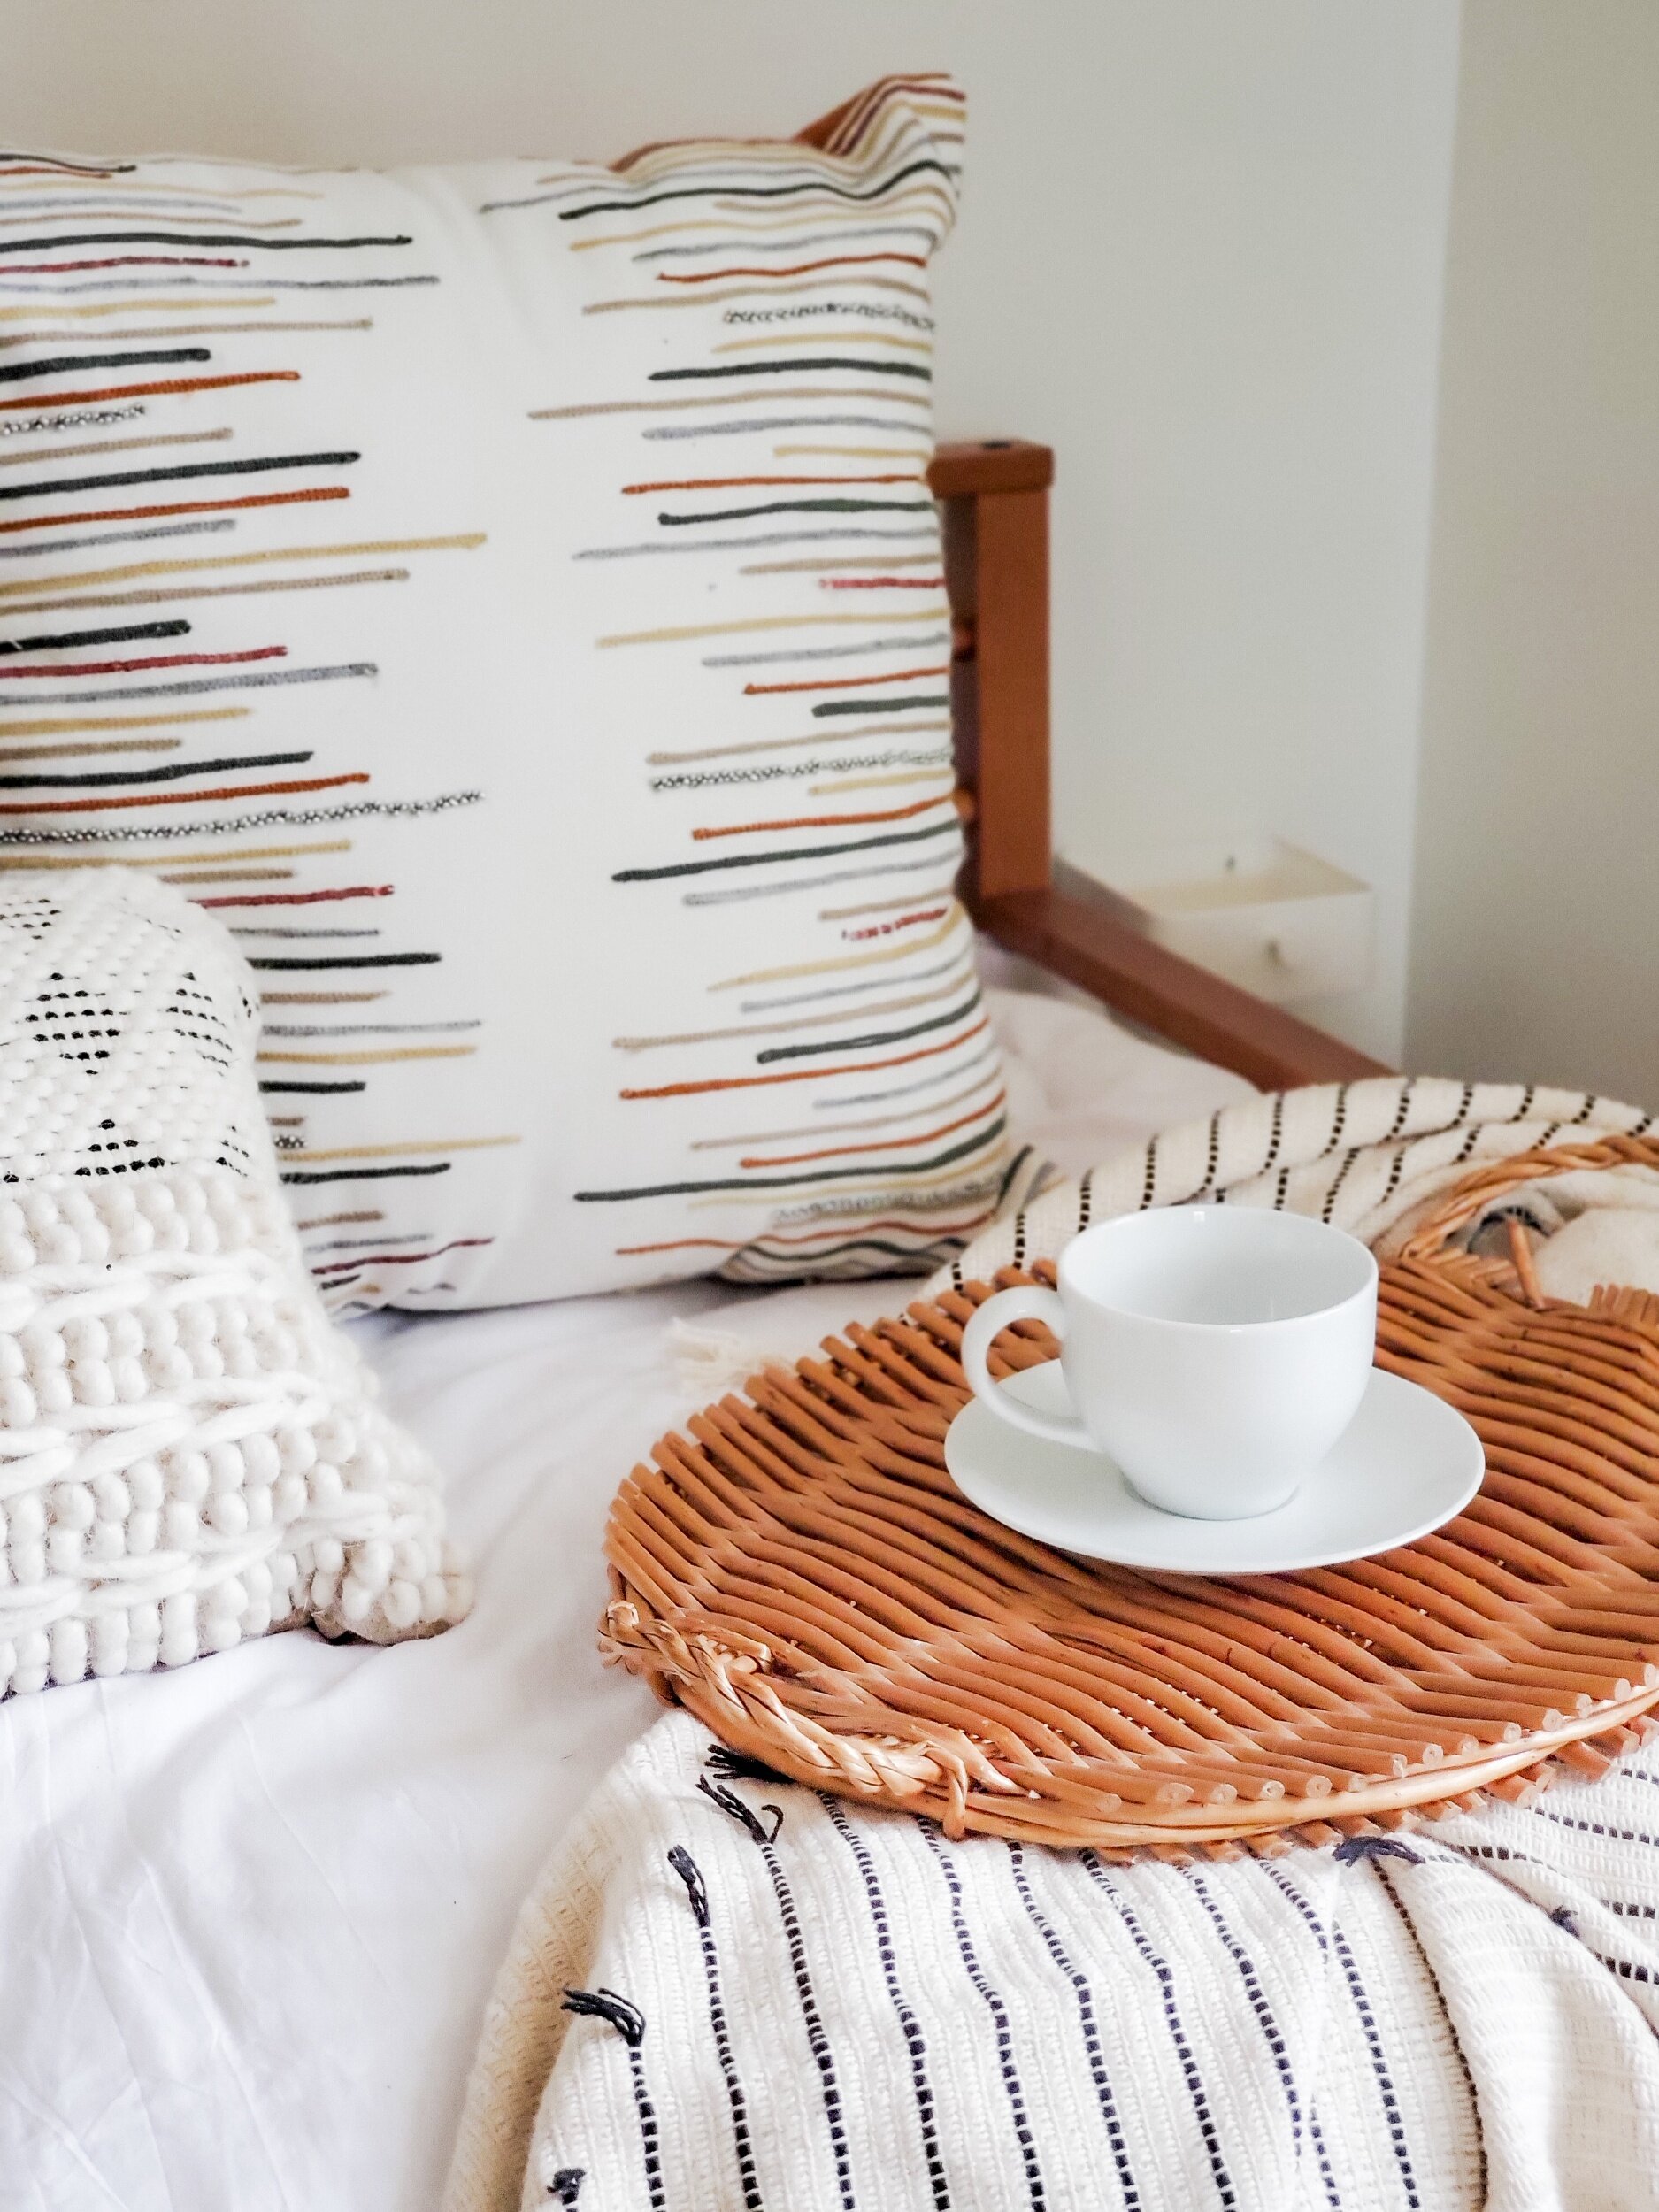
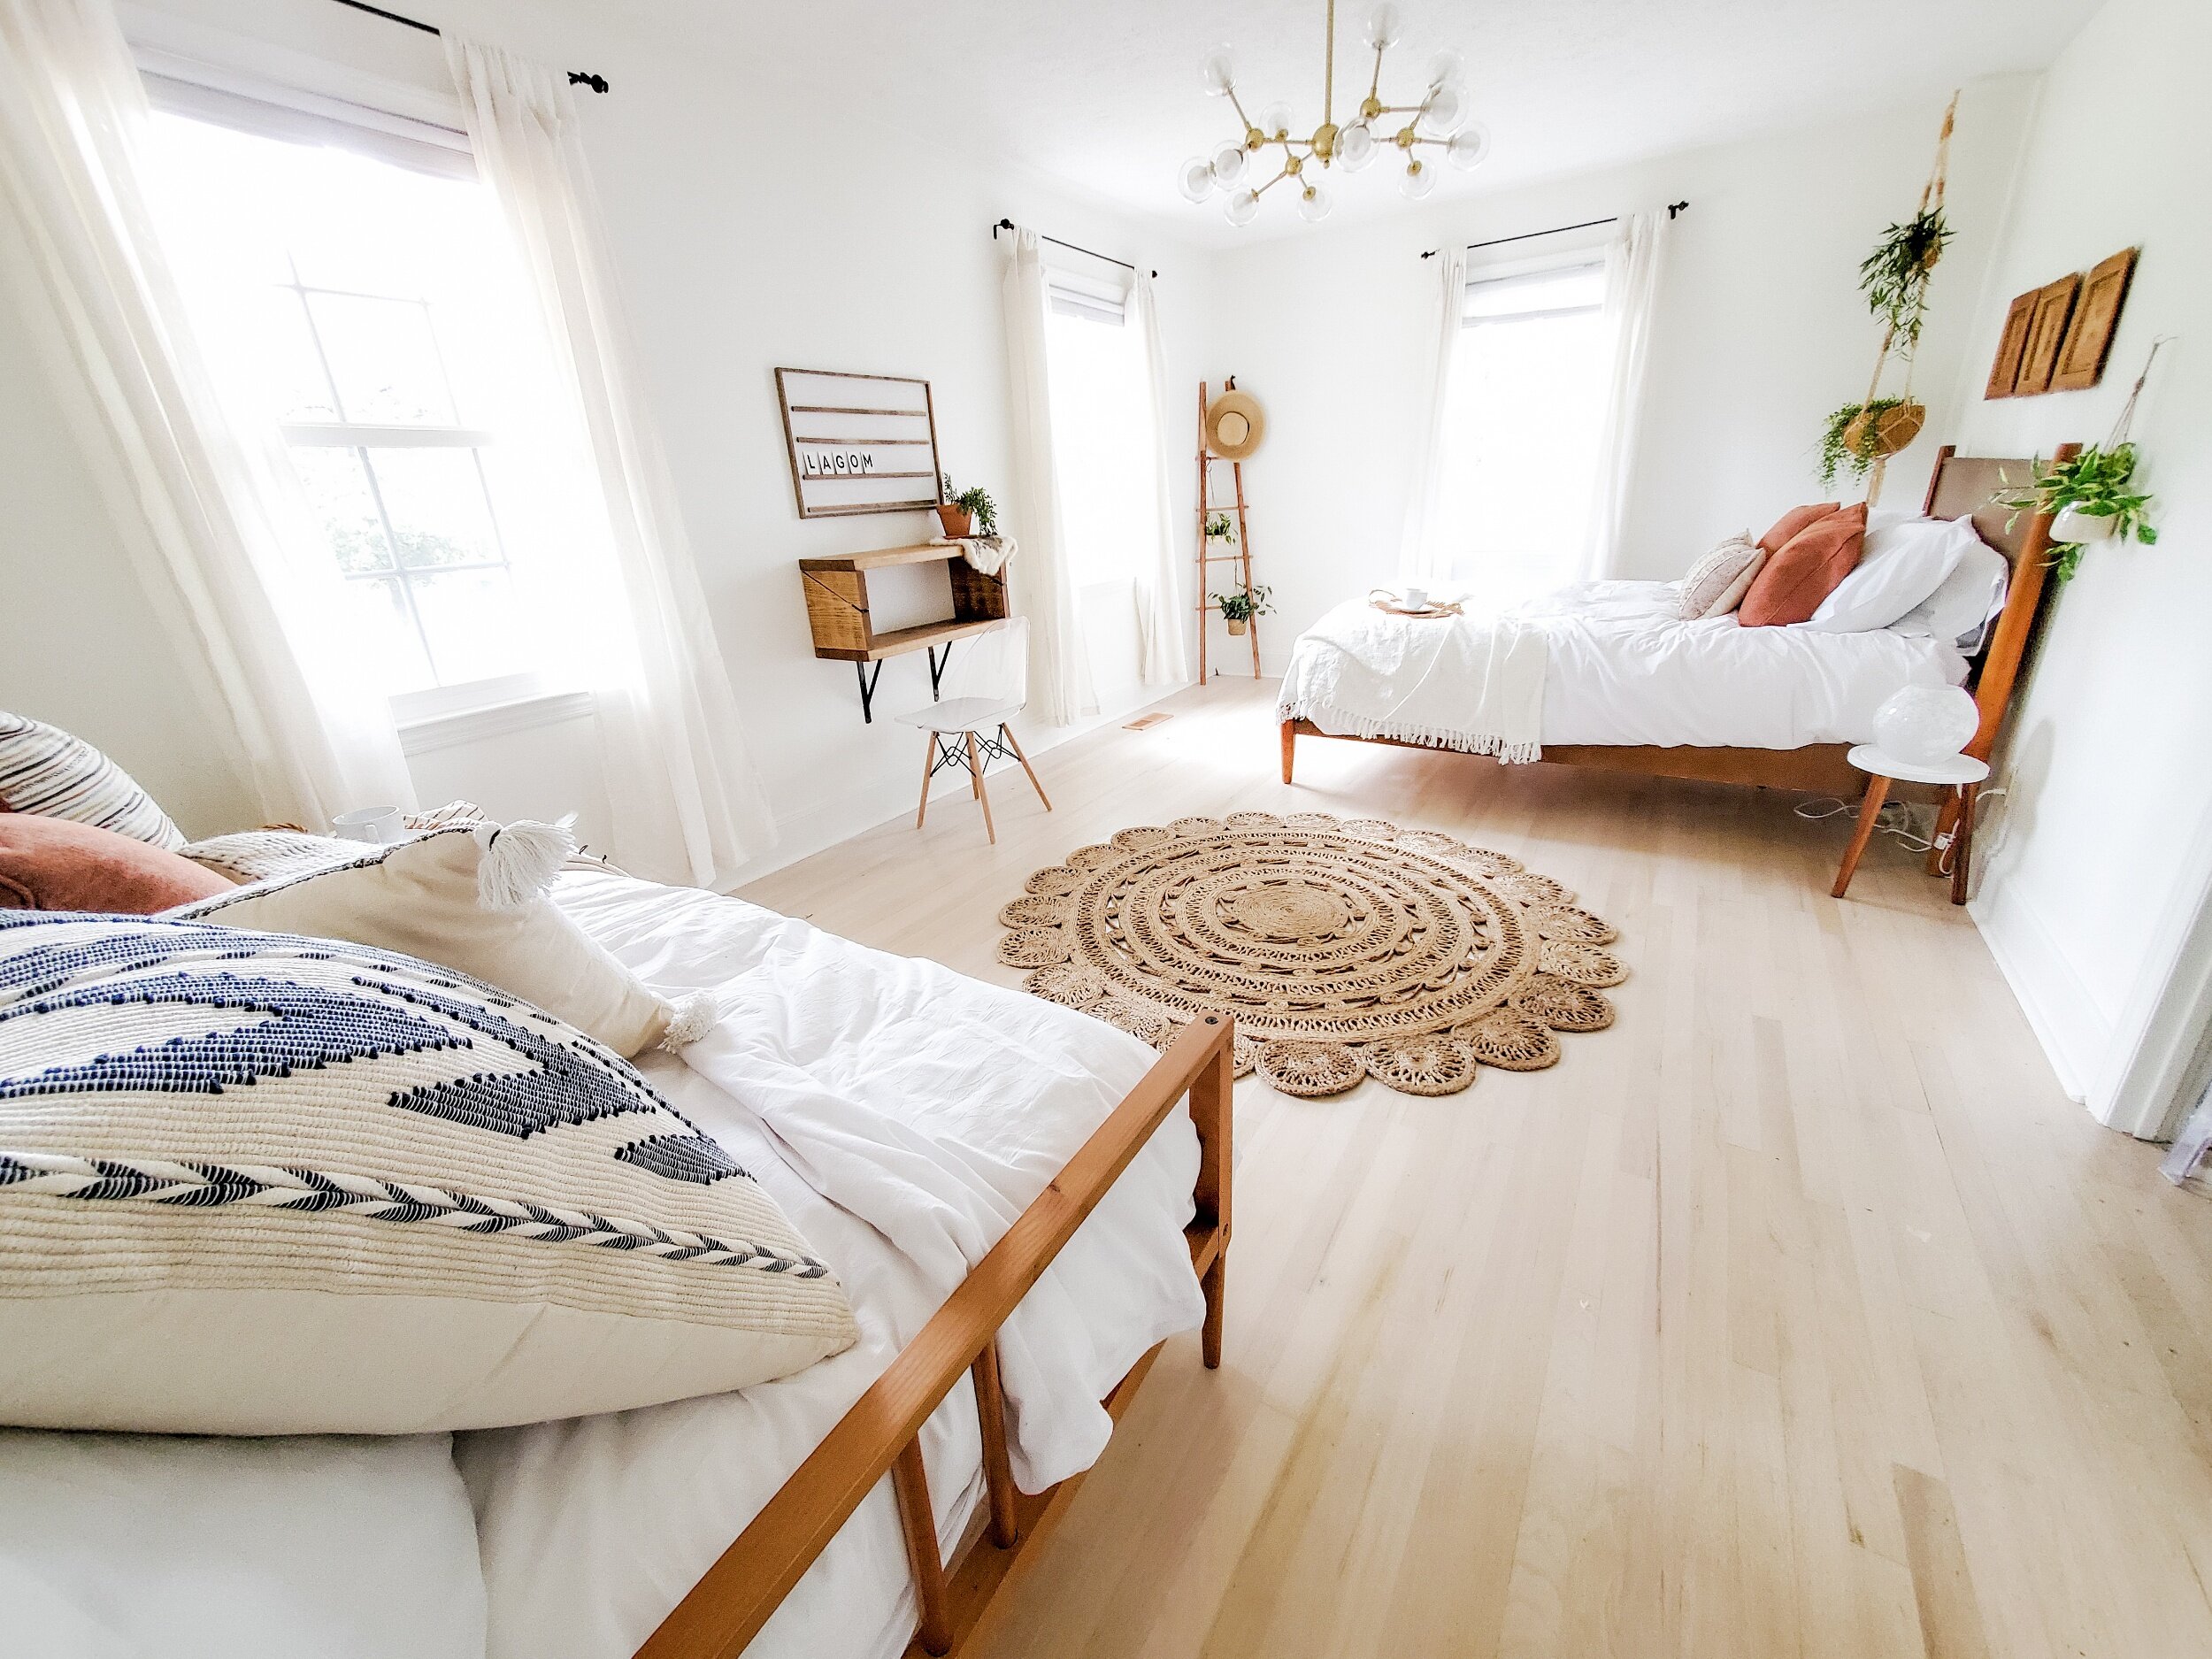
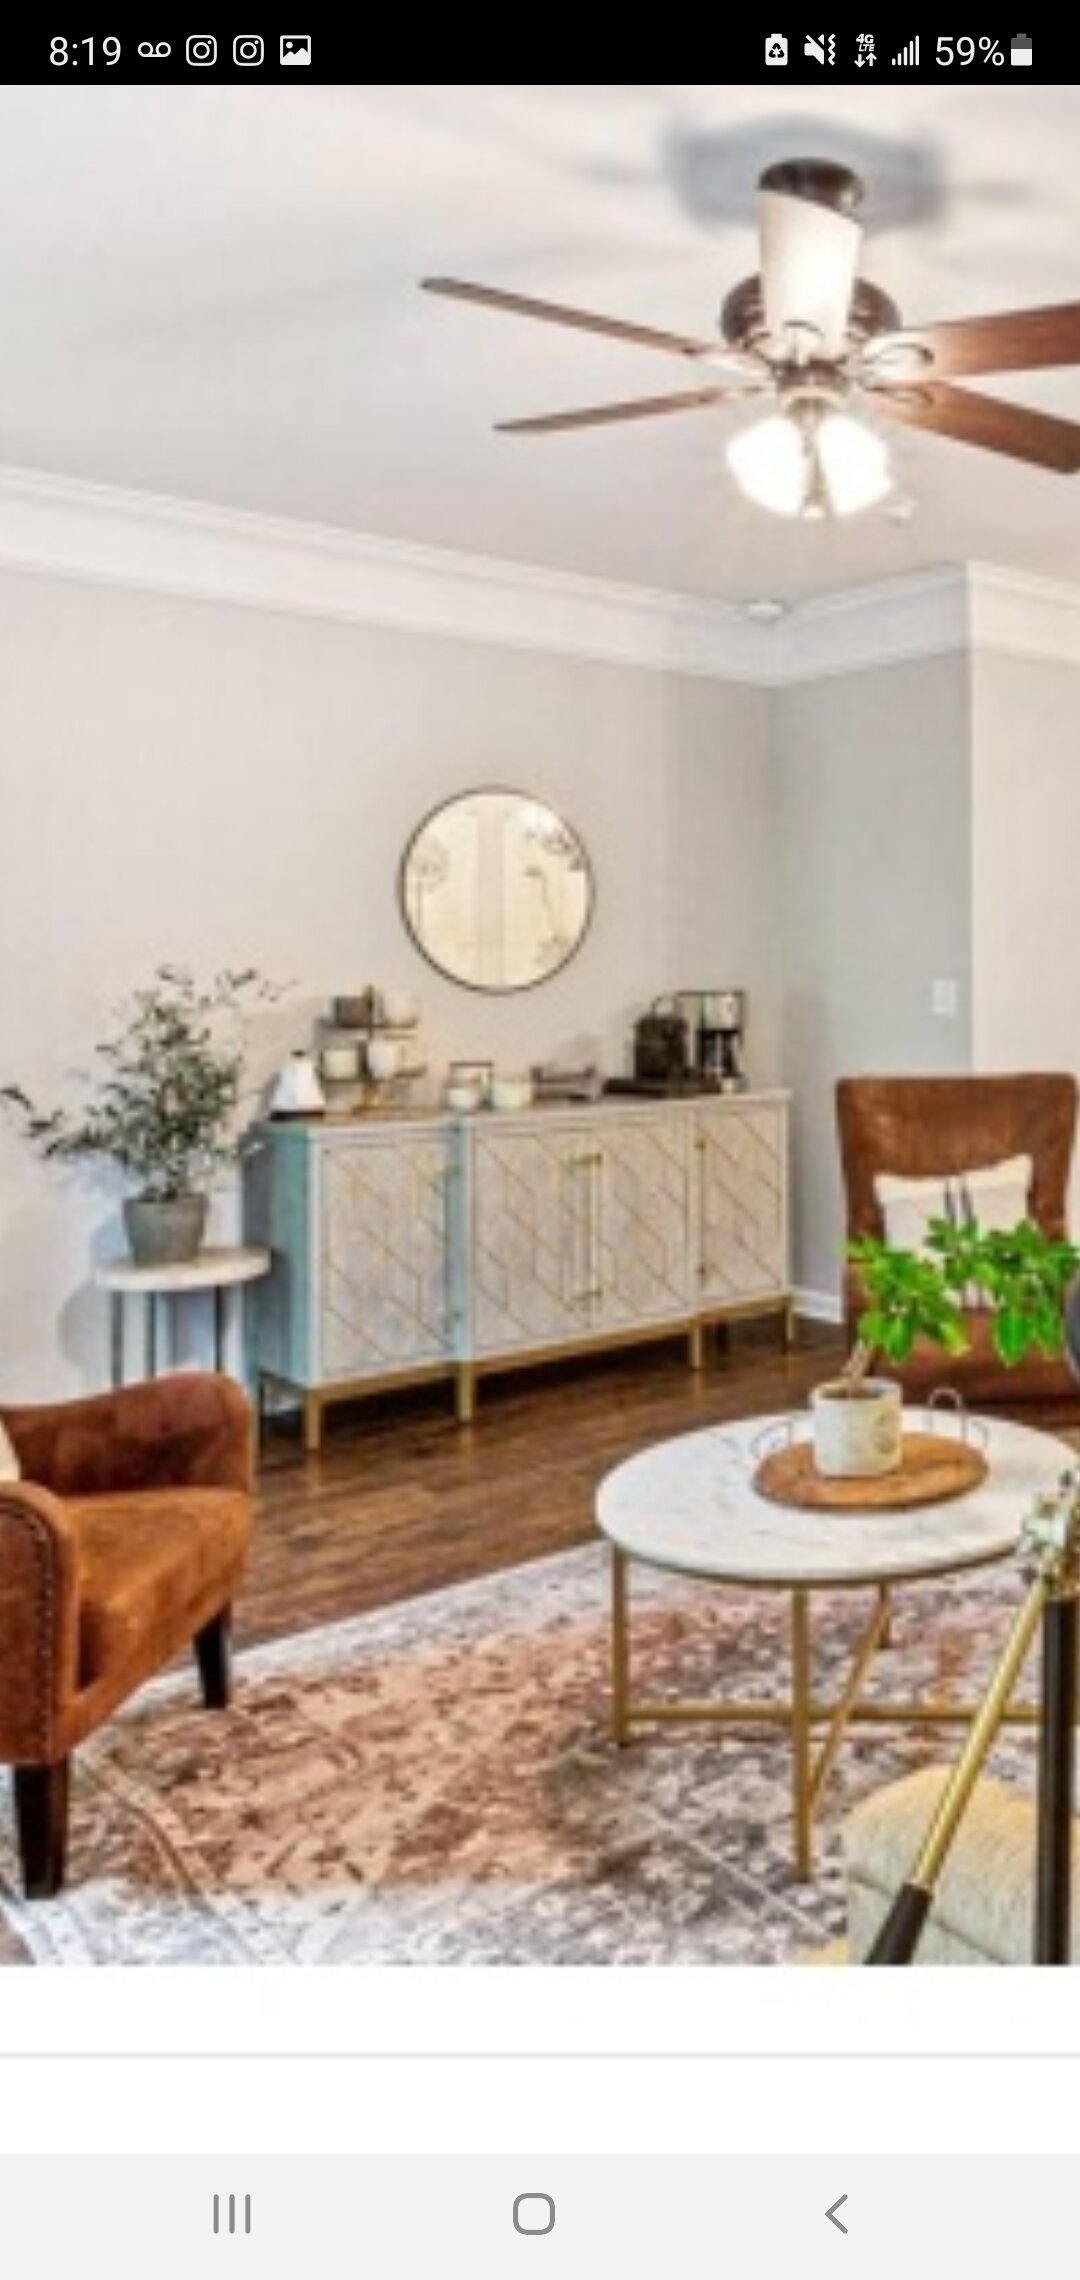
Yippee! Our newest clients are happily settled into their new home and they are in love with Glenville; that is worth celebrating! I have to admit, it makes my heart happy to know that they are pleased with their decision to choose Glenville as their new home. I love the feeling of coming home to a place you love. These clients are amazing and did not waste a minute decorating. They were gracious enough to give me a peek when I popped in with my mom this weekend (only a week after they moved in); they had already made Glenville a beautiful home.
I had to snap some photos quick - their decorating style, which they termed “bohemian farmhouse”, is whimsical and fun; much too cute not to share. Everything seemed to fit perfectly in place. I had to snap a few photos to show off their great design. Forgive the quick photos taken with my phone - they don’t really do the space the justice it deserves :)
Enjoy this Glenville home tour! Make sure you get to the bottom of the photos to enjoy a smile - their very creative bathroom letter board sign!


Super cute, right? We continually have so much fun with our clients; they are all so creative and really enjoy dressing up their homes. Thank you to our Glenville crew for the amazing home tour and sneak peak! More renovation before and after photos coming soon!
“Coming home is one of the most beautiful things. ”
- Casey

GLENVILLE RENOVATIONS - THE KITCHEN
How to maximize the space of your galley kitchen
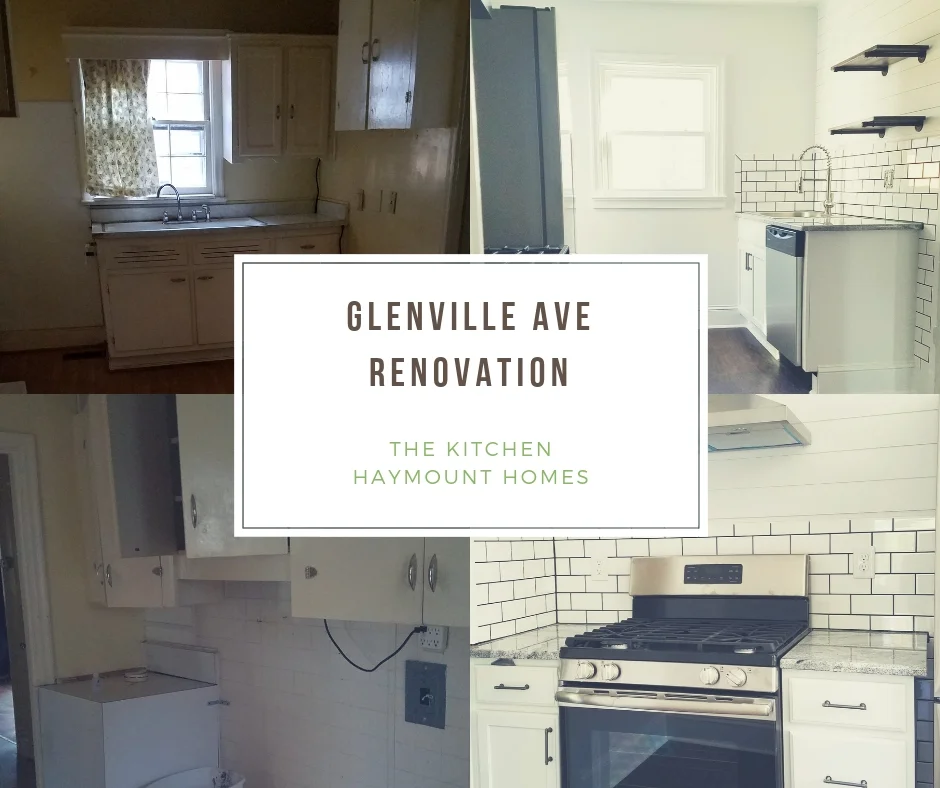
Welcome to the kitchen renovation for Glenville!
This kitchen was a pretty big mess. We had a fuse box from 1941 complete with cylindrical circuits that I had never seen before, a water heater in the corner (typical of this era of home to have the water heater in the kitchen because it is next to the plumbing), and plenty of outdated everything. This kitchen lacked appliances and the layout was awkward. The floor doesn’t look that bad in the photos, but it was sheet vinyl and it had holes throughout. Long story short, this kitchen needed help!
We also wanted to work to optimize the space, so we decided to move this layout to a galley style kitchen. Sometimes galley kitchens can feel tight, so we made decisions that would help reduce that feeling and still make the kitchen functional. More on that throughout the post.
The nuts and bolts to work on:
Trim and Wall Repair
Floor Replacement
Cabinets and Countertops
Door Fixing
Removal of debris
Appliances
Relocation of the Water Heater (it was in the kitchen - we moved it to open up space in the kitchen for cabinets; this is typical of the 1940’s homes)
Replaced all windows
Replaced sheet vinyl flooring in the laundry room with luxury vinyl tile
Ceiling repair and paint
Light Fixture replacement
New sink and faucet
Relocation of the sink for improved layout
Addition of a dishwasher
Gas conversion
Wiring Update and removal of outdated panel box
Paint, paint, and paint!
The final product was clean and simple. We used Sherwin Williams Extra White in eggshell which is one of my favorite crisp whites . It is pretty neutral white and doesn’t read as warm yellow or too cool. Also, it looked good against the subway tile from Home Depot. The trim is nearly Sherwin Williams Extra White in a semi-gloss. The kitchen flooring is by Shaw Matrix in Franklin Hickory.
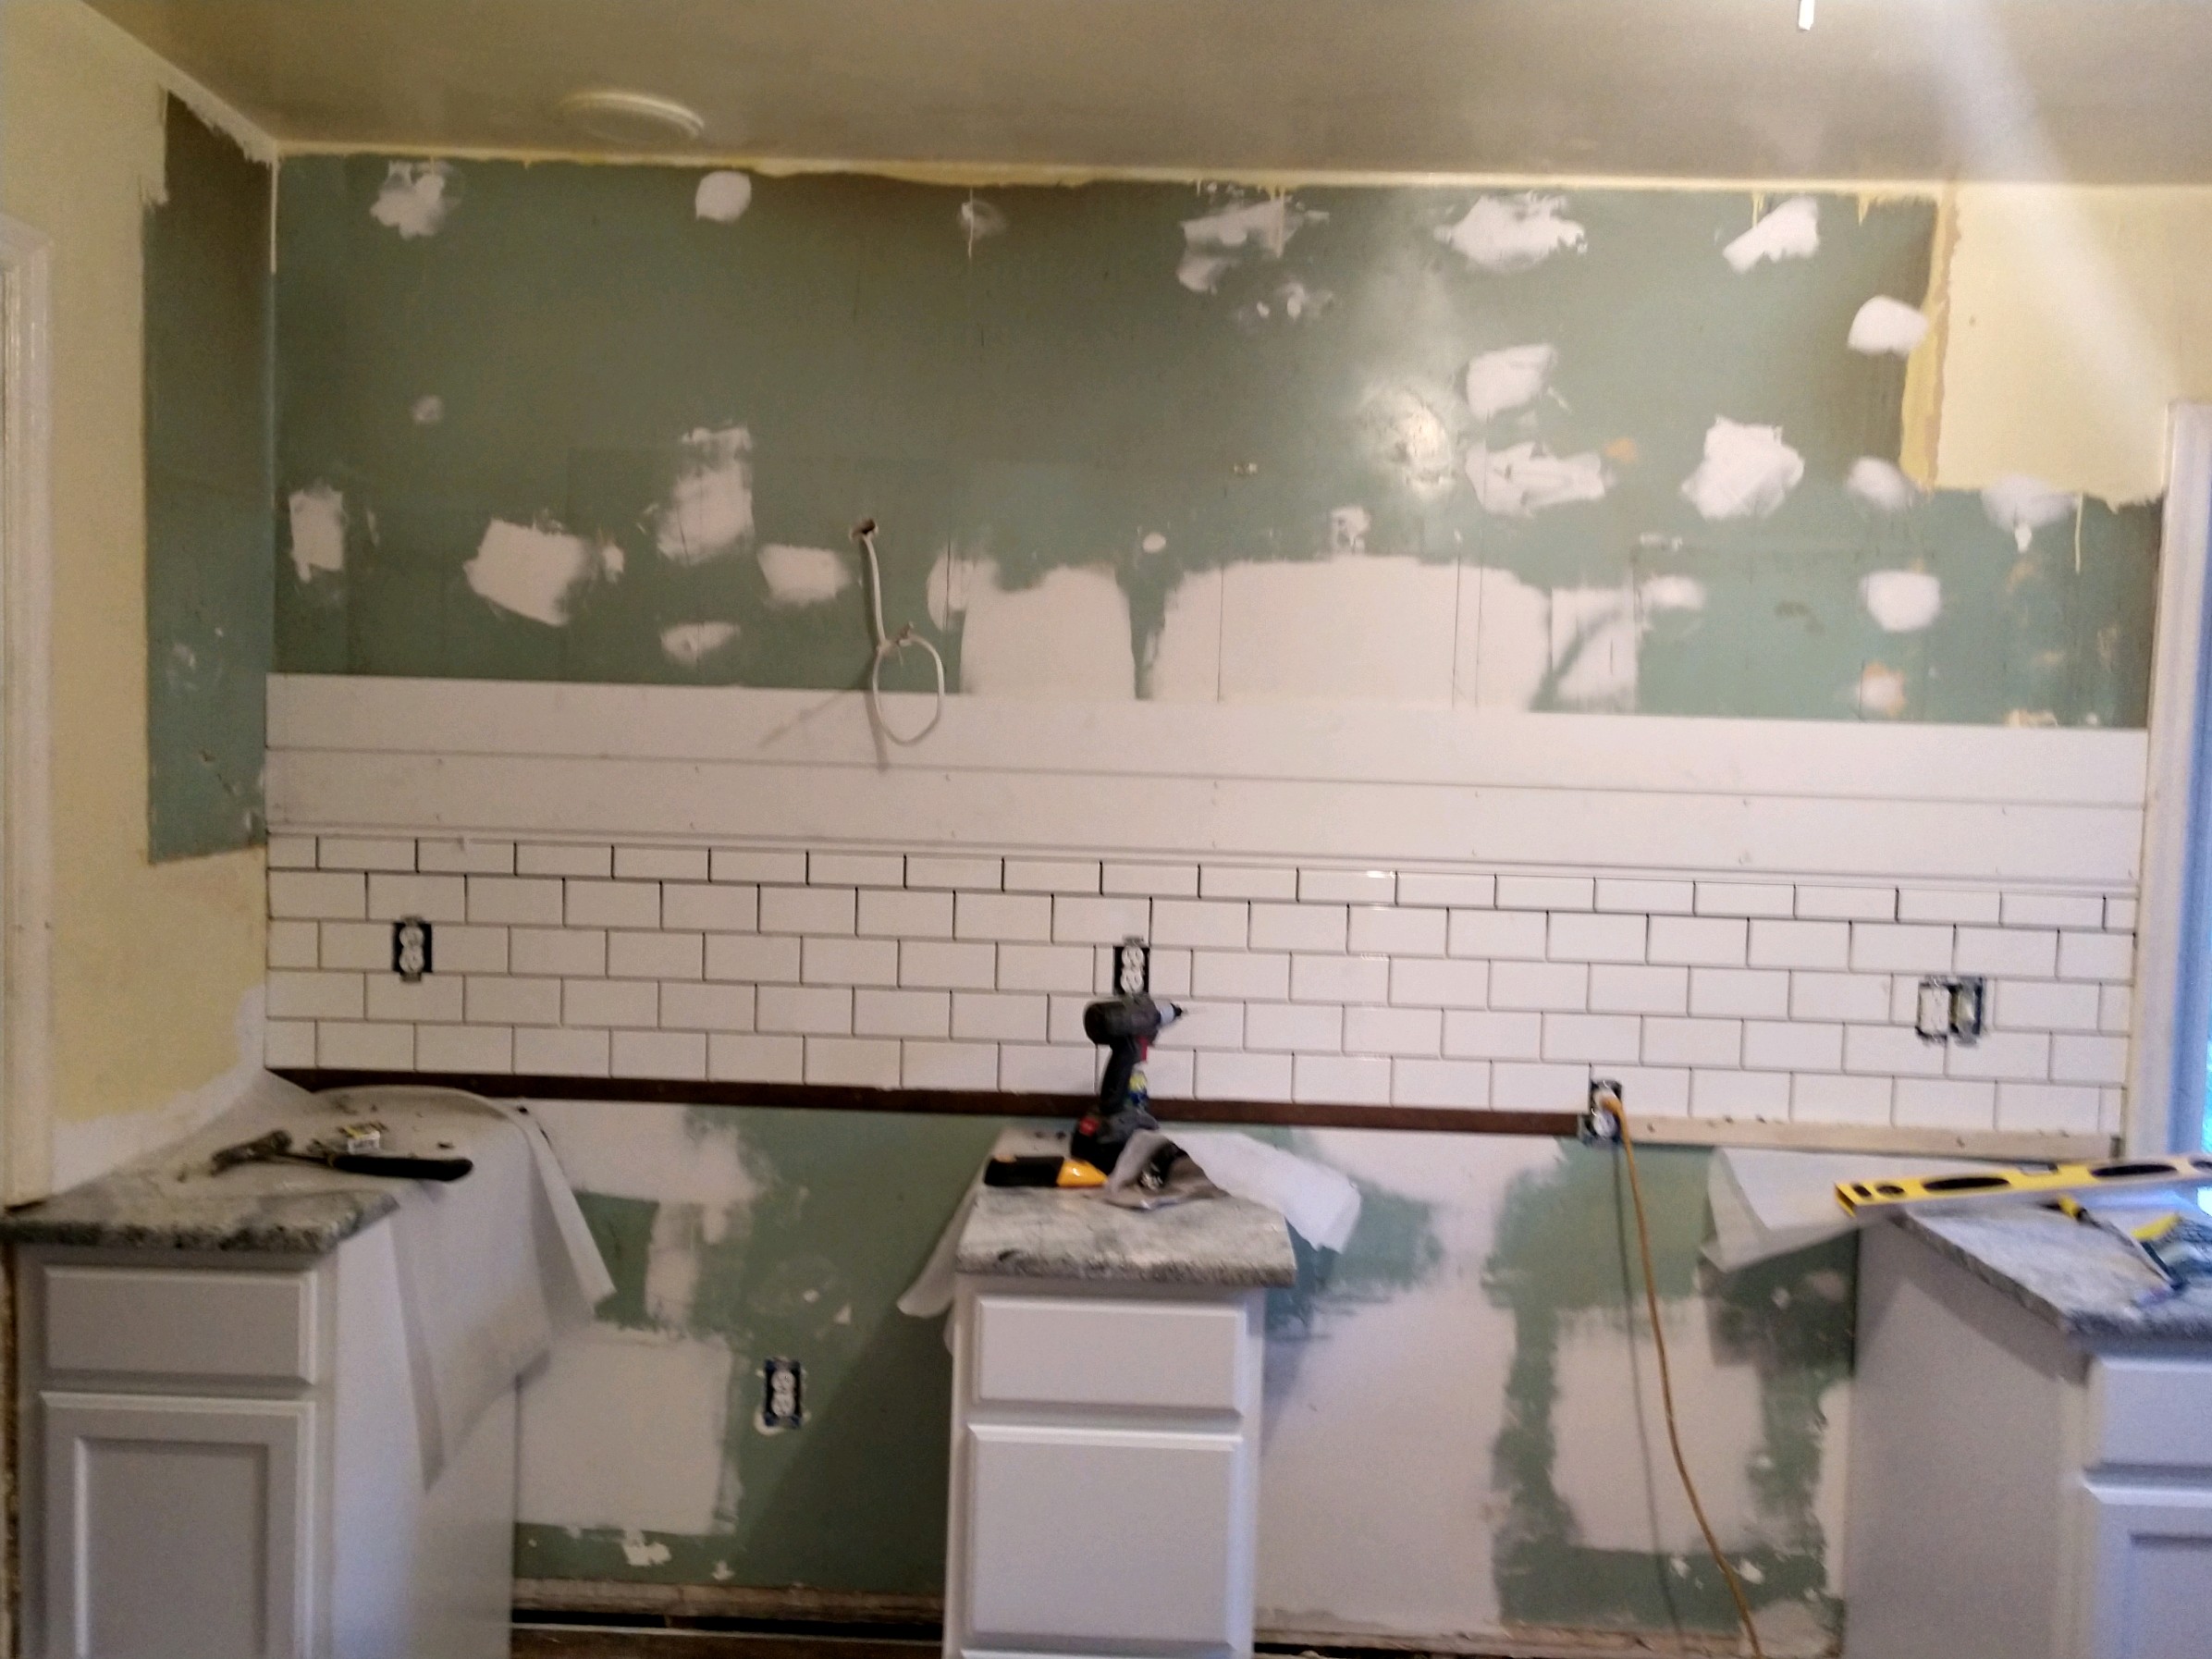
There are a lot of repair work that had to happen first, as well as plenty of problems to solve. Once we got things removed it became a game of how to repair all the different holes in the wall. Our contractor had to get pretty creative with some of the repairs as old plaster walls are not as easy to work with as sheetrock!
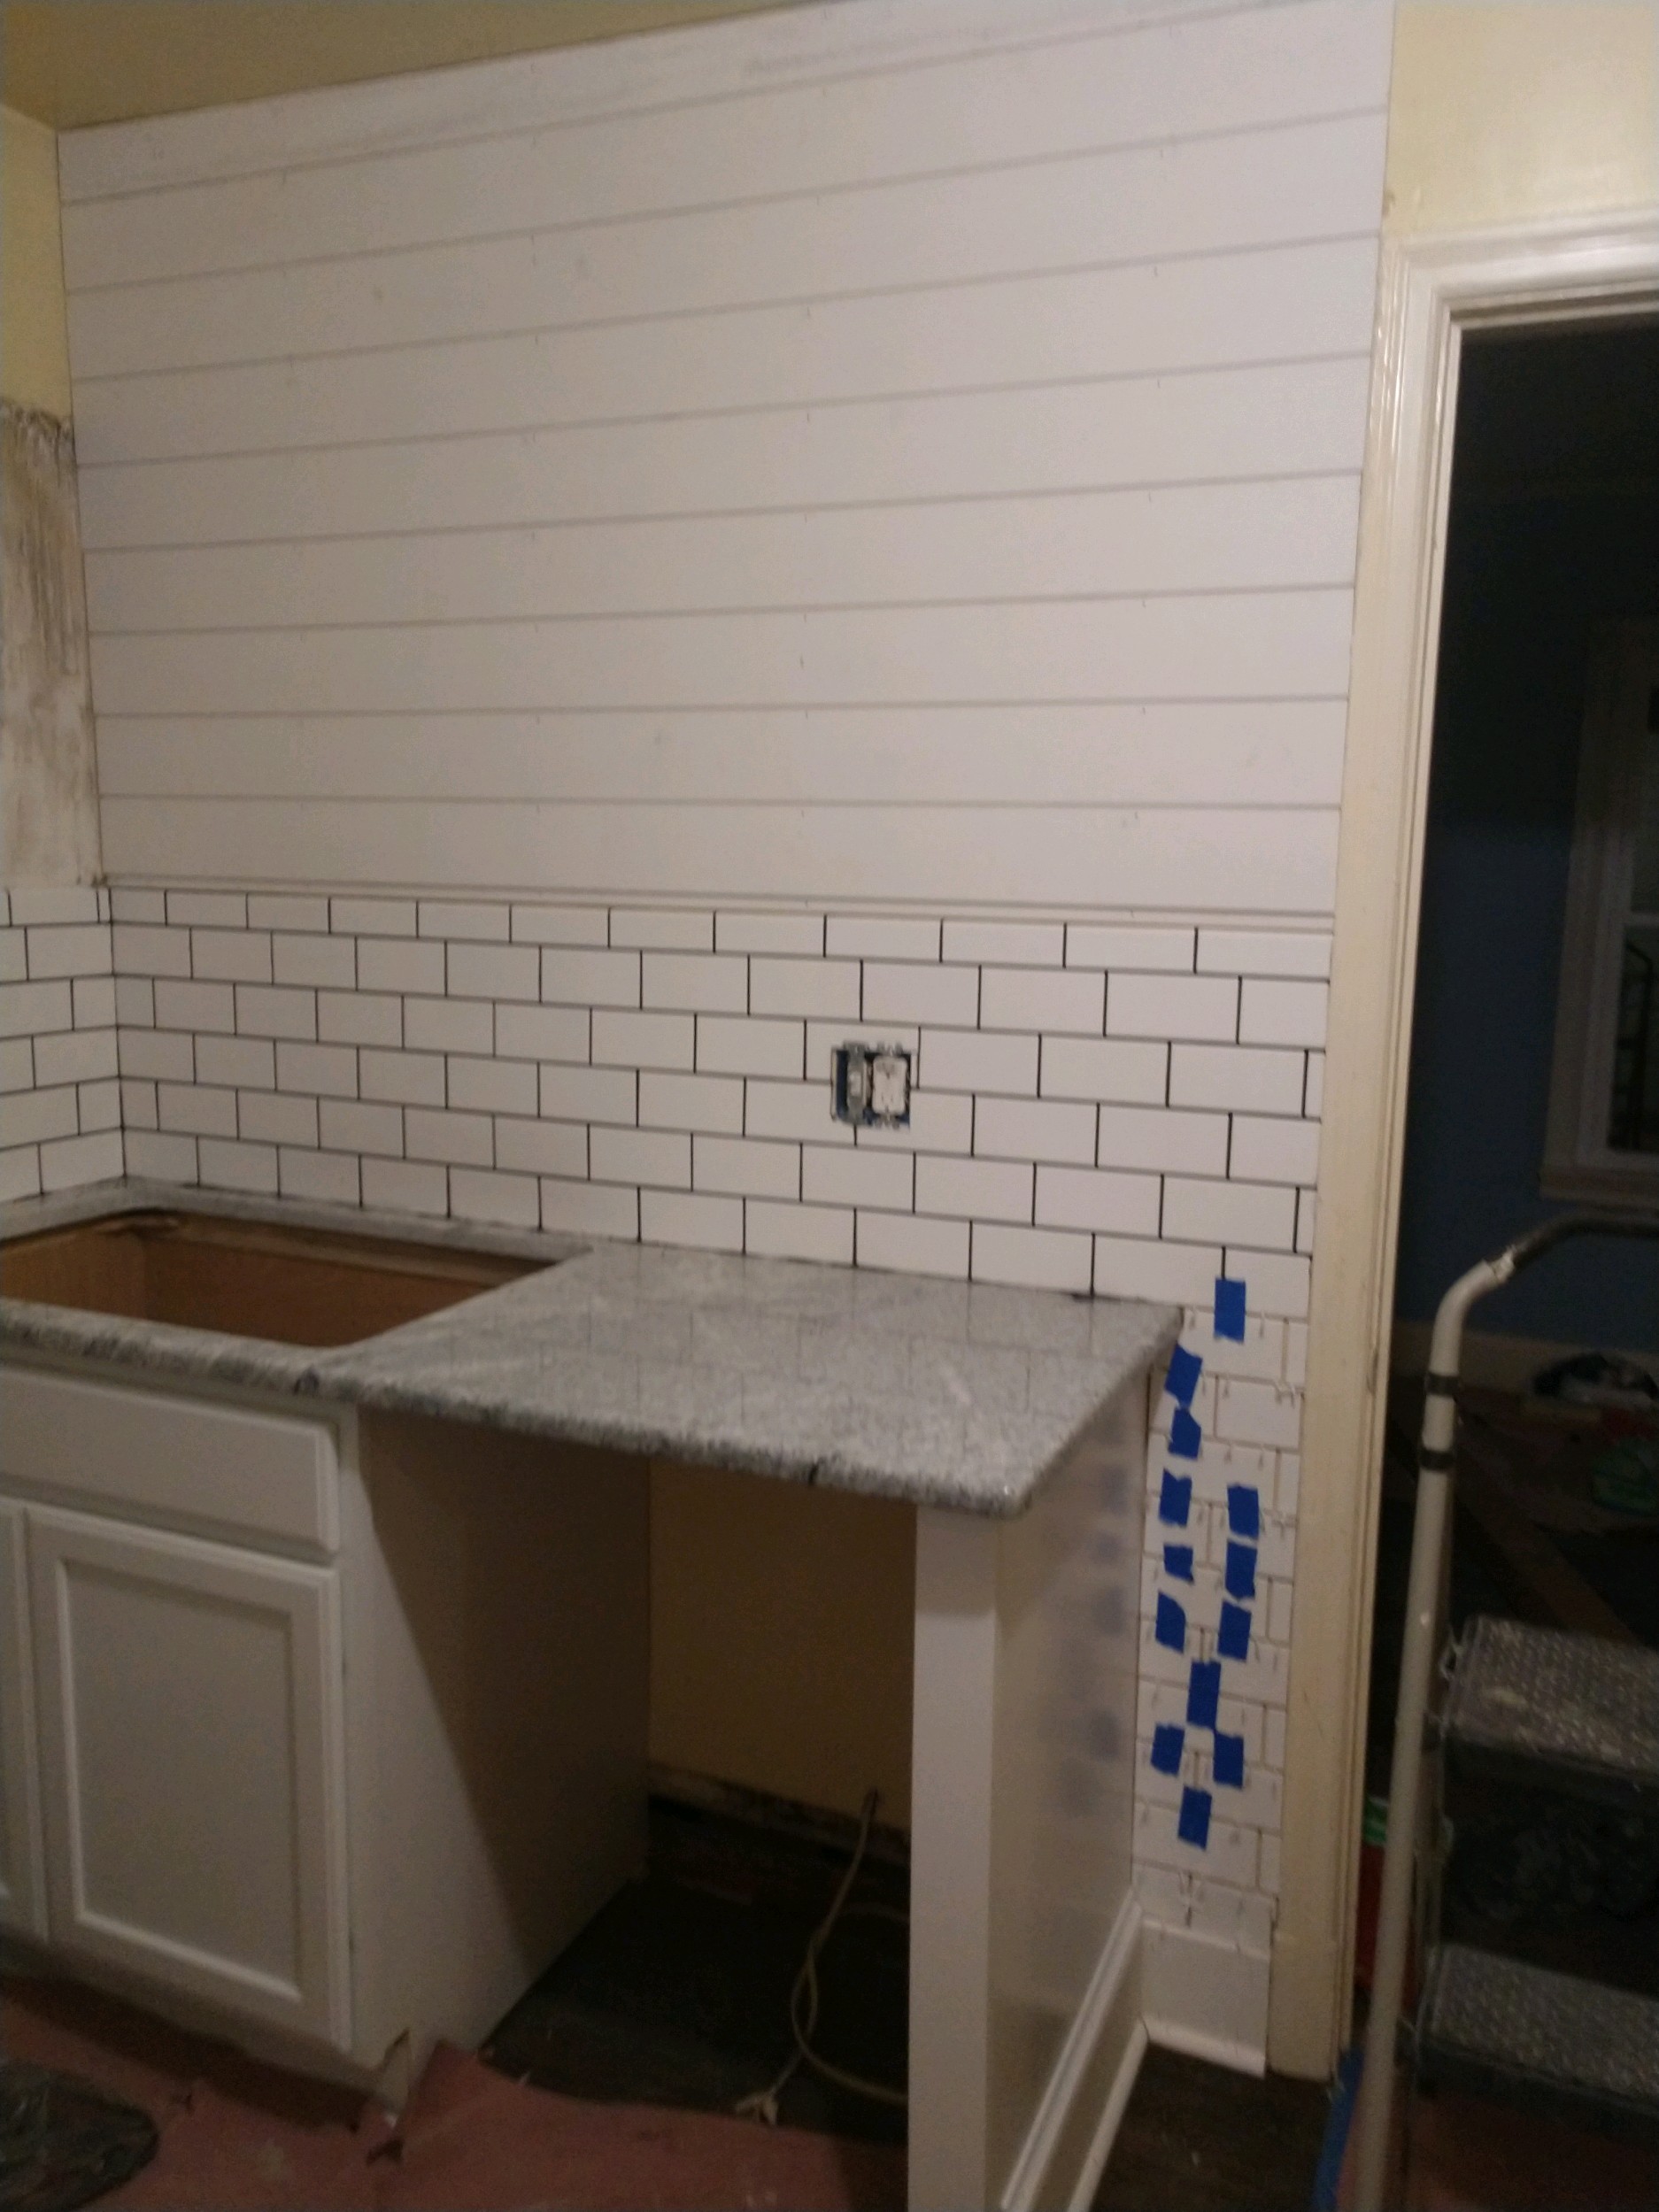
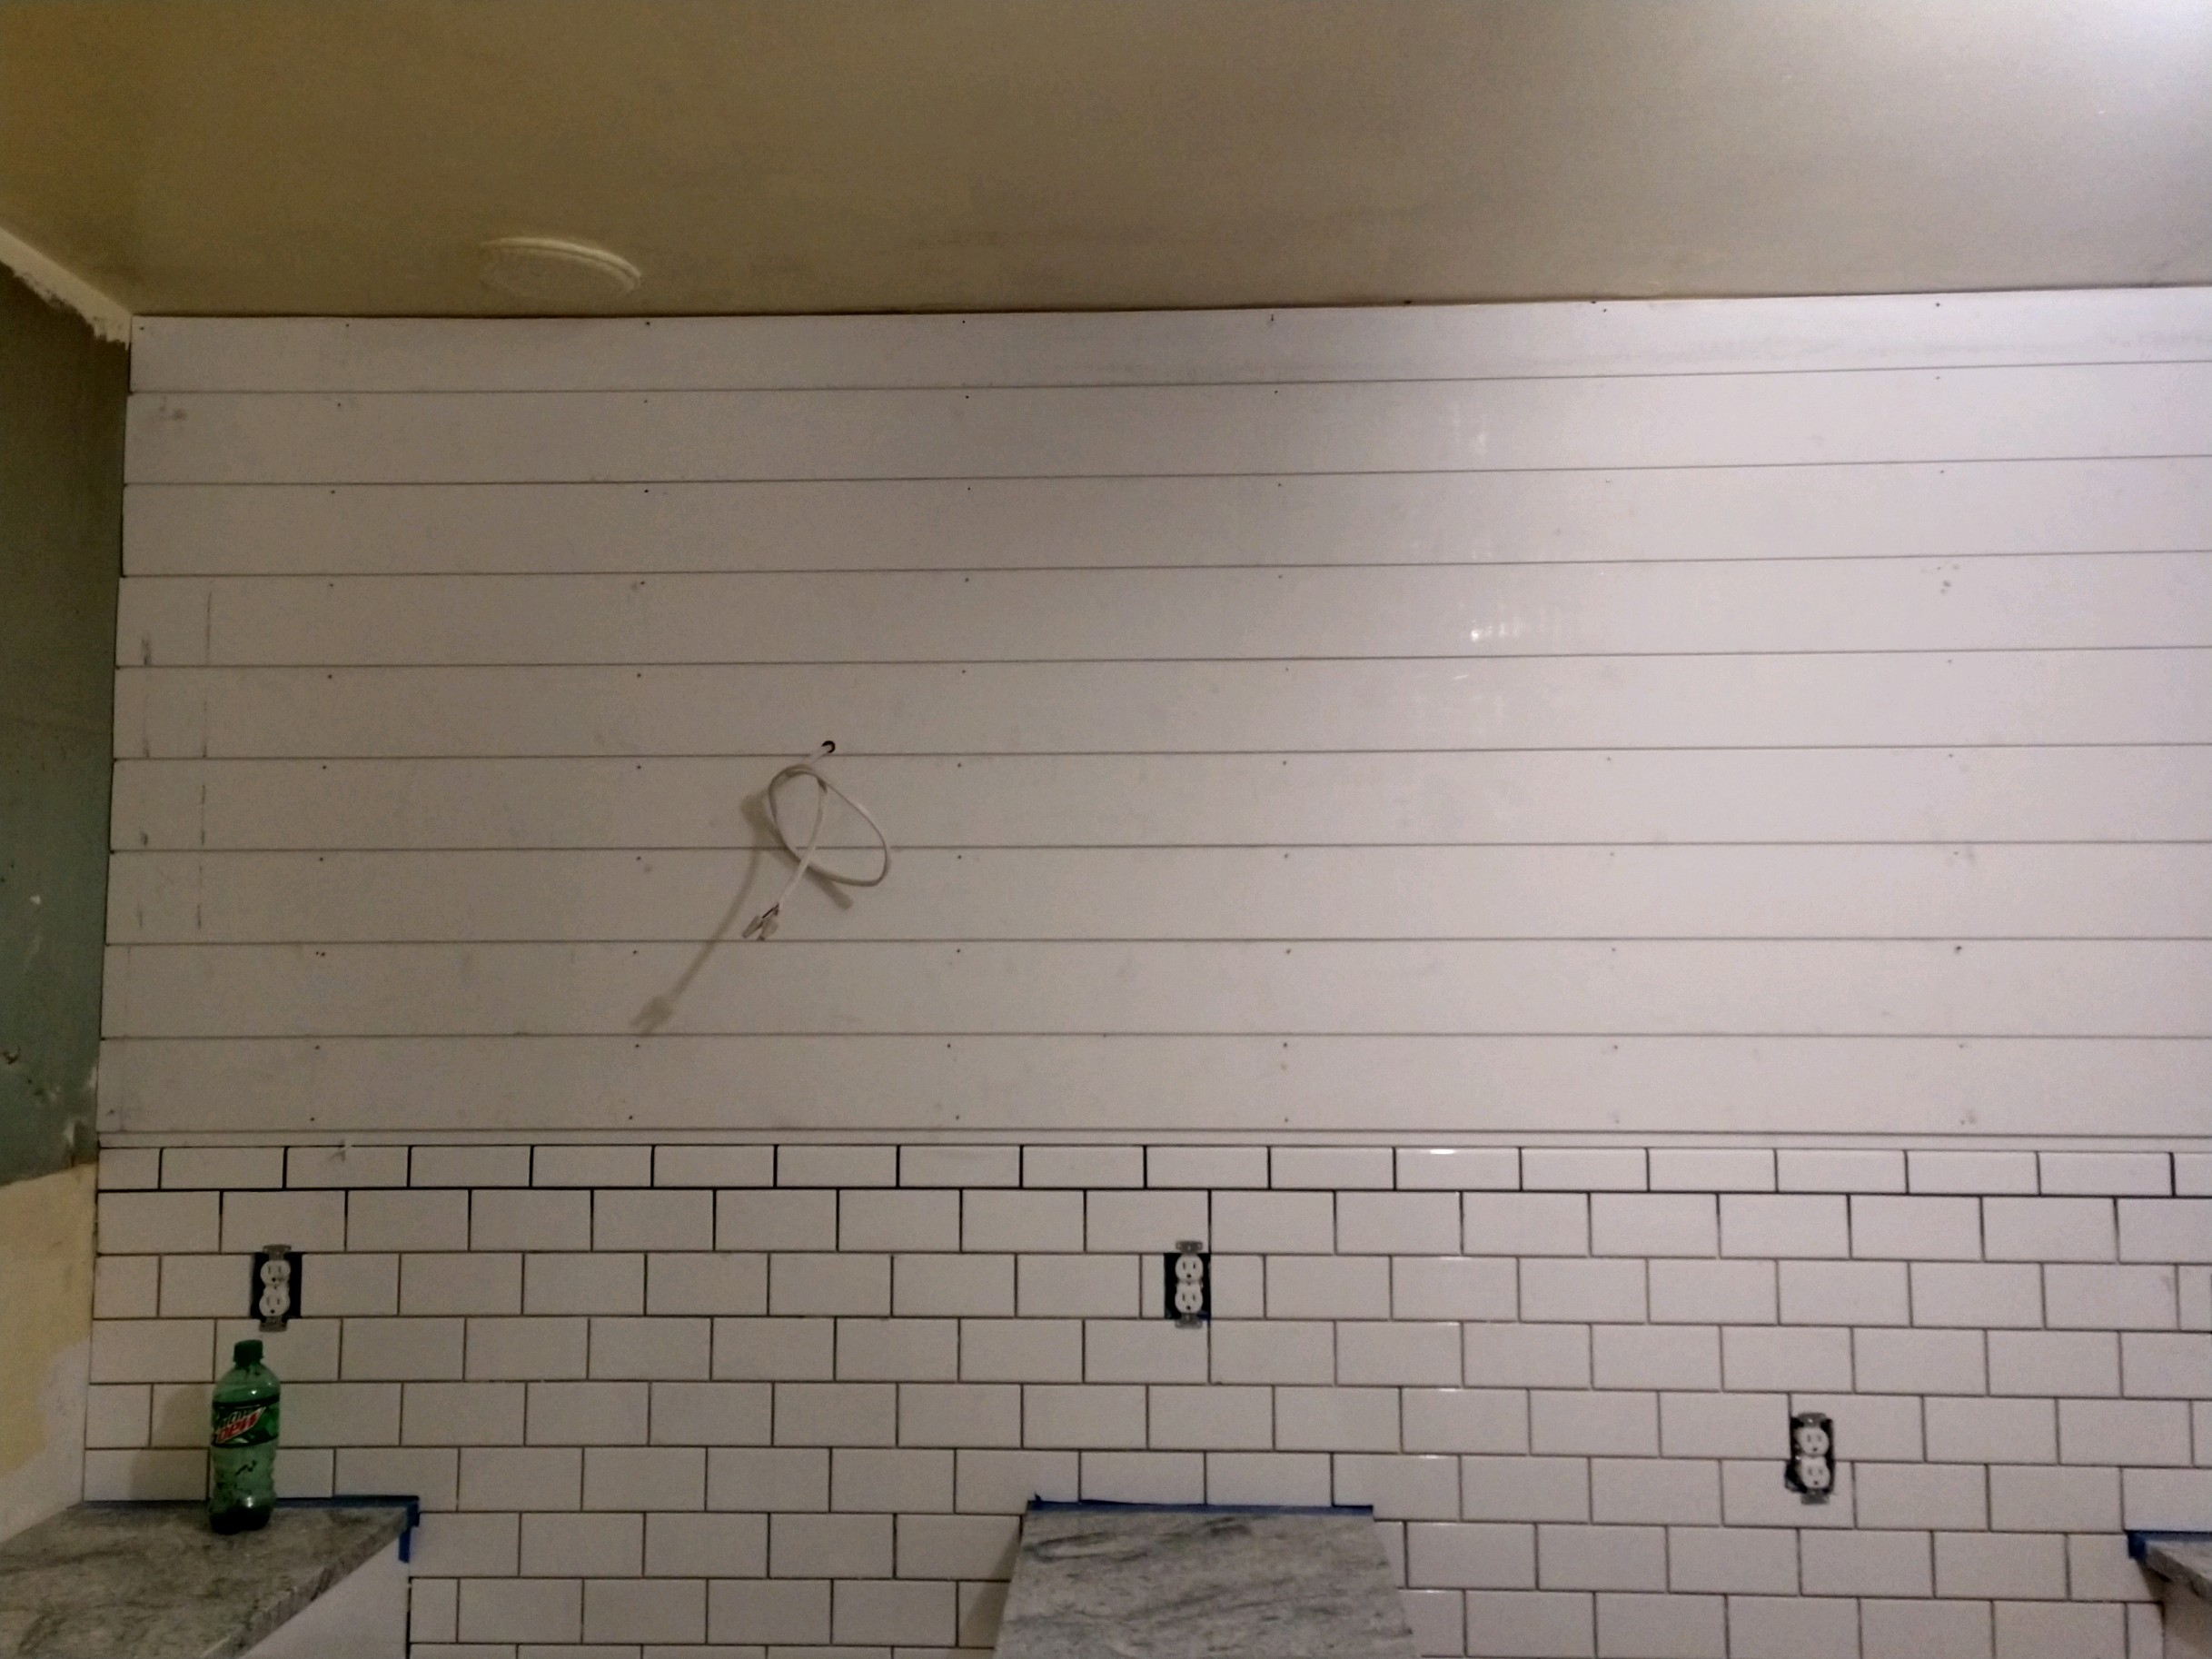
We debated doing a wall of subway tile as the backsplash, simply because we love the vintage look of that. However, we had already done so much tile in the bathroom, we felt that it might be time to add some visual and textural interest in the kitchen. Thus, we went with the shiplap and subway tile combination; we think that the end result was great. We chose Charcoal grout to really accentuate the subway tile and provide contrast to the shiplap. The shiplap was painted in Sherwin Williams Extra White and we used Primed Pine Nickel Gap Ship Lap Board from Home Depot. The subway tile we chose was also from Home Depot and it was by Daltile in Finesse Bright White.
The photo tour that follows does pretty much walk you through the process. If you have questions about anything specific, please ask!


The new flooring has gone in and the sink and base cabinet were removed. That exposed a giant hole in the wall!

Once the backer board was removed from the other wall, we had a wall with scattered holes throughout! Surprise lol :(


An ancient fuse box was present and had to be shut off and removed.

Walls repaired and cabinets arrived!


Granite counters for beauty, texture, and durability.

We ended up subway tiling to the floor simply because the finished product looks better and is more durable. This does cost more but the quality in the final product is worth the additional cost in our opinion.

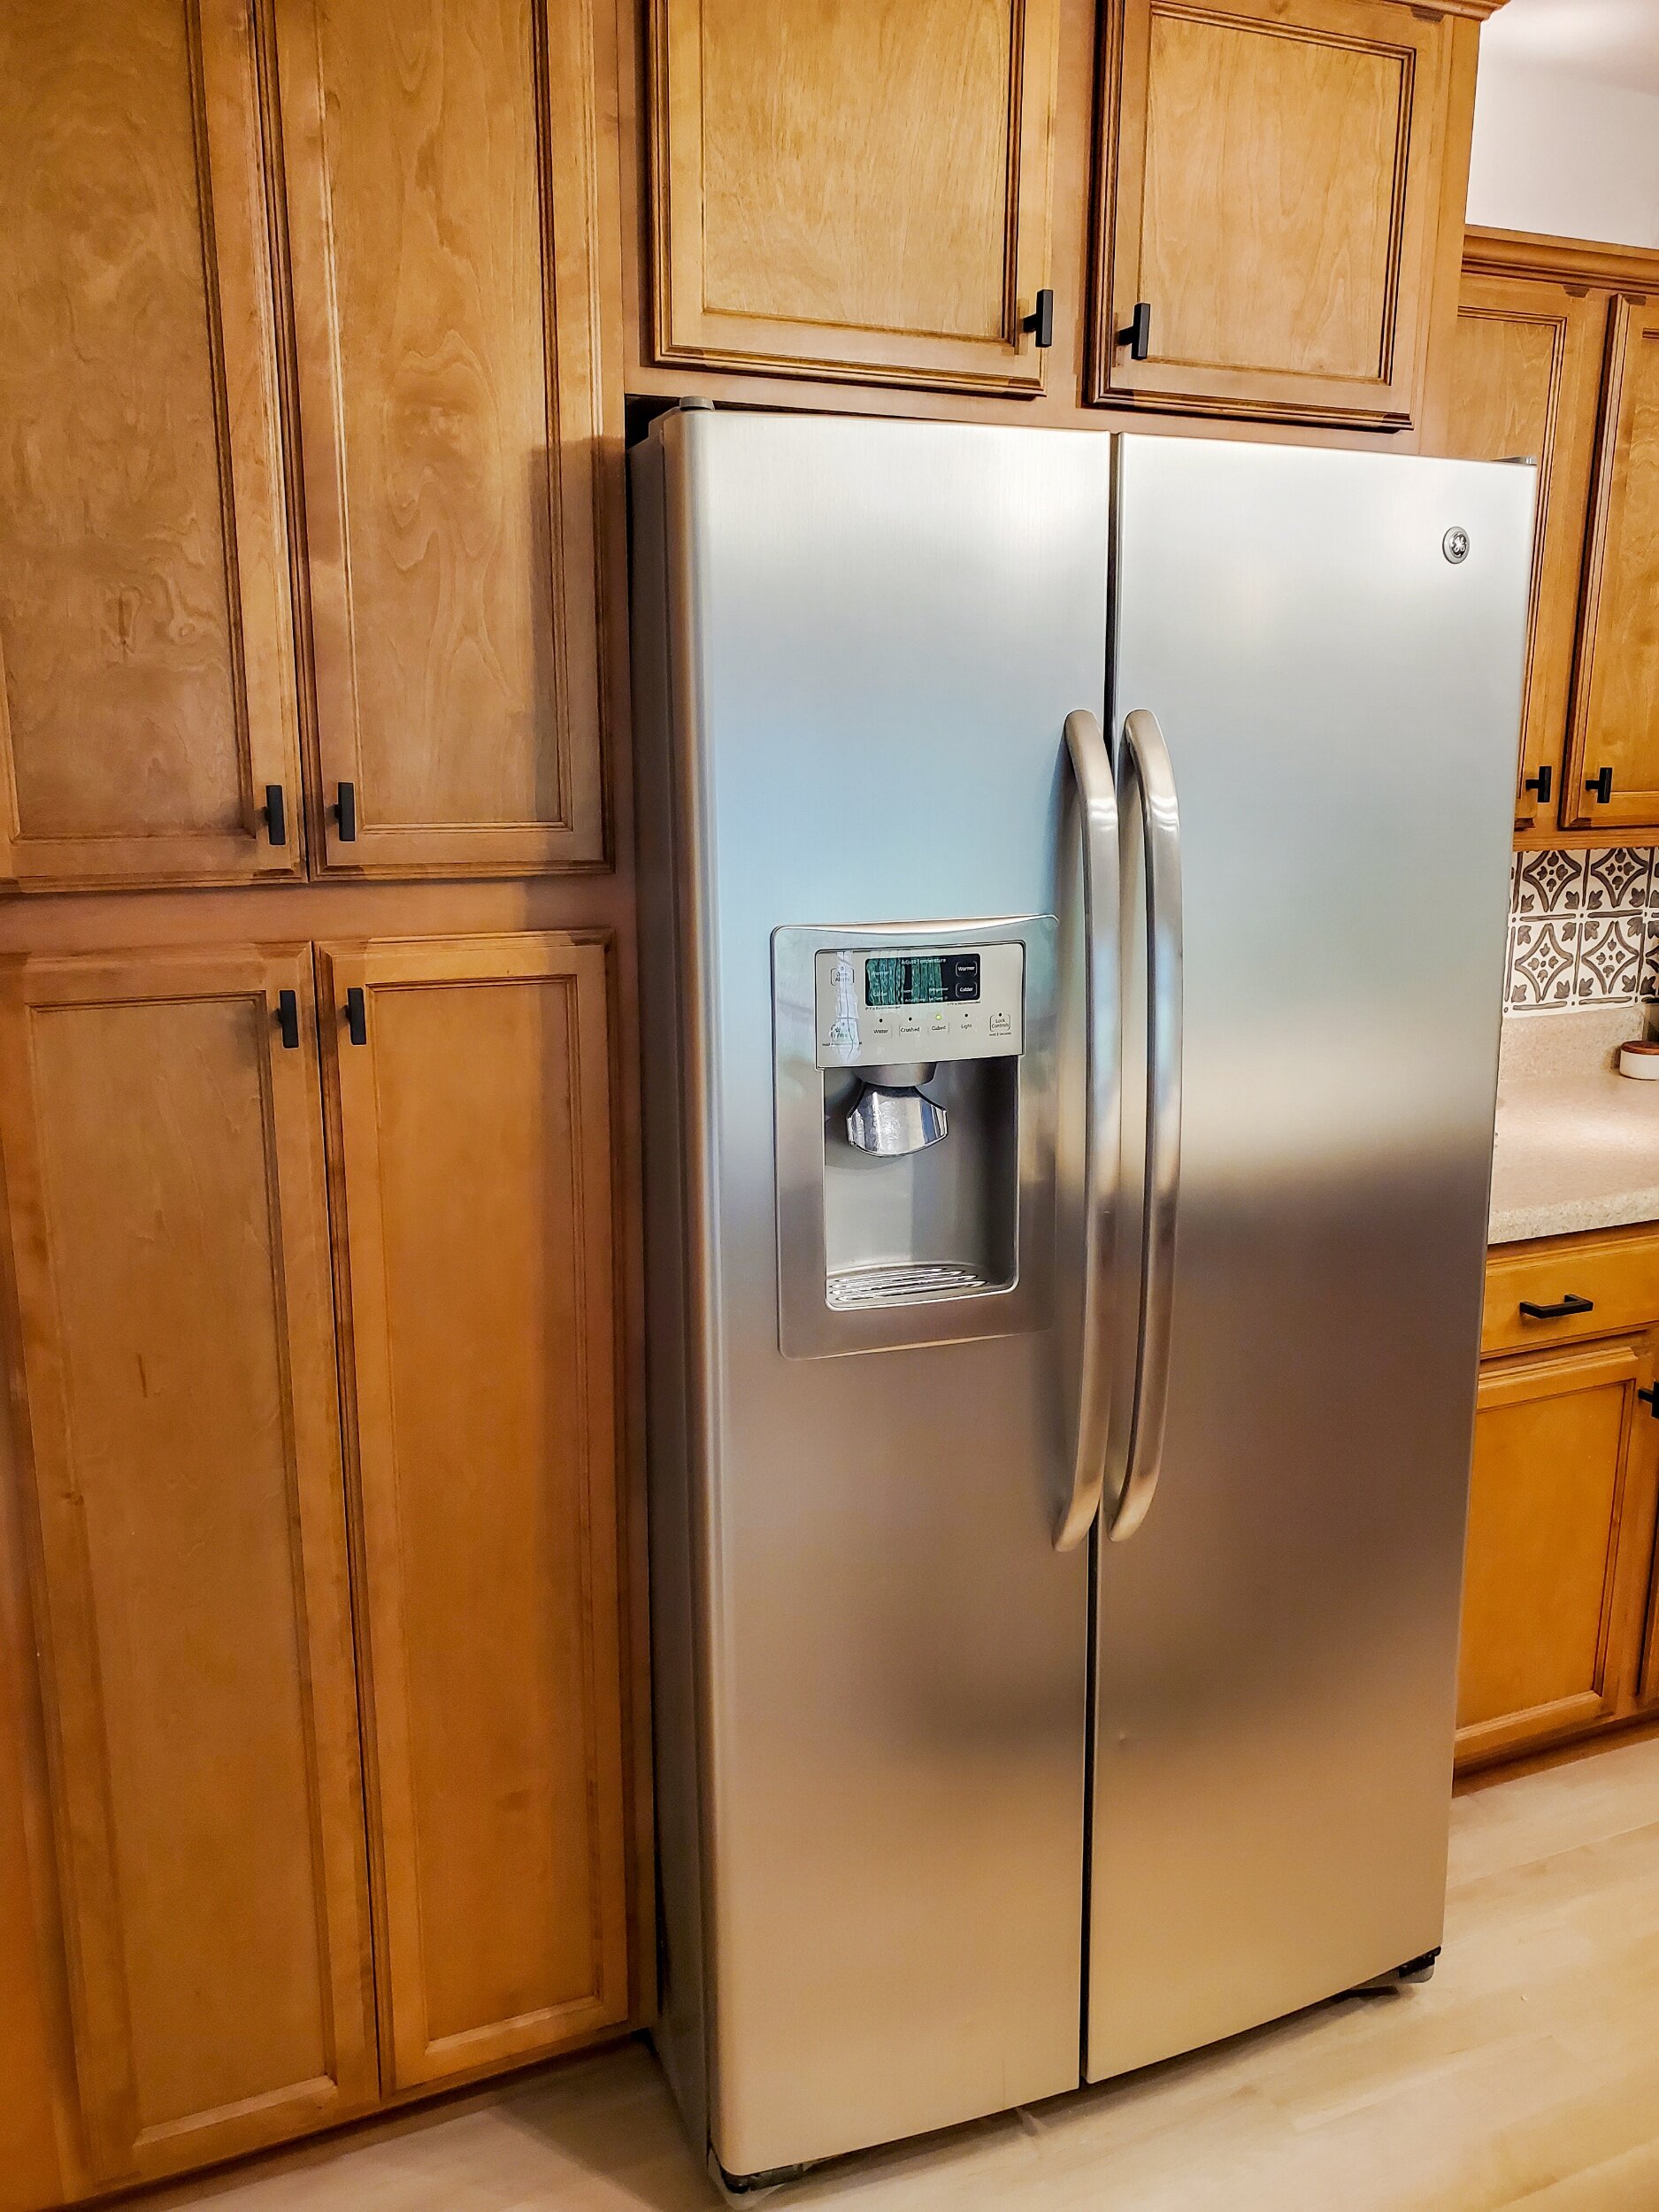
To optimize space in a galley kitchen, we chose a counter depth refrigerator. Again, this typically does increase the cost of the appliance, but the end result is more floor space to work with and a more seamless presentation for the kitchen. In our opinion, money well spent.
The vent hood was a lovely addition to this kitchen. It brought it up a notch and also helped break up the shiplap wall behind it. Our electrician was pleased with the ease of install and it had a self venting option, meaning you did not have to vent it to the attic and out of the house. That is a win for time and money.
We chose the 30 in. Convertible Wall Mount Range Hood in Stainless Steel with Aluminum Mesh Filters LED lights, Push Button Control and the self venting filters: Range Hood Carbon/Charcoal Filters for Ductless/Ventless Recirculating Installation and Replacement

Another way we improved the functionality of the space is that we added overhang to the countertop granite. Giving the counter an extra 1.5” inch of space off the cabinet, gives just a bit more counter space in an already tight galley kitchen. Even better, it did not cost anything extra since you already buy the granite for the square footage of the project. It is a marginal change and doesn’t increase the cost.
This kitchen is small, and that allowed us additional savings on the granite. We were able to choose a remnant piece of stone since we did not have a great deal of counter space. This saved us on the cost per square foot. Finally, we also paid in cash, which gave us an additional discount. All we did was ask if they could discount it further for cash, and they were able to because it saved them the credit card processing fees. In a renovation, any little savings helps!
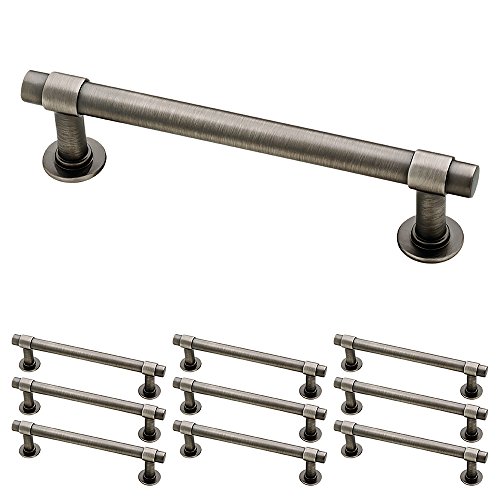
Speaking of savings, let’s talk hardware. We have found Amazon to be an excellent source for cabinet hardware. They offer great savings, even compared to Lowes or Home Depot. We chose Heirloom Silver Francisco Kitchen by Franklin Brass for hardware because we’d used it at the Pearl House and we loved the result.
You can find that here:

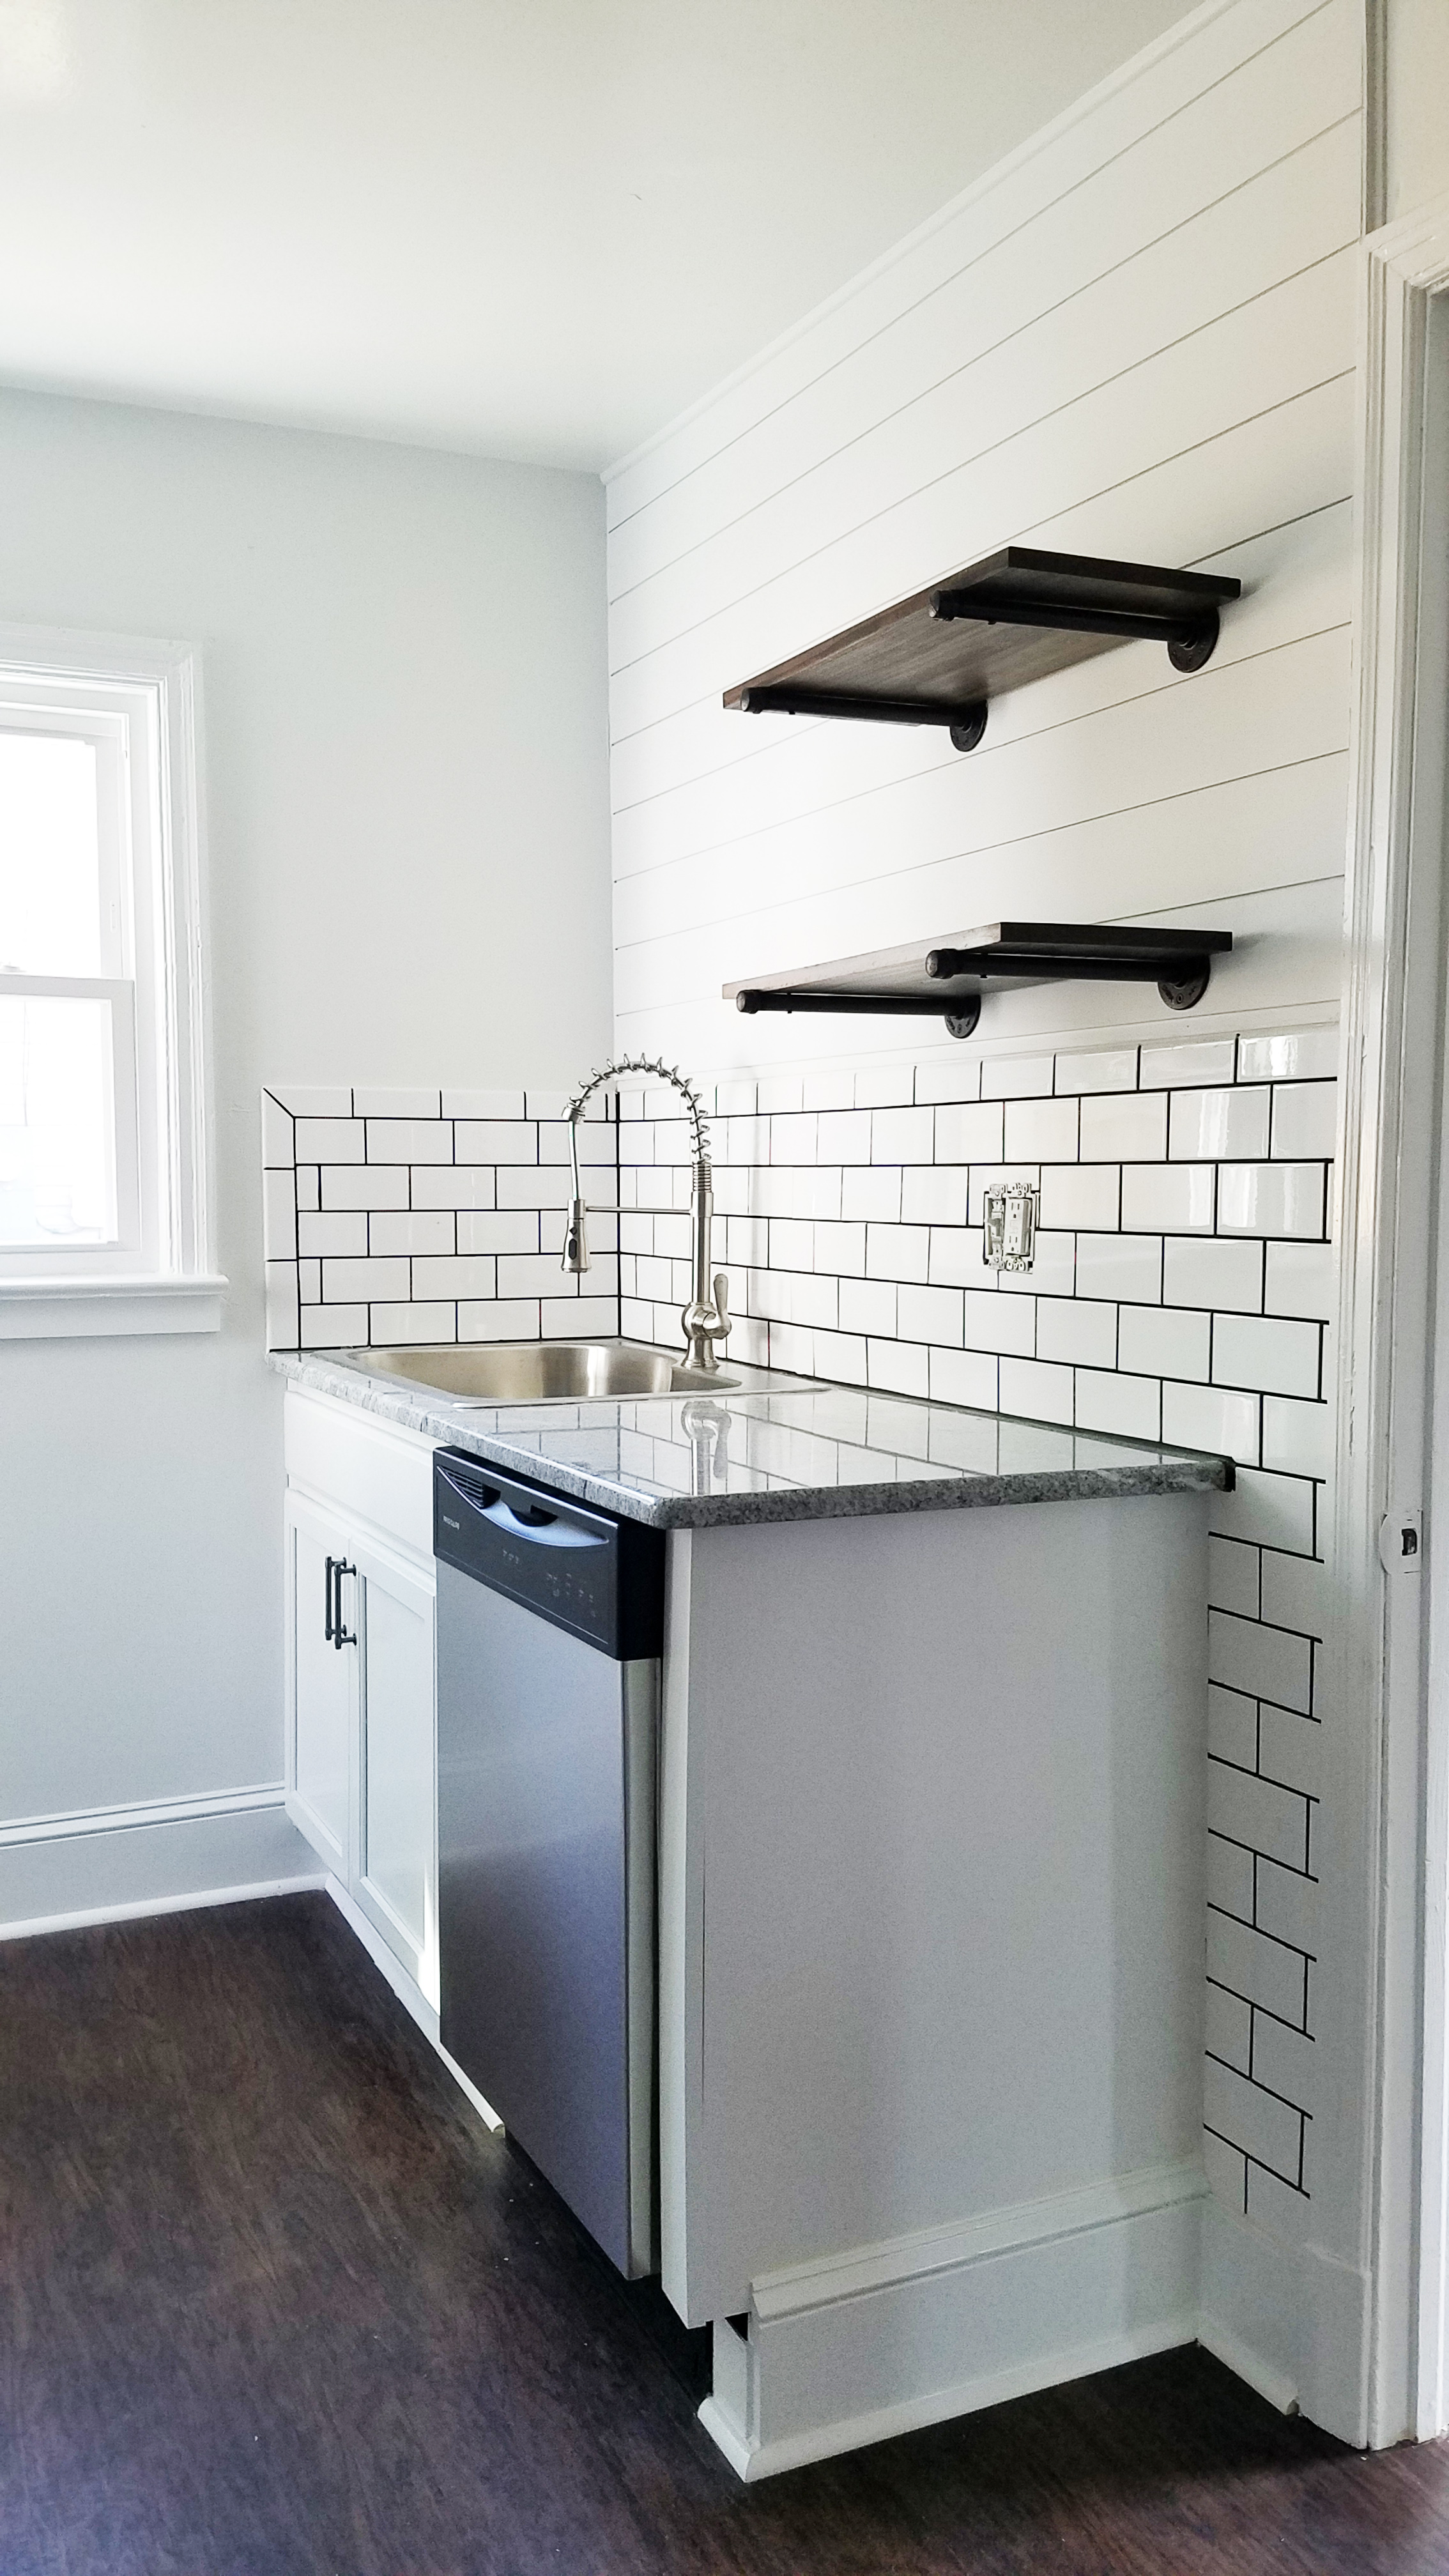
Like those open shelves? We did too. Another space saving idea in a galley kitchen is open shelving. When you block in every available surface with cabinets, the end result is very tight. Choosing open shelving does cause some level of sacrifice with space, but it is usually worth pairing down what we actually do use and need in a kitchen to have the space feel better. While you can fashion your own pipe brackets and have pieces cut at the store to save you some money over a premade it, the savings were very small and the additional time invested simply was not worth it. We recommend the kit as time is money! They even have different length pipe available.
You can find the shelf brackets here:
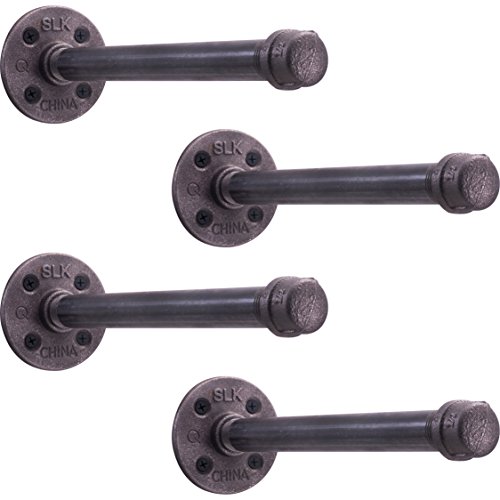

We used poplar wood to create the shelves and the brackets were another find on Amazon. They did not arrive with a protective coating and our contractor insisted we coat them to protect them from rust, as they were so close to the sink. We had liked the finish they arrived in, but we agreed long term wear was more important. He won that battle!

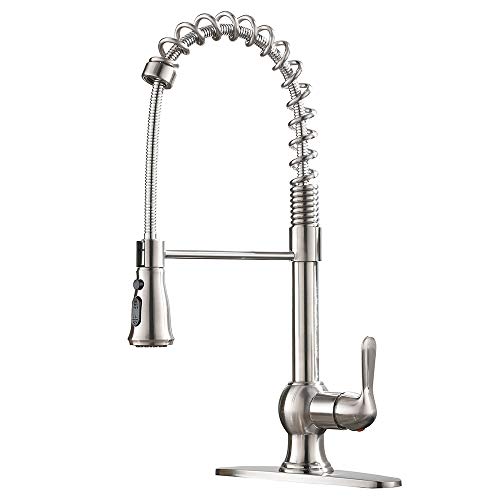
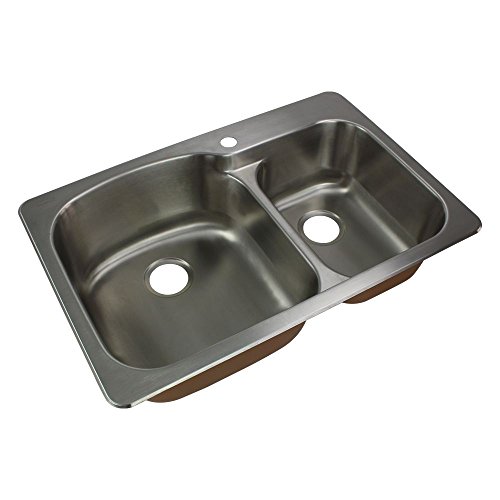
Another great area that Amazon can help is with fixture purchases. The faucet and sink were both Amazon purchases. It is a little risky to buy something without personally seeing it, but sometimes the payoff is worth it. The first faucet we bought, however, did not work and had to be returned. That was not a fun delay and our plumber was less than thrilled after installing a dud. The next one ended up being even better and the sink was amazing!
You can find the faucet here:
You can also find the sink here:

We chose simple lighting for the kitchen as there was a lot going on in a small space. This caged flush mount was a great little piece and is available at Lowes. You can find it here: allen + roth 8.4-in W Antique Nickel Metal Semi-Flush Mount Light
All in all, we think the kitchen turned out great! We love the functionality of it and the fact that we were able to optimize the space for a galley kitchen. We’d love to hear your thoughts. What did we get right? What should we have done instead?
Thanks for looking! More renovations to come!
Casey